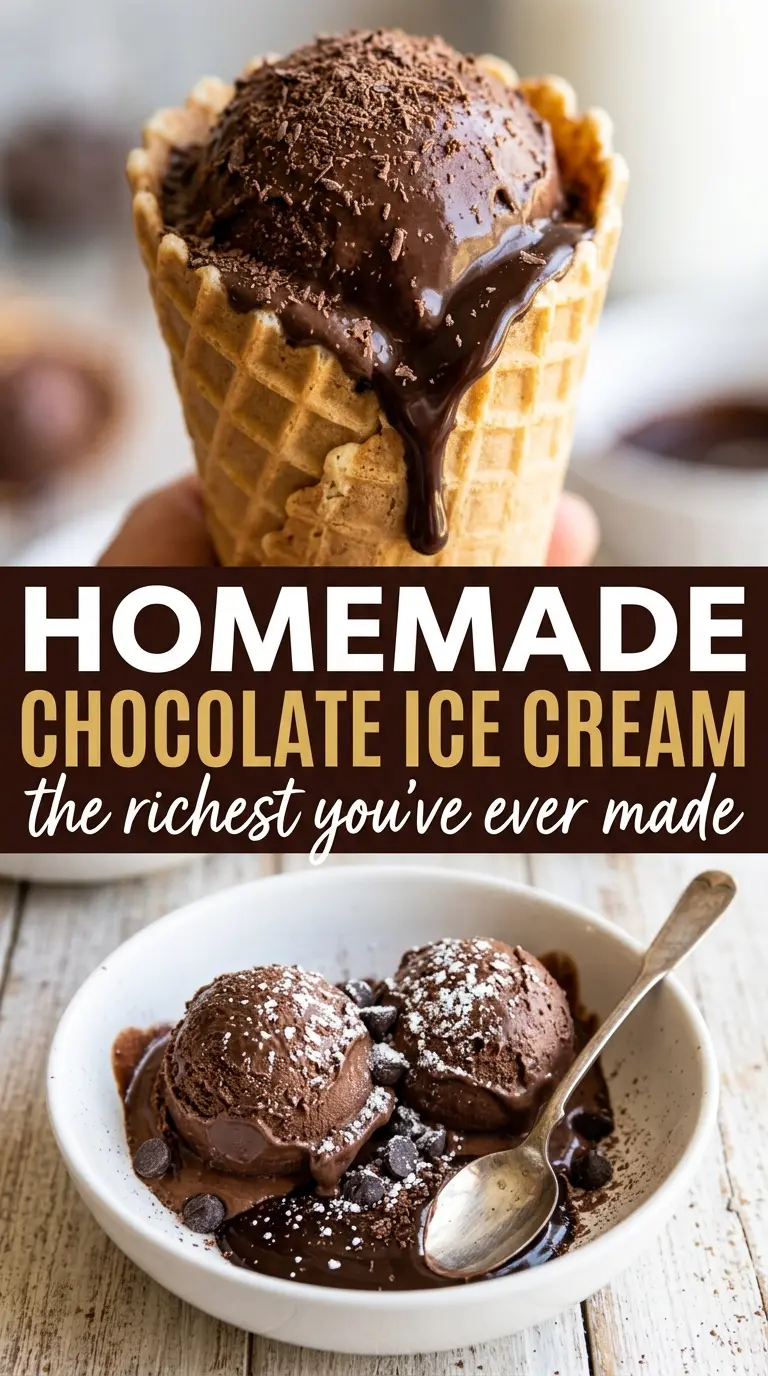
Deep, fudgy chocolate ice cream earns its keep the second it hits the spoon. The texture is dense and velvety instead of airy, with a dark cocoa base that tastes like actual chocolate, not a pale afterthought. A good homemade batch should hold its shape for a moment before melting into a cold, creamy finish, and this one does exactly that.
The trick is building a true custard base and not rushing the heat. Cocoa gets whisked into the dairy first so it hydrates properly, then the chopped dark chocolate melts into the warm cream for extra depth. Egg yolks give the ice cream its body, but they need gentle cooking; if the custard gets too hot, it turns grainy fast. Straining the base and chilling it completely before churning keeps the final texture smooth and rich.
The custard came out silky and the chocolate flavor was deep instead of overly sweet. I chilled it overnight and it churned into the creamiest ice cream I’ve made at home.
Like this dark chocolate ice cream? Save it for the nights when you want a custard-style dessert with a deep cocoa flavor and a perfectly scoopable finish.
The Step That Keeps Chocolate Ice Cream Deep, Not Grainy
The biggest mistake in homemade chocolate ice cream is cooking the custard too fast after the yolks go in. Once the dairy is tempered into the yolks, the mixture needs steady, low heat and constant stirring so the eggs thicken gently instead of scrambling. You’re looking for a custard that coats the back of a spoon and leaves a clean line when you drag a finger through it.
Cocoa powder alone can taste thin or dusty if it never gets fully hydrated. Whisking it with some of the sugar before it meets the dairy helps it dissolve more evenly, and the chopped dark chocolate adds body and a deeper finish. That one-two chocolate approach is what gives this ice cream its dark color and that dense, almost truffle-like texture.
What Each Ingredient Is Doing in the Custard Base
- Heavy cream — This gives the ice cream its lush, low-ice feel. Don’t swap in half-and-half if you want the same body; the fat matters here.
- Whole milk — It keeps the base from turning heavy or greasy. Lower-fat milk will make the finished ice cream icier.
- Cocoa powder — Use a good unsweetened cocoa with deep color and aroma. This is where the chocolate backbone starts, and cheaper cocoa can taste flat.
- Dark chocolate — Finely chopped chocolate melts into the base and adds richness that cocoa alone can’t give. Use at least 60% cacao for a fuller, darker flavor.
- Egg yolks — They thicken the custard and give the ice cream that classic silky texture. There isn’t a real shortcut for this if you want a custard-style result.
- Vanilla and salt — Both round out the chocolate and keep it from tasting one-note. Salt doesn’t make it salty; it makes the cocoa taste bigger.
Cooking the Custard, Chilling the Base, Churning the Finish
Hydrating the Cocoa
Whisk the cocoa with part of the sugar before adding the dairy. That keeps the cocoa from clumping and helps it dissolve evenly into the cream and milk. Heat the mixture until it’s steaming, not boiling; boiling pushes the dairy too hard and can scorch the cocoa along the bottom of the pan.
Tempering the Yolks
Whisk the yolks with the remaining sugar until they look pale and slightly thickened. Then add the hot chocolate dairy in a slow stream while whisking constantly. If you dump it in all at once, the yolks can curdle on contact and you’ll feel little cooked bits in the custard.
Thickening Without Scrambling
Return the mixture to the pan and cook it over medium-low heat, stirring all the time and scraping the corners of the pot. The custard is ready when it coats a spoon and reaches about 175°F. Pull it off the heat the moment it thickens; if it goes much hotter, the eggs can overcook and the texture turns grainy.
Straining, Chilling, and Churning
Strain the custard through a fine mesh sieve, then stir in the vanilla and salt. Cool it over an ice bath first so it stops cooking, then refrigerate it until it’s completely cold. A warm base churns poorly and freezes with a coarse texture, so don’t rush this part.
How to Adapt This Chocolate Ice Cream for Different Kitchens
Make it dairy-free with coconut cream
Swap the heavy cream and milk for full-fat coconut milk and coconut cream in equal amounts. The ice cream will be a little softer and carry a light coconut note, but the texture still works because the fat content stays high enough to churn well.
Use Dutch-process cocoa for a darker color
Dutch-process cocoa gives the base a deeper color and a smoother, less sharp chocolate taste. It’s a good swap if you want a more fudgy finish, but the ice cream will lose a little of the bright cocoa edge you get from natural cocoa.
Add chocolate chunks at the end
Fold in chopped frozen chocolate during the last minute of churning for a stracciatella-style texture. Smaller pieces work best because large chunks can freeze into hard shards that are awkward to scoop.
Make the base ahead
The custard can sit in the refrigerator overnight before churning, and it often tastes better the next day because the chocolate fully settles into the dairy. After churning, freeze it in a shallow container with parchment pressed onto the surface to limit ice crystals.
Storage and Reheating
- Refrigerator: The churned base needs 4 hours of chilling before freezing, but the finished ice cream keeps in the freezer for up to 2 weeks with good texture. After that, it can start to pick up ice crystals and lose some creaminess.
- Freezer: Freeze in an airtight container with parchment pressed directly on the surface. It freezes well, though homemade ice cream is always best in the first few days when the texture is softest.
- Reheating: Not applicable, but let it sit at room temperature for 5 to 10 minutes before scooping. If it’s rock hard, people usually try to force the scoop too early and end up tearing the surface instead of getting clean scoops.
The Questions People Ask Before Making Chocolate Custard Ice Cream
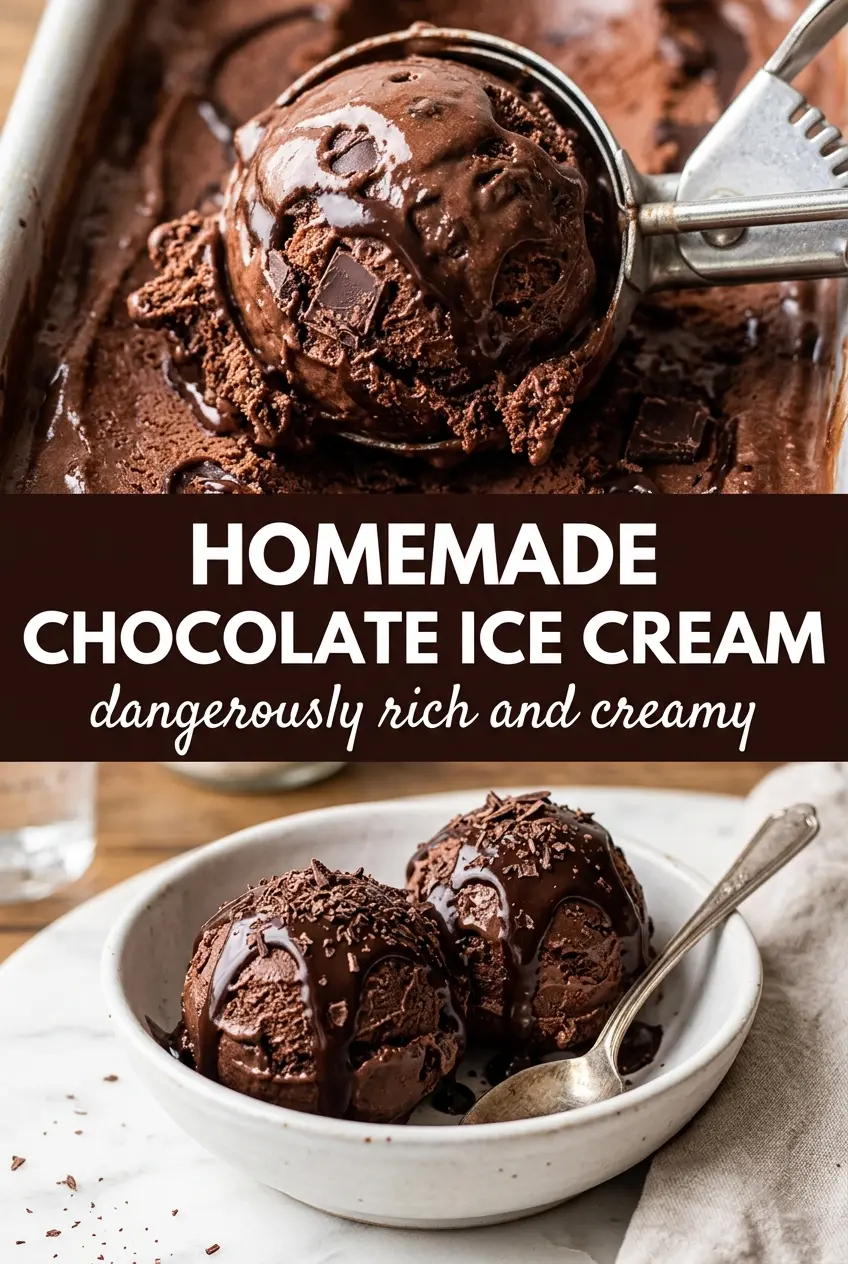
Homemade Chocolate Ice Cream
Ingredients
Equipment
Method
- In a saucepan, whisk cocoa powder with 1/4 cup of the granulated sugar, then whisk in the heavy cream and whole milk. Heat over medium, whisking continuously, until the mixture is steaming and fully combined.
- Add the finely chopped dark chocolate to the steaming cocoa mixture and whisk until fully melted and smooth.
- In a bowl, whisk the egg yolks with the remaining 1/2 cup granulated sugar until pale and slightly thickened.
- Slowly whisk the hot chocolate cream into the egg yolks to temper, then return the mixture to the saucepan.
- Cook over medium-low heat, stirring constantly, until the custard coats the back of a spoon and reaches 175°F.
- Strain the custard through a fine mesh sieve, then stir in the vanilla extract and salt.
- Cool completely over an ice bath, stirring occasionally to prevent a film from forming.
- Refrigerate at least 4 hours or overnight until very cold.
- Churn in an ice cream maker, then freeze until firm.