Hickory Bridge Farm Apple Crisp bakes up with a thick, buttery oat crumble that stays rustic and craggy on top while the apples underneath turn soft, spiced, and bubbling at the edges. The contrast is the whole point here: tender fruit, a deep golden crust, and just enough syrupy filling to cling to the spoon without turning soupy.
What makes this version work is the way the topping is built. Cold butter gets worked into the oats and flour until you have big clumps instead of sand, and that gives you those craggy patches that toast beautifully in the oven. The filling also uses cornstarch, which keeps the apple juices glossy and thick instead of watery after baking. A short rest at the end matters, too. It gives the filling time to set so the crisp scoops cleanly.
Below, I’ll walk through the one detail that keeps the topping crisp, the ingredient swap that matters most if your apples are extra tart, and a few practical ways to adapt it without losing that farmhouse feel.
The topping baked up in big crunchy clusters and the apple filling set instead of running all over the plate. I served it after dinner and the pan was scraped clean before I even got seconds.
Love the thick, buttery crumble and spiced apple filling? Save Hickory Bridge Farm Apple Crisp to Pinterest for your next dessert night.
The Reason This Crisp Stays Thick Instead of Runny
The biggest failure with apple crisp is underestimating how much juice the apples release. If you go straight from sliced apples to the oven without a thickener, the filling can turn loose and slide around the pan instead of settling into a spoonable layer. Cornstarch fixes that here, but only if it gets tossed evenly with the fruit before baking. That coating turns the apple juices glossy and thick as they bubble.
The topping matters just as much. Big butter-streaked clumps bake up into craggy, toasted pieces, while a sandy topping tends to melt flat and go pale. You want the butter cold enough that it stays in little pockets until the oven hits it. Those pockets are what give you the crisp, not a dense, dry lid.
What Each Ingredient Is Doing in the Pan
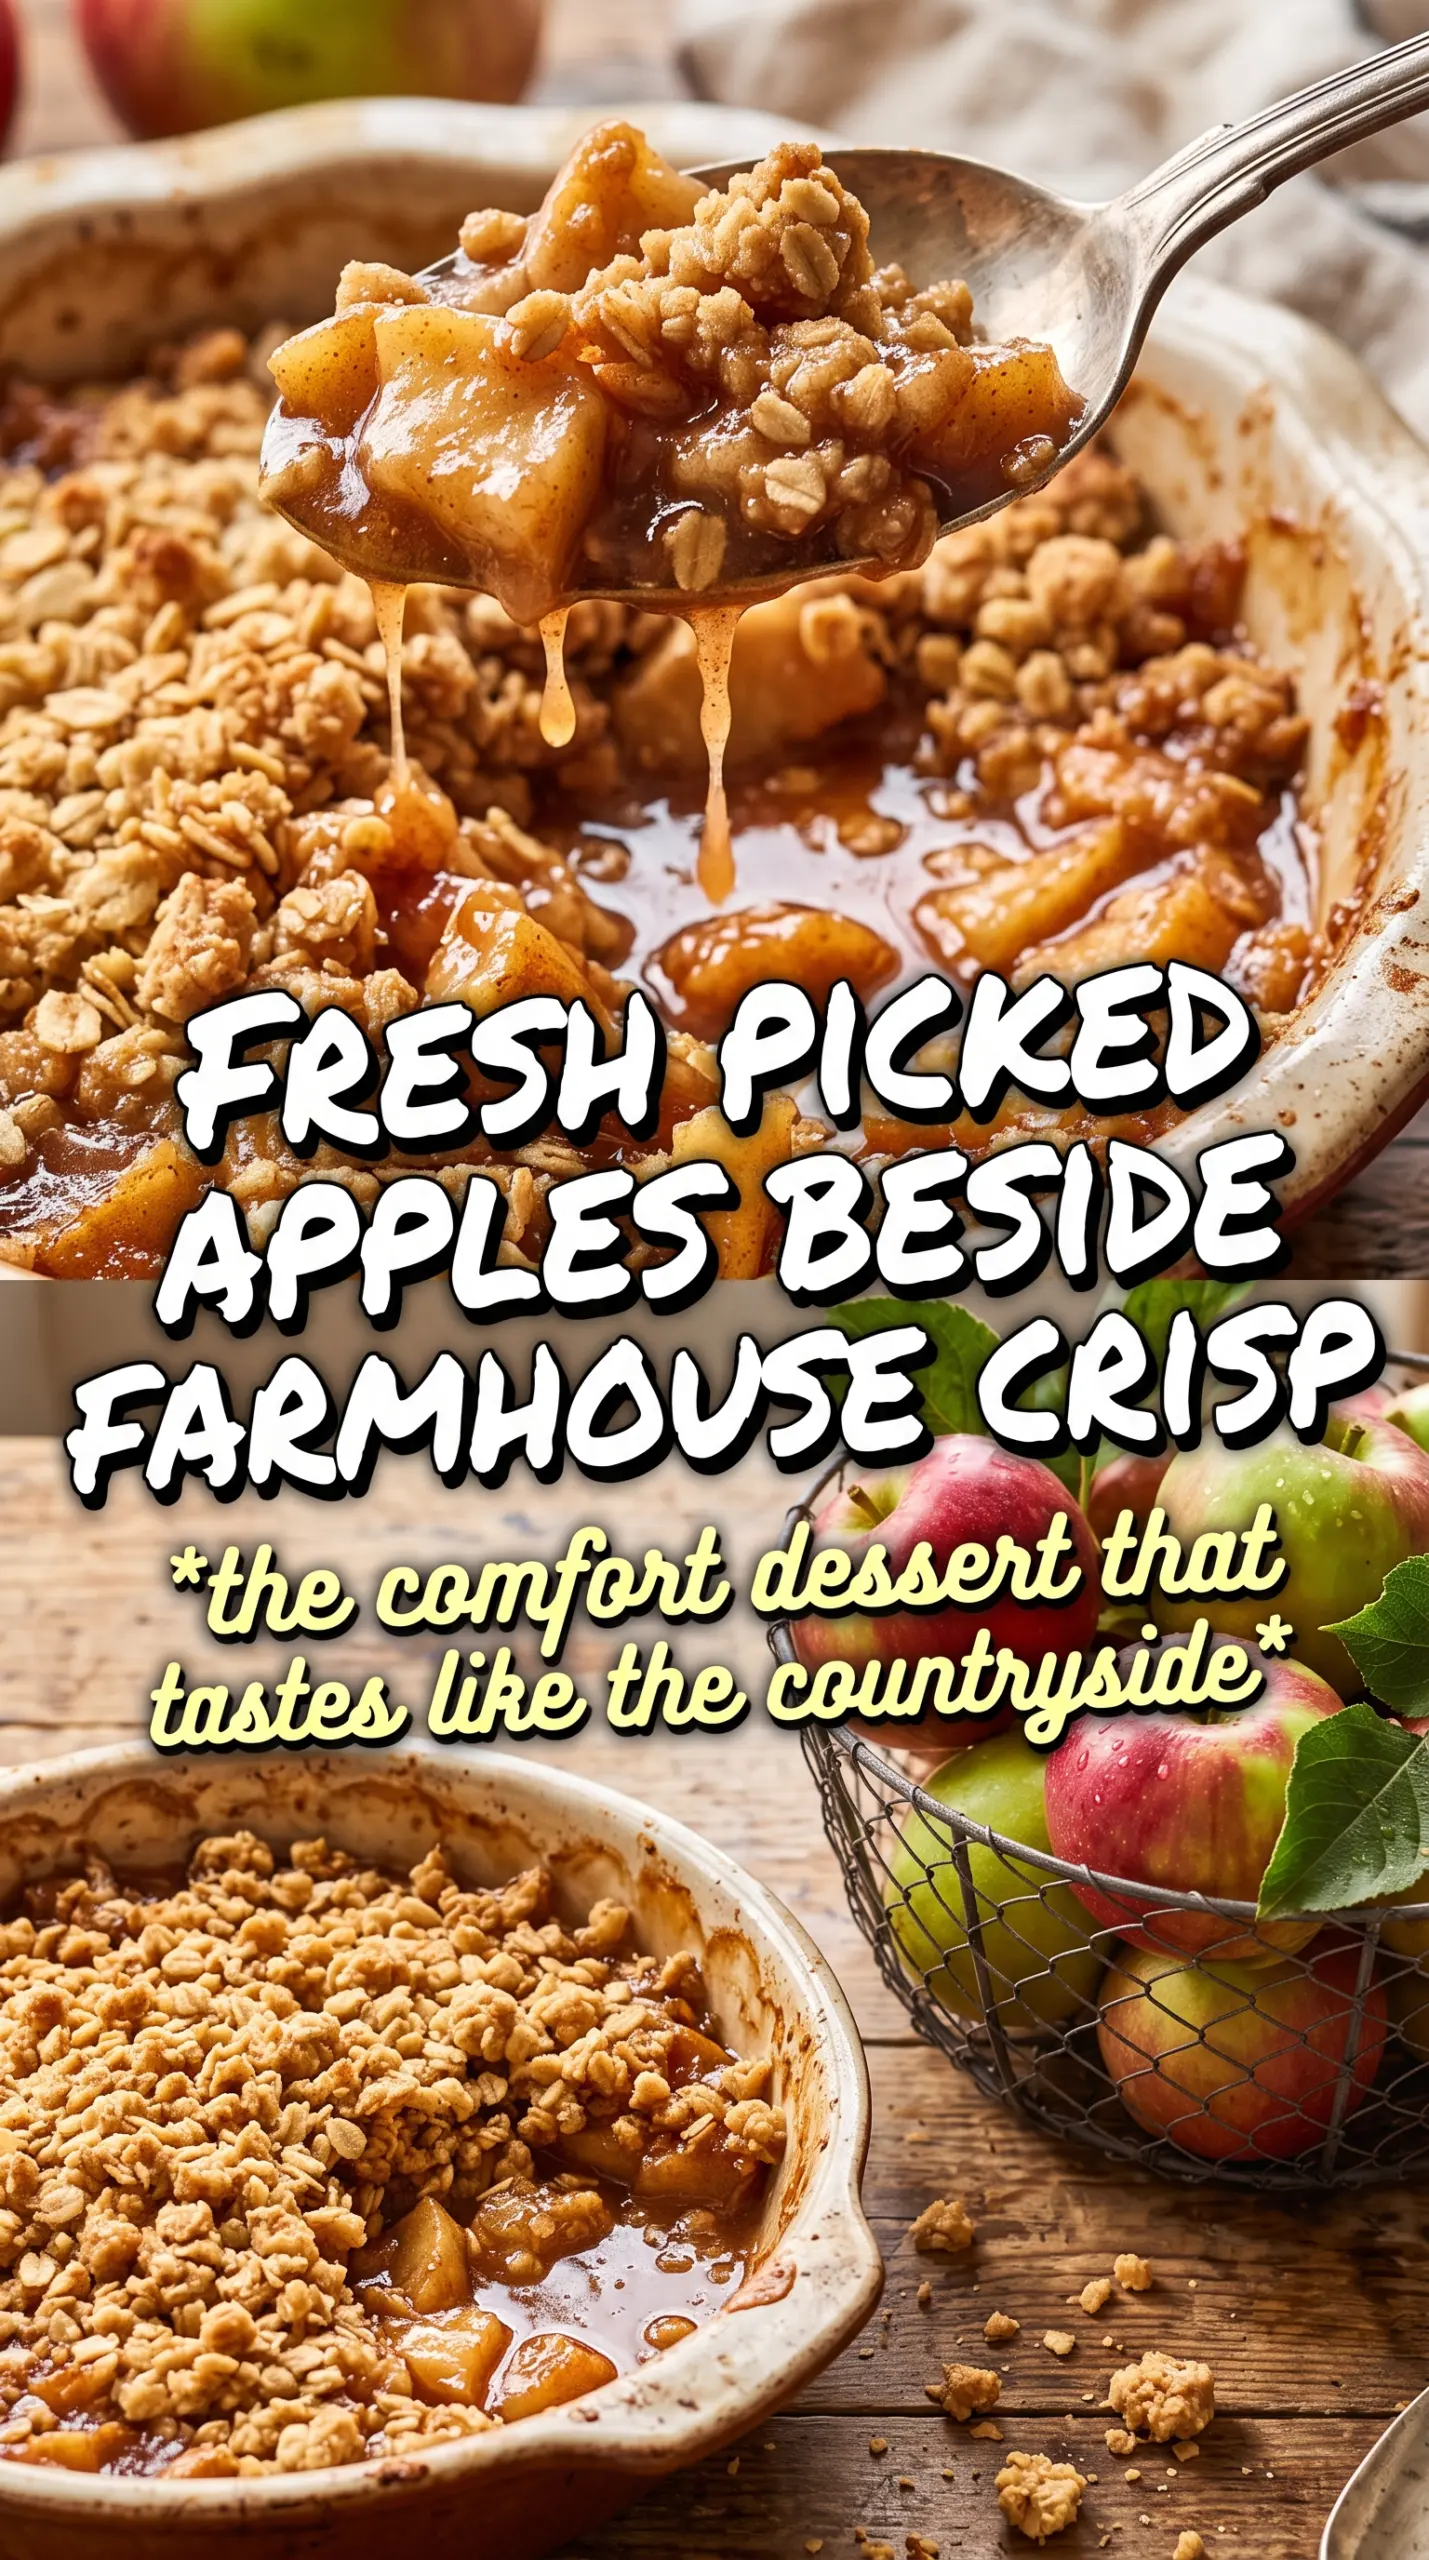
- Apples — Use firm baking apples if you can. They hold their shape long enough to soften without collapsing into applesauce. If you only have a softer variety, mix them with a firmer one so the filling still has some texture.
- Cornstarch — This is what keeps the juices from pooling at the bottom of the dish. Flour can work in a pinch, but it takes more and tastes slightly heavier. Cornstarch gives the filling a cleaner, glossier set.
- Brown sugar — The brown sugar in both the filling and topping adds a deeper caramel note that plain white sugar can’t quite mimic. Light brown sugar is fine. Dark brown sugar will push the crisp toward a richer molasses flavor.
- Cold butter — Don’t soften it. Cold butter is what helps the topping form clumps before baking instead of turning into a paste. Cut it into cubes and work it in quickly so it stays distinct.
- Rolled oats — Old-fashioned rolled oats give you the best texture here. Quick oats break down too much and make the topping tighter and less crumbly.
Building the Filling and Crumble in the Right Order
Coating the Apples Evenly
Toss the sliced apples with the sugars, spices, cornstarch, and lemon juice until every slice looks lightly coated. That even coating matters because the cornstarch can clump if it sits in one dry pocket. Spread the fruit in a thick, level layer in the baking dish. If the apples are piled unevenly, the top can brown before the center has had time to bubble properly.
Turning the Topping into Clumps
Combine the oats, flour, brown sugar, cinnamon, and salt first, then work in the cold butter with your fingers until the mixture forms large crumbs and shaggy clumps. Stop before it turns into dough. If it looks like wet sand, the butter got too warm or was blended too finely, and the finished topping will bake up flat instead of crisp.
Baking Until the Filling Bubbles at the Edges
Spread the crumble generously over the apples and pile it thick. Bake until the top is deeply golden and you can see the filling bubbling all the way around the edges of the pan, not just in one spot. That bubbling is the sign that the cornstarch has thickened the juices. Pulling it early leaves you with crisp topping and loose filling, which is a disappointment every time.
Letting It Set Before Serving
Rest the crisp for at least 15 minutes before scooping. The bubbling syrup tightens up as it cools, and that short pause keeps the serving from collapsing into a puddle. It still tastes best warm, especially with vanilla ice cream melting over the top, but it will hold together much better if you give it a minute to settle.
How to Adapt This Crisp Without Losing the Farmhouse Feel
Use pears for part of the filling
Swap up to half of the apples for firm pears if you want a softer, more floral filling. Pears break down a little faster, so keep the rest of the fruit sturdy or the crisp can turn too soft under the topping.
Make it gluten-free with the right flour
Use a good 1:1 gluten-free baking flour in place of the all-purpose flour. The oats are naturally the main source of crunch, so the texture stays close to the original. Check that your oats are certified gluten-free if cross-contamination matters.
Lean the filling sweeter or sharper
If your apples are very tart, keep the sugar amounts as written. If they’re already sweet, cut the granulated sugar in the filling a little and add an extra squeeze of lemon juice so the fruit still tastes bright instead of flat.
Storage and Reheating
- Refrigerator: Cover and refrigerate for up to 4 days. The topping softens a bit in the fridge, but the flavor stays excellent.
- Freezer: Freeze baked crisp for up to 2 months, well wrapped. Thaw overnight in the refrigerator before reheating so the center doesn’t stay icy while the top burns.
- Reheating: Warm in a 325F oven until heated through and the topping crisps back up, about 15 to 20 minutes for a portion or longer for the full dish. The microwave softens the crumble, so use it only if you don’t care about the topping staying crisp.
Answers to the Questions Worth Asking
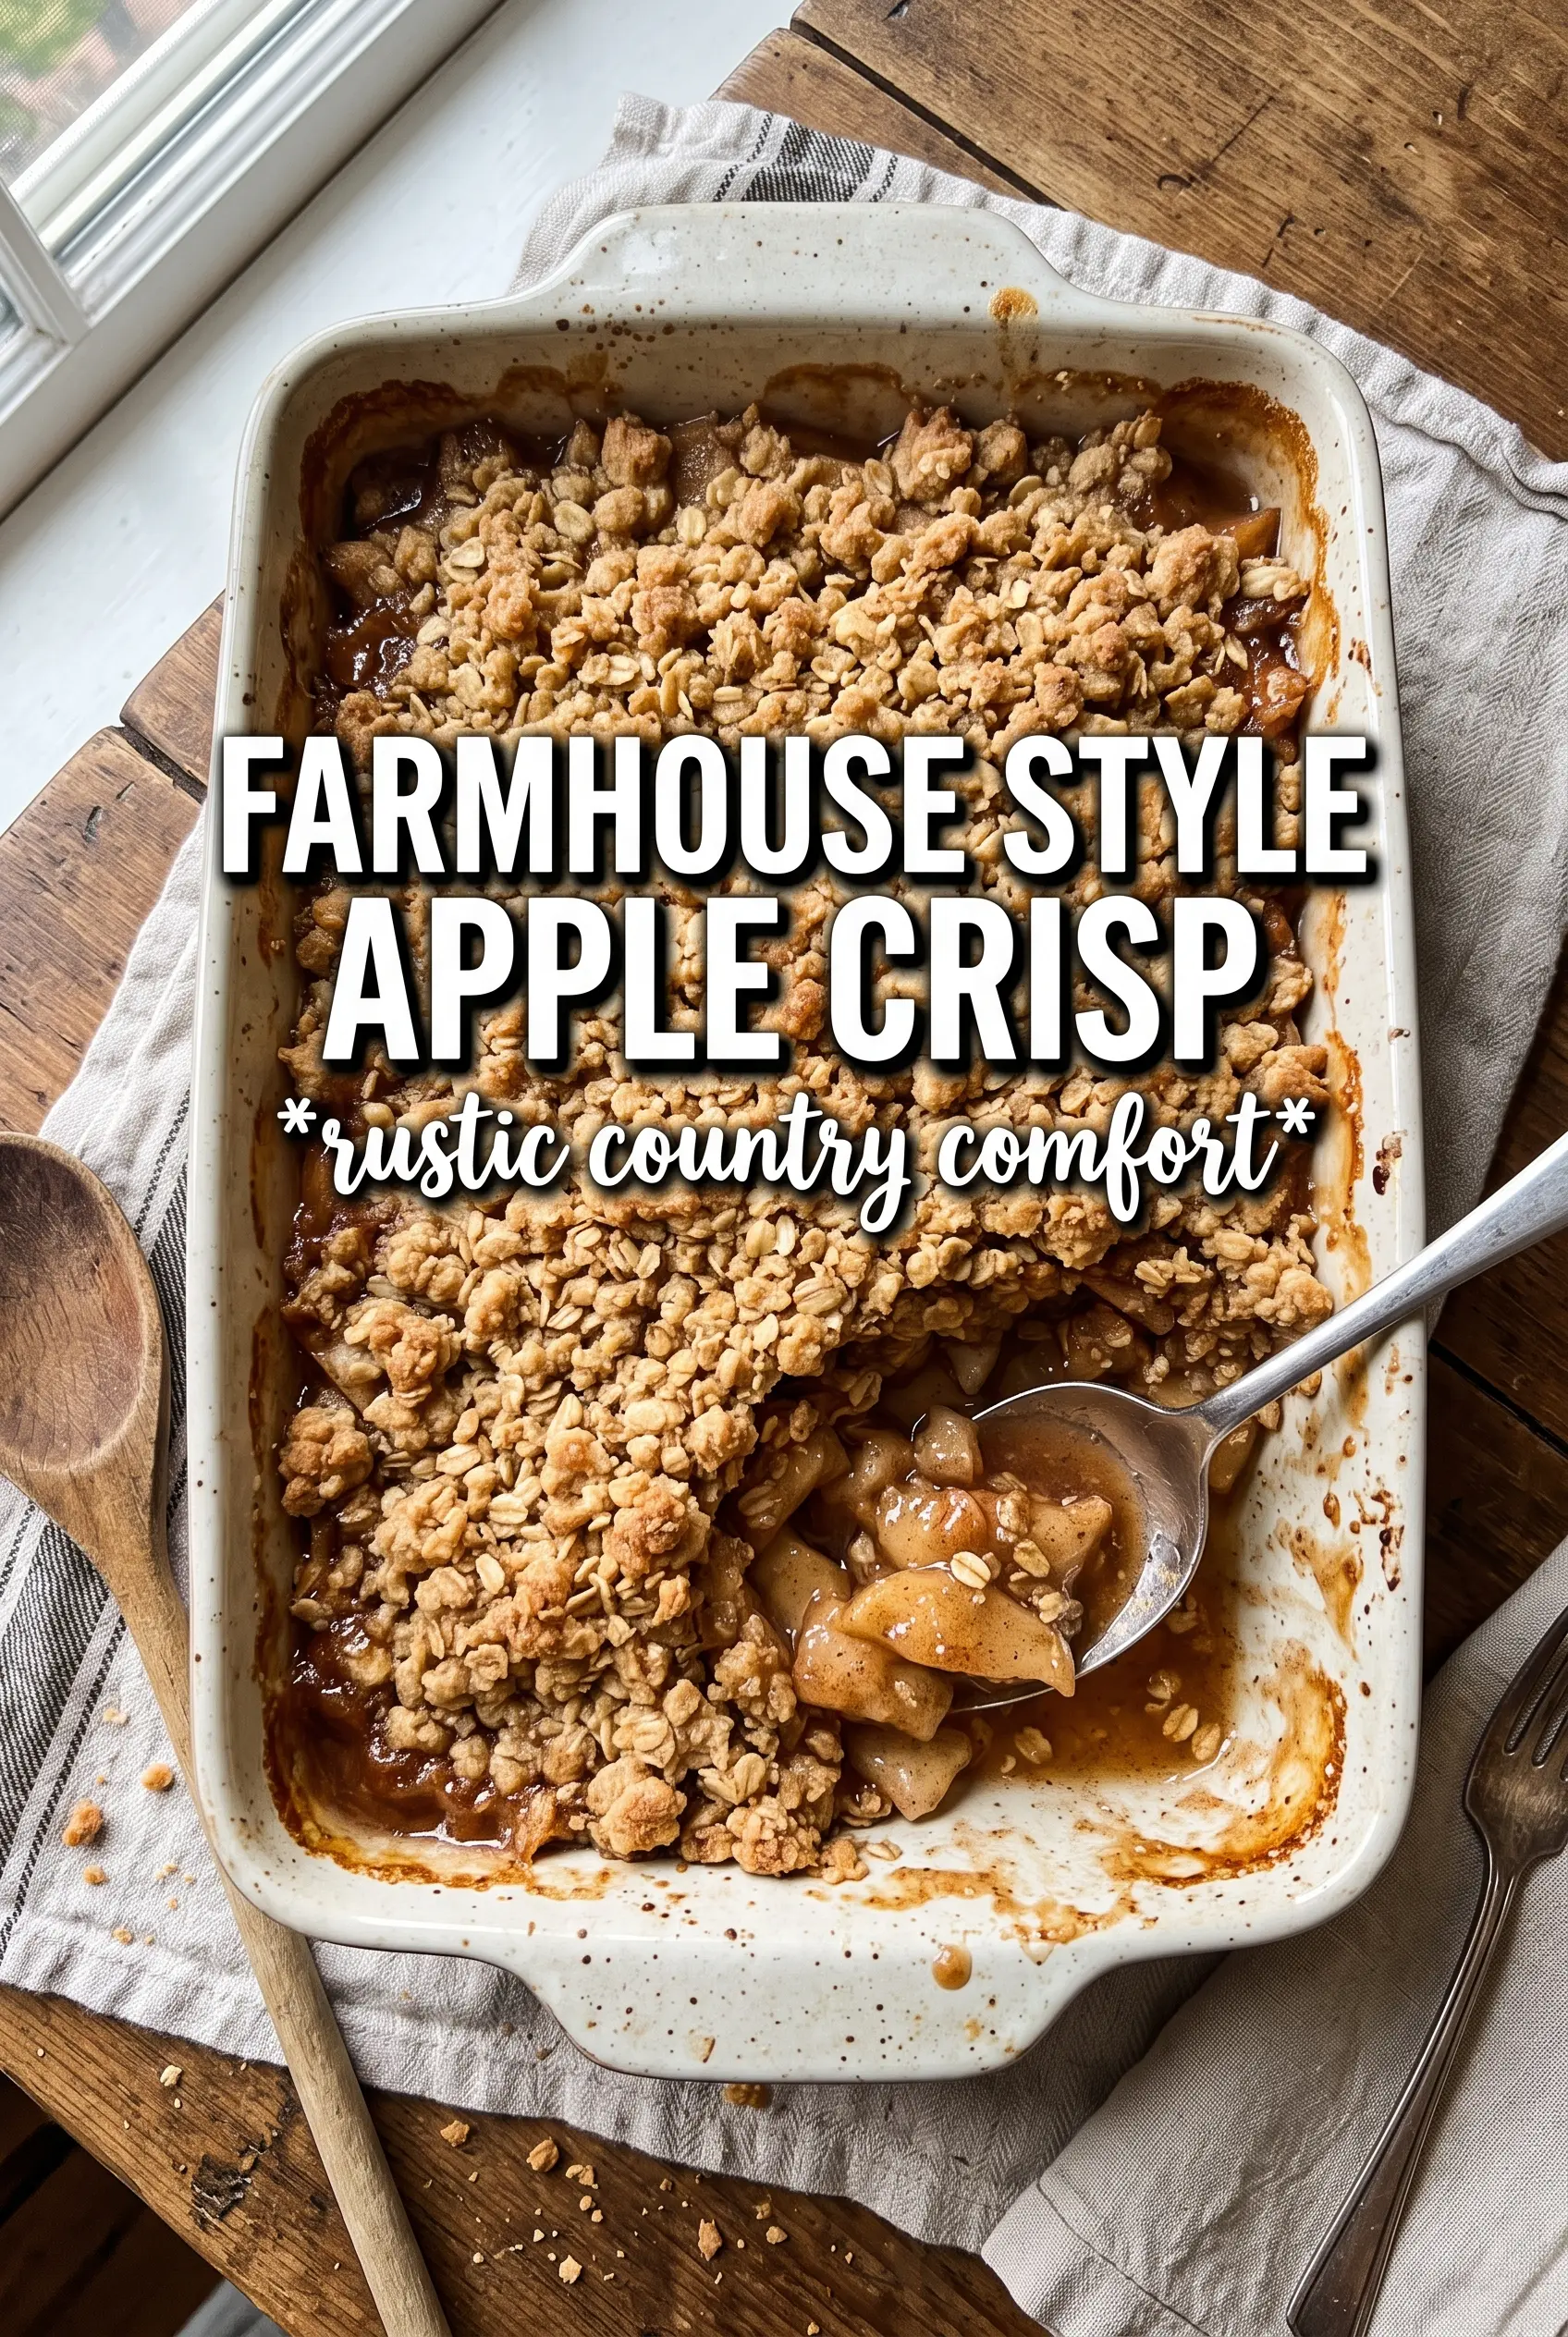
Hickory Bridge Farm Apple Crisp
Ingredients
Equipment
Method
- Preheat the oven to 350°F, then generously grease a 9x13 baking dish. Use an even coating so the crisp releases easily after baking.
- Toss the apple slices with granulated sugar, brown sugar, cinnamon, nutmeg, allspice, cornstarch, and lemon juice. Spread the coated apples in the prepared dish in a thick, even layer (no bare spots).
- Combine rolled oats, all-purpose flour, packed brown sugar, cinnamon, and salt in a bowl. Add the cold cubed butter and work it in with your hands until you get large, butter-streaked clumps.
- Pour and spread the crumble topping generously over the apples, piling it thick for full coverage. Make sure the apples are mostly hidden under the clumps.
- Bake at 350°F for 50-55 minutes until the topping is deeply golden and the apple filling bubbles all around the edges. Look for active bubbling between the oat clumps and a dry, crisp-looking surface.
- Rest the apple crisp for 15 minutes before scooping. This sets the juices so each spoonful holds together.
- Serve warm with vanilla ice cream or whipped cream. Add a generous scoop right before eating so the topping stays crunchy.