Gnocchi chicken pot pie lands with the kind of comfort that makes a quiet dinner feel special. The filling turns creamy and savory without getting heavy, and the gnocchi puff up just enough in the sauce to give every bite a soft, dumpling-like chew. Then the golden top cracks open and lets the steam out in the best possible way.
What makes this version work is that the gnocchi go in uncooked, so they absorb flavor as the sauce bakes instead of turning mushy on the stove. The sauce starts with a proper butter-and-flour base, which keeps the filling thick enough to hold under puff pastry or biscuits. That matters here, because a loose filling will soak the top before it has a chance to brown.
Below, I’m walking through the one timing detail that keeps the gnocchi tender, plus the swaps that still give you a rich, spoonable pot pie when you need to work with what’s in the fridge.
The sauce thickened up beautifully and the gnocchi stayed tender instead of falling apart. I used the biscuit topping, and it came out crisp on top with that creamy chicken filling underneath.
Save this gnocchi chicken pot pie for the nights when you want a creamy filling and a crisp golden top without making a separate crust.
The Part That Keeps the Gnocchi Tender Instead of Gummy
The biggest mistake in a dish like this is boiling the gnocchi before it goes into the oven. They keep cooking as the pie bakes, and that’s how you end up with soft, bloated dumplings that lose their shape. Adding them uncooked lets them finish in the sauce at the same pace as the filling thickens, so they stay plush and intact.
The other thing that matters is the sauce thickness before it goes into the oven. If it looks loose on the stove, it will be loose in the baking dish, and the top will sink into it instead of sitting on a stable filling. You want a gravy that coats the spoon and holds a little ridge when you drag a spatula through it.
What Each Ingredient Is Doing in the Baking Dish
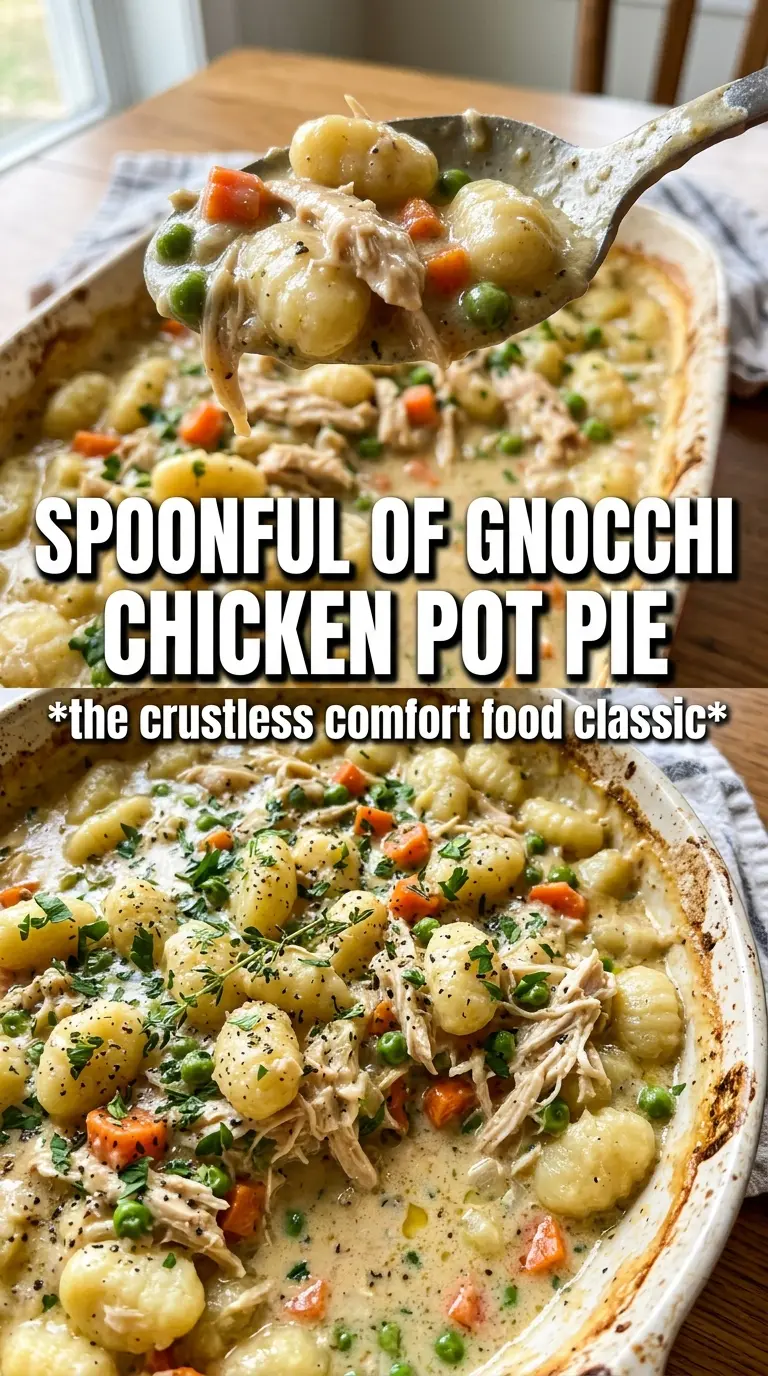
- Potato gnocchi — These replace the usual pie crust bottom with little tender pillows that hold onto the sauce. Shelf-stable or refrigerated gnocchi both work; just don’t pre-cook them or they’ll go soft by the time the pie is done.
- Cooked chicken — Rotisserie chicken is the easiest shortcut here, and it’s one of the best. You want shredded pieces, not chunks, so every scoop has chicken in it without making the filling bulky.
- Butter, flour, broth, and cream — This is the backbone of the pot pie filling. The flour needs a full minute in the butter before the liquid goes in, or the sauce can taste raw and won’t thicken as smoothly.
- Carrots, celery, onion, and garlic — These build the savory base. Dice them small so they soften before the sauce goes in; large pieces stay crunchy after baking, which throws off the texture.
- Puff pastry or biscuits — Puff pastry gives you a flaky, elegant lid, while biscuits make the top more rustic and substantial. Either one works, but both need the filling to be thick enough that the top bakes up instead of sinking.
- Fresh thyme — Thyme is the herb that makes this taste like pot pie instead of just creamy chicken and vegetables. Dried thyme will work in a pinch, but use less since it comes on stronger.
Building the Filling So the Top Bakes Up Cleanly
Softening the vegetables first
Start by cooking the onion, carrots, and celery in butter until they’re softened and the onion looks glossy around the edges. If you rush this step, the vegetables stay too firm and you end up with a filling that tastes undercooked under the crust. The garlic goes in near the end so it doesn’t scorch and turn bitter.
Making the gravy base
Sprinkle the flour over the vegetables and stir it for a full minute before adding the broth and cream. That short cook removes the raw flour taste and helps the sauce thicken evenly instead of turning pasty in spots. Add the liquid gradually and keep whisking until the sauce looks smooth before it simmers.
Adding the chicken, peas, and gnocchi
Fold in the chicken, peas, and uncooked gnocchi once the sauce has thickened enough to coat a spoon. The filling should look loose enough to spread, but not watery. If it seems soupy now, it will stay soupy in the oven and the top won’t brown well.
Baking until the top is deeply golden
Transfer the filling to the baking dish, cover it with puff pastry or biscuits, and brush the top with egg wash. Bake until the surface is a deep golden brown and the filling is bubbling around the edges. Those bubbles tell you the sauce has fully thickened and the gnocchi have cooked through.
Three Ways to Make This Fit What You’ve Got
Use biscuits for a heartier, more rustic top
Biscuits give you a thicker, breadier finish than puff pastry, and they’re easier if you want a less fussy topping. Place them over the filling with a little space between each one so steam can escape; otherwise the centers can stay doughy while the bottoms get soggy.
Make it dairy-free without losing the creamy texture
Swap the butter for olive oil or a plant-based butter and use unsweetened full-fat oat cream or cashew cream in place of heavy cream. The filling won’t taste quite as rich, but it will still thicken nicely if you keep the flour the same and simmer long enough for the sauce to coat the back of a spoon.
Use leftover turkey instead of chicken
Cooked turkey slides in exactly where the chicken goes and makes this a smart post-holiday meal. Dark meat stays juicier in the oven, but white meat works fine as long as the filling isn’t overbaked.
Go gluten-free with the right swaps
Use gluten-free gnocchi, replace the flour with a 1:1 gluten-free blend, and choose a gluten-free topping that bakes well. Gluten-free flour thickens a little differently, so give the sauce a minute or two longer on the stove before it goes into the oven.
Storage and Reheating
- Refrigerator: Store leftovers covered for up to 4 days. The gnocchi will absorb more sauce as it sits, so the filling gets thicker by day two.
- Freezer: It freezes well after baking. Cool completely, wrap tightly, and freeze for up to 2 months; the topping won’t be as crisp after thawing, but the filling holds up.
- Reheating: Reheat covered in a 350F oven until hot in the center, then uncover for the last few minutes to re-crisp the top. The common mistake is microwaving it from the start, which turns the topping soft and can make the gnocchi rubbery.
Answers to the Questions Worth Asking
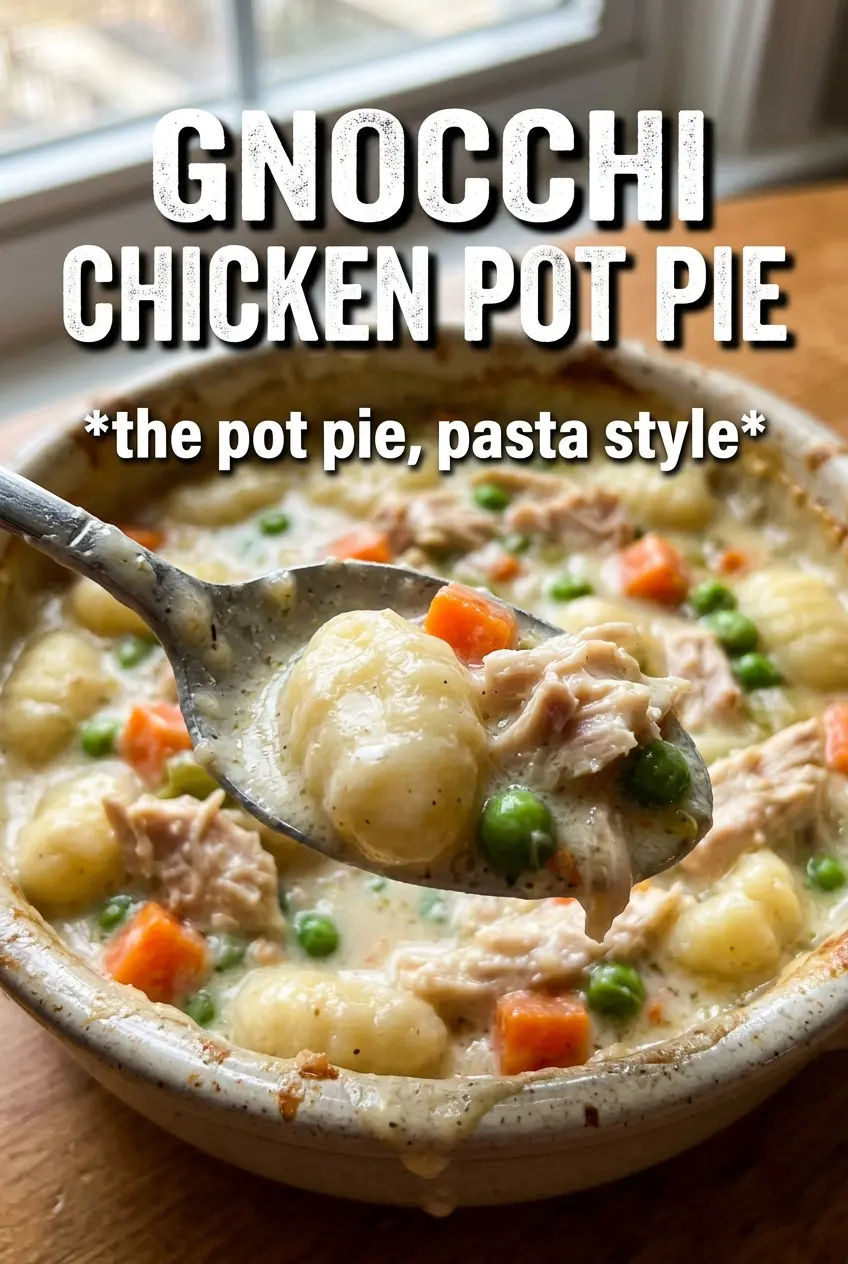
Gnocchi Chicken Pot Pie
Ingredients
Equipment
Method
- Preheat the oven to 400°F. Sauté the onion, carrots, and celery in the butter for 5 minutes, stirring until starting to soften and turn fragrant.
- Add the garlic and thyme, stirring for a few seconds. Whisk in the flour and cook for 1 minute, until the mixture looks smooth and lightly thickened.
- Gradually pour in the chicken broth and heavy cream while whisking. Simmer until thickened, about 5–8 minutes, so the sauce coats the back of a spoon.
- Fold in the shredded chicken, frozen peas, and uncooked gnocchi. Season with salt and pepper to taste, then stir until everything is evenly combined.
- Pour the filling into a baking dish. Top with the puff pastry sheet or refrigerated biscuits, pressing lightly so it covers the filling.
- Brush the top with egg wash for browning. Bake for 25–30 minutes at 400°F until golden and bubbly, with steam rising from the vent.