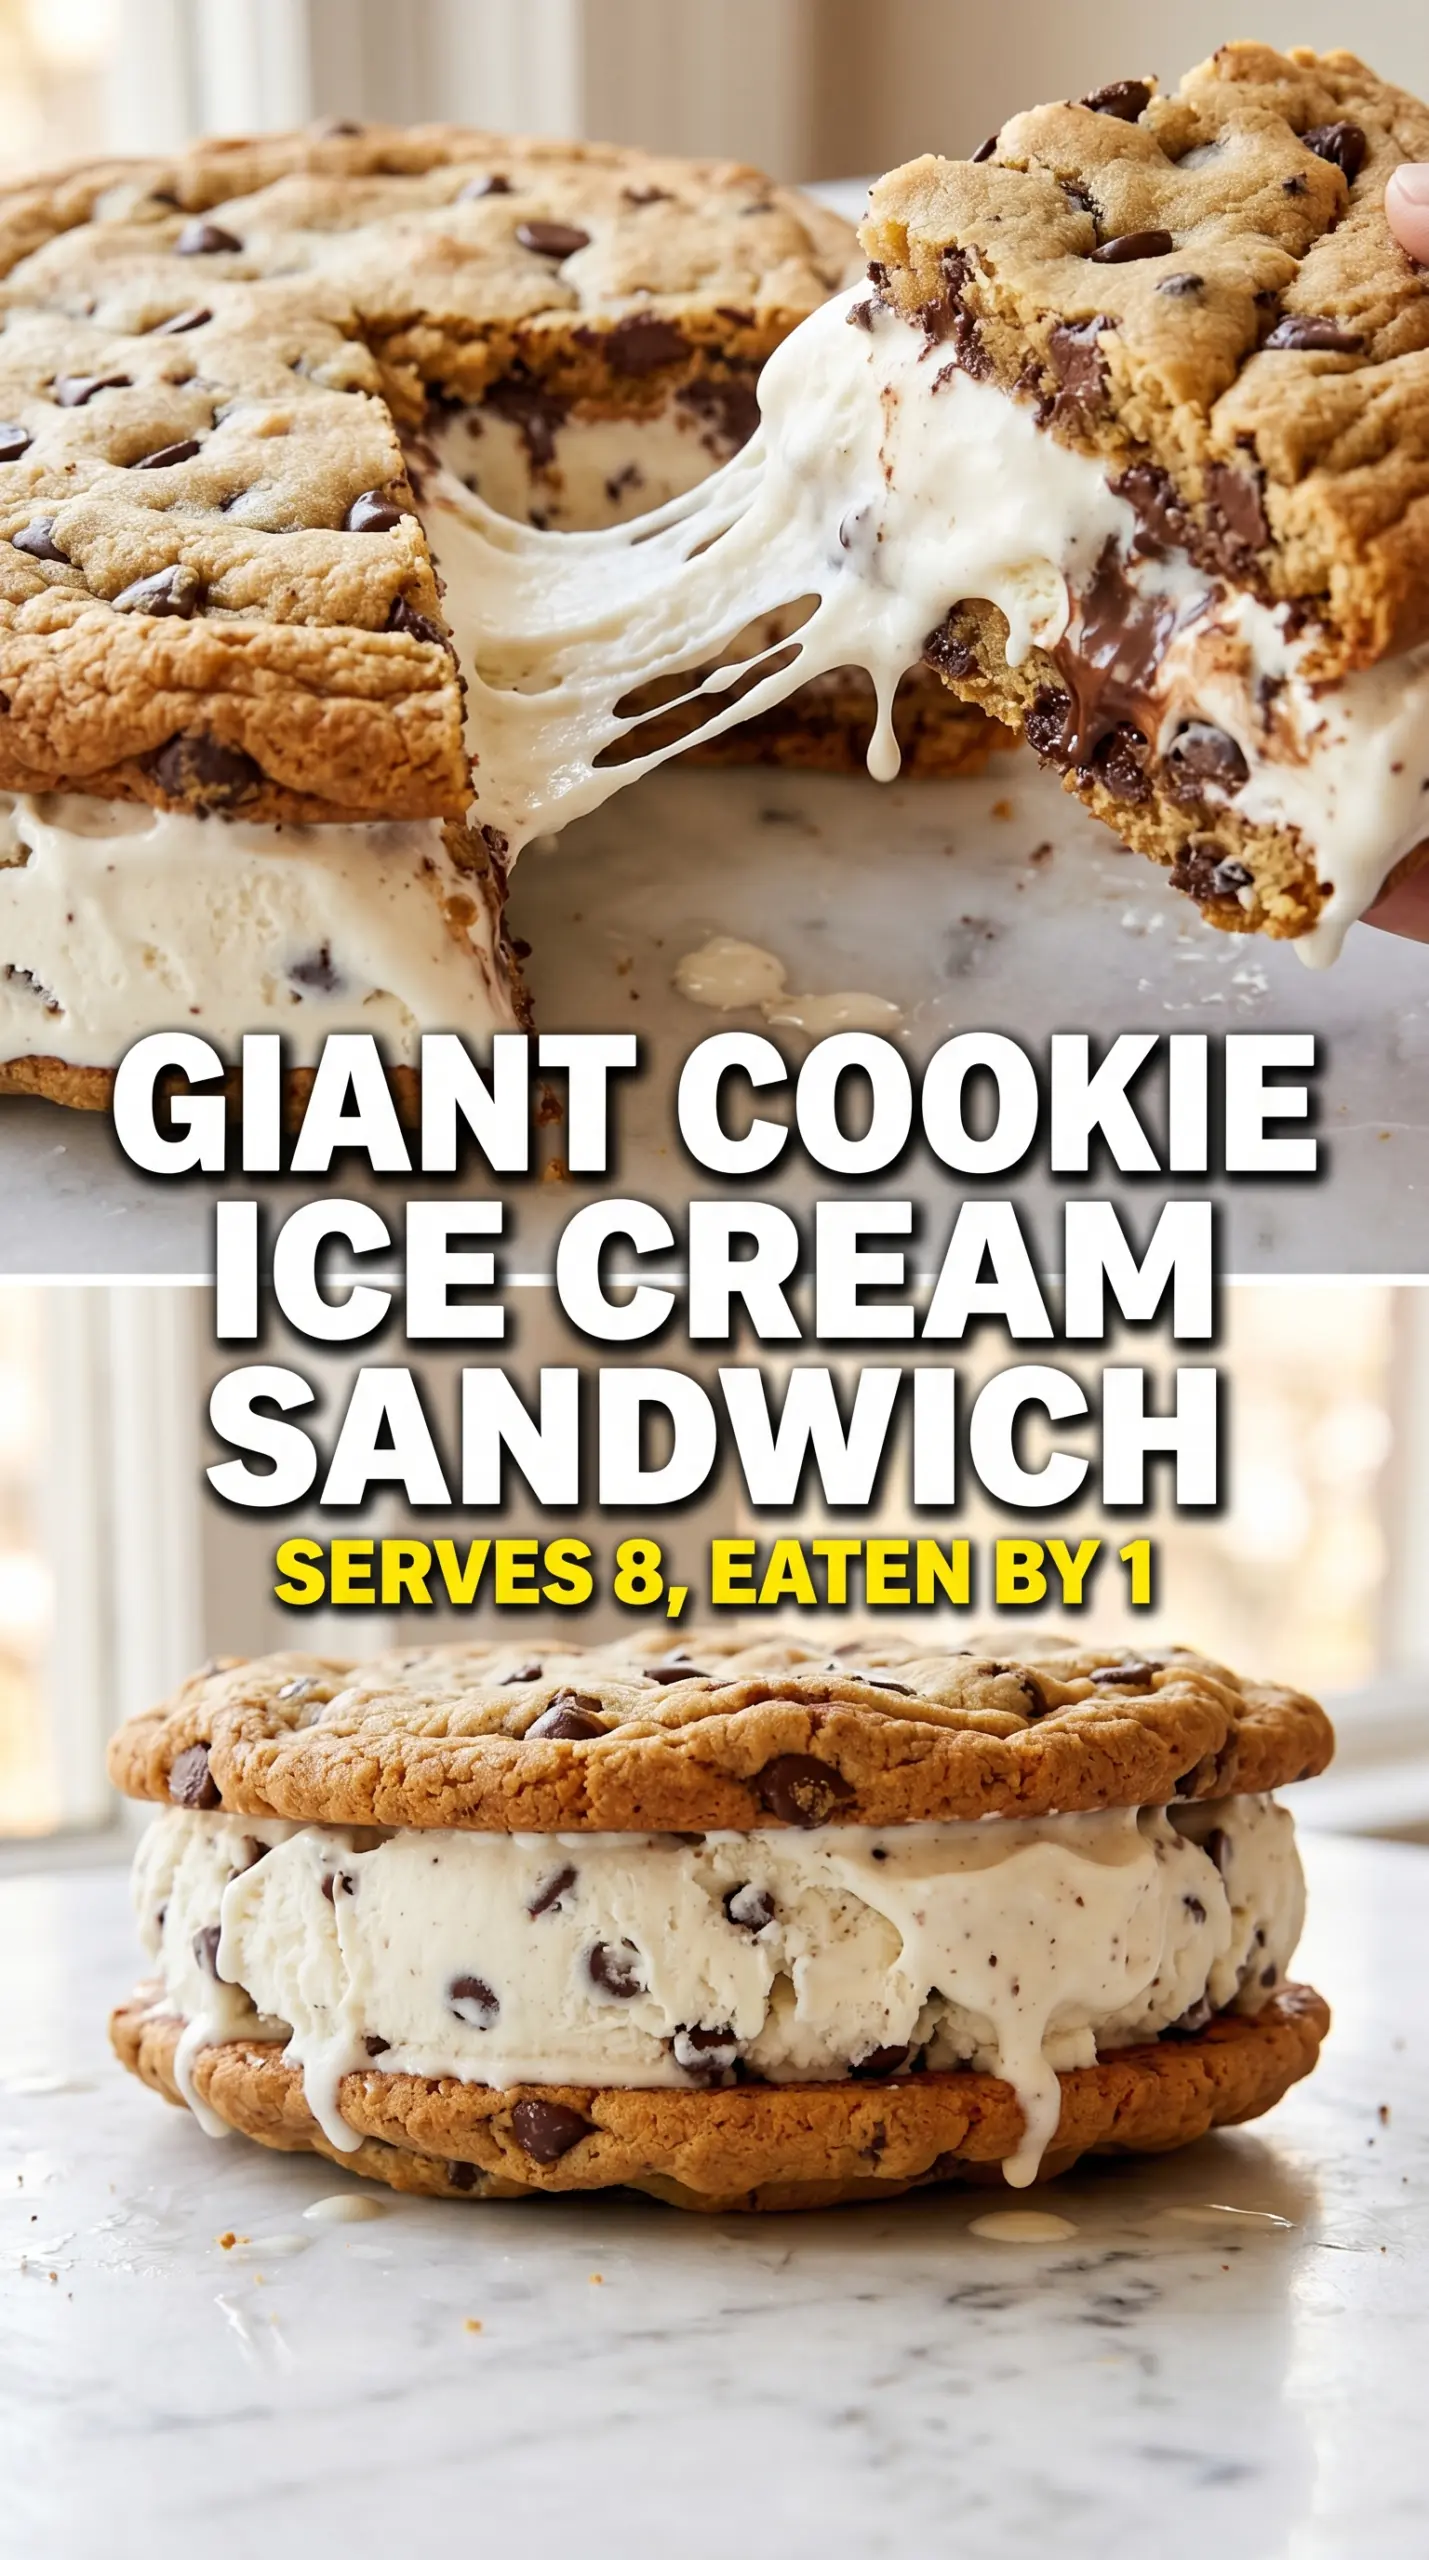
Two giant chocolate chip cookies pressed around a thick layer of vanilla ice cream turn an ordinary dessert into a centerpiece. The cookies bake up soft in the middle with crisp edges, so every bite lands somewhere between chewy cookie, cold creaminess, and the little drip of melted ice cream that makes people grab a plate fast. Sliced into wedges, it eats like a celebration instead of a snack.
What makes this version work is the size. Large cookies cool into sturdy rounds that hold their shape when filled, and baking them just a touch underdone keeps them tender after freezing. The dough is rich enough to stay soft straight from the freezer, while the vanilla ice cream gives you a clean, classic contrast that lets the chocolate chip cookies stay front and center.
Below, I’ve included the one step that matters most if you want neat slices instead of a crumbling mess, plus a few simple ways to change the filling without losing the wow factor.
The cookies stayed soft after freezing and the ice cream layer sliced cleanly once I let it sit for just 5 minutes. My kids thought it was the coolest dessert ever.
Save these giant cookie ice cream sandwiches for the next birthday, cookout, or any night that calls for a plate-sized frozen dessert.
The Trick to Keeping Two Giant Cookies from Turning into One Mess
The biggest mistake with oversized cookie sandwiches is rushing the assembly. If the cookies are even a little warm, the ice cream melts into the surface and the whole thing slides before it has time to set. These cookies need to be cooled all the way through, then frozen after assembly so the filling firms up enough to slice cleanly.
The other detail that matters is doneness. Pull them when the centers still look a touch soft. A giant cookie keeps cooking on the hot pan, and that slight underbake is what gives you a tender bite after freezing instead of a dry, hard edge. If the cookies come out too crisp, the sandwich gets awkward to cut and the texture loses its charm.
- Unsalted butter — Softened butter creams smoothly with the sugars and gives the cookies their rich, bakery-style texture. Salted butter works in a pinch, but the flavor is harder to control.
- Brown sugar — This is what keeps the cookies chewy and a little dense, which matters when they need to stay soft after freezing. Light brown sugar is fine.
- Vanilla ice cream — Use a brand you’d happily eat plain, because it’s the center of the dessert. Let it soften just enough to spread, not melt into soup.
- Semi-sweet chocolate chips — Chips hold their shape better than chopped chocolate here, so each slice has clear pockets of chocolate instead of streaks. Mini chips can work, but the classic size gives the best bite.
What Each Ingredient Is Actually Doing in This Ice Cream
- Base ingredient (cream, milk, or custard) — This provides the foundation and richness. Quality matters.
- Sweetener (sugar, honey, or condensed milk) — This sweetens and prevents ice crystals. The ratio is critical.
- Flavor element (vanilla, fruit, chocolate, or other) — This defines the ice cream personality. Use quality ingredients.
- Egg yolks (if making custard base) — These create richness and silky texture. Optional but elevates ice cream.
- Churning (if using ice cream maker) — This incorporates air and prevents ice crystals. Critical for smooth texture.
- Freezing temperature and time — Proper freezing prevents rock-hard texture. Store at 0°F or below.
- Mix-ins (chocolate, cookies, fruit, or swirls) — These add texture and prevent one-dimensional flavor. Add near end of churning.
- Serving temperature (slightly soft, not rock hard) — This provides creamy mouthfeel. Remove from freezer 5 minutes before serving.
Building the Sandwich Before the Ice Cream Gets Away from You
Mixing the Dough
Start by whisking the dry ingredients so the baking soda is evenly distributed; uneven leavening shows up fast in a cookie this large. Cream the butter and both sugars until the mixture looks pale and fluffy, which takes a few minutes and gives the cookies lift without making them cakey. Add the eggs one at a time so the dough emulsifies instead of looking greasy or curdled.
Shaping the Giant Rounds
Divide the dough into two equal portions and press each one into an 8-inch circle on parchment. Don’t worry about perfect edges, but keep the thickness even so the cookies bake at the same rate. If one side is thicker, that spot stays doughy while the thinner edge dries out.
Baking for a Soft Center
Bake until the edges are golden and the centers still look slightly underdone. That center will set as the cookies cool, and it’s the difference between a sandwich that bends gently and one that cracks under the ice cream. Let the cookies cool completely on the pan before moving them, because warm cookies are fragile and will tear when you try to lift them.
Filling and Freezing
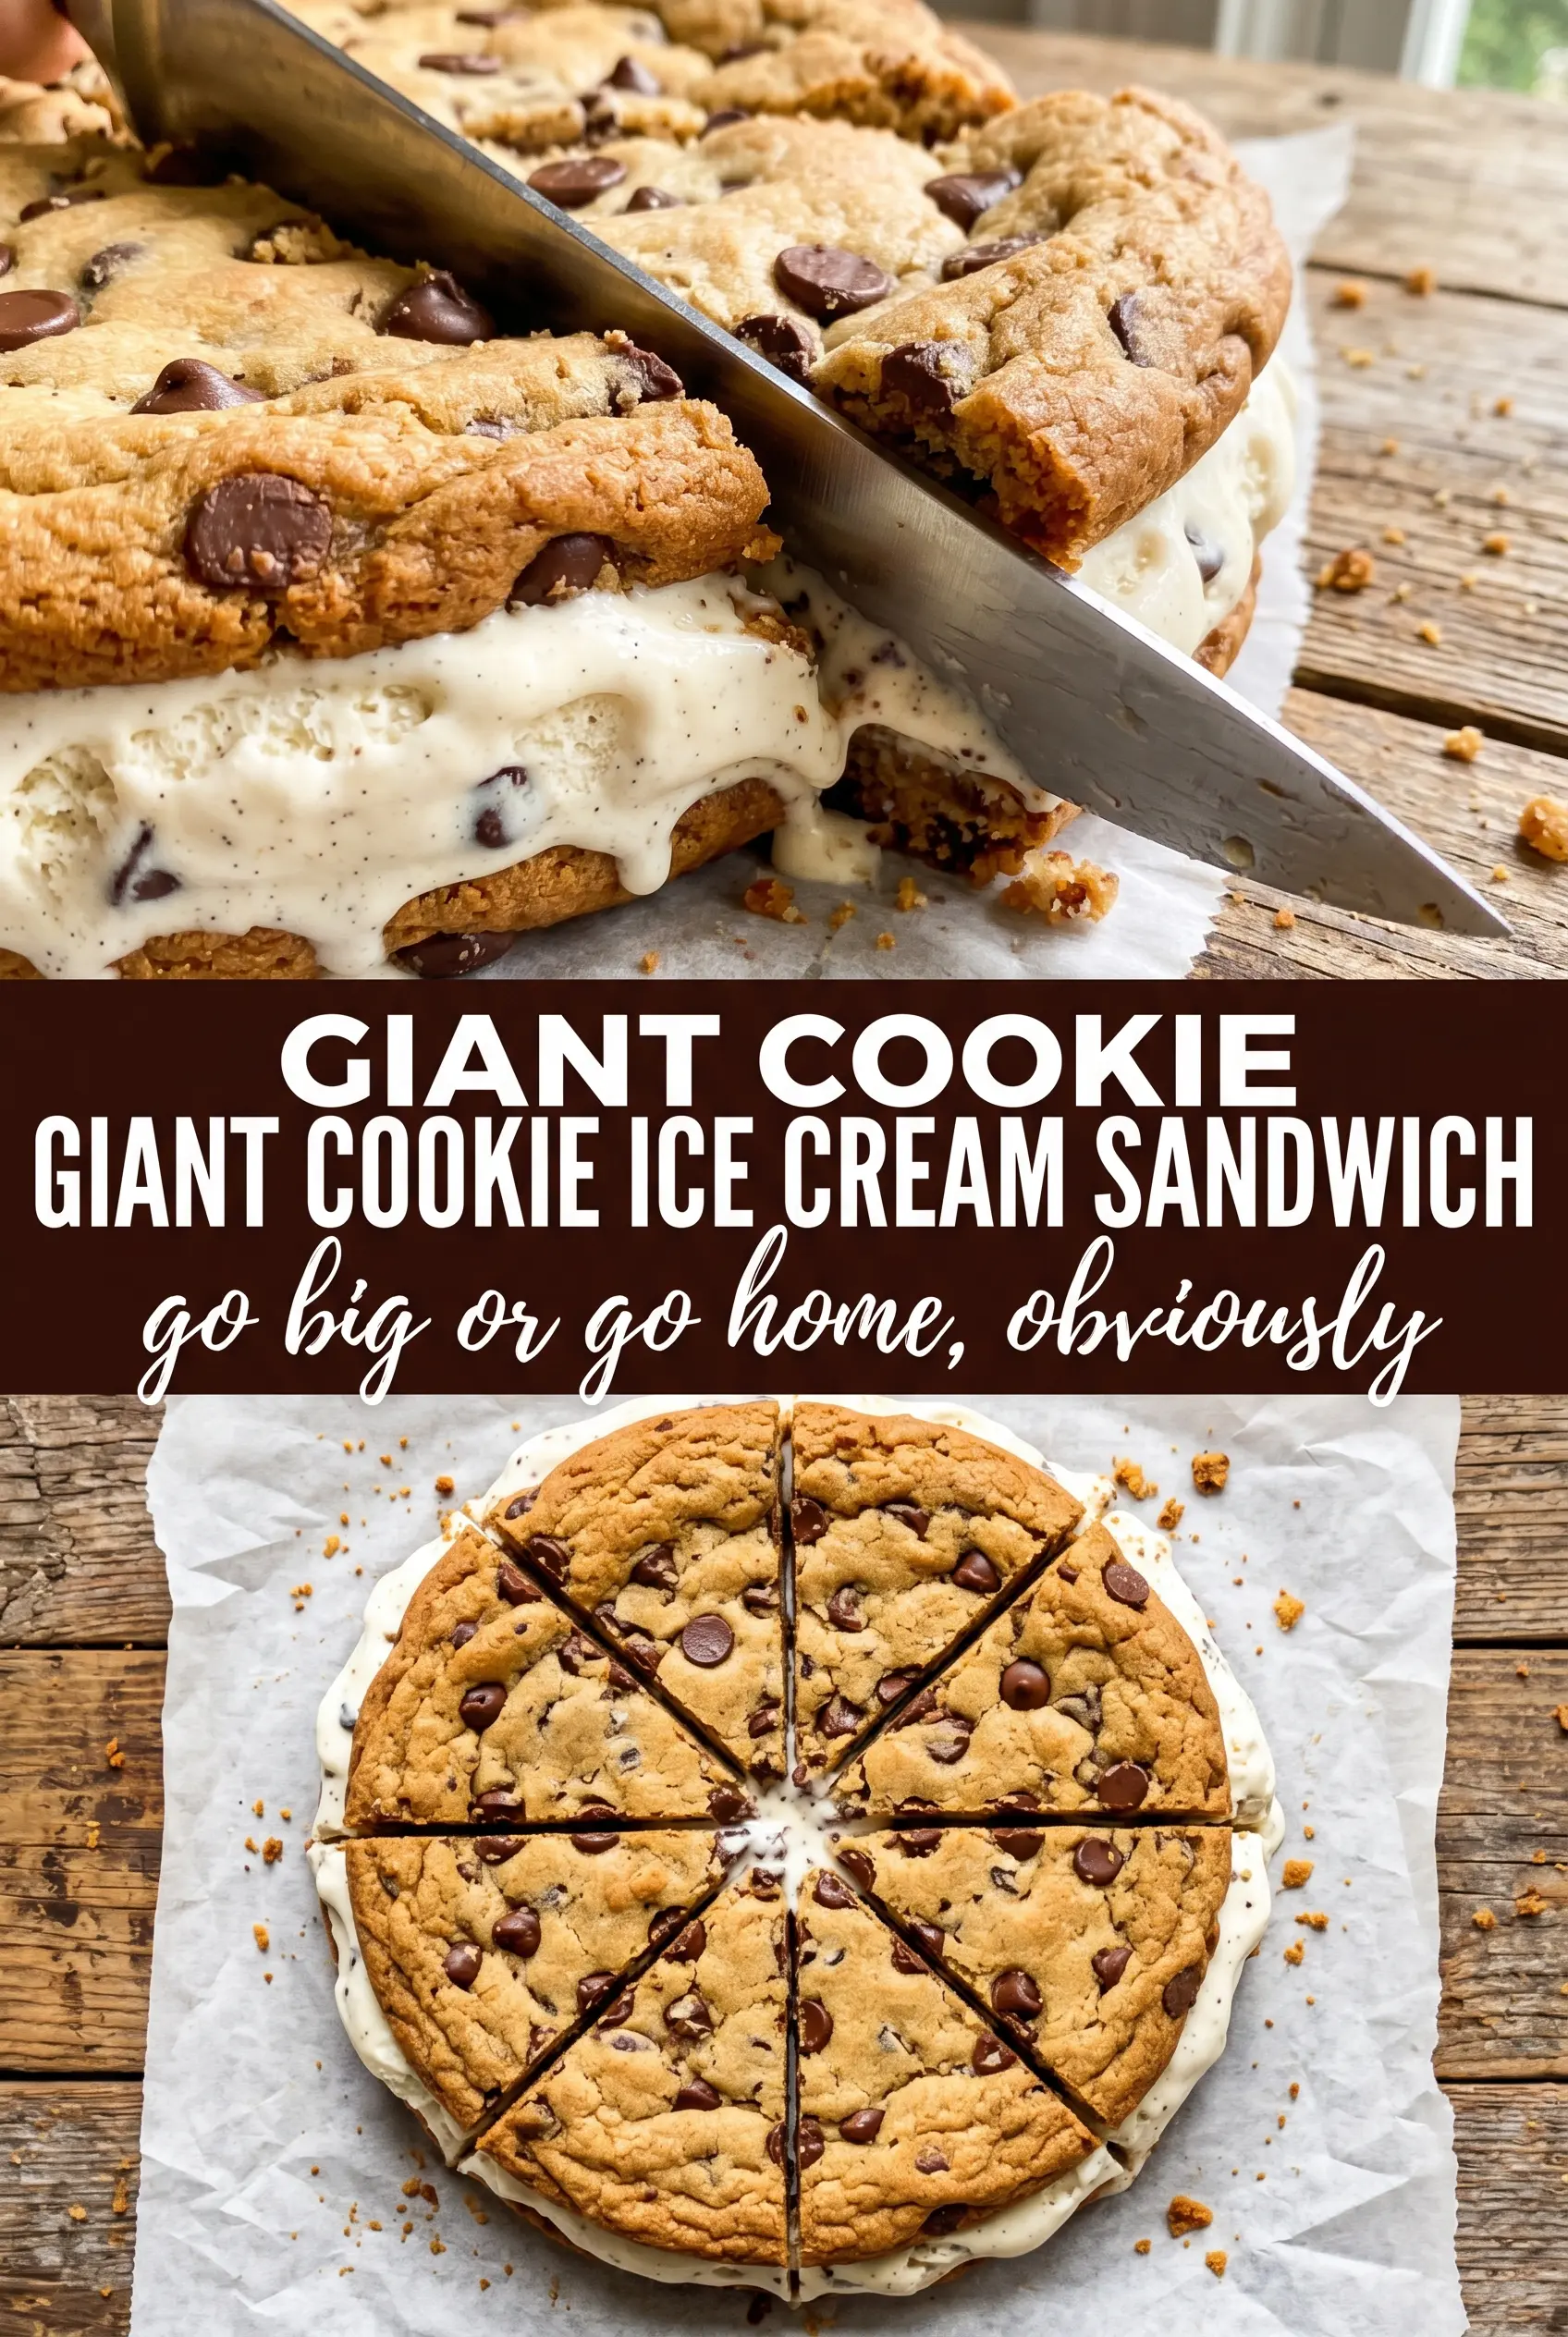
Spread softened ice cream over the bottom cookie in a thick, even layer, then cap it with the second cookie and press very gently. The goal is contact, not compression, or the ice cream will squeeze out the sides. Freeze the sandwich for at least an hour before slicing; if you cut too soon, the filling will smear instead of holding those clean wedges.
Chocolate Fudge Ice Cream Center
Swap the vanilla for chocolate fudge or chocolate chip ice cream if you want a deeper, more dessert-shop result. The sandwich gets richer and a little less classic, but the texture stays the same as long as the ice cream is softened enough to spread evenly.
Gluten-Free Version
Use a good 1:1 gluten-free flour blend in place of the all-purpose flour. The cookies will be a little more delicate, so let them cool completely before moving or assembling them, and chill the dough for 20 minutes if it feels soft.
Dairy-Free Swap
Use plant-based butter sticks and a dairy-free vanilla ice cream. The cookies won’t taste exactly the same because butter brings a round, rich flavor that margarine can’t fully copy, but the structure and sliceability still hold up well.
Make It a Party Dessert Bar
Bake the cookies a day ahead and freeze them separately, then assemble with different ice cream flavors right before serving. That gives you cleaner slices and lets you make more than one version without extra baking.
Storage and Reheating
- Refrigerator: Not the best choice. The ice cream softens too fast and the cookies lose their clean edges.
- Freezer: Wrap the assembled sandwich tightly and freeze for up to 1 week. Slice only what you need so the rest stays tidy.
- Reheating: No reheating needed. For the best texture, let a frozen slice sit at room temperature for 3 to 5 minutes before serving so the cookie softens just enough to bite cleanly.
The Questions People Ask Right Before Serving These
Giant Cookie Ice Cream Sandwiches
Ingredients
Equipment
Method
- Preheat the oven to 350F and line two sheet pans with parchment paper. Whisk the all-purpose flour, baking soda, and salt in a bowl until evenly combined.
- Beat the unsalted butter, granulated sugar, and brown sugar until fluffy. Add the eggs one at a time, then mix in the vanilla extract until smooth.
- Stir the flour mixture into the butter mixture and fold until no dry streaks remain. Fold in the semi-sweet chocolate chips so the dough is evenly speckled.
- Divide the dough into 2 equal halves. Press each half into an 8-inch circle on the parchment-lined sheet pan, keeping the edges about the same thickness.
- Bake at 350F for 14-16 minutes, until the cookies are golden and the centers look slightly underdone. Remove and cool completely on the baking sheets.
- Spread a thick layer of softened vanilla ice cream over one cooled giant cookie, aiming for about a 1-inch thickness. Smooth the top so it sits evenly.
- Carefully place the second giant cookie on top and press gently to adhere. Align the edges and avoid sliding the cookies so the ice cream stays centered.
- Freeze for at least 1 hour to firm up before slicing. Slice into wedges like a pizza to serve once the center is set.