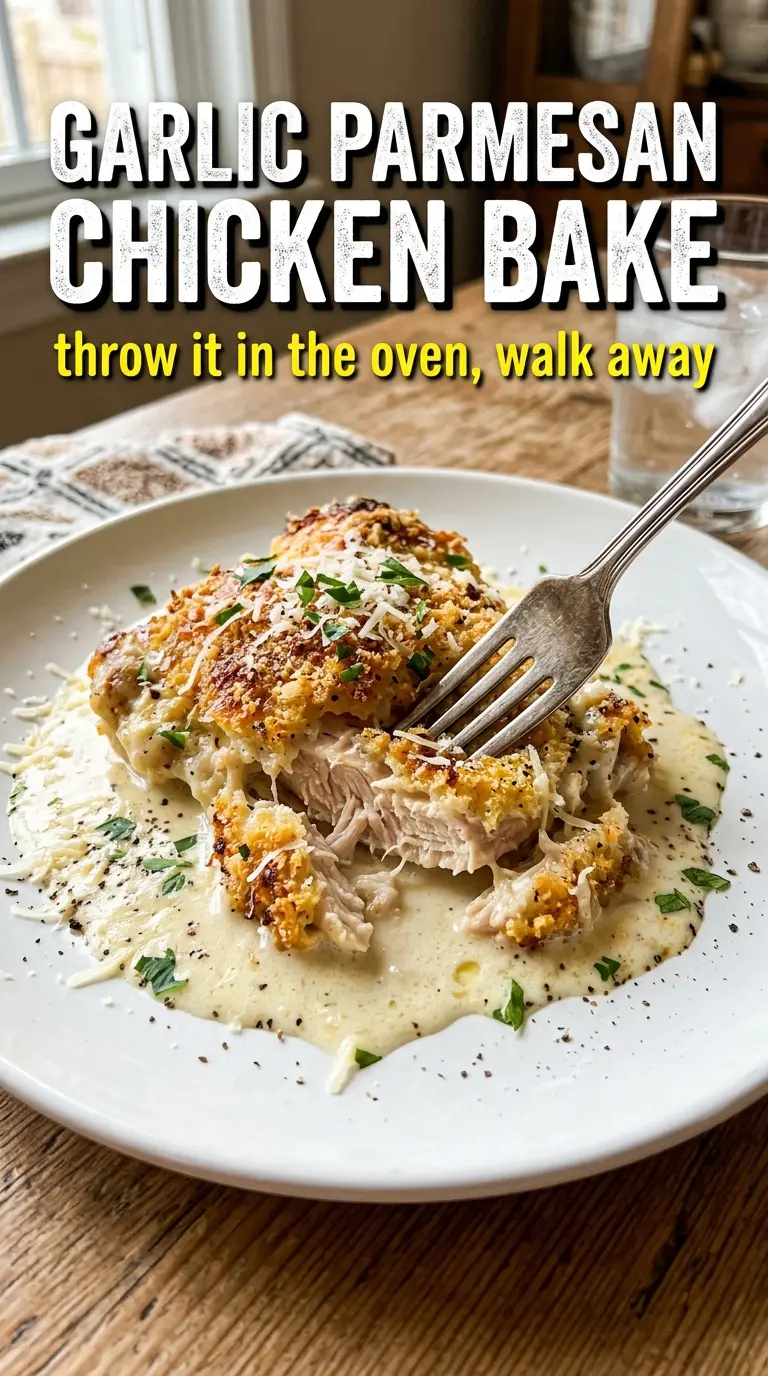
Chicken breasts come out of the oven juicy underneath a thick garlic butter and Parmesan crust that cracks under the fork and turns deeply golden at the edges. The topping isn’t just a sprinkle; it bakes into a savory lid that keeps the chicken moist while giving you the browned, cheesy finish people usually hope for but don’t quite get from a standard baked chicken dinner.
The trick is layering the flavor in stages. First the chicken gets seasoned directly, then brushed with garlic butter, then pressed with a Parmesan-panko mixture so the crust has enough fat to brown and enough structure to stay put. Freshly grated Parmesan matters here because the pre-shredded stuff can bake up dusty instead of melting into that tight, crisp coating.
Below, I’ll walk you through the one step that keeps the crust from sliding off, plus the swaps that still give you a good result when you need to work with what’s in the fridge.
The Parmesan crust turned out crisp and browned instead of falling off, and the chicken stayed juicy even after the full bake time. My husband kept sneaking pieces from the pan before I could get it to the table.
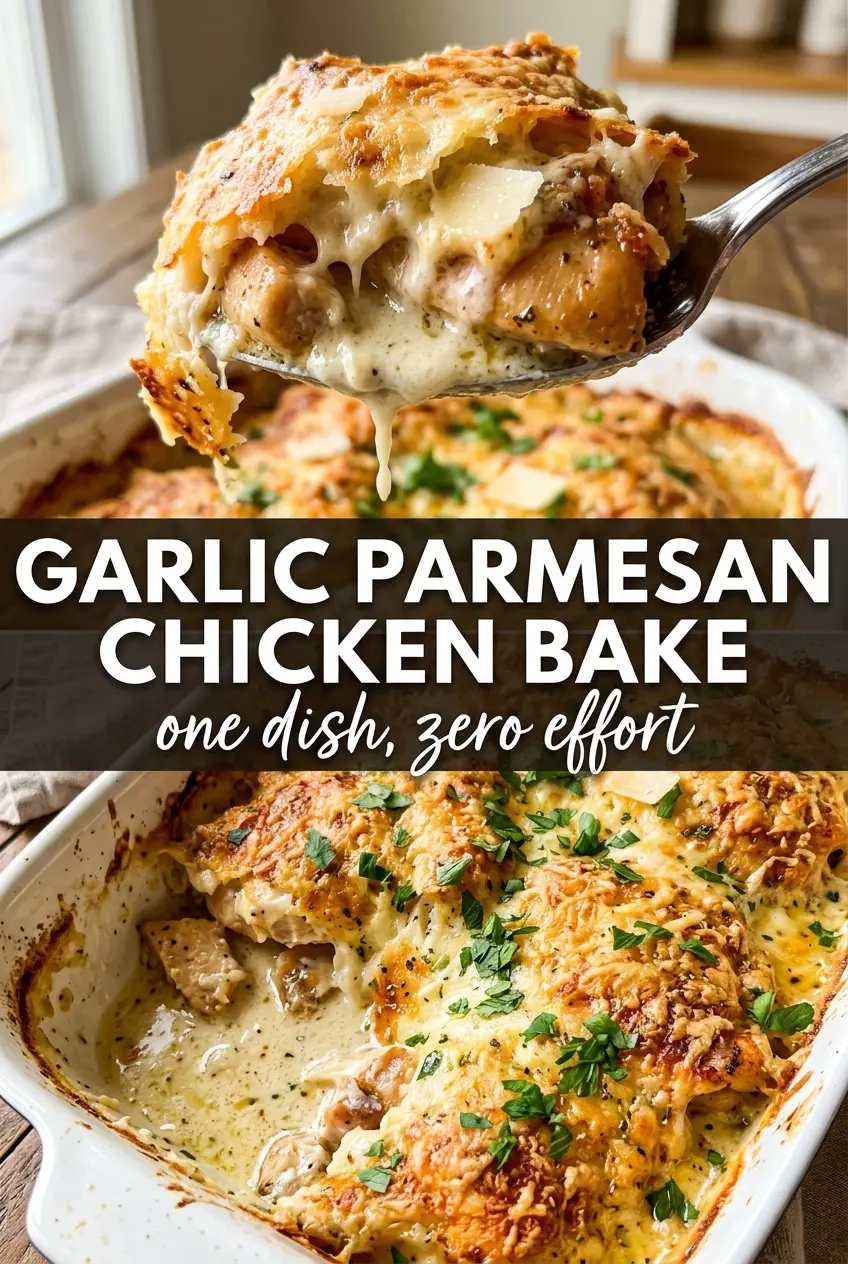
Save this Garlic Parmesan Chicken Bake for nights when you want a crisp Parmesan crust and juicy chicken with almost no cleanup.
The Step That Keeps the Parmesan Crust Stuck
The crust only stays where you want it when the chicken is dry enough for the butter to cling and the topping is pressed on with enough pressure to grab. If the chicken is wet, the butter and cheese mixture slides into the pan before it has a chance to bake into a shell, and you end up with a browned bottom instead of that crackled top.
Using panko here gives the crust a little lift and crunch, but the Parmesan is doing the heavy lifting for flavor and browning. The key is to press the topping onto the buttered chicken instead of just sprinkling it over the top. That extra contact is what helps the crust set into a single layer instead of turning patchy as it bakes.
- Chicken breasts — Keep them similar in size so they finish together. If one is much thicker, pound it lightly to even it out or it’ll need extra time and the crust can overbrown before the center is done.
- Freshly grated Parmesan — This melts and browns better than the shelf-stable shredded stuff. Pre-grated Parmesan often contains anti-caking agents that keep it from knitting into that crisp, savory crust.
- Panko breadcrumbs — These add crunch without weighing the topping down. Regular breadcrumbs work in a pinch, but the crust will be tighter and less crisp.
- Butter and garlic — The butter carries the garlic flavor across the chicken and helps the topping brown. Melted butter is important here; softened butter won’t brush on as evenly and can leave bare spots.
What Each Ingredient Is Actually Doing in This Recipe
- Primary ingredient (the star) — Quality matters most. Choose the best you can find.
- Cooking medium (oil, butter, or broth) — This carries flavors and prevents dryness.
- Seasonings (salt, pepper, spices, herbs) — Layer flavors so nothing overpowers. Build depth gradually.
- Aromatics (garlic, onion, herbs) — Cook with fat to bloom flavors. Become the foundation.
- Supporting ingredients — Complement the main ingredient without overpowering it.
- Sauce or liquid (if applicable) — Brings flavors together. Balance richness with acid.
- Acid (lemon, vinegar, wine, or other) — Brightens and prevents flat-tasting results.
- Final finish (garnish, glaze, or sauce) — Prevents one-dimensional taste and adds visual appeal.
Building the Garlic Butter Crust Without Burning the Cheese
Preheat the oven fully before the chicken goes in. A hot oven starts the crust quickly, which helps the Parmesan brown before the chicken dries out. Season the chicken first, then brush on the garlic butter so every bit of meat gets seasoned under the crust, not just the topping.
Mix the Parmesan, panko, Italian seasoning, parsley, and smoked paprika in a separate bowl before it touches the chicken. Press it on firmly with your fingers or the back of a spoon. If you just scatter it over the top, the coating tends to slide off in the oven, especially once the butter starts bubbling around the edges.
Seasoning the Chicken
Lay the chicken breasts in the greased baking dish and season both sides with salt, pepper, and garlic powder. The salt needs direct contact with the meat, because the topping alone won’t season the chicken all the way through. If the breasts are wet from packaging, pat them dry first so the seasoning doesn’t clump.
Brushing on the Garlic Butter
Stir the minced garlic into the melted butter and brush it over each breast in a generous layer. Don’t pour it all into the pan; you want the butter on the chicken, not pooling underneath it. That garlic butter is what helps the crust cook into a unified layer instead of a dry, sandy topping.
Pressing on the Topping
Combine the Parmesan, panko, Italian seasoning, dried parsley, and smoked paprika, then press the mixture firmly over the buttered chicken. The top should look fully covered, with no wet spots peeking through. If the cheese seems patchy, add a little more and press again rather than leaving thin areas that brown too fast.
Baking to the Right Finish
Bake at 400°F until the crust is deeply golden and the thickest part of the chicken reaches 165°F, usually 25 to 30 minutes. If the topping is browning too quickly, tent the dish loosely with foil for the last few minutes. Let the chicken rest for a few minutes before serving so the juices settle instead of running out the second you cut into it.
How to Adjust This Bake for Different Kitchens and Different Nights
Make It Gluten-Free
Swap the panko for gluten-free breadcrumbs or crushed gluten-free crackers. You’ll still get a crisp top, but the crumbs may brown a little faster, so start checking a few minutes early.
Dairy-Free Version
Use a plant-based butter and a dairy-free Parmesan-style topping that melts well. The result will still be savory and crisp, though the crust won’t have quite the same sharp, salty finish as real Parmesan.
Use Chicken Thighs Instead
Boneless skinless thighs work well if you want richer meat and a little more forgiveness on timing. They usually need a few extra minutes, and the crust may not look as tall and dramatic, but the flavor stays excellent.
Storage and Reheating
- Refrigerator: Store leftovers in an airtight container for up to 3 days. The crust softens as it sits, but the chicken stays good for lunch or a second dinner.
- Freezer: Freeze only if you need to. The topping loses some of its crispness after thawing, but the chicken itself freezes well for up to 2 months.
- Reheating: Reheat uncovered in a 350°F oven until warmed through so the crust has a chance to re-crisp. The biggest mistake is microwaving it straight from the fridge, which turns the topping soft and steamy.
Questions I Get Asked About This Recipe
Garlic Parmesan Chicken Bake
Ingredients
Equipment
Method
- Preheat the oven to 400°F and grease a 9x13 baking dish so the chicken releases easily after baking.
- Season the chicken breasts with salt, pepper, and garlic powder to taste, then place them in the prepared baking dish.
- Mix the melted butter with the minced garlic and brush generously over each chicken breast so it cooks into the crust.
- Combine Parmesan, panko breadcrumbs, Italian seasoning, dried parsley, and smoked paprika, then press the mixture firmly over the buttered chicken to coat.
- Bake for 25-30 minutes at 400°F until the Parmesan crust is deeply golden and the internal temperature reaches 165°F.
- Garnish with fresh parsley and serve with lemon wedges for bright flavor over the browned crust.