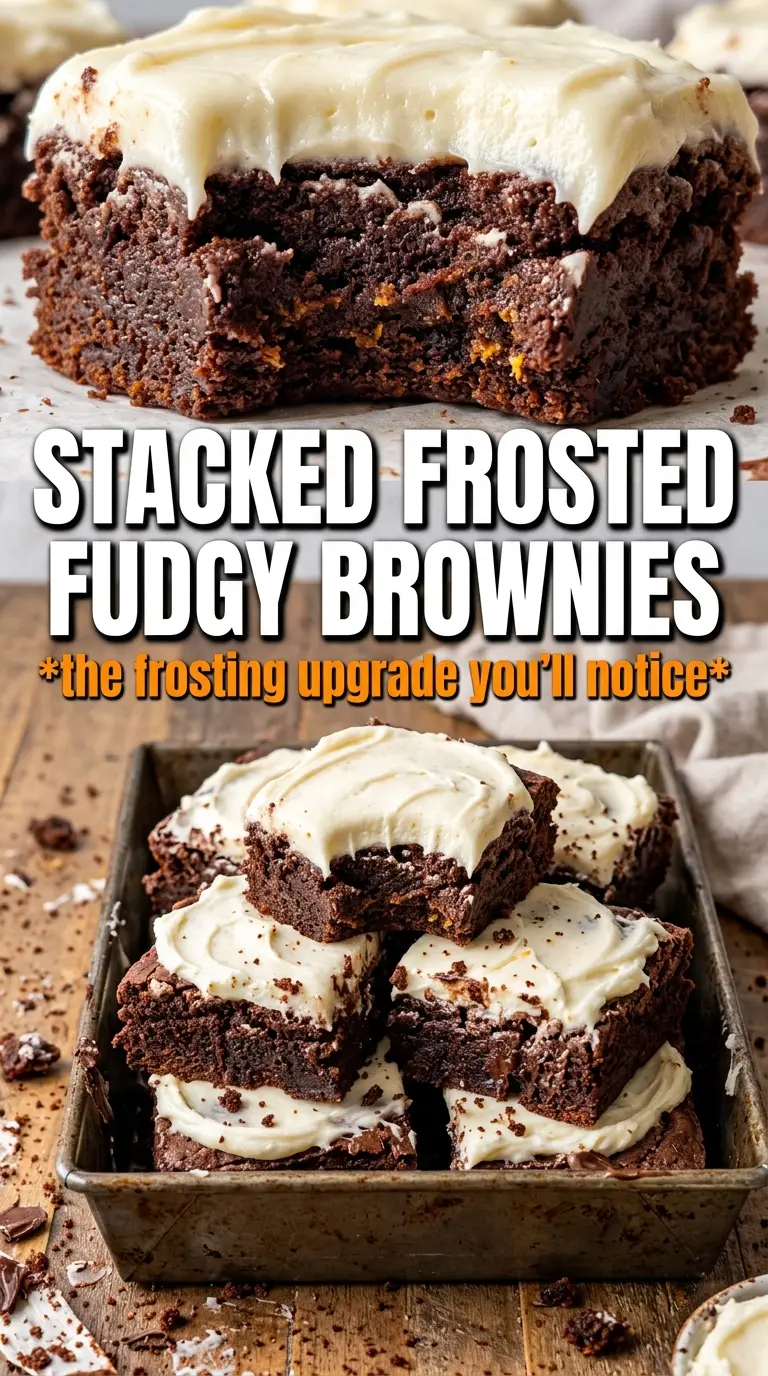
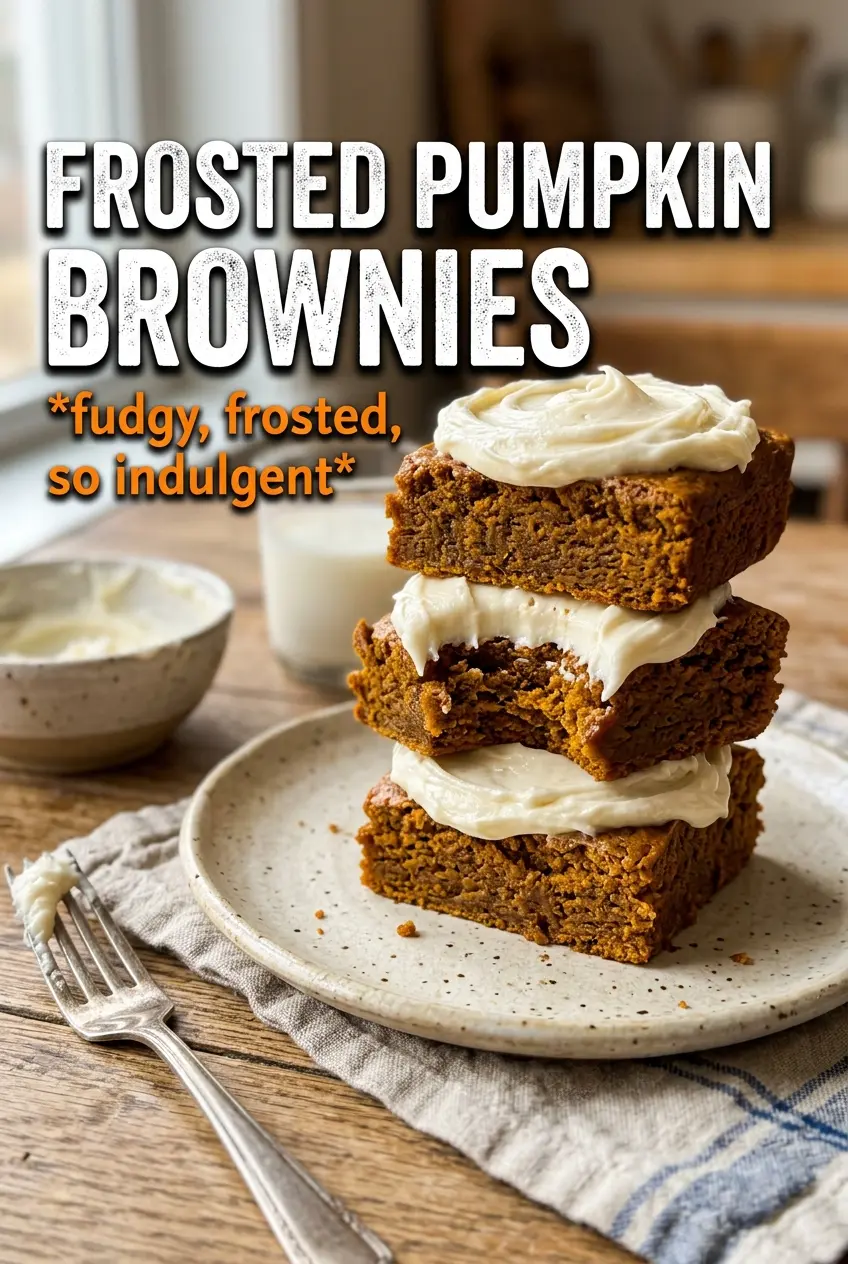
Fudgy chocolate brownies topped with pumpkin cream cheese frosting hit that sweet spot where the brownie stays dense and chewy while the topping brings a cool, tangy finish. The chocolate keeps the pumpkin from tasting flat or overly sweet, and the thick frosting turns each bar into something that feels a little extra without losing the homemade charm. These disappear fast because every bite gives you a soft brownie base, a plush frosting layer, and just enough spice to keep things interesting.
What makes this version work is the balance. The melted butter and sugar give the brownies that shiny, crackly top, while the pumpkin puree adds moisture without making them cakey. The frosting also matters: cream cheese and a little pumpkin puree make it taste like pumpkin pie met a bakery-style bar, but the key is beating it until smooth before spreading it over completely cooled brownies. If the brownies are even slightly warm, the frosting softens and slides instead of sitting high and neat.
Below, I’m walking through the parts that matter most: how to keep the brownies fudgy, why the frosting texture depends on temperature, and the small finishing touches that make these bars look as good as they taste.
The brownies baked up fudgy with that shiny top, and the pumpkin cream cheese frosting set beautifully once they were cooled. The caramel drizzle was the perfect finish without making them too sweet.
Save these frosted pumpkin brownies for the days when you want fudgy chocolate bars, tangy pumpkin frosting, and a caramel drizzle all in one bite.
The Trick to Keeping These Brownies Fudgy Instead of Cake-Like
The line between fudgy and cakey comes down to how much air you add and how long you bake them. Here, the batter is mixed just until the dry ingredients disappear, which keeps the structure tight and dense instead of whipping in extra lift. The pumpkin puree adds moisture, but because it’s paired with melted butter and a fairly lean flour ratio, it doesn’t turn the brownies soft in a bready way.
The other piece is the bake time. Pull them when the center still has moist crumbs on the toothpick, not a clean wand. If you wait for a fully clean toothpick, the edges will dry out before the middle is set. These brownies finish setting as they cool, which is exactly what gives you that rich, sliceable texture.
What Each Ingredient Is Actually Doing in This Recipe
- Primary ingredient (the star) — Quality matters most. Choose the best you can find.
- Cooking medium (oil, butter, or broth) — This carries flavors and prevents dryness.
- Seasonings (salt, pepper, spices, herbs) — Layer flavors so nothing overpowers. Build depth gradually.
- Aromatics (garlic, onion, herbs) — Cook with fat to bloom flavors. Become the foundation.
- Supporting ingredients — Complement the main ingredient without overpowering it.
- Sauce or liquid (if applicable) — Brings flavors together. Balance richness with acid.
- Acid (lemon, vinegar, wine, or other) — Brightens and prevents flat-tasting results.
- Final finish (garnish, glaze, or sauce) — Prevents one-dimensional taste and adds visual appeal.
What Each Ingredient Is Actually Doing in the Pan
- Melted butter — This gives the brownies their dense, chewy texture and helps create that glossy top. Oil won’t give the same flavor, and softened butter won’t blend the same way with the sugar here.
- Pumpkin puree — Use plain pumpkin puree, not pumpkin pie filling. The puree adds moisture and a subtle earthy note without overpowering the chocolate.
- Cocoa powder — This is the main chocolate flavor, so use a cocoa you actually like. Natural cocoa works fine, but Dutch-process cocoa will taste a little deeper and less sharp.
- Cream cheese — Full-fat cream cheese gives the frosting its tang and body. Reduced-fat versions can be looser and less stable, which matters if you want thick frosting that sits nicely on top.
- Powdered sugar — This thickens the frosting and gives it that smooth, spreadable finish. Adding it gradually helps avoid a gritty texture or a cloud of sugar dust in your kitchen.
Building the Batter and Frosting Without Losing the Texture
Whisk the Wet Ingredients Until They Look Smooth
Start with the melted butter and sugar, then whisk in the eggs, pumpkin puree, and vanilla until the mixture looks glossy and thickened. That step helps dissolve the sugar enough to give you a crackly top later. If the butter is hot enough to cook the eggs, let it cool for a few minutes first so the batter stays smooth instead of turning grainy.
Fold the Dry Ingredients Just Until You Stop Seeing Flour
Add the cocoa, flour, pumpkin pie spice, and salt, then fold gently. Stop as soon as the last streak of flour disappears. Overmixing at this stage pushes the brownies toward a tougher, more cake-like texture, and that’s the one thing that dulls the whole dessert.
Bake Until the Center Still Has Moist Crumbs
Spread the batter evenly in the prepared 9×13 pan and bake until the edges are set and the center gives a few moist crumbs on a toothpick, usually 28 to 32 minutes. The pan should look matte on top, and the middle should no longer wobble when you nudge the pan. Let them cool completely before frosting; otherwise the frosting will melt into the brownies instead of sitting in a thick layer.
Beat the Frosting Until It’s Light, Then Spread It Fast
Beat the softened cream cheese and butter until smooth before adding the pumpkin puree, powdered sugar, pumpkin pie spice, and vanilla. The frosting should look fluffy and spreadable, not loose or shiny. If it feels too soft, chill it for 10 to 15 minutes before spreading so it holds its shape on the brownies.
Swap the Caramel for a Clean Chocolate Finish
If you want a richer, less sweet finish, skip the caramel and drizzle melted chocolate over the frosted brownies instead. The chocolate sharpens the pumpkin spice and makes the bars feel a little more bakery-style. Use a light hand, though, because too much chocolate can cover up the tang of the frosting.
Make Them Gluten-Free Without Changing the Frosting
A 1:1 gluten-free baking flour works well here because the brownies don’t depend on a lot of structure. The texture will be slightly more delicate, but the fudgy center still comes through. Don’t use almond flour alone; it won’t hold the bars together the same way.
Make the Frosting Dairy-Free
Use a plant-based cream cheese and butter alternative, but choose brands that are meant for baking, not the whipped tub style. The frosting may be a little softer, so chill it before spreading. The flavor stays close, though you lose a bit of the classic tang that full-fat cream cheese brings.
Storage and Reheating
- Refrigerator: Store covered for up to 5 days. The frosting firms up in the fridge, and the brownie base stays pleasantly dense.
- Freezer: These freeze well if you slice them first and wrap the bars individually. Thaw in the fridge overnight for the cleanest texture.
- Reheating: Serve them chilled or let them sit at room temperature for 20 to 30 minutes. If you warm them, do it very briefly, because the frosting can turn soft and lose its shape fast.
Questions I Get Asked About This Recipe
Frosted Pumpkin Brownies
Ingredients
Equipment
Method
- Preheat the oven to 350F, and line a 9x13 pan with parchment.
- Whisk melted butter and sugar until combined, then whisk in the eggs, pumpkin puree, and vanilla.
- Fold in cocoa powder, flour, pumpkin pie spice, and salt just until no dry streaks remain.
- Bake for 28-32 minutes, until a toothpick comes out with moist crumbs.
- Cool completely before frosting.
- Beat the cream cheese and softened butter until smooth and fluffy, then beat in pumpkin puree, powdered sugar, pumpkin pie spice, and vanilla.
- Spread the frosting generously over the cooled brownies.
- Drizzle caramel sauce over the top, then dust with pumpkin pie spice.