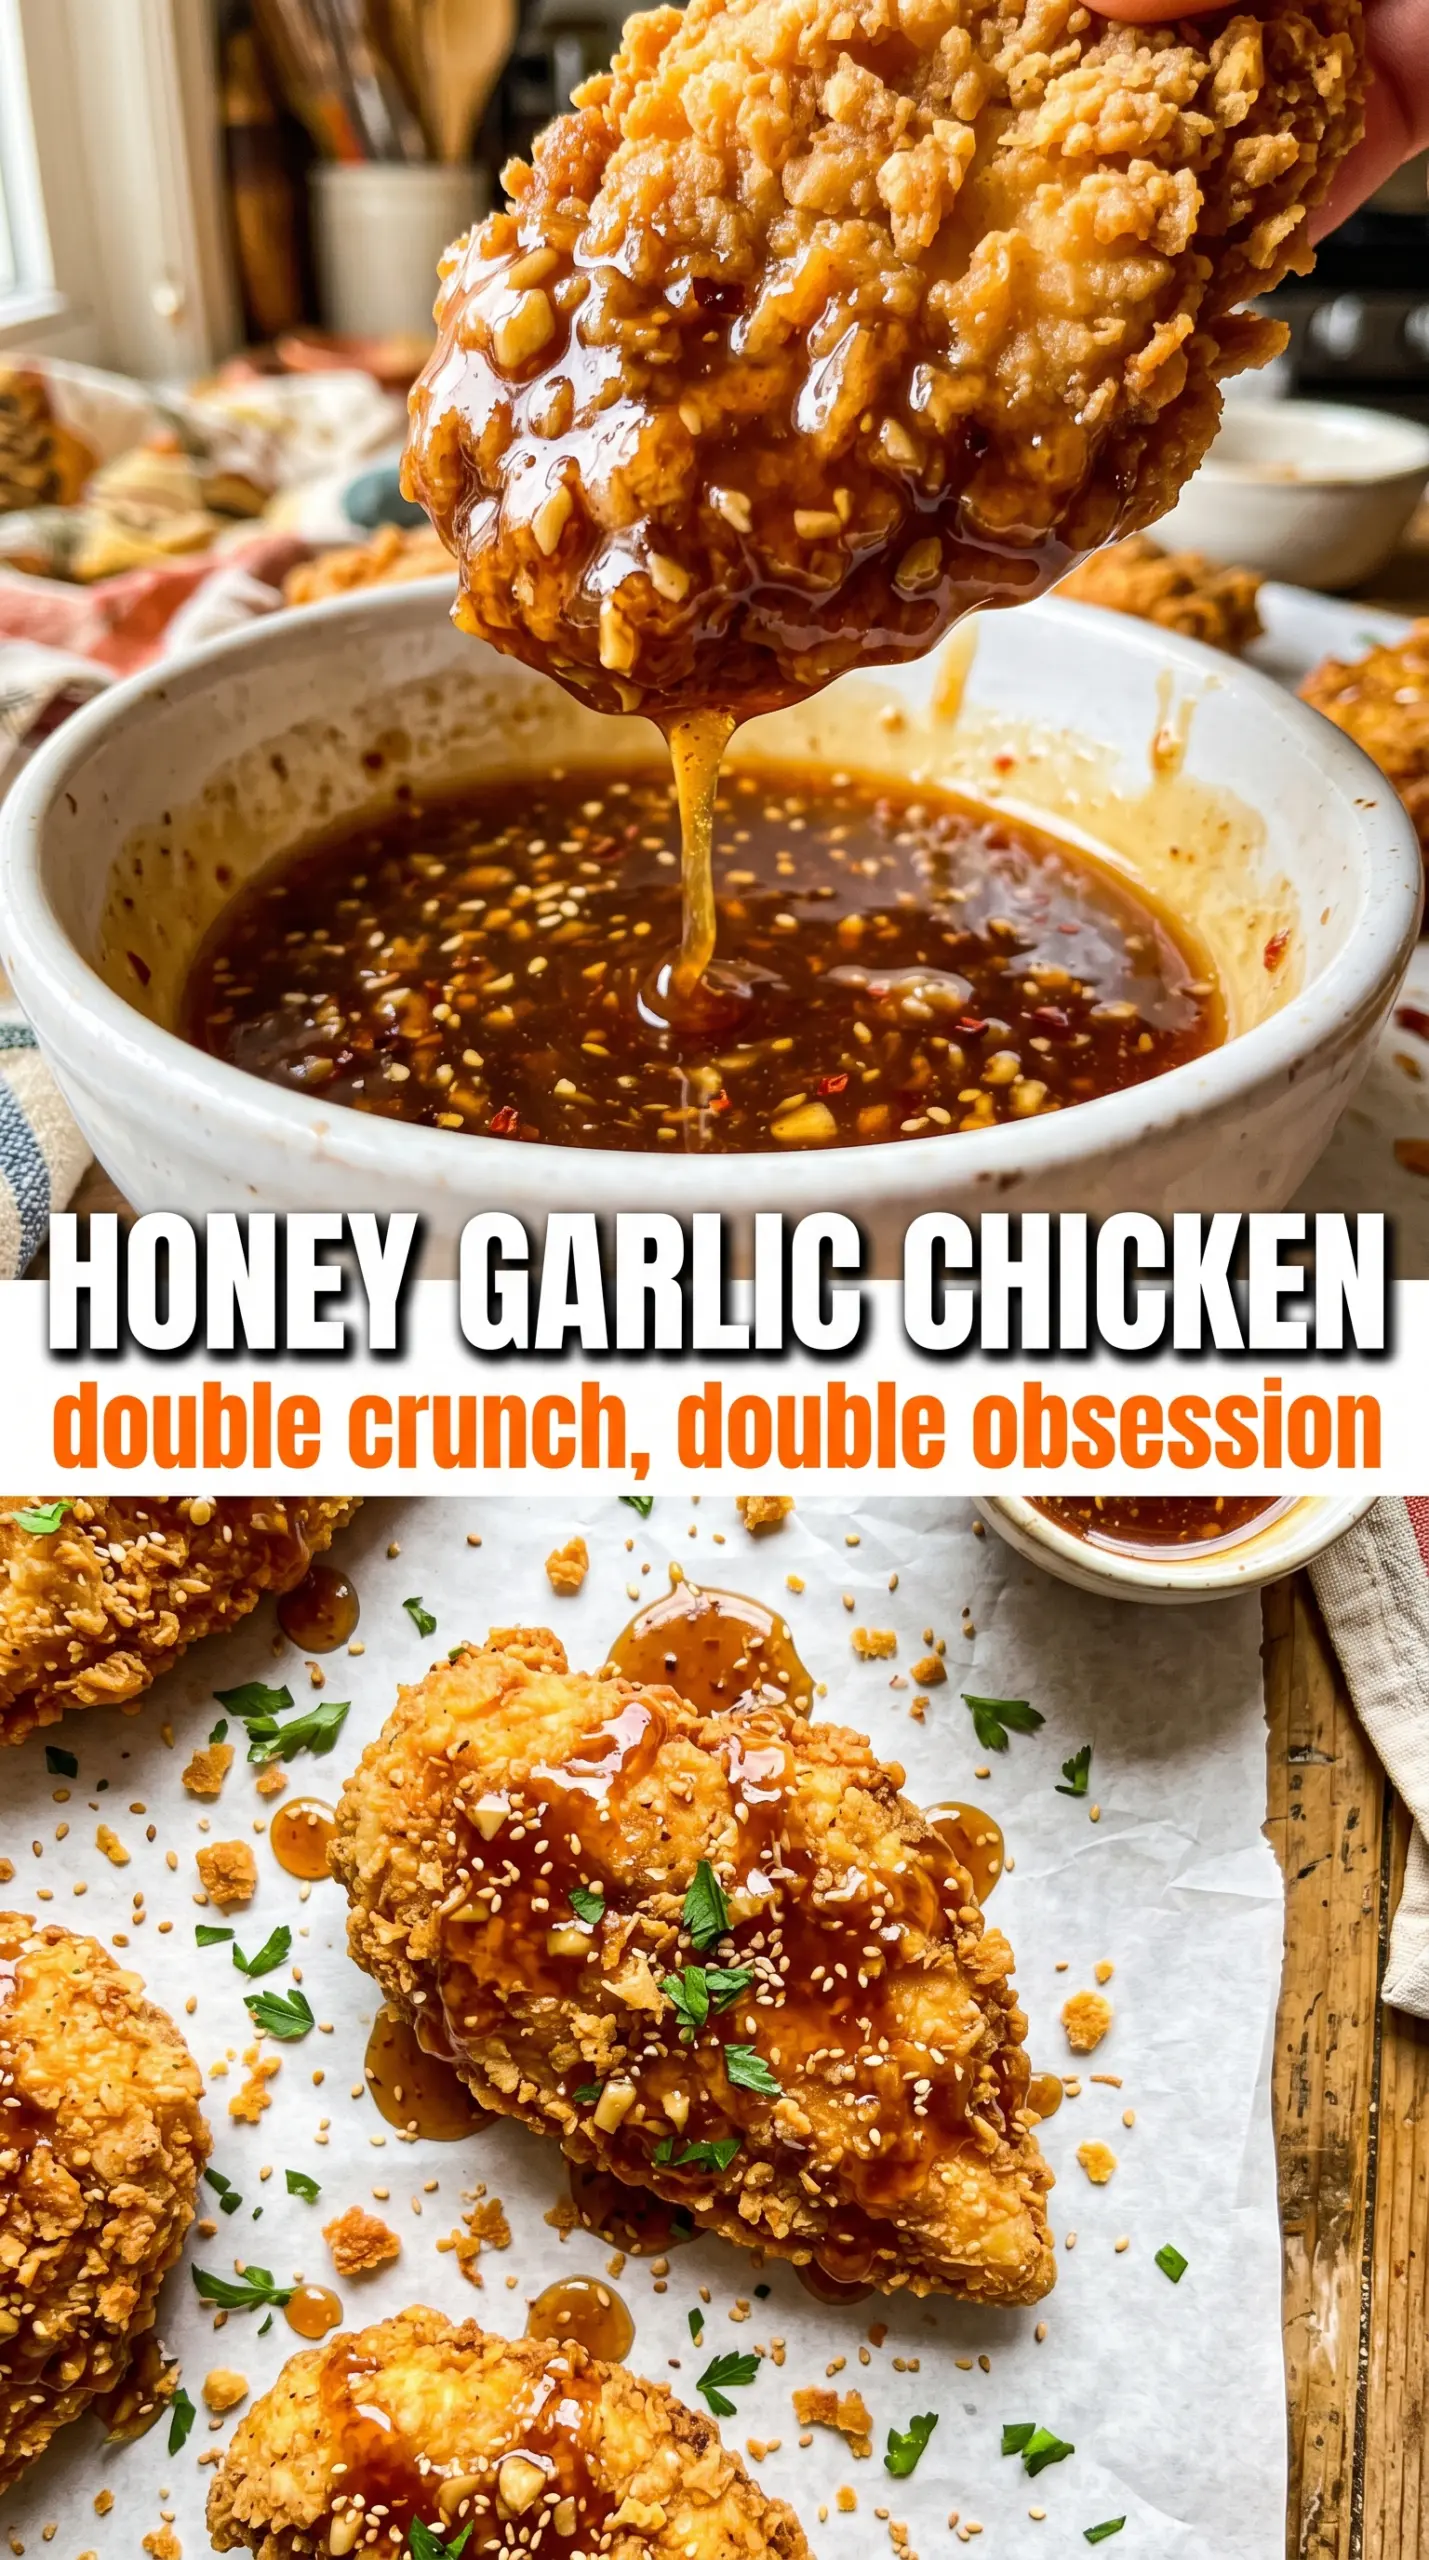
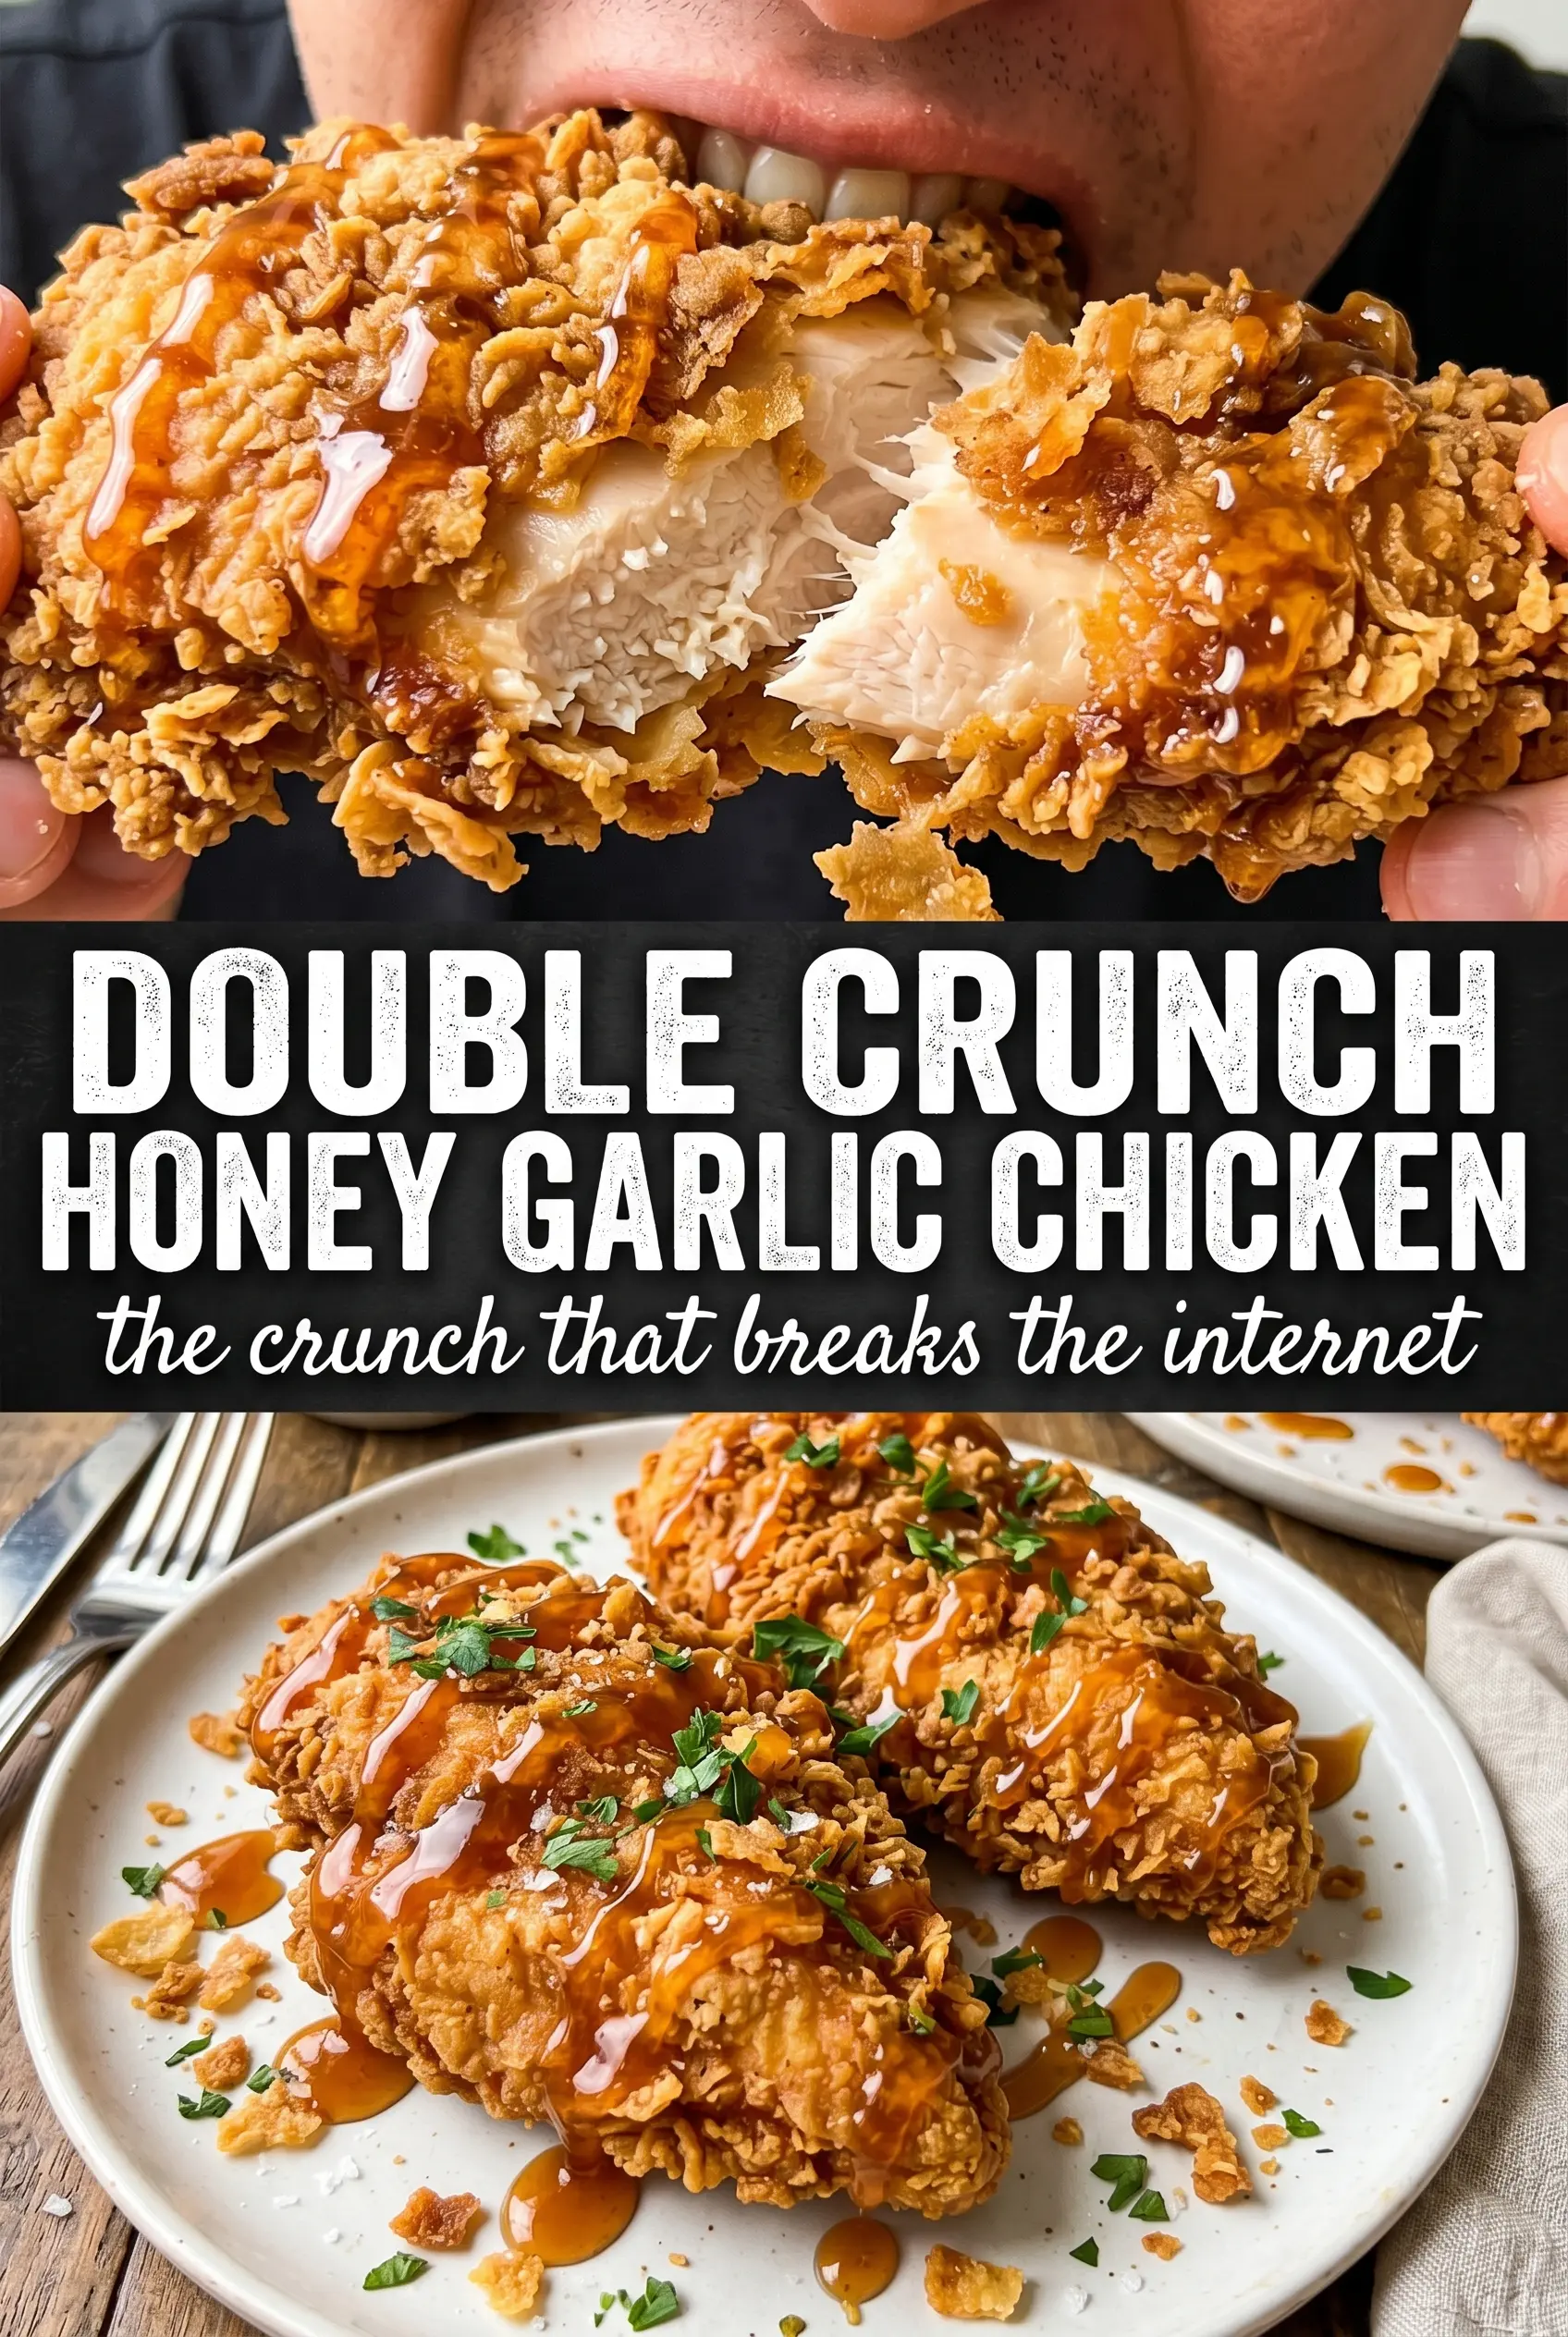
Double crunch honey garlic chicken breasts hit that sweet spot between shatteringly crisp and sticky-sauced in the best possible way. The coating turns deeply golden and rugged in the pan, then the honey garlic glaze clings to every ridge without wiping out the crunch right away. You get a piece of chicken that eats like something from a favorite takeout spot, only fresher and a lot more satisfying to make at home.
The double dredge matters here. Flour first gives the egg something to grab, and the second flour coating builds those craggy bits that fry up into the extra crunchy shell everyone wants. Pounding the chicken to an even thickness keeps the breasts juicy and lets them finish cooking at the same pace, so the coating doesn’t burn before the center is done.
Below, I’ll walk through the small details that keep the crust crisp and the sauce glossy instead of watery. There’s also a note on how to serve it fast so the chicken lands on the plate at its best.
The coating stayed crunchy even after I spooned the honey garlic sauce over it, and the garlic tasted mellow instead of harsh. I used a cast iron skillet like you suggested and got a really even golden crust in about 6 minutes per side.
Love the ultra-crispy coating and sticky honey garlic glaze on these chicken breasts? Save this double crunch chicken for the night you want takeout-style crunch at home.
The Double Dredge Is What Gives You That Shaggy, Crackly Crust
Most crispy chicken recipes fail for one of two reasons: the coating is too smooth, or the breading slides off in the pan. The double dredge fixes both. The first flour layer dries the surface of the chicken just enough for the egg to cling, and the second flour pass creates those rough, floury patches that fry up into a crunchy, craggy shell.
That second coating works best when you press it on lightly instead of packing it down. You want uneven bits and little floury ridges, not a paste. Those rough edges catch the hot oil and brown faster, which is exactly how you get that extra crunch instead of a thin, uniform crust.
What Each Ingredient Is Actually Doing in This Dish
- Chicken breasts — Pounding them to an even thickness keeps the meat juicy and the coating from overbrowning before the center cooks through. If one end is much thicker, it’ll finish late and the crust on the thinner end will suffer.
- All-purpose flour — This is the backbone of the crust. You need it for structure, and there isn’t a substitute that gives quite the same dry, fryable coating. A 1:1 gluten-free flour blend can work, but the crust may be a little more delicate.
- Eggs — Eggs are the glue between the two flour layers. Beat them until uniform so you don’t get slippery streaks that cause bald spots in the breading.
- Smoked paprika, garlic powder, and onion powder — These season the crust itself, so every bite tastes finished even before the sauce goes on. Smoked paprika adds a deeper, warmer note than regular paprika.
- Honey, soy sauce, butter, garlic, and vinegar — The sauce needs all five. Honey gives the sticky gloss, soy sauce brings salt and depth, butter rounds it out, garlic gives the punch, and vinegar keeps it from tasting flat. If you skip the acid, the sauce leans heavy instead of bright.
Frying the Chicken So the Coating Stays Intact
Season and Dredge in Layers
Mix the flour with the spices before you start coating so every layer tastes seasoned, not just the outside. Dredge each breast in flour, then egg, then flour again, pressing lightly on the second pass to build a rough, uneven crust. If the chicken looks slick or wet at any point, the coating will slide, so shake off excess flour after each dredge and keep the surface shaggy rather than thick and gummy.
Fry at the Right Temperature
Heat the oil to 350°F and keep the layer shallow, about half an inch deep. If the oil is too cool, the coating absorbs grease and goes pale; too hot, and the crust darkens before the chicken cooks through. Fry in batches if needed so the temperature doesn’t crash when the chicken hits the pan.
Glaze Only After the Chicken Is Done
Simmer the sauce separately until it looks slightly thicker and glossy, then pour it over the hot chicken right before serving. If you sauce the chicken too early, the crust softens fast and loses the whole point of the dish. A brief drizzle is enough to coat the ridges without turning the bottom soggy, and a final sprinkle of sesame seeds and green onions adds a clean finish.
How to Adapt This for Different Needs Without Losing the Crunch
Gluten-Free Version
Use a good 1:1 gluten-free flour blend in place of the all-purpose flour. The crust will still crisp up, but it may be a little more fragile, so let the chicken sit for a minute after frying before moving it. Use tamari instead of soy sauce in the glaze if you need the whole dish gluten-free.
Chicken Thigh Swap
Boneless skinless thighs work well if you want a juicier bite and a little more richness. They usually need a couple extra minutes in the pan, and because they’re less lean, the crust can brown a touch faster. Keep the heat steady and check the center with a thermometer.
Baking Instead of Frying
You can bake the breaded chicken on a wire rack at 425°F, but it won’t get the same rugged, fried crunch. The coating will still set and brown, especially if you spray it lightly with oil, but the texture lands closer to crisp than shattering. It’s the better option when you want less mess, not the deepest crunch.
Storage and Reheating
- Refrigerator: Store leftovers for up to 3 days. The crust will soften in the fridge, but the flavor holds up well.
- Freezer: Freeze the fried chicken before saucing for the best texture. Wrap well and freeze for up to 2 months, then thaw in the fridge and glaze after reheating.
- Reheating: Reheat in a 375°F oven or air fryer until hot and re-crisped. The common mistake is microwaving it, which turns the crust limp and steams the coating into the chicken.
Answers to the Questions Worth Asking
Double Crunch Honey Garlic Chicken Breasts
Ingredients
Equipment
Method
- Pound the chicken breasts to an even thickness so they cook uniformly and stay juicy.
- Mix the flour with garlic powder, onion powder, smoked paprika, salt, and pepper for an even seasoning blend.
- Dredge each chicken breast in the seasoned flour until fully coated.
- Dip the floured chicken into the beaten eggs so the coating grips.
- Dredge the chicken in the seasoned flour a second time for the double-crunch coating.
- Heat 1/2 inch of vegetable oil in a large cast iron skillet over medium-high heat until it reaches 350°F.
- Pan-fry the chicken for 5-6 minutes per side until golden and crunchy, and the internal temperature reaches 165°F.
- Drain the chicken briefly so excess oil doesn’t soften the crust.
- Simmer honey, minced garlic, soy sauce, butter, and apple cider vinegar in a saucepan over medium heat for 3-4 minutes until slightly thickened.
- Pour the honey garlic sauce over the hot crispy chicken so it glazes and sets quickly.
- Garnish with sesame seeds and sliced green onions for fresh crunch and color.
- Serve immediately over rice.