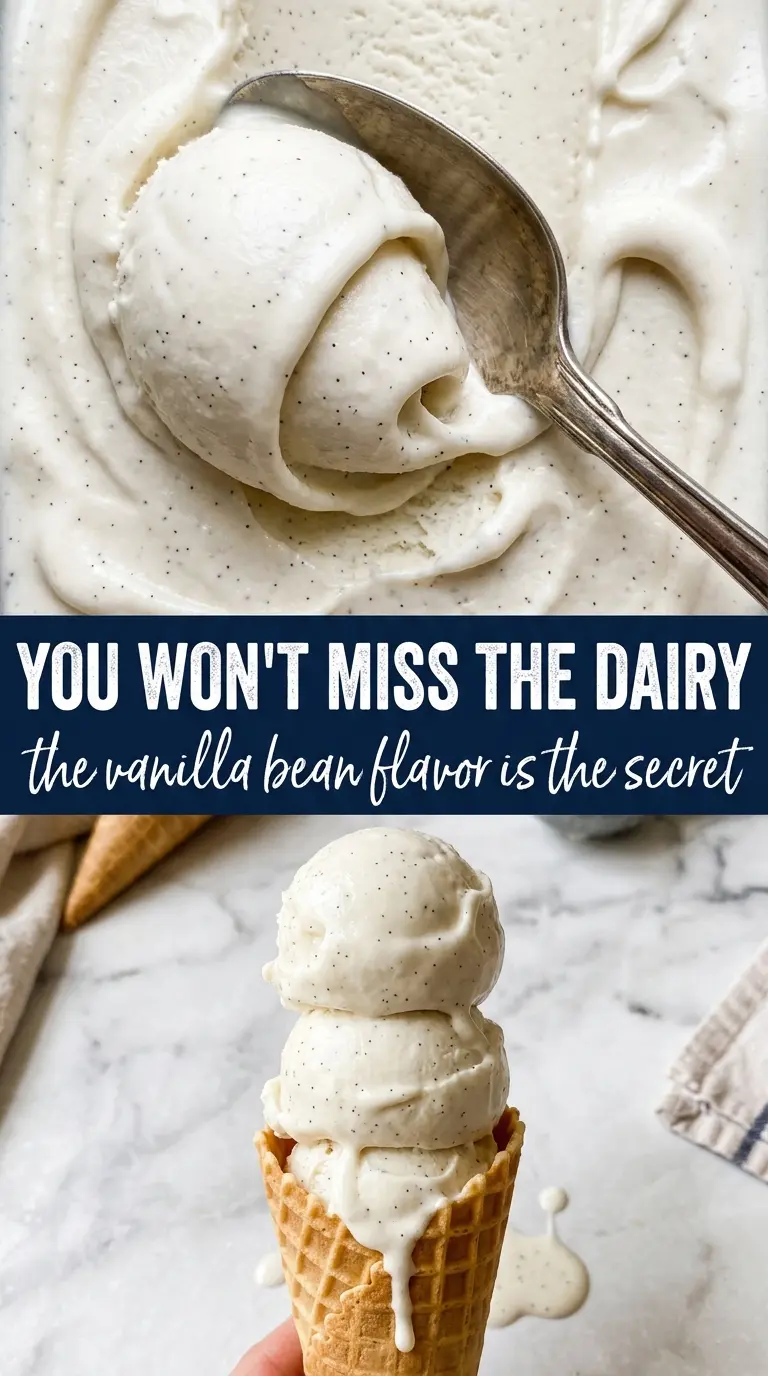
Silky dairy free vanilla ice cream depends on more than just swapping out the milk. The texture has to stay smooth after freezing, the vanilla needs to taste clean instead of flat, and the base needs enough fat and body to scoop without turning icy. This version gets all three right, so the finished ice cream feels rich on the spoon and holds onto that soft, creamy bite even after a night in the freezer.
Full-fat coconut milk does the heavy lifting here. It gives the base the weight and richness that lighter plant milks can’t match on their own, while a little starch helps the mixture thicken just enough before chilling. That small amount of cooking matters. It dissolves the sugar fully, activates the starch, and keeps the churned ice cream from freezing into a hard block later.
Below, I’ll walk you through the part that matters most: how to heat the base without overcooking it, what to do if your freezer gets the ice cream too firm, and a few variations that still keep the vanilla flavor front and center.
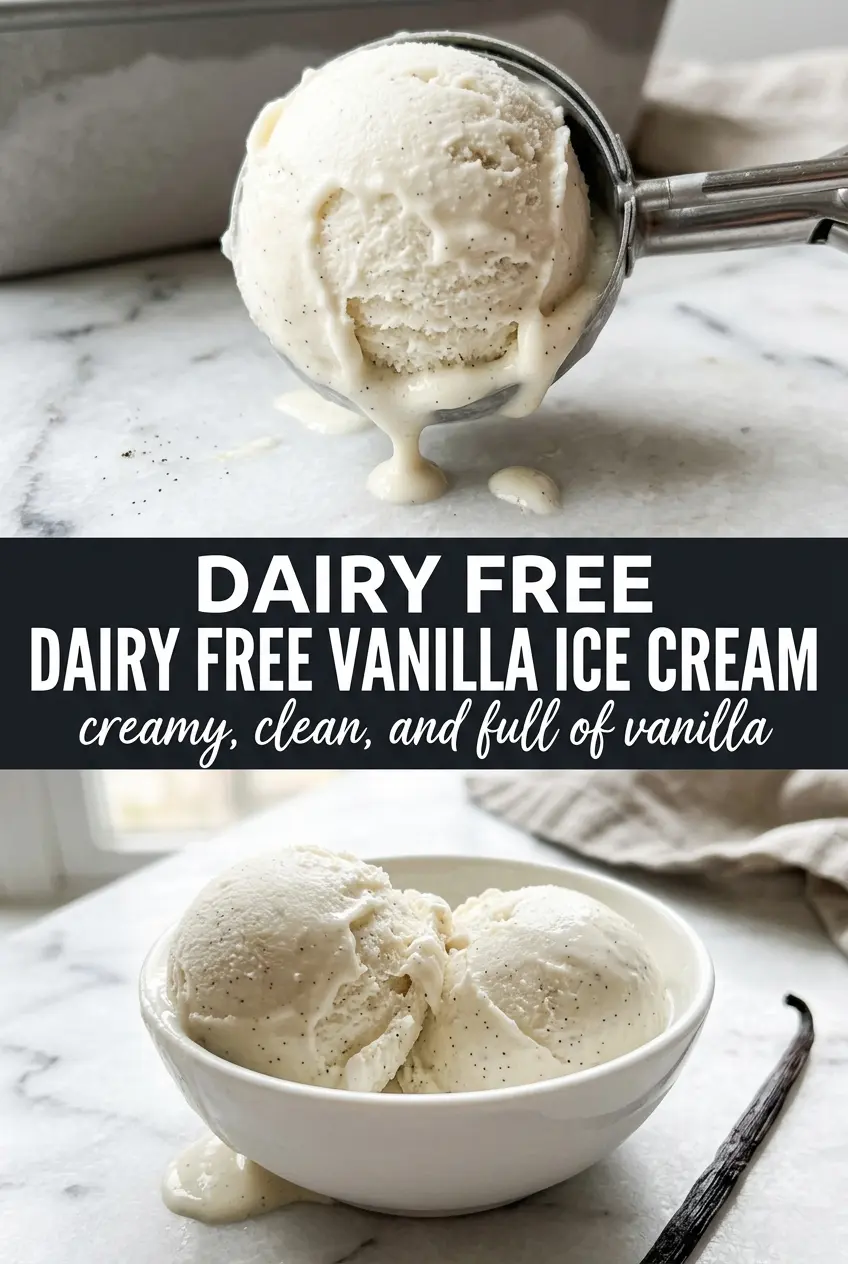
The base thickened just enough on the stove, and after churning it stayed scoopable instead of turning icy. The vanilla flavor came through clean and my kids kept asking for “just one more” bowl.
Save this dairy free vanilla ice cream for when you want a creamy scoop with clean vanilla flavor and no dairy in sight.
The Trick to Keeping Dairy Free Ice Cream Creamy Instead of Icy
The biggest mistake with dairy free ice cream is treating the base like it only needs to be mixed, then frozen. It needs a little heat first. That short stovetop step dissolves the sugar completely and gives the starch a chance to do its job, which helps the churned ice cream stay smooth instead of freezing into crunchy crystals.
Coconut milk also behaves differently from dairy cream. It can separate if it gets blasted with high heat or whisked too lazily, so keep the mixture moving and stop as soon as it thickens just slightly. You’re not looking for pudding here. You just want the base to coat the spoon before you chill it.
- Full-fat coconut milk — This is the structure of the recipe. Light coconut milk won’t give you the same body, and the ice cream will freeze harder and less creamy.
- Arrowroot or tapioca starch — This is the insurance against iciness. Arrowroot gives a clean finish; tapioca works well too and keeps the base soft after freezing.
- Coconut oil — A small amount boosts the richness and helps the texture feel more like classic ice cream. If you skip it, the flavor still works, but the finish won’t be as lush.
- Maple syrup instead of sugar — It adds a warmer flavor and keeps the base a touch softer in the freezer. Sugar gives the cleanest vanilla taste, so choose based on the finish you want.
What Each Ingredient Is Actually Doing in This Ice Cream
- Base ingredient (cream, milk, or custard) — This provides the foundation and richness. Quality matters.
- Sweetener (sugar, honey, or condensed milk) — This sweetens and prevents ice crystals. The ratio is critical.
- Flavor element (vanilla, fruit, chocolate, or other) — This defines the ice cream personality. Use quality ingredients.
- Egg yolks (if making custard base) — These create richness and silky texture. Optional but elevates ice cream.
- Churning (if using ice cream maker) — This incorporates air and prevents ice crystals. Critical for smooth texture.
- Freezing temperature and time — Proper freezing prevents rock-hard texture. Store at 0°F or below.
- Mix-ins (chocolate, cookies, fruit, or swirls) — These add texture and prevent one-dimensional flavor. Add near end of churning.
- Serving temperature (slightly soft, not rock hard) — This provides creamy mouthfeel. Remove from freezer 5 minutes before serving.
How to Build the Base So It Churns Smoothly
Whisking the Cold Ingredients Together
Start with the coconut milk while it’s still smooth and fully liquid in the can. Whisk in the sugar, starch, vanilla, salt, and coconut oil until no streaks of starch remain and the mixture looks uniform. If you see little white lumps now, they won’t disappear later, so take the extra minute here.
Heating Until the Base Thickens Slightly
Warm the mixture over medium heat and keep whisking. As the sugar melts, the base will go from thin and cloudy to slightly glossy and a touch thicker. Pull it off the heat when it coats the back of a spoon lightly; if it reaches a full simmer or boils, you’re pushing too far and the coconut milk can separate.
Cooling Before the Churn
Set the pan in an ice bath and let the base cool completely before it goes into the refrigerator. Warm custard-style bases can take forever to chill, and if you rush this step the ice cream maker won’t churn efficiently. Four hours in the fridge is the minimum, but colder is better for a tighter churn and finer texture.
Freezing to Scoopable Texture
After churning, the ice cream will look soft, almost like thick soft-serve. That’s right. Transfer it to a freezer container, press a piece of parchment or plastic wrap directly against the surface, and freeze until scoopable. If it turns rock-hard, it usually means the base wasn’t cold enough before churning or the freezer container sat uncovered and picked up crystals.
How to Adapt This Dairy Free Vanilla Ice Cream Without Losing the Texture
Maple-Sweetened Vanilla
Swap the granulated sugar for maple syrup and whisk it in with the rest of the base. The ice cream will taste a little warmer and more rounded, though the vanilla won’t be quite as pure and crisp as it is with sugar. This is the version I reach for when I want a softer scoop straight from the freezer.
Oat Milk Version
Use full-fat oat milk only if you can find one with decent richness, and expect a lighter result. It won’t have the same naturally creamy body as coconut milk, so the finished ice cream will be a bit less dense and may need a longer freeze to firm up.
Vanilla Bean Upgrade
Split a vanilla bean, scrape the seeds into the base, and add the pod while heating. This gives you those little black flecks and a deeper vanilla aroma that tastes especially good with berry compote or sliced fruit. It’s a small upgrade, but it makes the ice cream feel more finished.
Storage and Re-Freezing
- Refrigerator: The base can sit covered in the fridge for up to 2 days before churning. It will thicken a bit more as it chills.
- Freezer: The finished ice cream keeps for about 2 weeks before the texture starts to dull. Press parchment or plastic directly on the surface to limit ice crystals.
- Reheating: Let frozen ice cream sit at room temperature for 5 to 10 minutes before scooping. If it’s left uncovered, the outside gets icy while the center stays hard, so cover it well every time you freeze it again.
Questions I Get Asked About This Dairy Free Vanilla Ice Cream
Dairy Free Vanilla Ice Cream
Ingredients
Equipment
Method
- Whisk the full-fat coconut milk, granulated sugar (or maple syrup), arrowroot (or tapioca starch), vanilla extract, salt, and coconut oil in a saucepan until smooth.
- Heat the mixture over medium heat, whisking constantly, until the sugar dissolves and it thickens very slightly, about 5 minutes.
- Cool the mixture completely over an ice bath, stirring occasionally until no longer warm.
- Refrigerate at least 4 hours until very cold.
- Churn in an ice cream maker according to the manufacturer’s instructions until thick and creamy.
- Transfer to a freezer-safe container and freeze until scoopable, about 2 hours, until firm enough to serve.