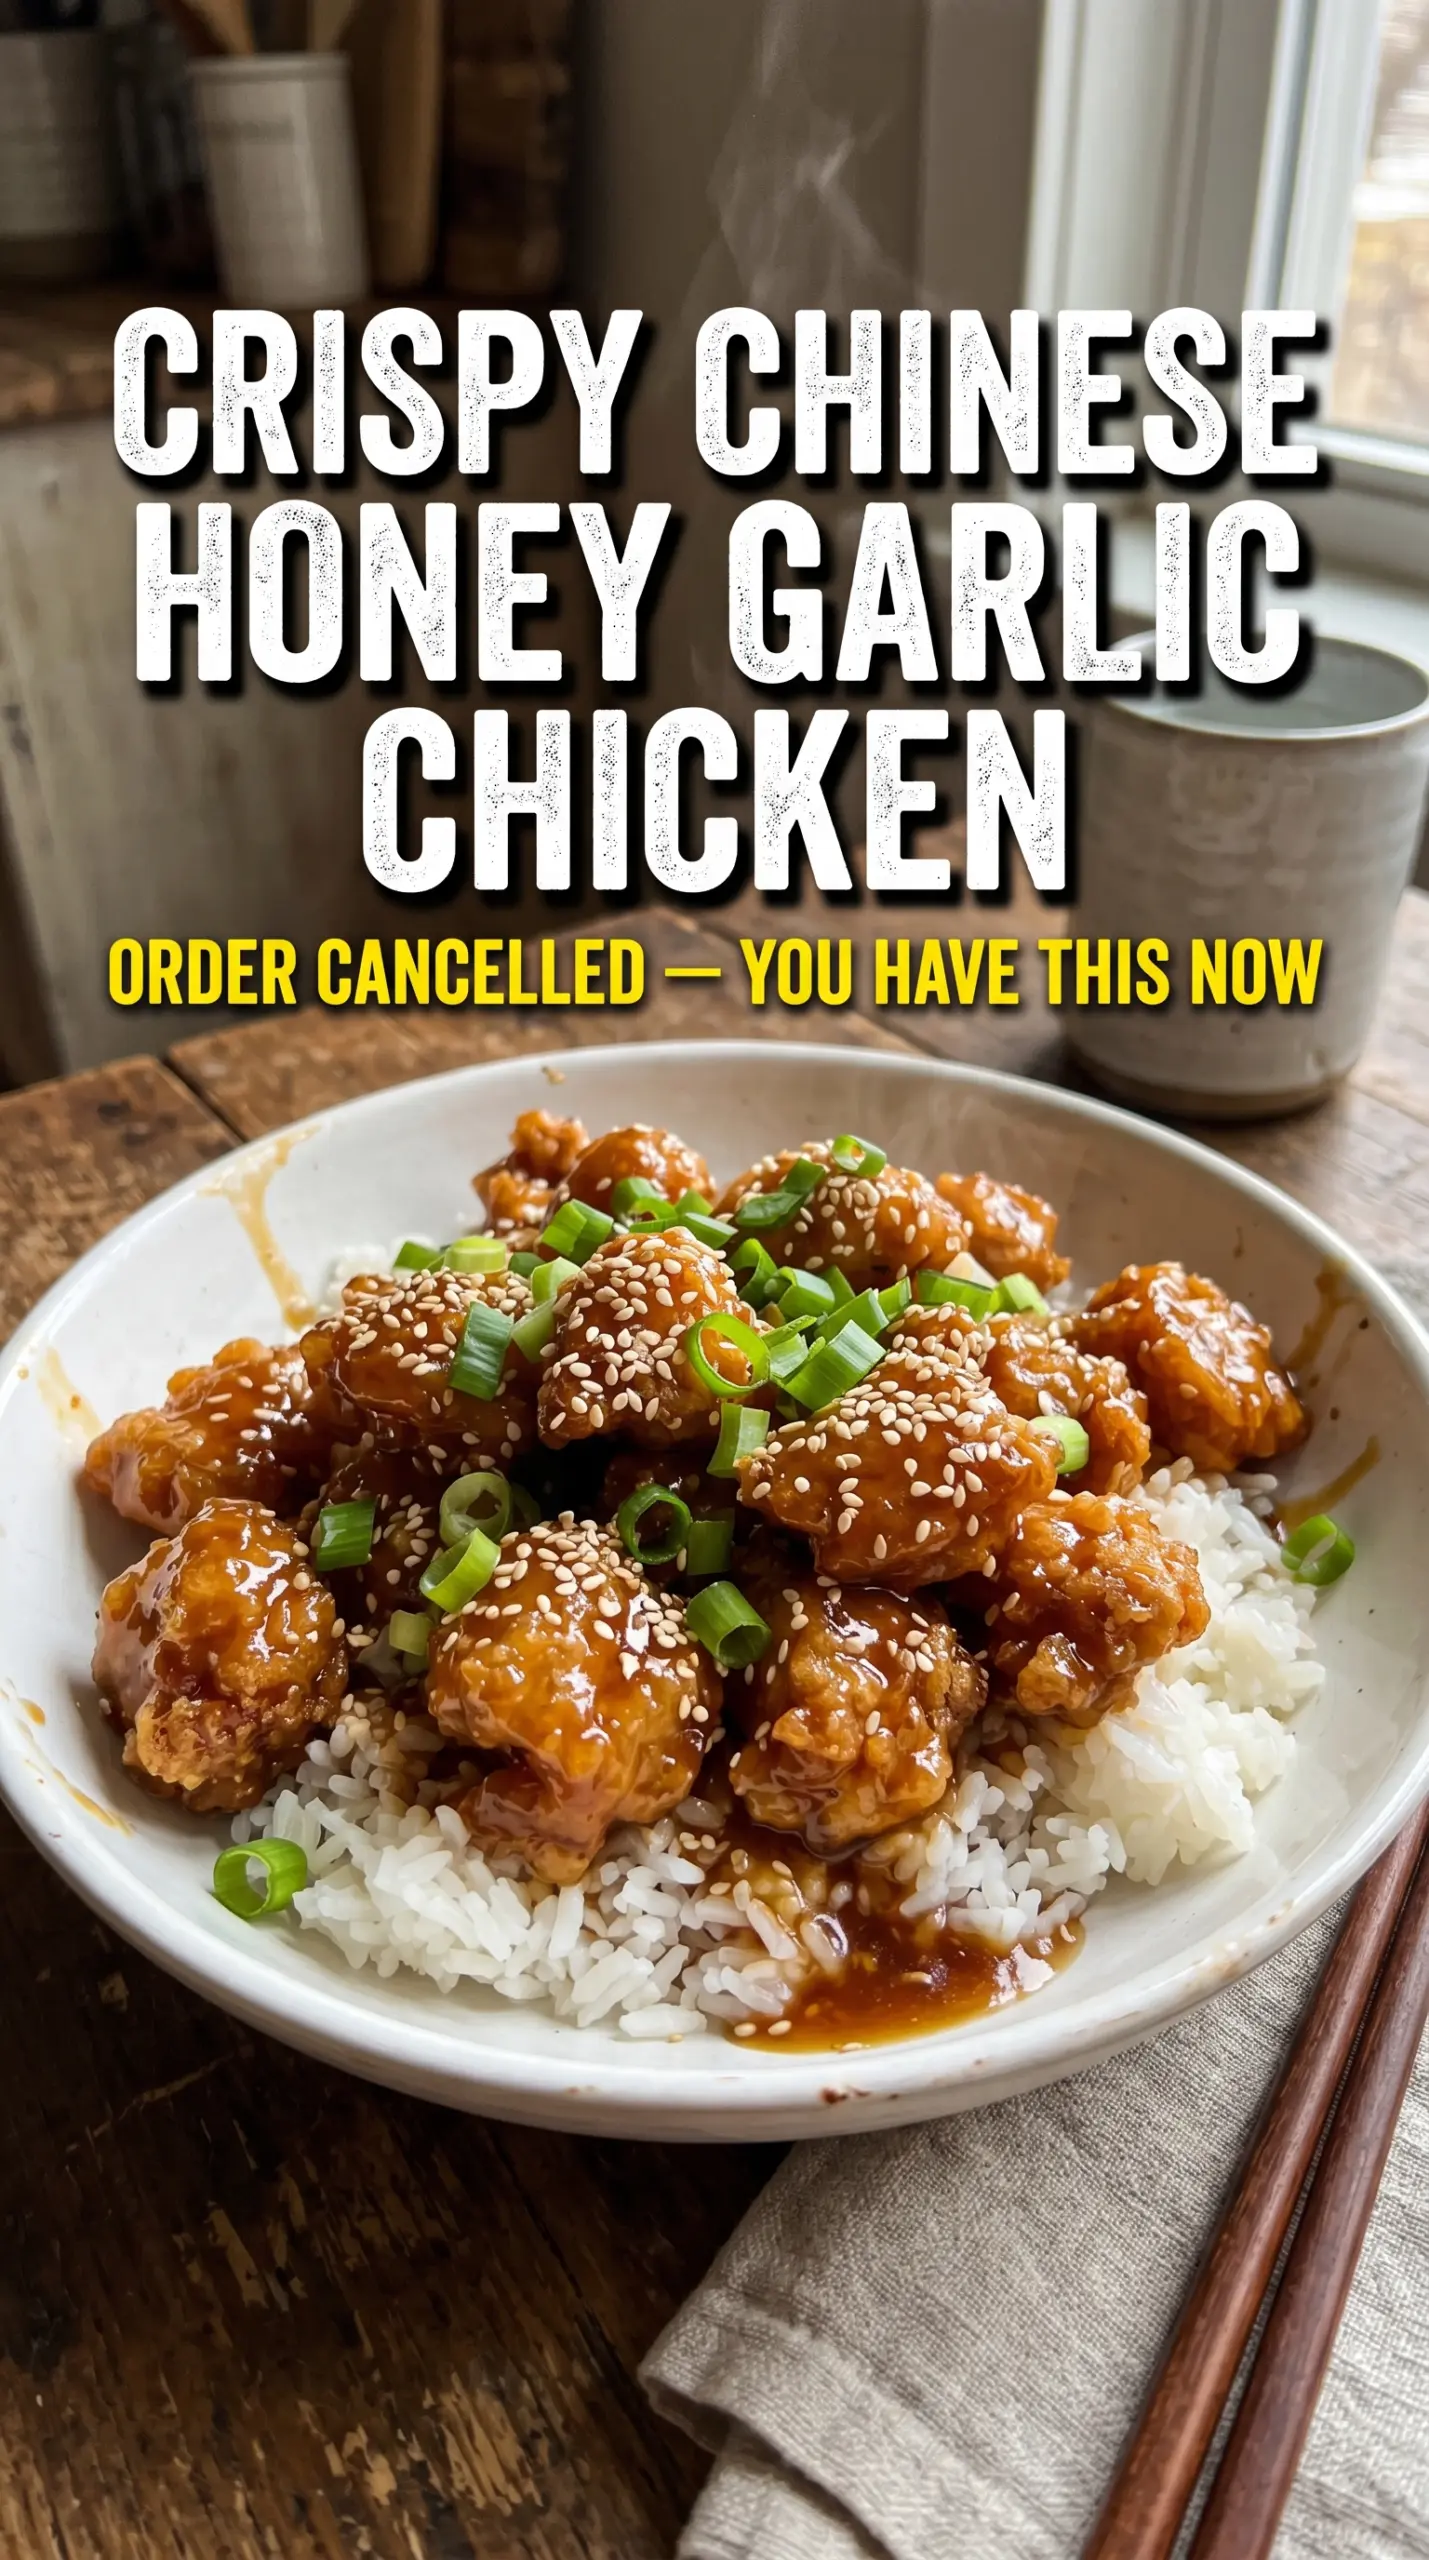
Shatteringly crisp chicken coated in sticky honey garlic sauce disappears fast, which is exactly why this dish earns repeat status. The chicken stays crunchy long enough to get to the table, and the sauce clings in a glossy layer that turns deep amber instead of sliding off into a puddle. It hits that sweet-salty-garlicky balance that makes everyone reach for one more bite.
The texture comes from a simple two-part coating: egg first, then a mix of cornstarch and flour. Cornstarch is what gives you that brittle, craggy shell, while the flour keeps the coating from feeling dusty or thin. The sauce is built separately and thickened just enough to coat the back of a spoon, then it gets finished with sesame oil off the heat so the garlic stays bold and the oil keeps its nutty aroma.
Below, I’ll show you how to keep the chicken crisp even after saucing, which ingredient swap works if you’re out of rice vinegar, and the best way to reheat leftovers without turning the coating soggy.
The coating stayed crisp even after I tossed it in the honey garlic sauce, and the sauce thickened up in just a few minutes. My husband kept sneaking pieces straight from the pan.
Crispy Chinese honey garlic chicken is at its best right after saucing, so pin this one for the night you want takeout-style crunch without leaving the house.
The Trick to Keeping the Coating Crisp Under a Sticky Sauce
The biggest mistake with honey garlic chicken is frying a good crust and then smothering it too soon. Once the chicken hits sauce, steam starts working against you, and a thin coating turns soft in minutes. This version avoids that by making sure the sauce is already thick and glossy before the chicken goes in, so it clings instead of soaking.
That balance matters. If the sauce is too loose, it slips off and leaves the chicken wet. If it cooks too long after the cornstarch slurry goes in, it can turn gummy or too stiff. You want a sauce that looks a little too thick in the pan, because it will loosen just enough as it coats the hot chicken.
- Cornstarch — This is the ingredient that gives the chicken its crisp shell and also thickens the sauce. There isn’t a real substitute if you want the same snap.
- Chicken thighs — Thighs stay juicy through frying and tossing. Chicken breast works, but it dries out faster and needs to come out of the oil the second it’s cooked through.
- Rice vinegar — The vinegar keeps the sauce from tasting flat. Apple cider vinegar works in a pinch, but use a little less because it’s sharper and can read fruitier.
- White pepper — It adds a gentle heat that belongs in Chinese-American takeout-style frying. Black pepper works, but the flavor is louder and the flecks show more.
What Each Ingredient Is Actually Doing in This Recipe
- Primary ingredient (the star) — Quality matters most. Choose the best you can find.
- Cooking medium (oil, butter, or broth) — This carries flavors and prevents dryness.
- Seasonings (salt, pepper, spices, herbs) — Layer flavors so nothing overpowers. Build depth gradually.
- Aromatics (garlic, onion, herbs) — Cook with fat to bloom flavors. Become the foundation.
- Supporting ingredients — Complement the main ingredient without overpowering it.
- Sauce or liquid (if applicable) — Brings flavors together. Balance richness with acid.
- Acid (lemon, vinegar, wine, or other) — Brightens and prevents flat-tasting results.
- Final finish (garnish, glaze, or sauce) — Prevents one-dimensional taste and adds visual appeal.
Building the Sauce Before the Chicken Goes In
Coating the Chicken Evenly
Whisk the dry coating first so the cornstarch and flour distribute evenly. Dip each piece of chicken into the beaten egg, then toss it in the flour mixture until every side looks dry and shaggy. That rough surface is what fries into little crags, so don’t shake the coating off too aggressively. Let the coated chicken sit for a minute while the oil heats; that helps the flour hydrate just enough to cling.
Frying in Small Batches
Heat the oil to 375°F and keep it there. If the oil is too cool, the chicken absorbs grease and the crust turns heavy. If it’s too hot, the outside darkens before the inside cooks through. Fry in batches with room around each piece, and pull the chicken when it’s deep golden and the crust feels firm, about 5 to 6 minutes. Drain on a rack or a paper towel-lined tray so the bottom doesn’t steam itself soft.
Thickening the Honey Garlic Sauce
Simmer the honey, soy sauce, garlic, and rice vinegar until the garlic smells cooked and the mixture starts looking cohesive. Stir in the cornstarch slurry and keep it moving for 2 to 3 minutes until it turns glossy and coats a spoon. If you add the slurry to a sauce that isn’t hot enough, it stays thin and chalky. Finish with sesame oil off the heat so the flavor stays fragrant instead of bitter.
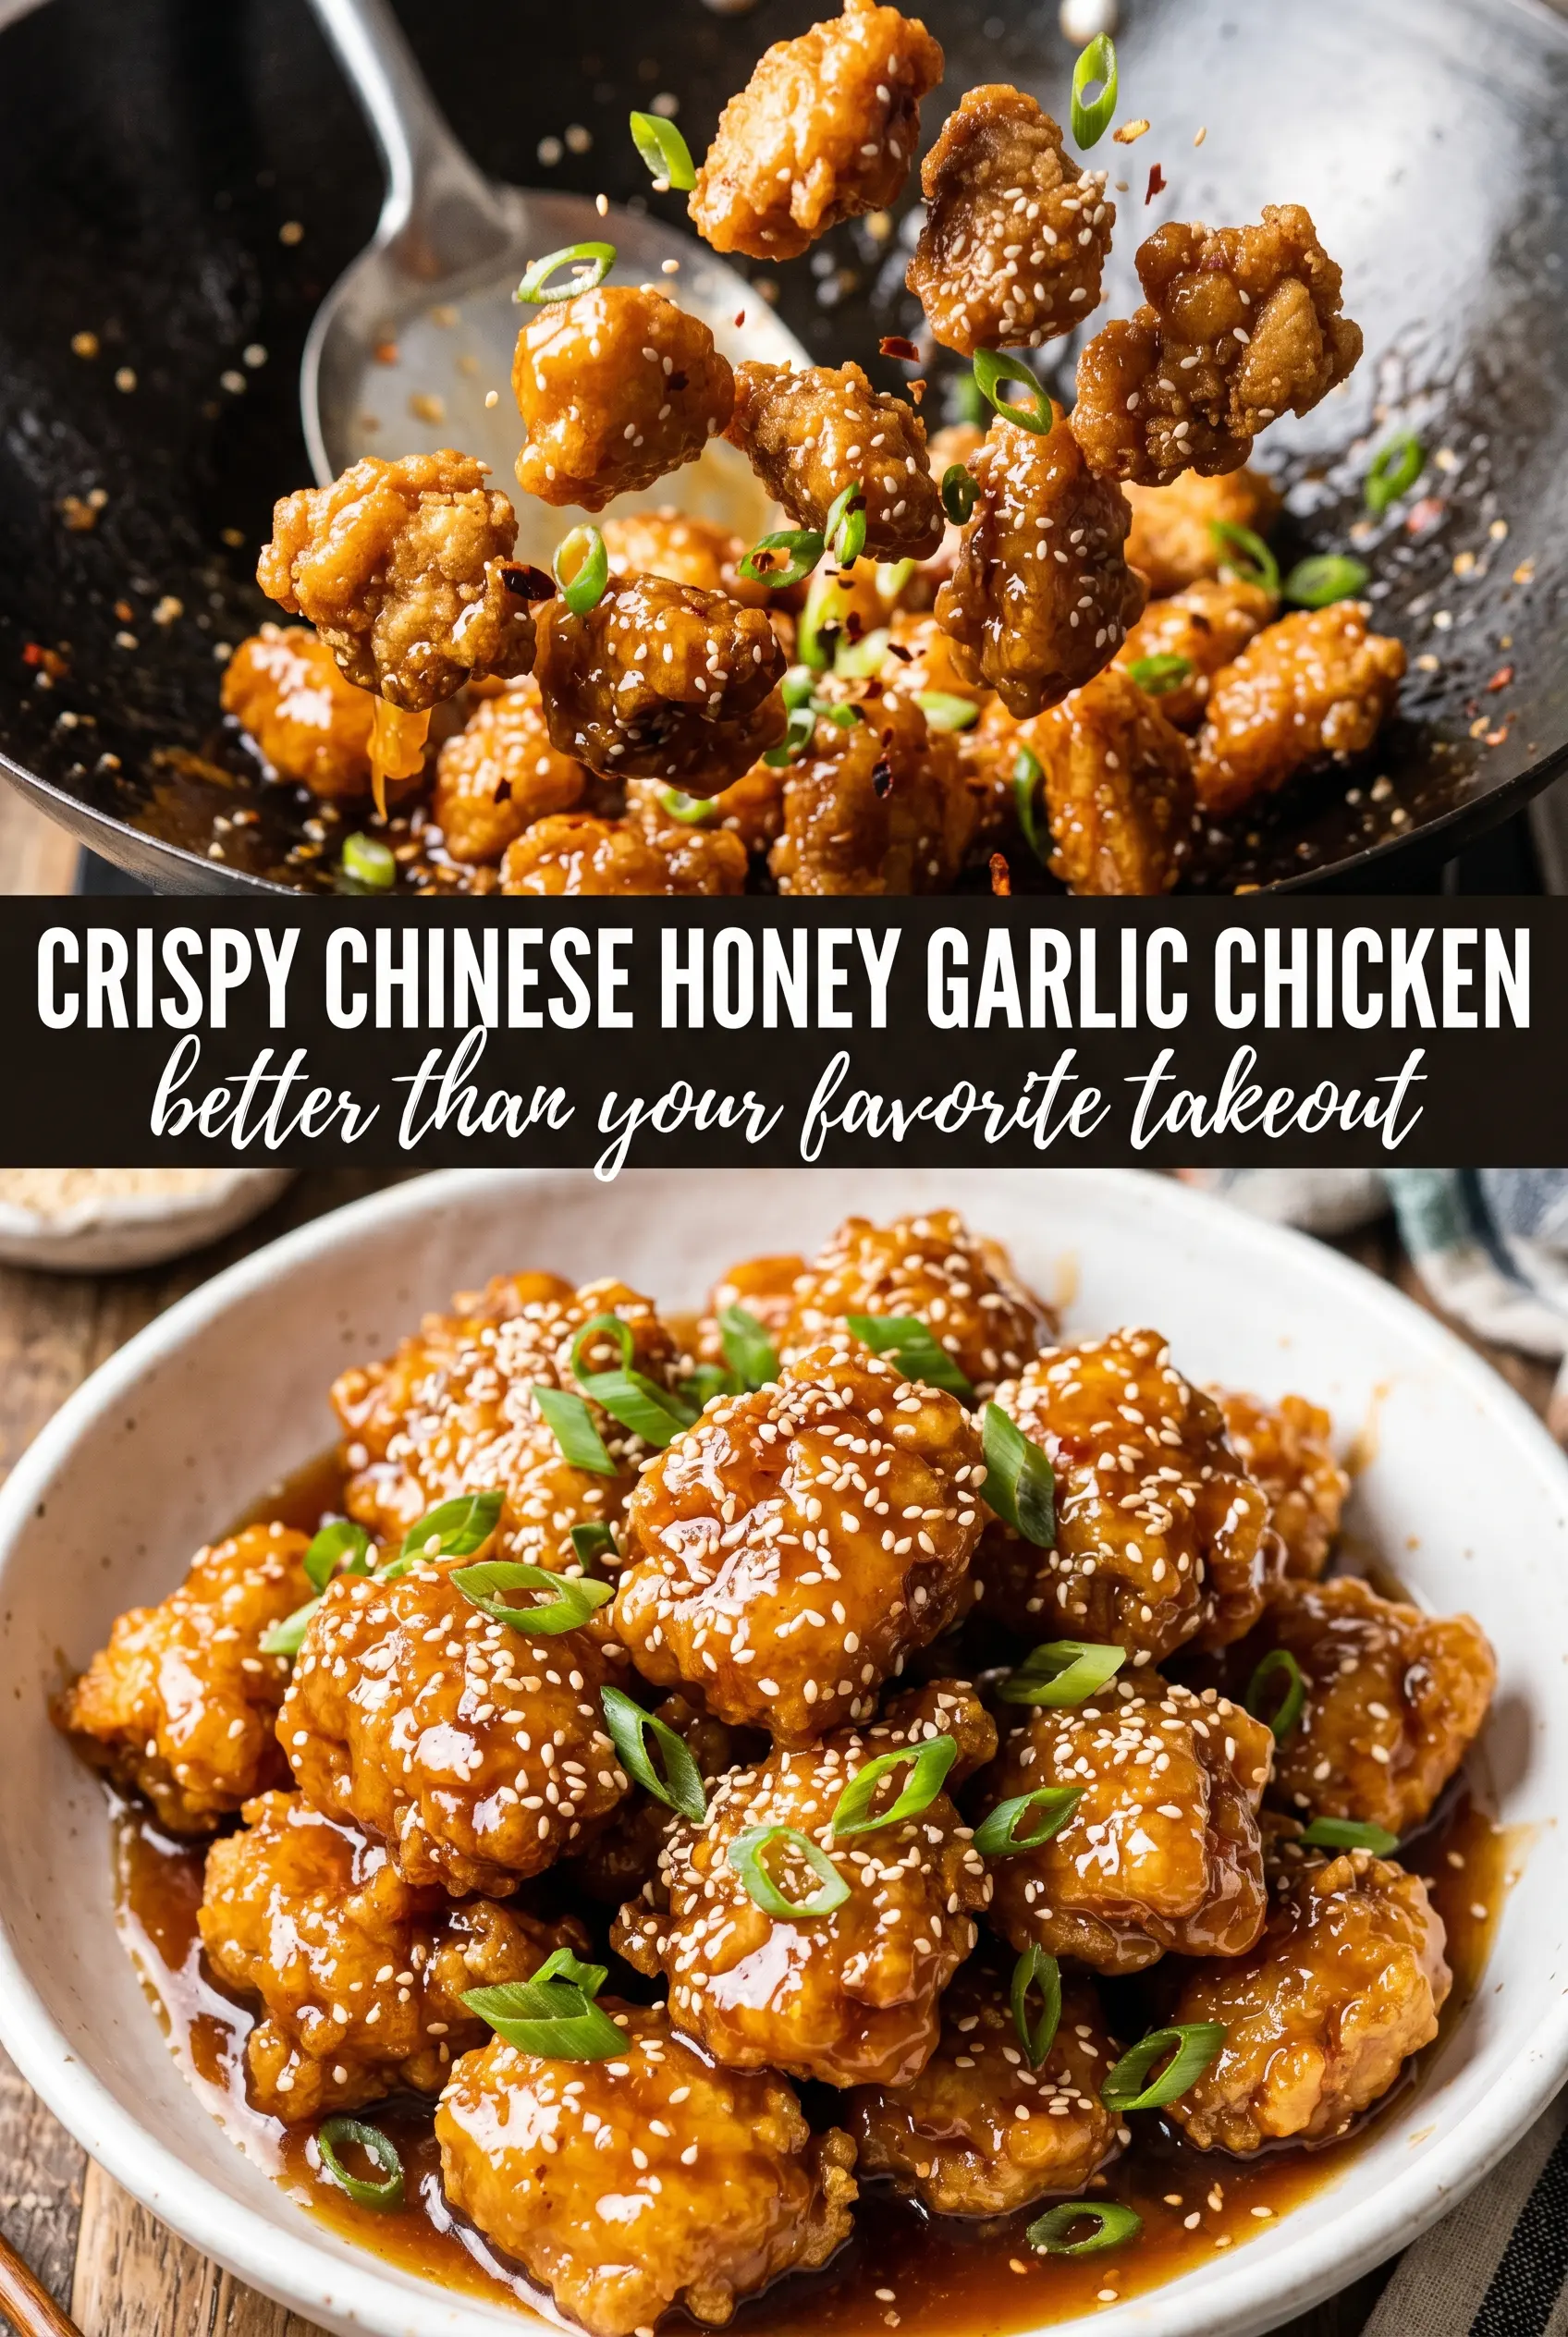
Tossing and Serving Right Away
Put the fried chicken into a wide bowl and pour the sauce over it while everything is still hot. Toss quickly until every piece is lacquered, then get it onto rice right away. The longer the coated chicken sits in the bowl, the more steam softens the crust. Finish with sesame seeds and sliced green onions for a clean, fresh bite against the sticky sauce.
How to Adapt This for Different Kitchens and Different Cravings
Gluten-Free Version
Use a gluten-free all-purpose flour blend and tamari instead of soy sauce. The coating still fries up crisp because the cornstarch is doing most of the work, and the sauce keeps the same sticky finish without the wheat.
No-Fry Weeknight Shortcut
Bake the coated chicken on a parchment-lined sheet at 425°F, flipping once halfway through, or air fry until crisp and cooked through. You won’t get the same shattering crust as frying, but you still get a good crunch and a cleaner, lighter finish.
Chicken Breast Instead of Thighs
Chicken breast works if that’s what you have, but cut the pieces a little larger and watch the fry time closely. Breast goes from juicy to dry fast, so pull it the moment the center is no longer pink and the crust is set.
Storage and Reheating
- Refrigerator: Store leftovers in an airtight container for up to 3 days. The coating softens, but the flavor stays strong.
- Freezer: Freeze the fried chicken before saucing for the best result. Sauced leftovers freeze poorly because the coating loses its texture.
- Reheating: Reheat the chicken on a rack in a 400°F oven or in an air fryer until hot and re-crisped, then warm the sauce separately and toss together at the end. Microwaving is the fastest way to turn the crust soft.
Answers to the Questions Worth Asking
Crispy Chinese Honey Garlic Chicken
Ingredients
Equipment
Method
- Whisk together cornstarch, flour, garlic powder, salt, and white pepper in a bowl.
- Dip the chicken pieces in the beaten egg, then dredge in the flour mixture until evenly coated.
- Heat vegetable oil in a cast iron skillet to 375°F and keep it there.
- Fry the chicken in batches for 5-6 minutes until deep golden and cooked through.
- Transfer the fried chicken to a sheet pan or rack to drain briefly.
- Combine honey, soy sauce, garlic, and rice vinegar in a saucepan and bring to a simmer.
- Stir in the cornstarch slurry and cook 2-3 minutes, stirring, until thickened and glossy.
- Remove from heat and stir in sesame oil.
- Toss the hot crispy chicken in the honey garlic sauce until fully coated.
- Serve over steamed rice topped with sesame seeds and green onions.