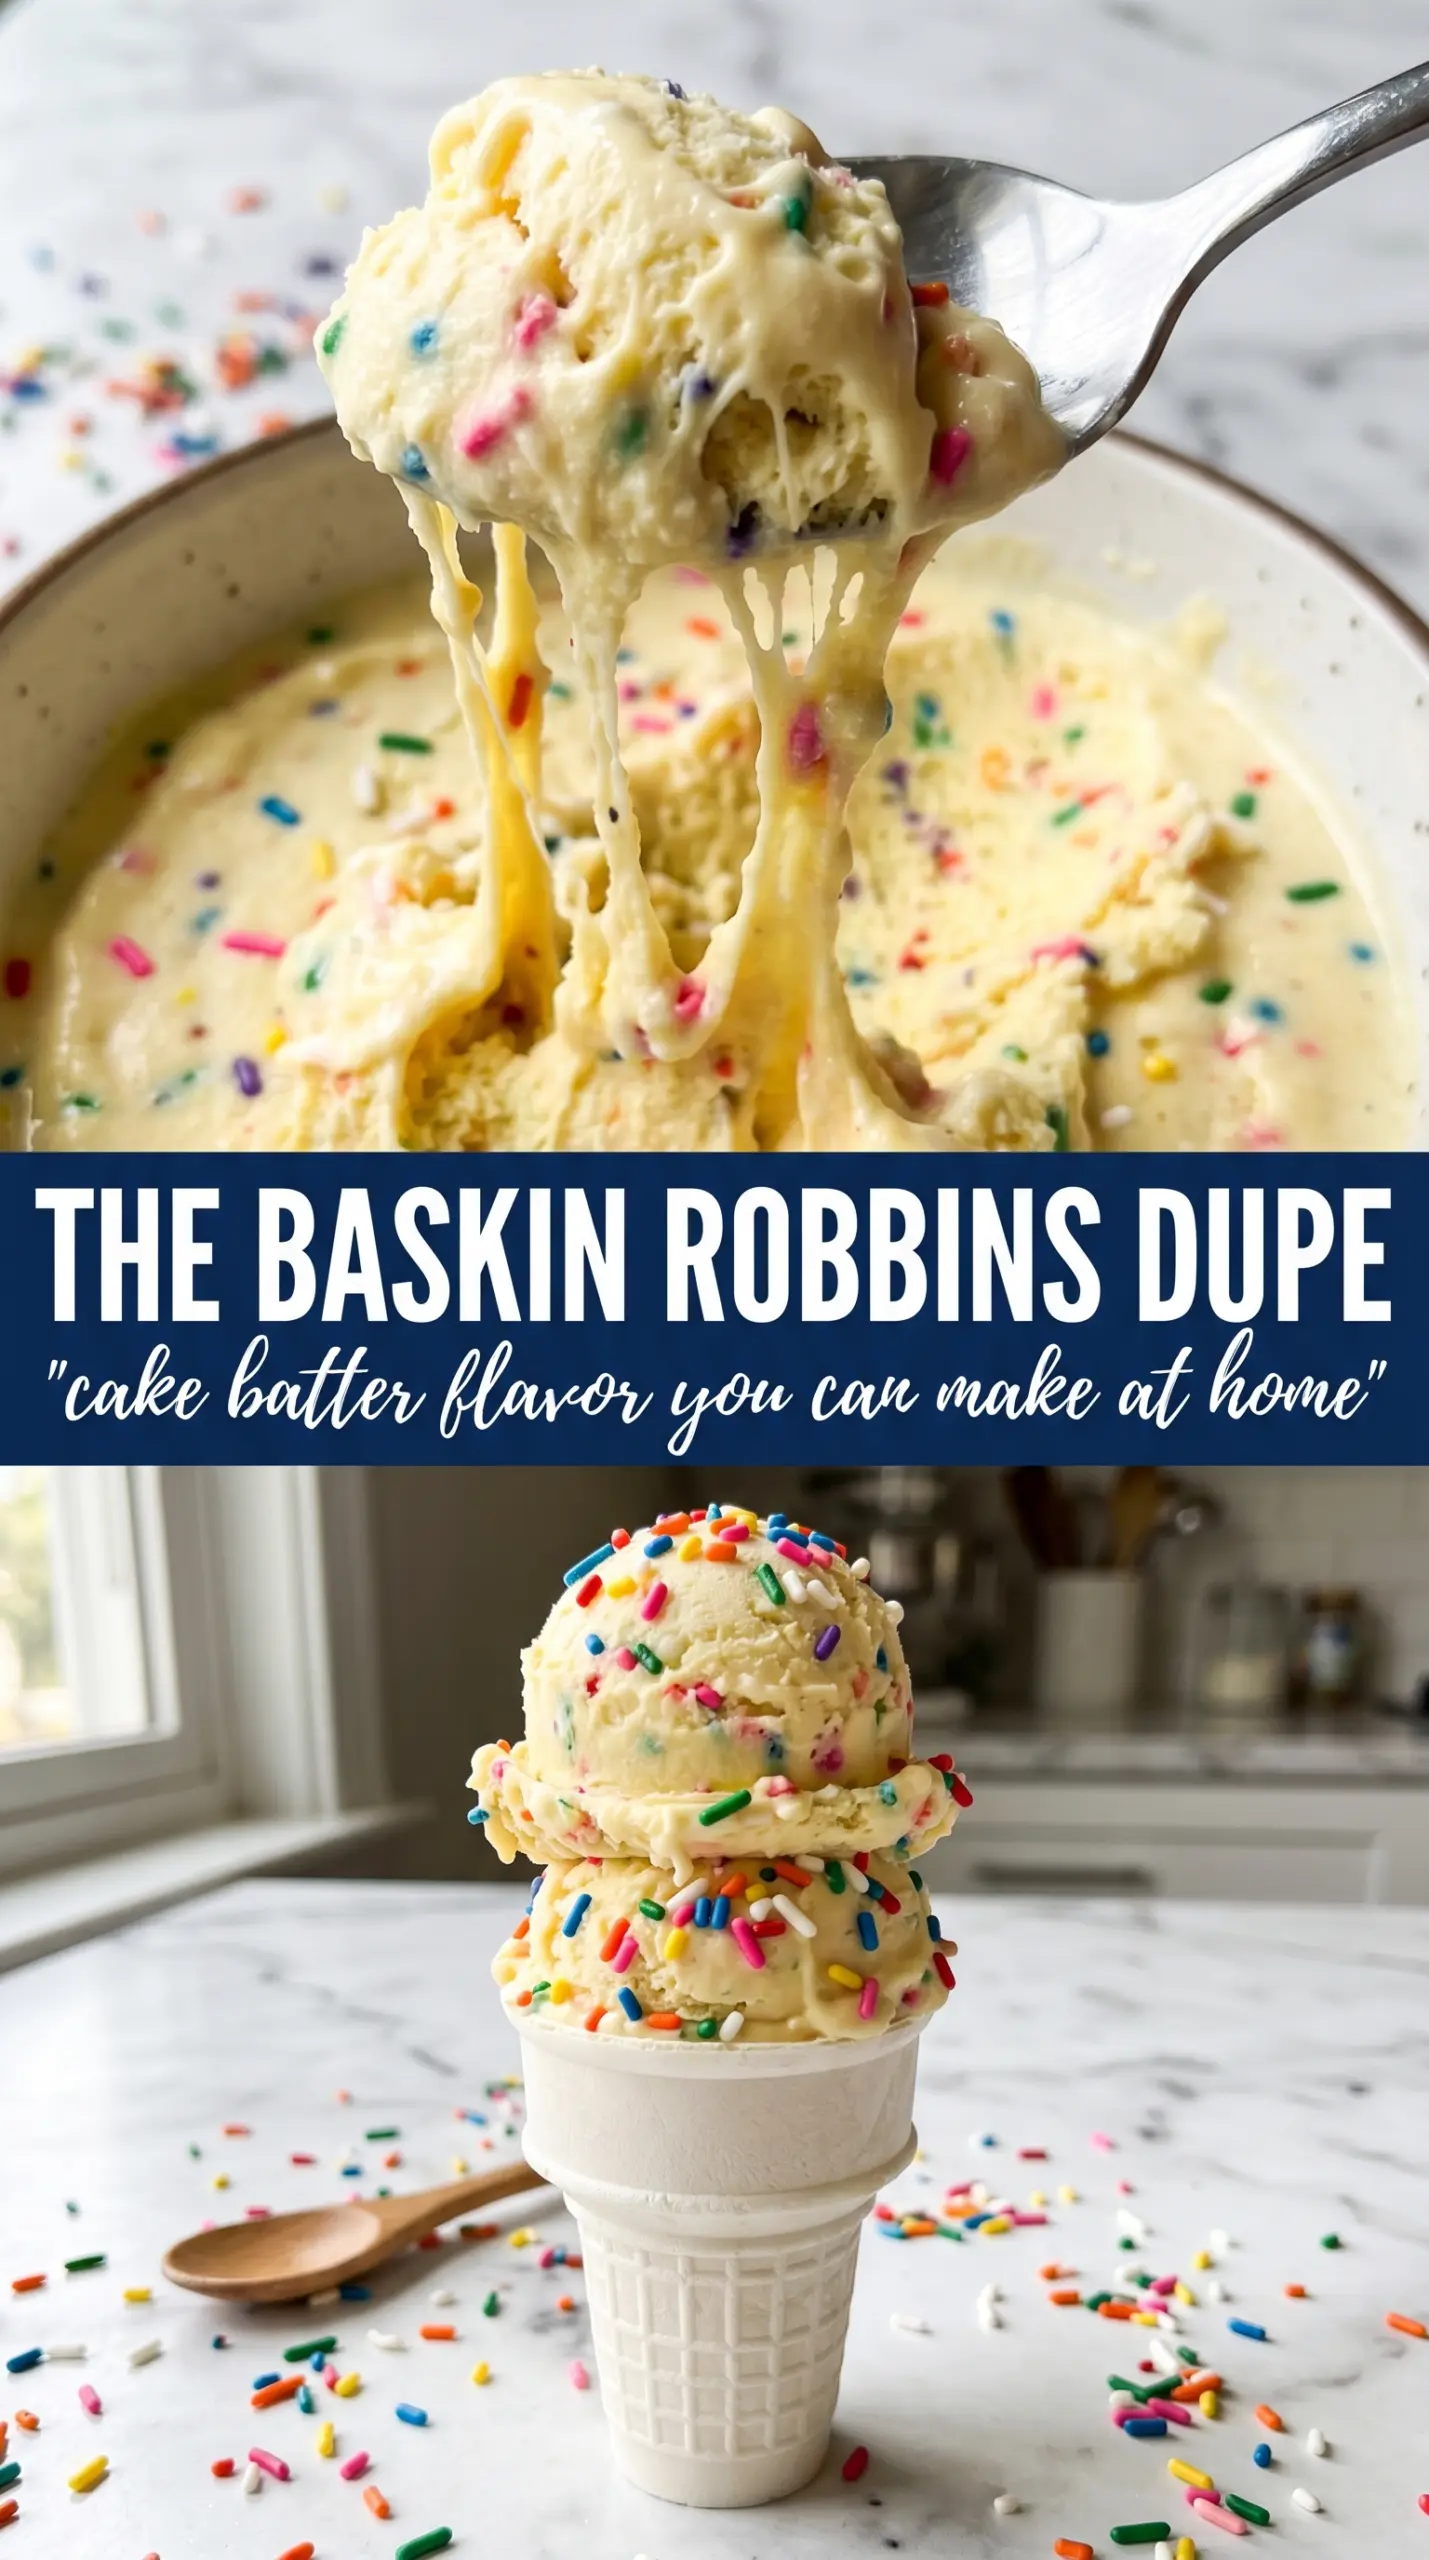
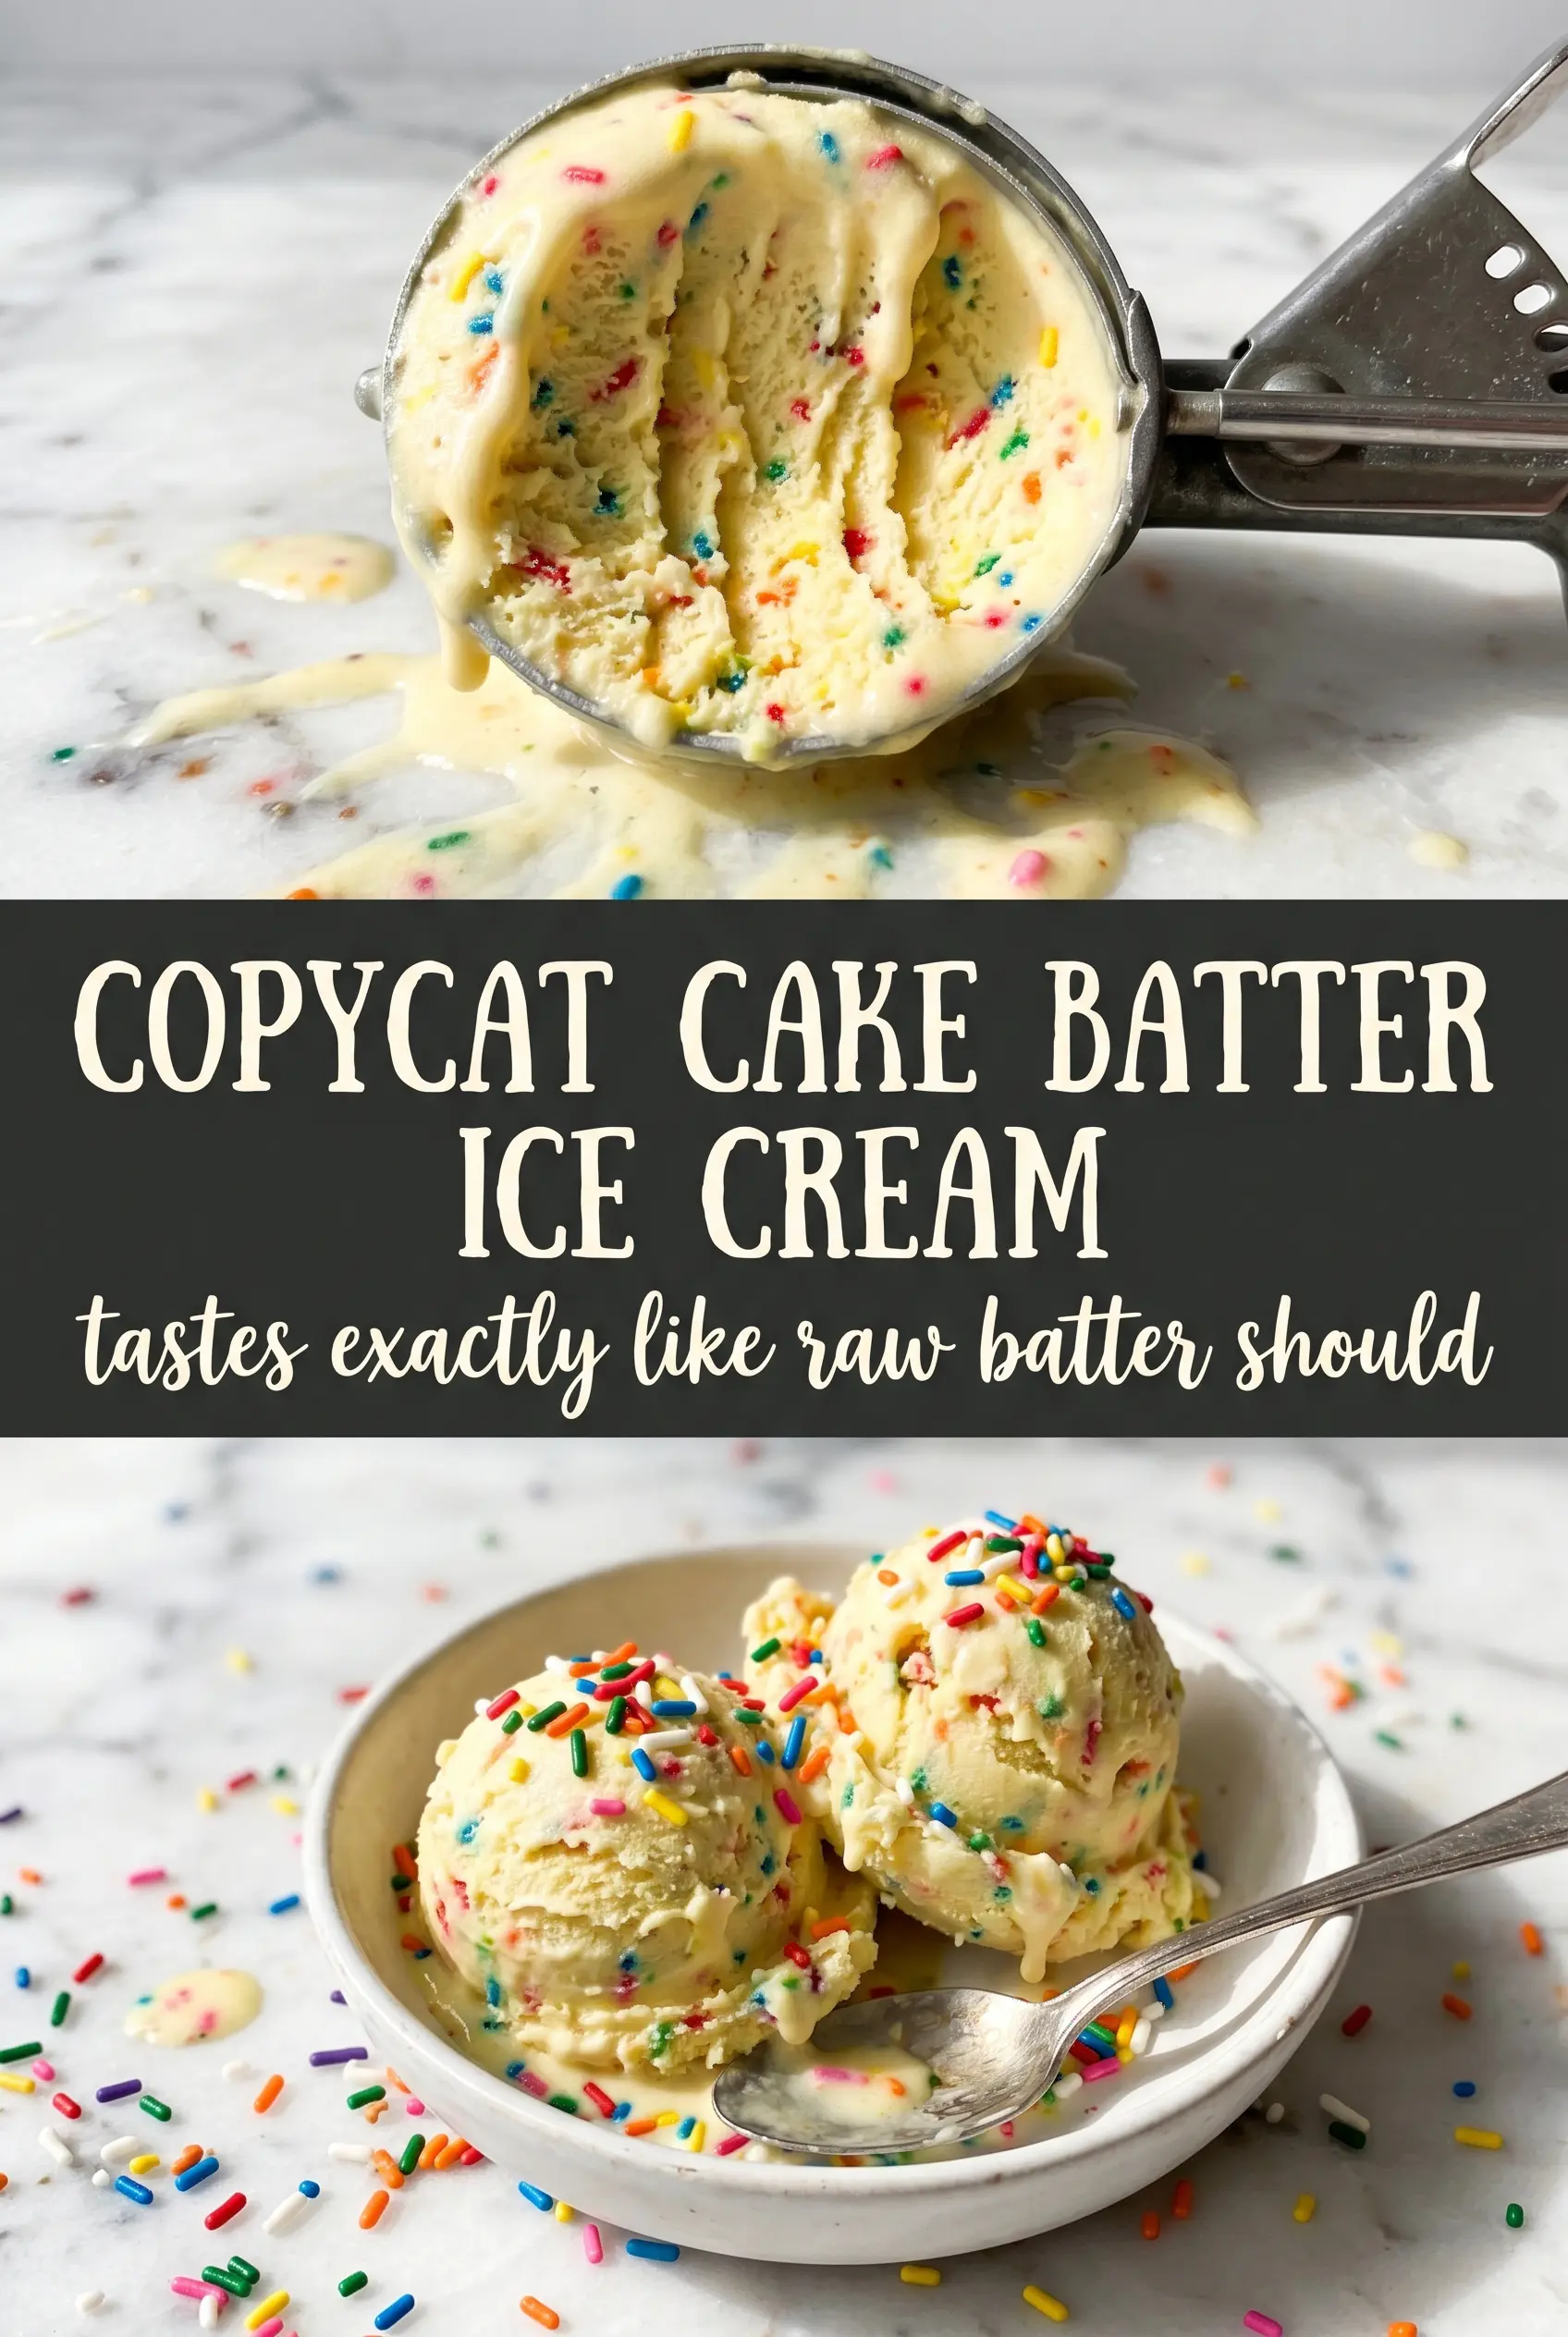
Cake batter ice cream lands with that first spoonful of pale, creamy sweetness and the unmistakable birthday-cake aroma that makes people grin before they’ve even swallowed. The texture is rich and scoopable, not icy, with rainbow sprinkles suspended through each bite like confetti in frozen cream. It tastes like the best part of licking the mixing bowl, only colder and far more polished.
The trick is using dry yellow cake mix as a flavor base, but whisking it into the sweetened condensed milk first so it actually dissolves instead of staying gritty. Butter extract does the heavy lifting for that bakery-style note, and a little salt keeps the sweetness from turning flat. Because this is a no-churn ice cream, the whipped cream has to hold stiff peaks; that’s what gives the finished dessert its light body without an ice cream machine.
Below, I’ll walk through the one step that keeps the cake mix smooth, plus the small timing details that help the sprinkles stay bright and the ice cream freeze up creamy instead of dense.
The cake mix blended in completely and the finished ice cream had that exact birthday cake flavor without any grit. I loved that the sprinkles stayed colorful after freezing, and it scooped beautifully after about 6 hours.
Want that nostalgic cake batter flavor in every scoop? Save this copycat cake batter ice cream for the next birthday dessert night.
The Gritty Cake Mix Problem Nobody Mentions
The biggest mistake with cake batter ice cream is treating the dry mix like it will magically disappear once it hits the cream. It won’t. If you stir it straight into whipped cream, you’ll end up with tiny chalky bits that taste like raw flour and break the illusion fast. Whisking the cake mix into the sweetened condensed milk first gives those dry particles time to hydrate, and that’s what makes the base smooth enough to freeze cleanly.
The other thing that matters is balance. Cake mix already brings sweetness and a little starch, so the salt and butter extract aren’t decoration here; they keep the flavor from tasting one-note and make it read like real yellow cake instead of just sugar with vanilla.
What Each Ingredient Is Actually Doing Here
- Heavy cream — This is the structure of the ice cream. Whip it to stiff peaks and it traps air that keeps the finished dessert light enough to scoop. Lower-fat cream won’t hold the same body, and the result will freeze denser.
- Sweetened condensed milk — This gives sweetness and helps keep the base soft after freezing. It also carries the cake mix more smoothly than regular milk would. Don’t swap in evaporated milk here; you need the sugar and thickness.
- Dry yellow cake mix — This is the flavor engine. Choose a standard yellow cake mix, not one with added pudding, because the extra starch can make the texture heavier. If your mix feels coarse, whisk a little longer in the condensed milk until it looks fully dissolved.
- Butter extract — This is what pushes the flavor toward real birthday cake. Vanilla alone won’t give the same bakery note. A little goes a long way, and too much can taste artificial, so measure it carefully.
- Rainbow sprinkles — Fold them in at the end so they stay visible and don’t bleed into the base. Jimmies work best because they hold their shape better than nonpareils, which can melt into streaks.
Building the Base Without Deflating It
Whipping the Cream to the Right Point
Start by whipping the heavy cream until it holds stiff peaks. You want the whisk to leave distinct trails, and when you lift it, the peak should stand up without slumping over. If you stop at soft peaks, the base won’t have enough air and the ice cream will freeze heavy. If you go too far and the cream looks grainy, it’s on its way to butter, so stop the moment it turns billowy and firm.
Smoothing Out the Cake Mix
In a separate bowl, whisk the sweetened condensed milk, cake mix, vanilla, butter extract, and salt until the mixture looks smooth and glossy. This is the point where patience pays off. Keep whisking until you can’t see dry specks clinging to the bottom or edges of the bowl. If you skip that step, the finished ice cream will freeze with gritty flecks, and no amount of stirring later will fix it.
Folding and Freezing for a Creamy Scoop
Fold the condensed milk mixture into the whipped cream in three additions, using a spatula and a light hand. You’re keeping the air from the whipped cream intact, so scrape from the bottom and turn the bowl rather than stirring in circles. Once the base is even, fold in the sprinkles just until they’re distributed. Transfer everything to a 9×5 loaf pan, smooth the top, and freeze for at least 6 hours. Overnight is even better if you want the cleanest scoop.
How to Change the Flavor Without Losing the Cake Batter Character
Funfetti version with extra sprinkle crunch
Use a funfetti-style cake mix if that’s what you have, then keep the rainbow sprinkles in the base as written. The cake flavor stays the same, but the color gets brighter and the sprinkle effect becomes more playful. Just don’t add too many extra sprinkles or the texture starts to feel busy instead of creamy.
Dairy-free swap that still scoops well
Use full-fat coconut cream in place of the heavy cream and a dairy-free condensed milk alternative. The texture will be a little less airy, but it still freezes soft if you whip the coconut cream thoroughly and chill the bowl first. Keep the butter extract if it’s dairy-free, because that’s what carries the birthday-cake note.
More intense birthday cake flavor
Add another 1/4 teaspoon of butter extract and a tiny extra pinch of salt if you want the cake flavor to come through louder. That pushes it closer to the nostalgic boxed-cake taste people expect from copycat versions. Don’t overdo the extract, though, or the flavor turns sharp instead of bakery-like.
Storage and Reheating
- Refrigerator: Not recommended; this is best kept frozen. If it softens in the fridge, it loses the scoopable texture quickly.
- Freezer: Store in an airtight loaf pan or freezer-safe container for up to 2 weeks. Press parchment or plastic wrap directly against the surface to help prevent ice crystals.
- Reheating: Let it sit at room temperature for 8 to 12 minutes before scooping. If you try to dig in straight from the freezer, the edges chip and the center stays too hard.
Questions I Get Asked About This Recipe
Copycat Cake Batter Ice Cream
Ingredients
Equipment
Method
- Whip heavy cream to stiff peaks until it holds firm ridges when you lift the whisk. Stop and watch for a glossy, thick texture that doesn’t collapse.
- Whisk sweetened condensed milk, yellow cake mix (dry, unprepared), vanilla extract, butter extract, and salt together until the cake mix is fully incorporated with no dry pockets. Mix for about 1-2 minutes, scraping the sides as needed.
- Fold the condensed milk mixture gently into the whipped cream until no streaks remain, keeping the air in the whipped cream. Use a light, slow motion so the mixture stays fluffy.
- Fold in rainbow sprinkles just until evenly distributed. You should still see bright rainbow dots throughout the pale golden base.
- Transfer the mixture to a 9x5 loaf pan and spread it into an even layer. Tap the pan once to settle the surface.
- Freeze at least 6 hours or overnight until firm. The ice cream is ready when you can scoop cleanly with minimal wobble.