Cookies and cream ice cream turns out best when the base stays rich and clean and the cookie pieces stay big enough to give you that unmistakable crunch. The contrast is what makes every spoonful worth it: a smooth vanilla custard dotted with dark cookie chunks, some softening at the edges and some still crisp after freezing. When it’s done right, it tastes like the best parts of an ice cream shop pint made at home.
The custard base matters here because it carries the cookies without tasting heavy or chalky. Egg yolks give the ice cream body, and cooking the custard gently keeps it silky instead of scrambled. The cookies go in at the very end so you still get distinct pieces, not a gray blend of crumbs floating through the base. Chilling the custard fully before churning is the difference between a loose, icy churn and one that freezes up into a dense, scoopable texture.
Below, I’m walking through the part that matters most: how to keep the custard smooth, when to add the cookies, and what to do if you want a no-egg version that still tastes like real cookies and cream.
The custard turned out unbelievably smooth, and the cookie pieces stayed chunky instead of disappearing into the ice cream. I let it chill overnight, and it scooped like a dream the next day.
Save this cookies and cream ice cream for the nights when you want a creamy vanilla base with big Oreo chunks in every scoop.
The Part That Keeps Cookies and Cream Ice Cream from Turning Icy
The biggest mistake with homemade ice cream is rushing the base. If the custard is even a little undercooked, it won’t thicken enough in the freezer and you’ll end up with a soft, icy scoop instead of that dense, creamy texture you expect from a good cookies and cream ice cream. Pull the custard off the heat when it reaches 175F and coats the back of a spoon. It should look glossy and slightly thickened, not like thin sweet milk.
Straining matters too. Even if the custard looks smooth, a few tiny bits of cooked egg can sneak in while you’re whisking. A fine mesh sieve catches those before they turn the base grainy. Once it’s strained, cool it completely before it goes into the churner. Warm custard slows the freeze, and that’s how you lose the texture that makes this dessert feel rich instead of slushy.
- Egg yolks — These give the ice cream body and that custardy mouthfeel. There isn’t a true substitute if you want the same texture, though a cornstarch-thickened base can work in a pinch.
- Heavy cream — This is what makes the finished ice cream taste plush and scoopable. Lower-fat cream won’t freeze the same way and usually gives a harder, icier result.
- Whole milk — It lightens the custard just enough so it doesn’t taste overly rich. Using skim milk makes the base less balanced and more prone to a cold, flat finish.
- Chocolate sandwich cookies — Crush them roughly, not into fine crumbs. Big pieces stay visible in the churn and give you that classic cookies-and-cream bite after freezing.
- Vanilla extract — This rounds out the custard and makes the cookies taste more like cookies and cream instead of just chocolate bits in sweet cream.
What Each Ingredient Is Actually Doing in This Ice Cream

- Base ingredient (cream, milk, or custard) — This provides the foundation and richness. Quality matters.
- Sweetener (sugar, honey, or condensed milk) — This sweetens and prevents ice crystals. The ratio is critical.
- Flavor element (vanilla, fruit, chocolate, cookie, or other) — This defines the ice cream personality. Use quality ingredients.
- Egg yolks (if making custard base) — These create richness and silky texture. Optional but elevates ice cream.
- Churning (if using ice cream maker) — This incorporates air and prevents ice crystals. Critical for smooth texture.
- Freezing temperature and time — Proper freezing prevents rock-hard texture. Store at 0°F or below.
- Mix-ins (chocolate, cookies, candy, or swirls) — These add texture and prevent one-dimensional flavor. Add near end of churning.
- Serving temperature (slightly soft, not rock hard) — This provides creamy mouthfeel. Remove from freezer 5 minutes before serving.
How to Keep the Custard Smooth and the Cookie Chunks Big
Warming the Dairy Base
Heat the cream and milk until they’re steaming and small bubbles form around the edge of the pan. You don’t want a boil. Hot dairy can shock the egg yolks if it goes in too fast, so whisk it into the yolk and sugar mixture in a steady stream. If you dump it in all at once, the yolks can scramble and you’ll lose the smooth base before it ever reaches the stove.
Thickening Over Gentle Heat
Return the mixture to the saucepan and cook over medium-low heat, stirring constantly with a spatula or wooden spoon. Keep the motion steady and scrape the corners of the pan so nothing sets there first. The custard is done at 175F, but the visual cue matters just as much: it should lightly coat the spoon and leave a clean line when you run a finger through it. If it starts to look lumpy, the heat is too high and you need to pull it off the burner immediately.
Cooling Before Churning
Stir in the vanilla and salt after straining, then chill the custard until it’s fully cold. Four hours is the minimum, but overnight is even better. A cold base freezes faster in the machine, which means smaller ice crystals and a smoother scoop. If you churn it while it’s still warm, the ice cream maker has to work too hard and you’ll end up with a softer, looser texture.
Adding the Cookies at the End
Drop in the crushed cookies during the last two minutes of churning so they get distributed without breaking down completely. If they go in too early, the blades will crush them into dust and turn the base gray. I like a mix of sizes here: some big chewy pieces, some smaller bits that streak the ice cream a little, and a few fine crumbs that flavor the base without taking over.
No-Churn Cookies and Cream Ice Cream
Skip the custard and fold crushed cookies into whipped heavy cream sweetened with condensed milk. The result is softer and a little sweeter than the churned version, but it’s still creamy and scoopable without an ice cream maker. You lose the custard richness, but you gain a faster method that works well for last-minute dessert plans.
Dairy-Free Version
Use full-fat coconut milk in place of the cream and milk, then follow the same custard method with the yolks. The ice cream will taste a little more coconut-forward, but the texture stays close to the original if you chill it thoroughly before churning. Choose dairy-free chocolate sandwich cookies so the whole batch stays within the swap.
Extra Chunky Cookie Ice Cream
If you want bigger cookie pieces, split the cookies into two piles: half roughly crushed and half broken into larger chunks. Stir the bigger pieces in by hand after churning instead of letting the machine handle all of them. That keeps the cookie texture dramatic instead of dusty.
Storage and Reheating
- Refrigerator: Not recommended. This ice cream is meant to be stored in the freezer.
- Freezer: Store in an airtight container with parchment pressed on top for up to 2 weeks for the best texture. After that, the cookies start to lose their crunch and the base can pick up freezer flavor.
- Reheating: No reheating needed. Let it sit at room temperature for 5 to 10 minutes before scooping if it firms up too hard. Scooping it straight from the freezer is the most common way people damage the texture and the container.
Questions I Get Asked About This Recipe
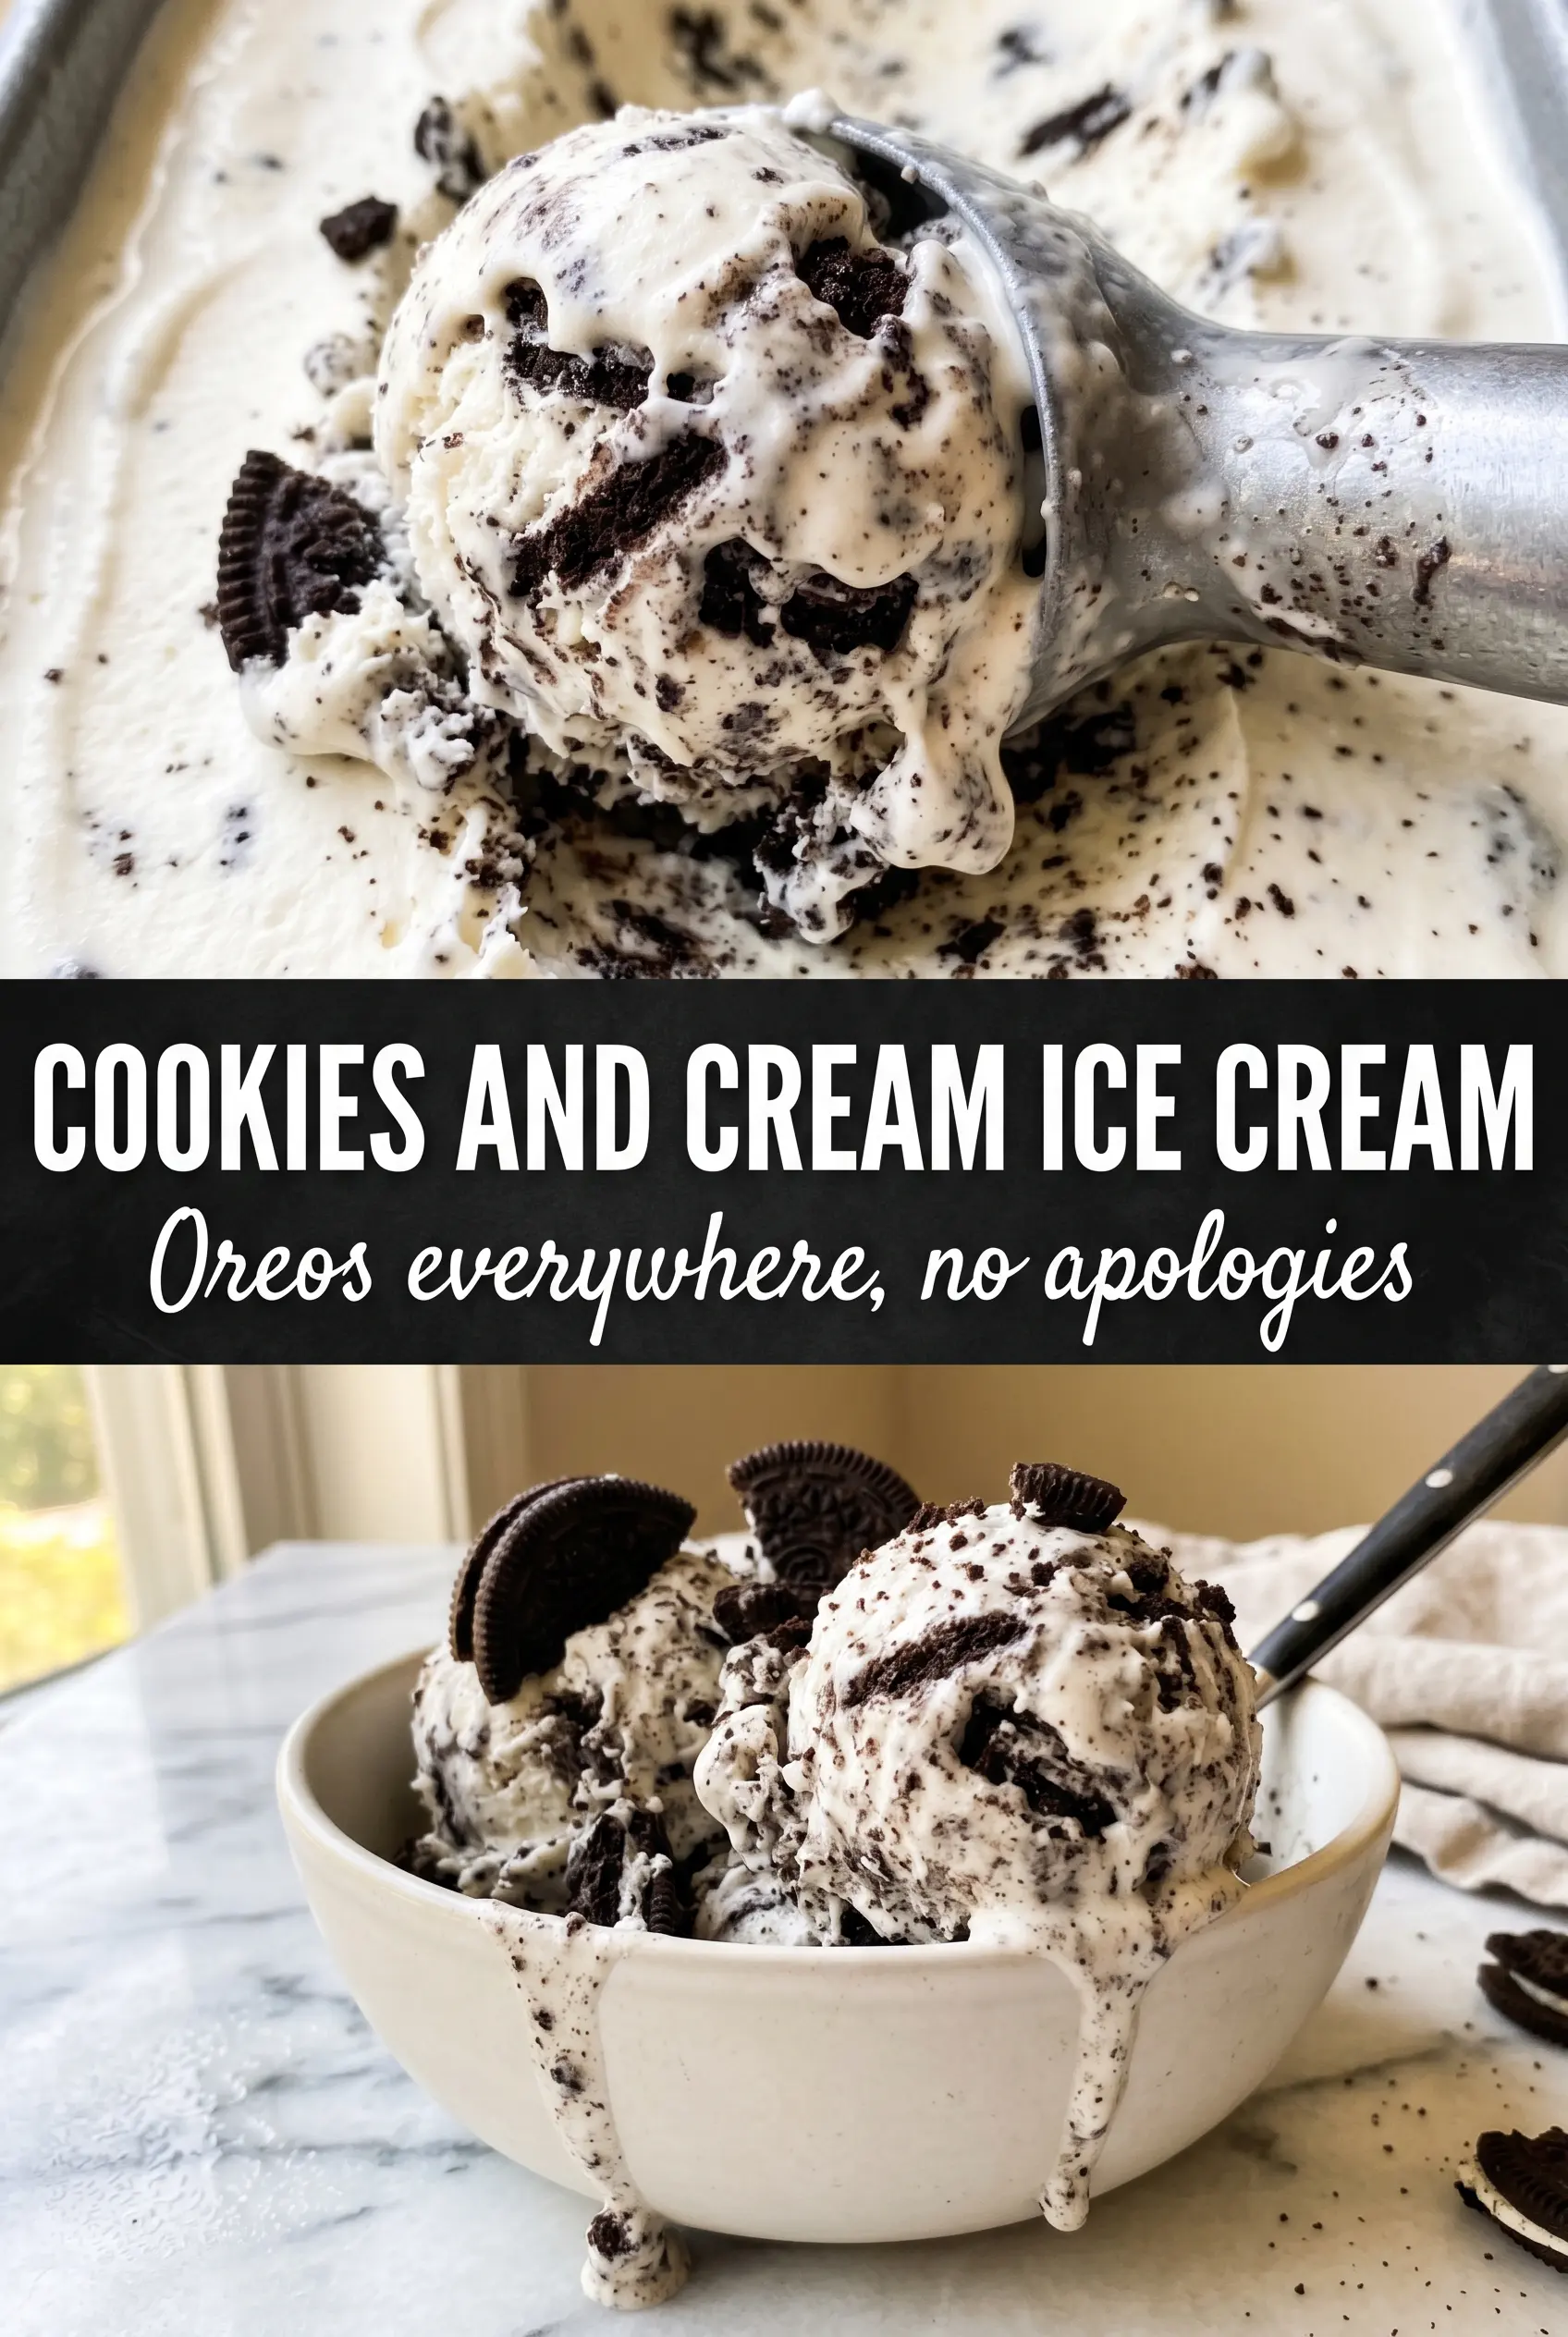
Cookies and Cream Ice Cream
Ingredients
Equipment
Method
- Heat heavy cream and whole milk in a saucepan until steaming, 2–4 minutes; keep the surface just steaming with small bubbles around the edges.
- Whisk granulated sugar into egg yolks until smooth, then slowly whisk the steaming cream mixture into the yolks to warm them gradually.
- Return the mixture to the saucepan and cook over medium-low heat, stirring constantly, until the custard reaches 175F, about 6–10 minutes; it should visibly thicken enough to lightly coat a spoon.
- Strain the custard through a fine mesh sieve into a clean bowl, then stir in vanilla extract and salt until fully combined.
- Cool the custard completely to room temperature, 30–45 minutes, until no warmth remains and the surface looks smooth.
- Refrigerate the custard at least 4 hours until very cold, 4 hours; the mixture should look thick and cold all the way through.
- Churn the custard in an ice cream maker according to the manufacturer’s instructions until it reaches soft-serve thickness, about 20–30 minutes; it should look pale and airy.
- In the last 2 minutes of churning, add crushed chocolate sandwich cookies so some stay chunky and some dissolve slightly for a cookies-and-cream swirl effect; watch for dark flecks spreading through the pale base.
- Transfer the churned ice cream to a container and freeze until firm, at least 4 hours; it should scoop cleanly with minimal melt at the edges.