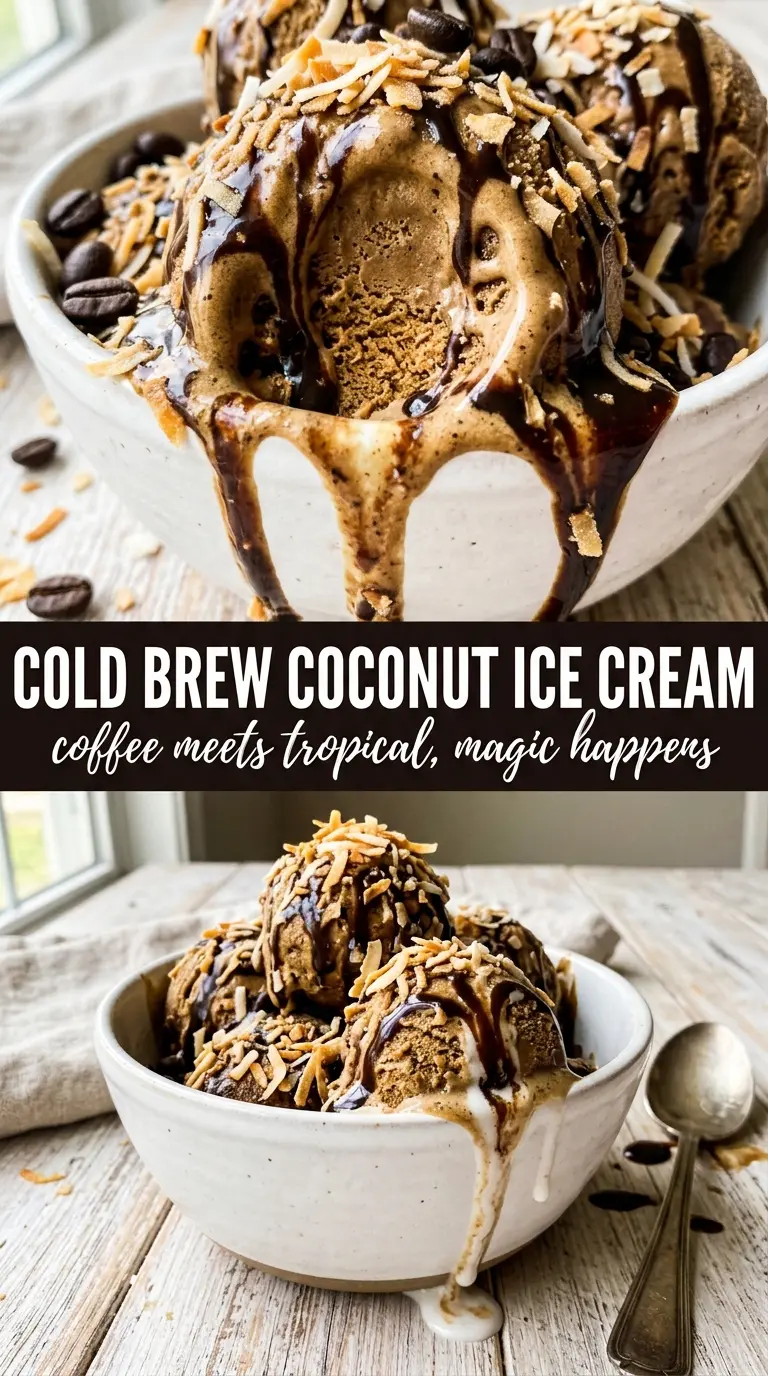
Cold brew coffee ice cream with coconut milk lands with a deep roasted edge and a soft, creamy finish that makes each spoonful feel more luxurious than the short ingredient list suggests. The coffee stays bold instead of turning muddy, and the coconut milk gives it body without dairy, so the texture comes out rich rather than icy when it’s handled the right way.
The key is treating the base like a light custard, even though it doesn’t use eggs. A little arrowroot or cornstarch gives the mixture enough structure to churn into something smooth, and the coconut milk needs to be full-fat so the finished ice cream has enough fat to stay scoopable. If you rush the chilling stage, the flavor won’t settle and the churn will be less creamy, so the rest time matters here.
Below, I’ll walk through the small details that keep the base smooth, plus the swaps that actually work if you want to use maple syrup or need a fully vegan dessert that still tastes like a proper coffee treat.
The texture came out unbelievably smooth, and the cold brew flavor stayed strong even after freezing overnight. I added the drizzle on top like you suggested and it tasted just like a fancy coffee shop dessert.
Creamy cold brew coffee and coconut milk ice cream for the nights when you want bold coffee flavor and a velvety dairy-free scoop.
The Part That Keeps This Ice Cream Creamy Instead of Icy
The biggest mistake with dairy-free ice cream is assuming the churner will fix a weak base. It won’t. Coconut milk needs enough fat, and the base needs enough dissolved sugar and a little starch, or the frozen result turns hard and a bit brittle instead of smooth and scoopable.
Cold brew concentrate brings the flavor, but it also adds extra liquid, so the starch matters more than it would in a richer custard. Whisking it in before heating gives you a base that thickens just slightly on the stove, then firms up properly in the fridge. If you stop cooking too early, the sugar may still be grainy. If you cook it too hard, the coconut milk can separate and taste flat.
- Full-fat coconut milk — This is the backbone of the texture. Light coconut milk won’t give you the same creamy body, and the finished ice cream will freeze harder.
- Cold brew coffee concentrate — Use a strong concentrate, not ready-to-drink coffee. You need concentrated flavor so the coffee still reads clearly after freezing.
- Arrowroot or cornstarch — Either one gives the base enough structure to churn cleanly. Arrowroot stays a little silkier; cornstarch is more common and works well here.
- Granulated sugar or maple syrup — Sugar gives the cleanest freeze and most predictable texture. Maple syrup works, but it adds a deeper note and can make the base slightly softer.
What Each Ingredient Is Actually Doing in This Ice Cream
- Base ingredient (cream, milk, or custard) — This provides the foundation and richness. Quality matters.
- Sweetener (sugar, honey, or condensed milk) — This sweetens and prevents ice crystals. The ratio is critical.
- Flavor element (vanilla, fruit, chocolate, cookie, or other) — This defines the ice cream personality. Use quality ingredients.
- Egg yolks (if making custard base) — These create richness and silky texture. Optional but elevates ice cream.
- Churning (if using ice cream maker) — This incorporates air and prevents ice crystals. Critical for smooth texture.
- Freezing temperature and time — Proper freezing prevents rock-hard texture. Store at 0°F or below.
- Mix-ins (chocolate, cookies, candy, or swirls) — These add texture and prevent one-dimensional flavor. Add near end of churning.
- Serving temperature (slightly soft, not rock hard) — This provides creamy mouthfeel. Remove from freezer 5 minutes before serving.
Cooking the Base Until It Barely Thickens
Whisk Everything Together First
Start in a saucepan and whisk until the coconut milk looks smooth and the starch is fully dispersed. Don’t pour the starch in at the end or it can clump on contact with heat. The mixture should look uniform before it ever goes near the burner.
Heat Just Until It Lightens and Thickens
Cook over medium heat, whisking constantly, until the sugar dissolves and the base takes on a lightly thickened, almost creamy look. You’re not aiming for pudding. If it boils hard, the coconut milk can separate and the coffee note can turn harsh, so pull it as soon as it coats the whisk a little.
Chill Until the Base Is Cold All the Way Through
Set the pan in an ice bath and cool it completely before it goes into the fridge. This speeds things up and helps keep the coconut milk from tasting cooked. The base must be cold before churning or the machine will struggle, and the ice cream will need extra time to firm up later.
Churn, Then Freeze to Finish the Texture
Churn according to your machine’s instructions until the mixture looks like soft-serve and holds ridges on the paddle. That’s the point where it’s ready to transfer. After freezing, it should be scoopable but still dense and creamy; if it turns icy, the base was either under-chilled or too low in fat.
How to Adjust the Flavor Without Losing the Texture
Maple Sweetened Version
Swap the granulated sugar for pure maple syrup if you want a deeper, slightly woodsy sweetness. The ice cream will freeze a touch softer, which is useful if your freezer runs cold, but the coffee flavor will read a little rounder and less sharp.
Extra-Bold Coffee Ice Cream
Use the full 3/4 cup cold brew concentrate and add a tablespoon of instant espresso dissolved into it if you want a louder coffee finish. That gives you a darker, almost mocha-like edge without watering down the base.
Vanilla-Coconut Coffee Swirl
Double the vanilla extract and finish with a spoonful of thick coconut cream swirled through before the final freeze. It softens the coffee edge a little and gives you pockets of richer coconut flavor in each scoop.
Storage and Reheating
- Refrigerator: Not recommended once churned; this is best kept in the freezer after making.
- Freezer: Store in an airtight container with parchment pressed against the surface for up to 2 weeks. The texture stays best in the first few days, then it slowly firms up.
- Reheating: No reheating needed. Let it sit at room temperature for 5 to 10 minutes before scooping. If it’s rock hard, it was frozen too long or the base had too little fat.
Questions I Get Asked About This Recipe
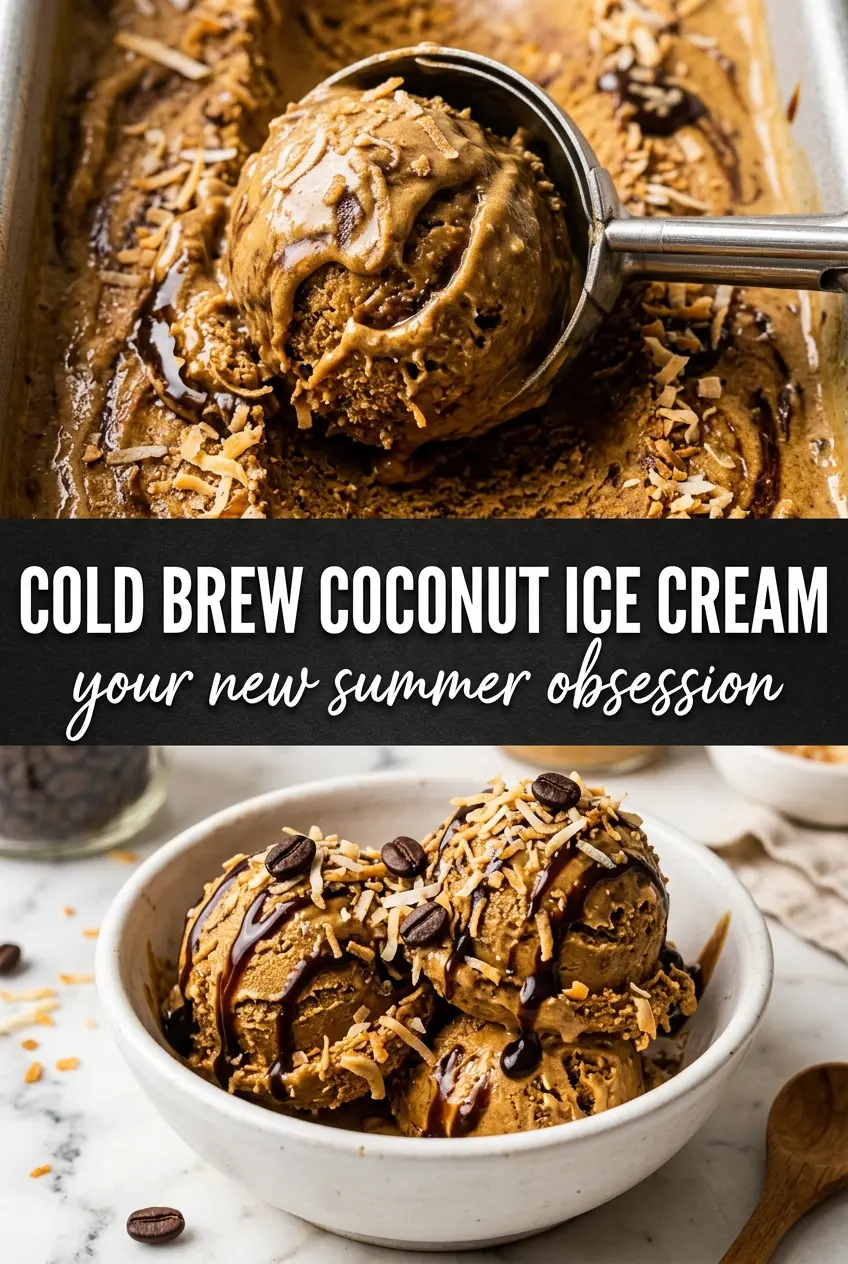
Cold Brew Coffee and Coconut Milk Ice Cream
Ingredients
Equipment
Method
- Whisk full-fat coconut milk, cold brew coffee concentrate, granulated sugar or maple syrup, arrowroot or cornstarch, vanilla extract, and salt together in a saucepan until smooth.
- Heat the mixture over medium heat, whisking constantly, until it thickens slightly and the sugar dissolves—about 5 minutes.
- Cool the mixture completely over an ice bath, stirring as it cools.
- Refrigerate at least 4 hours until very cold.
- Churn the chilled base in an ice cream maker according to the manufacturer’s instructions.
- Freeze until scoopable, then serve with an extra drizzle of cold brew coffee concentrate.