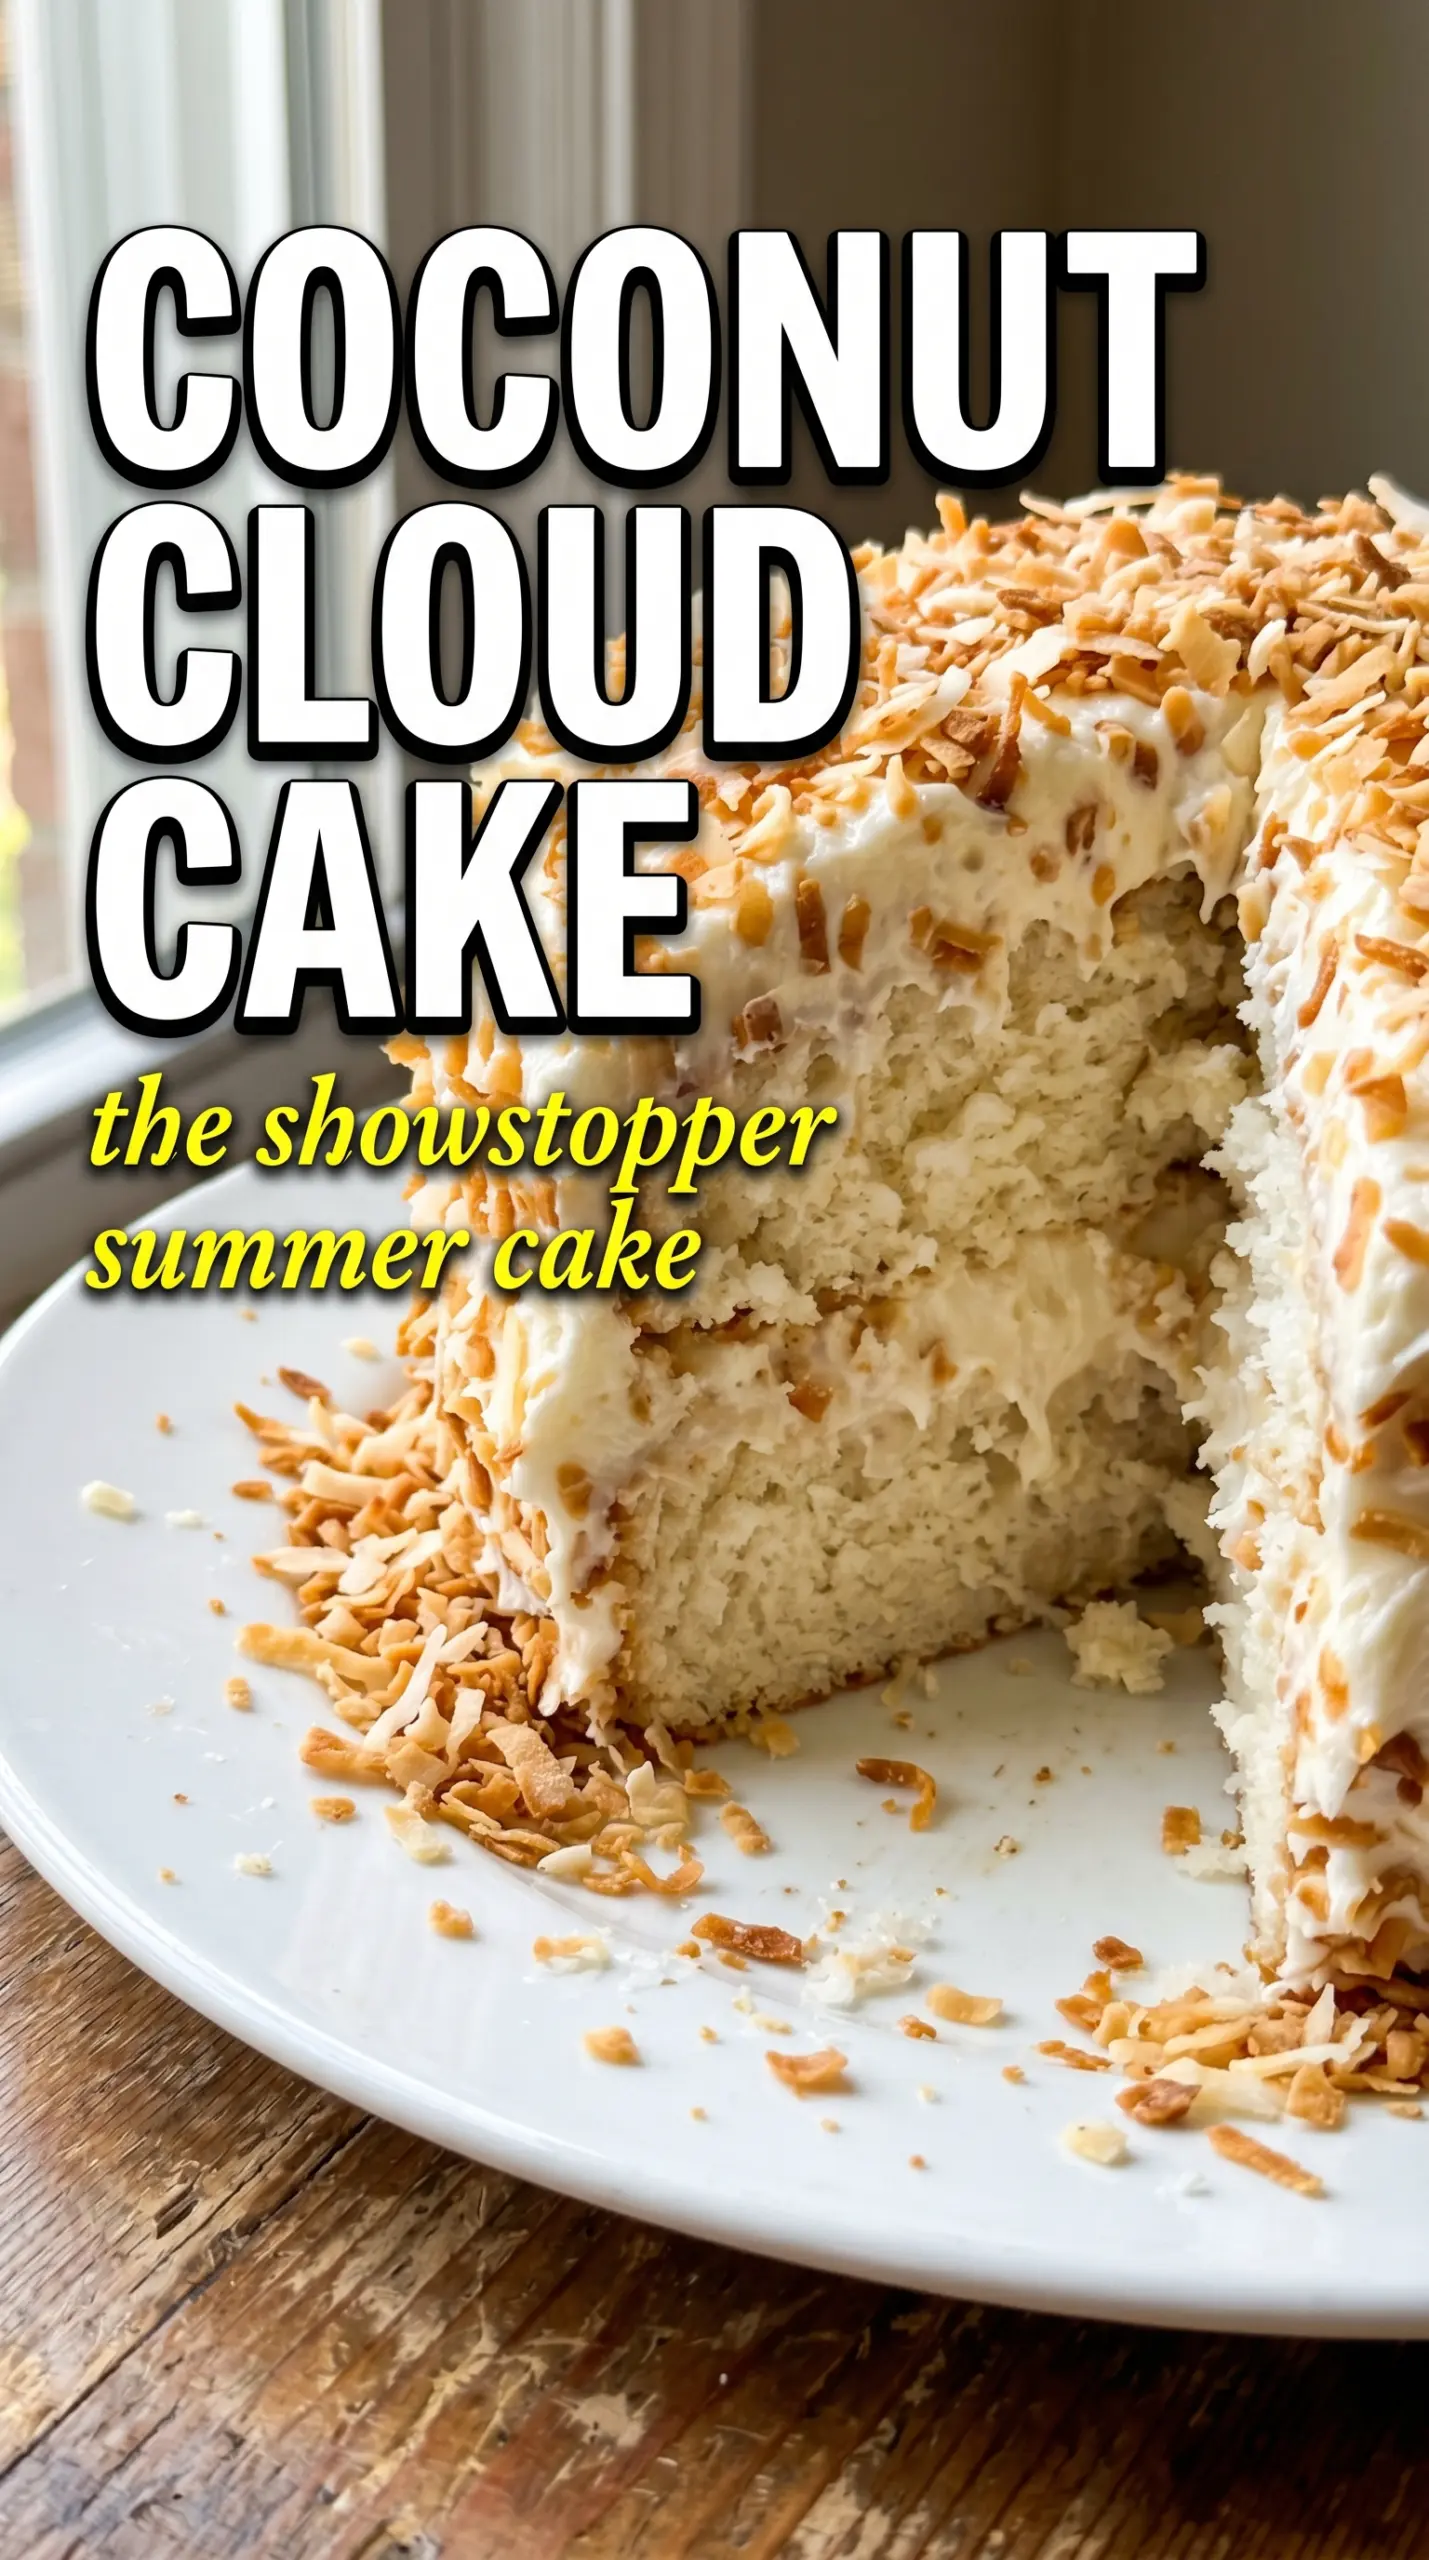
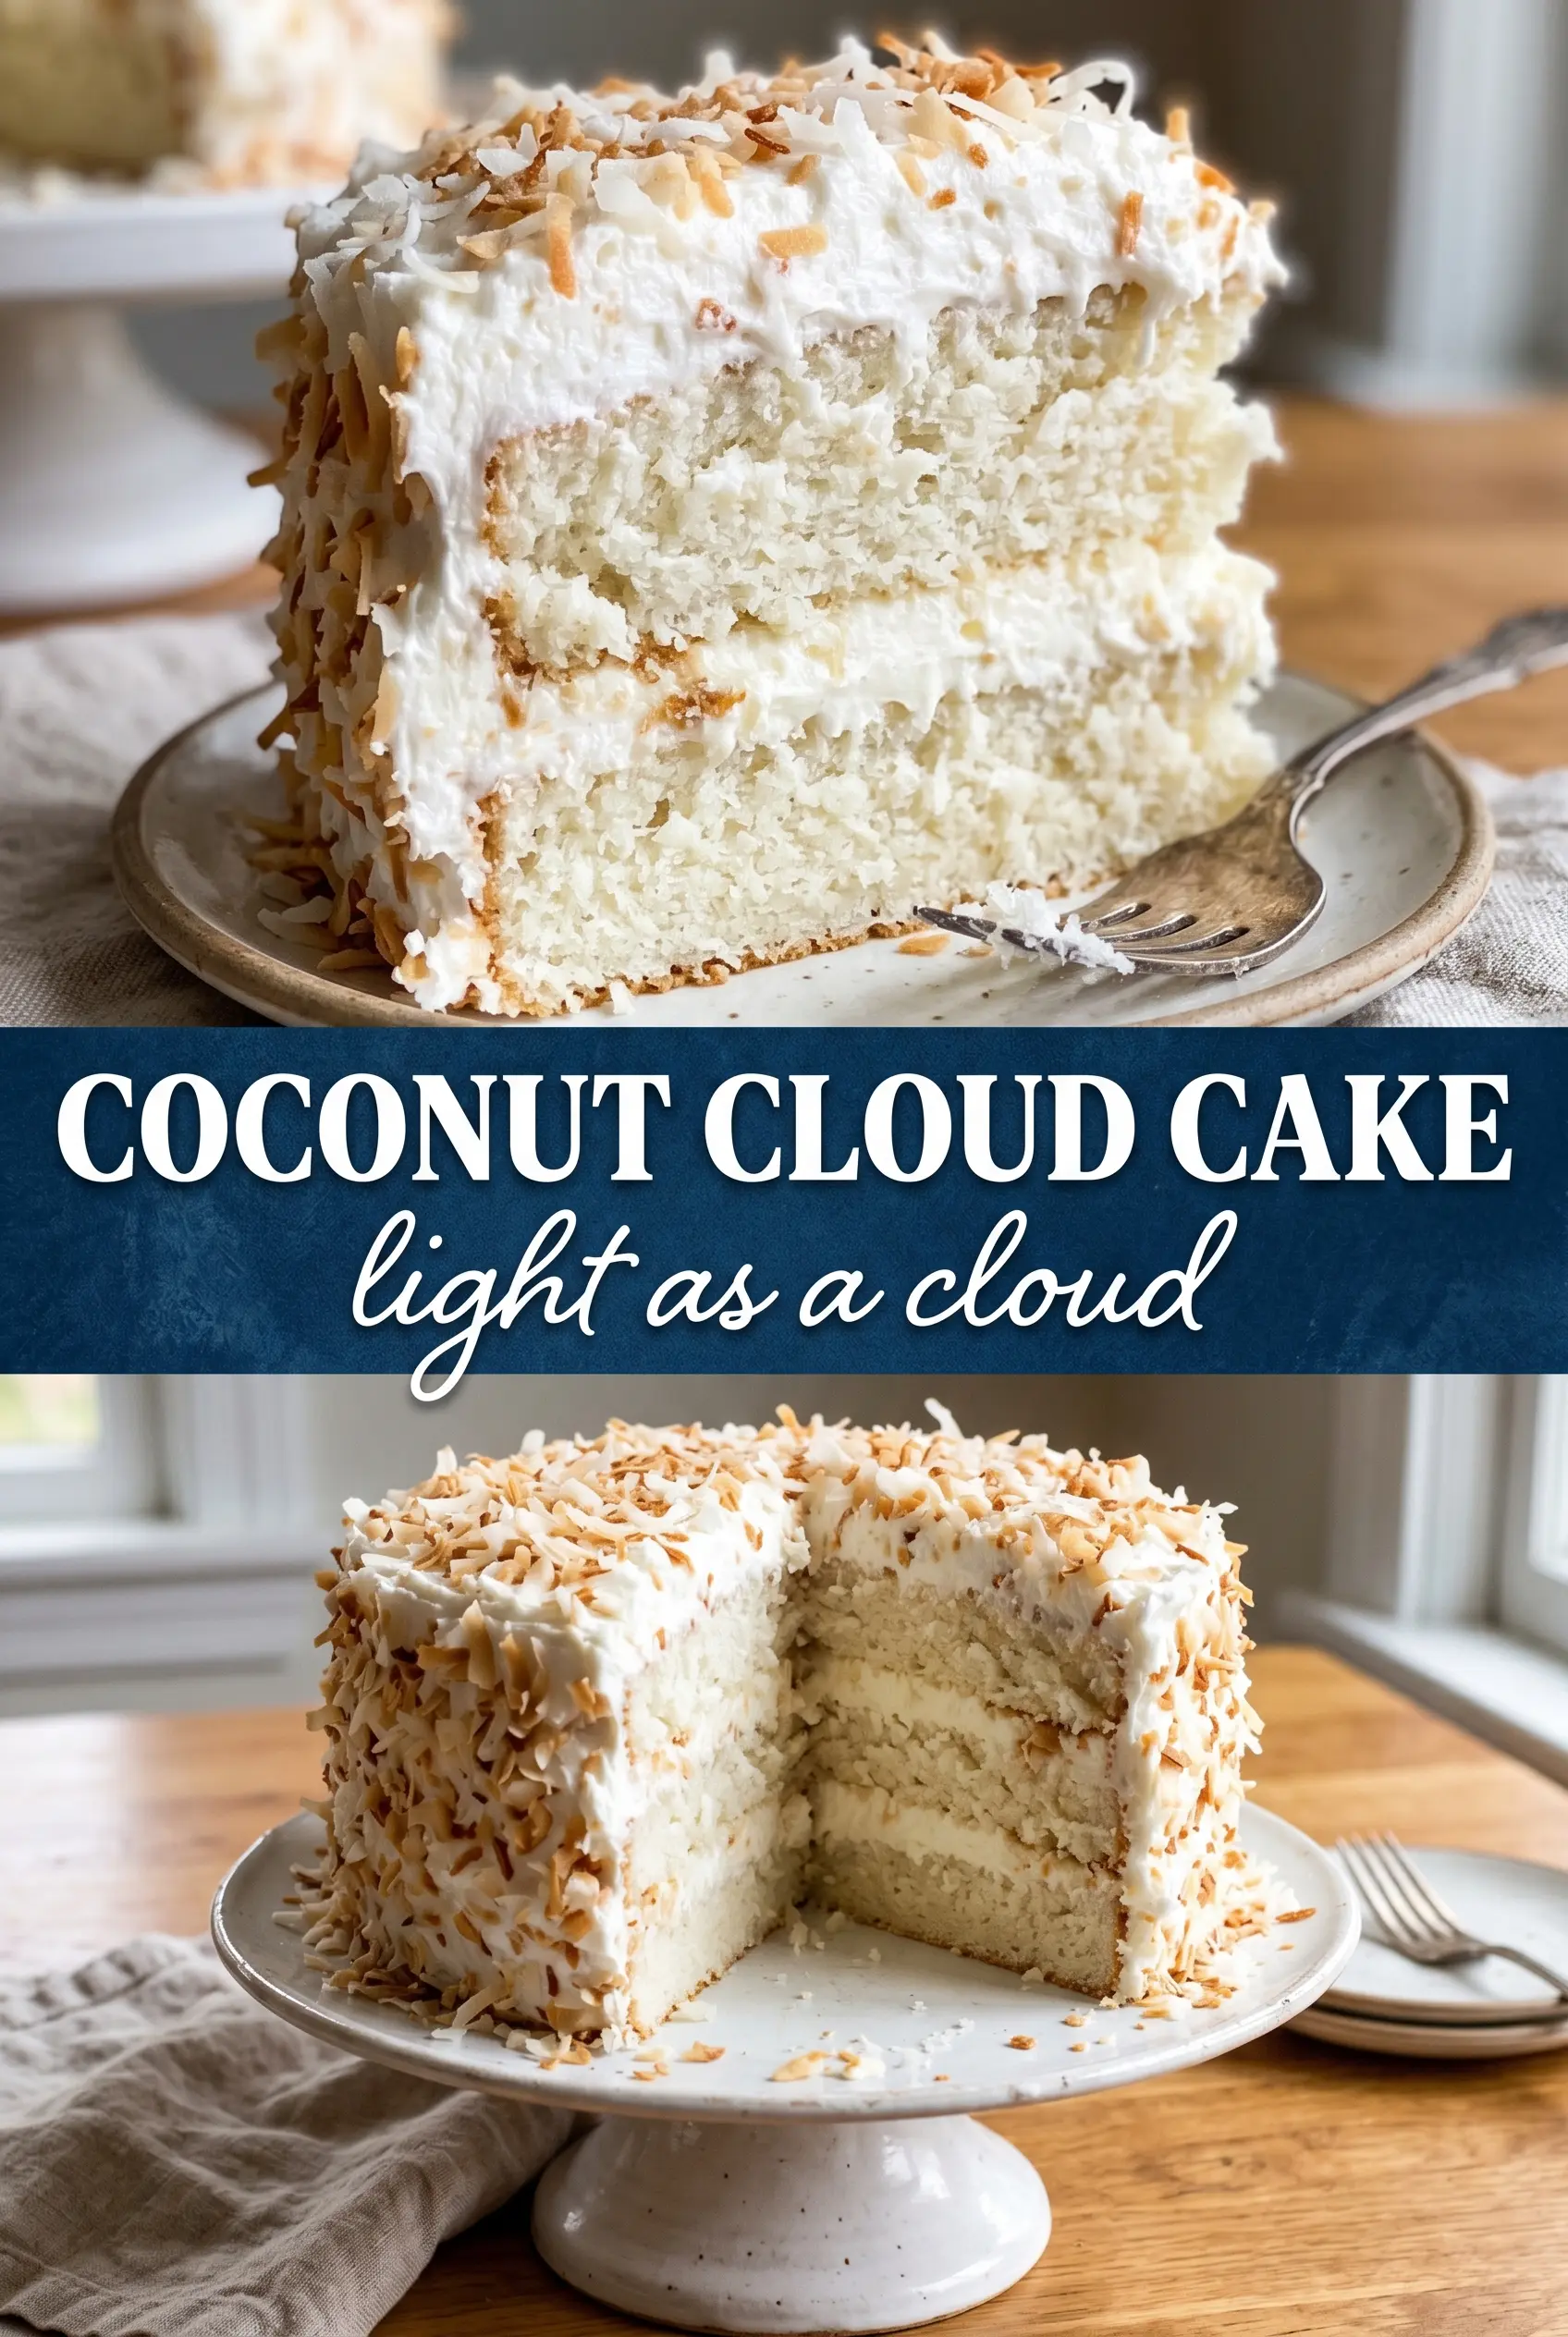
Light as a whisper but still rich enough to feel like a celebration, Coconut Cloud Cake is the kind of layer cake people remember after the plates are cleared. The crumb stays tender and plush, the frosting is thick and creamy without turning heavy, and the toasted coconut on the outside gives every slice a little crunch before it melts into sweetness. It looks dramatic on the table and slices cleanly, which is half the magic with a cake like this.
What makes this version work is balance. Coconut milk brings flavor without thinning the batter too much, coconut extract backs up the shredded coconut, and the butter-and-sugar base gives the cake lift before the baking powder finishes the job. The frosting is a classic cream cheese buttercream, which means it sets up well enough to hold the coconut coating without sliding off the sides.
Below, I’ve included the small details that matter most: how to keep the cake layers fluffy instead of dense, when the frosting is ready, and how to get the coconut to stick in that clean, fully coated finish.
The cake baked up so soft and even, and the toasted coconut stuck to the frosting perfectly. I served it after chilling for an hour and the slices held their shape beautifully.
Save this coconut cloud cake for the days when you want a tall, fluffy layer cake with toasted coconut and cream cheese frosting.
The Detail That Keeps This Cake Light Instead of Dense
Most coconut layer cakes go heavy because the batter gets overmixed once the flour goes in. The flour only needs to disappear into the batter. After that, stop. The coconut milk and shredded coconut add weight on their own, so the air you beat into the butter and sugar is doing important work here.
The other mistake is pulling the cake before the center has set. A layer cake like this should spring back lightly when touched in the middle, and a toothpick should come out with a few moist crumbs, not wet batter. If the cake is dry, it usually baked too long; if it sinks, it needed a few more minutes in the oven.
- Coconut extract — This gives the cake its clear coconut flavor without needing a ton of shredded coconut. Vanilla softens it so it doesn’t taste sharp.
- Coconut milk — Use canned coconut milk if you can. It’s richer and more reliable than the beverage kind from a carton, which can make the batter thin.
- Shredded coconut — Fold it in at the end so it stays evenly distributed. Sweetened coconut gives the cake little bursts of texture and helps keep each bite moist.
- Cream cheese frosting — The tang keeps the cake from tasting one-note sweet, and it gives the toasted coconut something sticky enough to cling to.
What Each Part Is Doing in the Bowl
- Butter and sugar — This is where the cake gets its lift. Beat them until pale and very fluffy so the crumb bakes up light instead of tight.
- Eggs — Add them one at a time so the batter stays smooth. If you dump them in together, the mixture can look curdled before it comes back together.
- Flour and baking powder — The flour gives structure, and the baking powder handles the rise. Spoon and level the flour if you can; too much packed flour makes the cake dry.
- Toasted shredded coconut — This is for the outside, not the batter. Toast it until it smells nutty and turns golden at the edges, then cool it before pressing it onto the frosting or it will melt the finish.
Building the Layers Without Losing the Air
Whipping the Base
Beat the butter and sugar until the mixture turns pale and almost fluffy enough to spread on its own. That step is where the cake gets its lift, so don’t rush it. Scrape the bowl down halfway through so no cold butter hides at the bottom and thickens the batter unevenly. Once the eggs go in, the mixture should look smooth and glossy, not separated.
Adding the Dry and Wet Ingredients
Add the flour mixture and coconut milk in alternating additions, beginning and ending with flour. That keeps the batter emulsified and prevents it from looking greasy or curdled. Stop mixing as soon as the last streak of flour disappears. Overmixing at this point is the fastest way to turn a soft cake into a springy one.
Folding in the Coconut
Use a spatula and fold the shredded coconut in by hand. You want it evenly scattered, not beaten into shreds. Divide the batter right away so the layers bake evenly, and smooth the tops only a little. A flat surface helps the cakes stack cleanly later, but don’t knock out the air you just built.
Frosting and Coating
Beat the cream cheese and butter until completely smooth before the sugar goes in. If the base still has lumps, they’ll stay there. Add the powdered sugar gradually, then beat until the frosting looks thick and billowy. Frost the cake generously, then press the toasted coconut onto the sides and top while the frosting is still soft enough to grab it.
How to Adapt This Cake for Different Tables
Make It More Coconut-Forward
Add up to 1/2 teaspoon more coconut extract to the frosting or replace a little of the vanilla in the cake with more coconut extract. That gives a stronger coconut flavor without changing the structure, but don’t overdo it or the cake can taste perfumed.
Gluten-Free Version
Swap the all-purpose flour for a good 1:1 gluten-free baking blend with xanthan gum already included. The cake will still be tender, though it may need a few extra minutes in the oven and should be cooled completely before frosting so it doesn’t crumble.
Lighter Finish with Whipped Cream
If you want a less rich dessert, replace the cream cheese frosting with stabilized whipped cream and still coat the outside with toasted coconut. You’ll lose the tangy density that helps the cake slice neatly, so plan to serve it the same day.
Storage and Reheating
- Refrigerator: Store covered for up to 4 days. The cake stays moist, though the coconut coating softens a little on day two.
- Freezer: Freeze unfrosted layers tightly wrapped for up to 2 months, or freeze slices after chilling them solid. Fully frosted cake can be frozen, but the texture of the frosting changes a bit after thawing.
- Reheating: Bring slices to room temperature before serving. Don’t microwave this cake unless you want the frosting to melt and the coconut coating to go sticky.
Answers to the Questions Worth Asking
Coconut Cloud Cake
Ingredients
Equipment
Method
- Preheat the oven to 350°F and grease three 8-inch or two 9-inch round cake pans; line with parchment for easy release.
- In a bowl, whisk together the all-purpose flour, baking powder, and salt until evenly combined.
- Beat the butter and granulated sugar until very fluffy, with noticeably lighter color and texture.
- Add the eggs one at a time, mixing well after each addition.
- Mix in the vanilla extract and coconut extract until smooth and fragrant.
- Alternate adding the flour mixture and the coconut milk, mixing just until the batter is smooth.
- Fold in the sweetened shredded coconut until evenly distributed.
- Divide the batter evenly and bake for 25-30 minutes, until a toothpick comes out clean.
- Cool the cakes completely on a rack before frosting.
- Beat the cream cheese and butter until completely smooth, then scrape the bowl as needed.
- Add the powdered sugar and coconut extract and beat until fluffy, thick, and spreadable.
- Fill and frost the cake generously with the coconut cream cheese frosting, smoothing the top and sides.
- Immediately press toasted shredded coconut firmly all over the outside and top until fully coated, so the flakes adhere while the frosting is fresh.