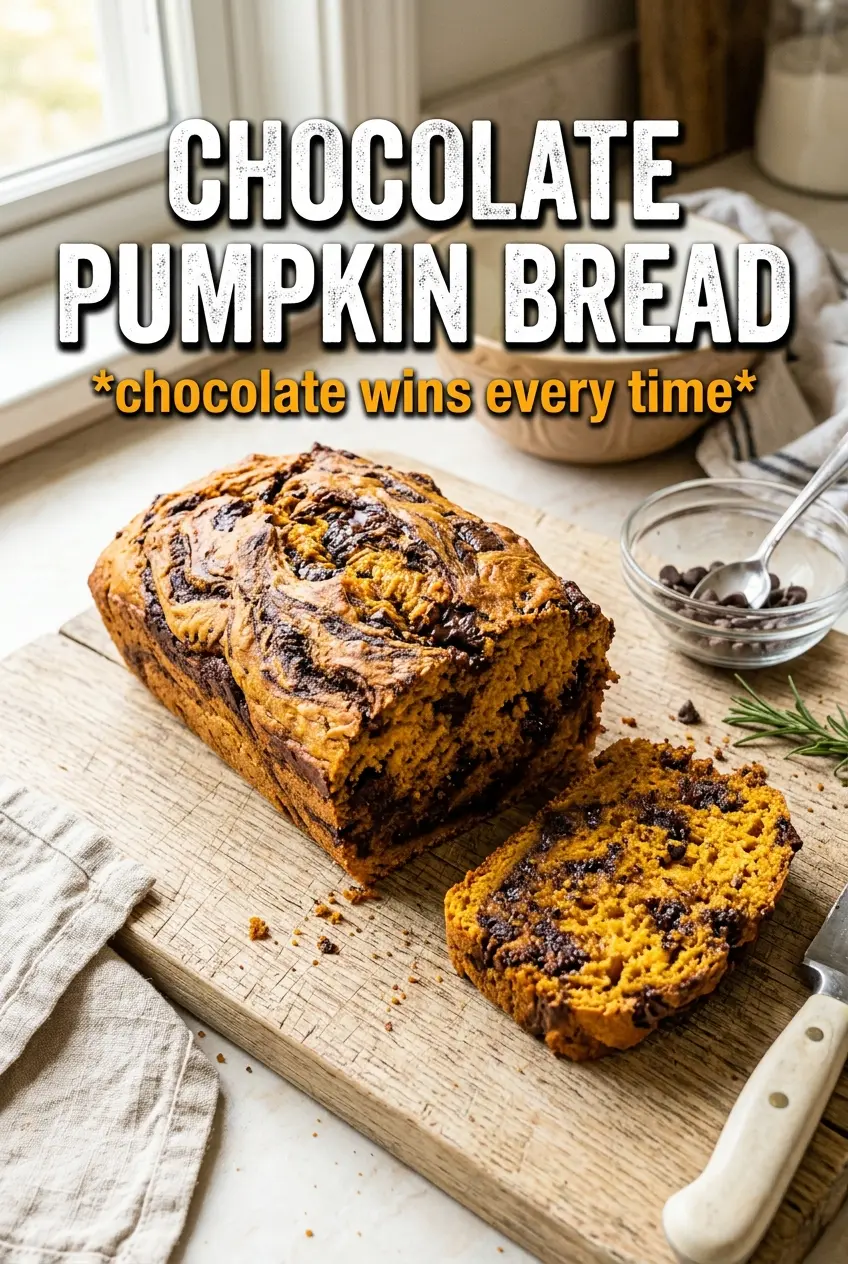
Chocolate pumpkin bread bakes up with a deep cocoa aroma, a tender crumb, and just enough pumpkin to keep every slice moist for days. The chocolate chips melt into little pockets as it bakes, and the glossy glaze on top gives each slice the kind of finish that makes a simple loaf feel a little special without turning fussy.
What makes this version work is the balance. Pumpkin puree brings moisture and body, but the batter still needs enough structure from the flour and eggs so it doesn’t turn gummy. Cocoa powder adds richness, while both brown sugar and granulated sugar keep the crumb soft without making it overly dense. The loaf also handles the chocolate chips well because they’re folded in at the end, so you get even bursts of chocolate instead of a streaky batter.
Below you’ll find the trick for keeping the loaf tender instead of heavy, plus the best way to glaze it so the top looks polished and the slices still hold together cleanly.
The loaf came out incredibly moist and the chocolate chips stayed evenly distributed all the way through. I baked it for the full 65 minutes and the glaze set up beautifully without sliding off.
Save this chocolate pumpkin bread for when you want a rich, moist loaf with a glossy chocolate finish and plenty of melty chips.
The Batter Needs Gentle Folding, Not Full Mixing
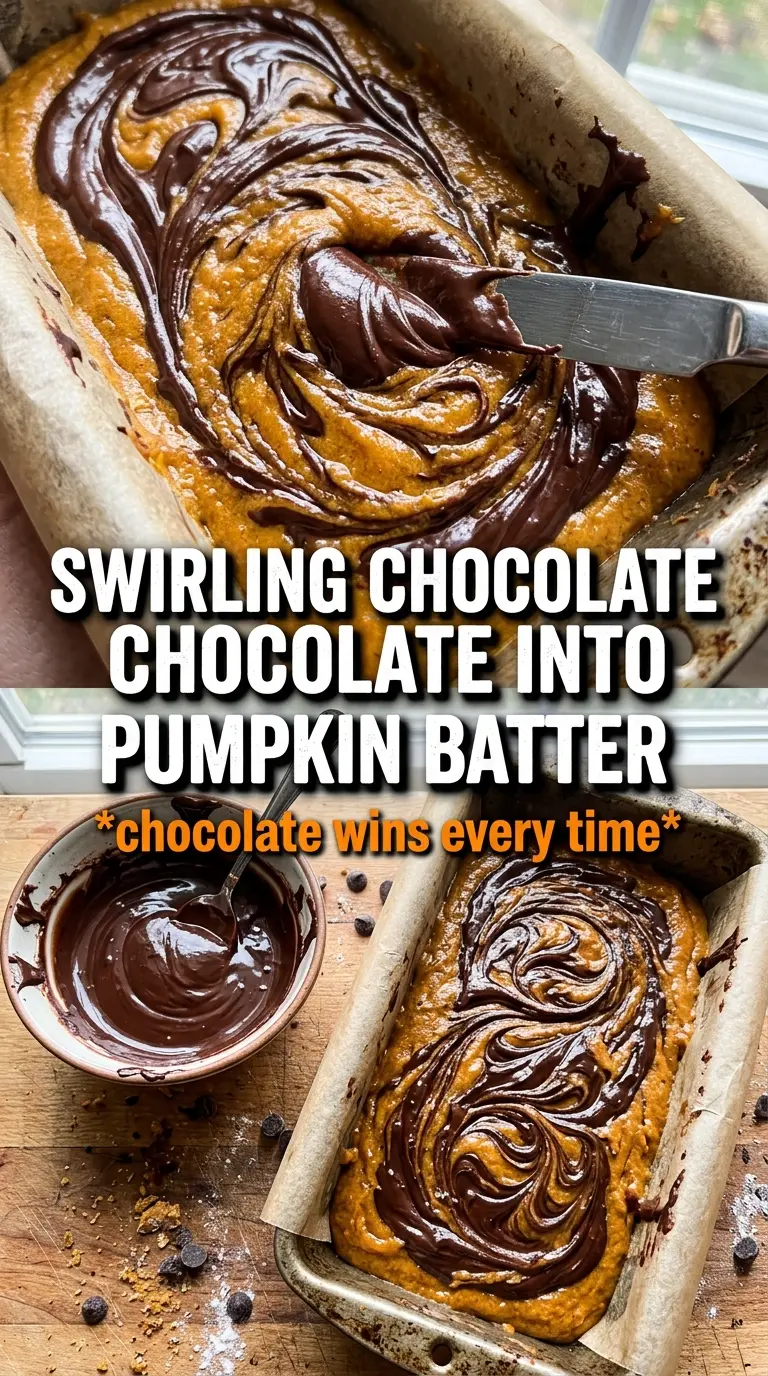
With a quick bread like this, the biggest mistake is overworking the batter after the dry ingredients go in. Once the flour is added, stir only until the streaks disappear and then stop. Overmixing develops the flour and gives you a tighter, tougher loaf instead of that soft, brownie-like crumb you want here.
The other thing that matters is oven time. Chocolate pumpkin bread can look set on top before the center is fully baked because cocoa darkens the surface. Use the toothpick test in the center of the loaf, and look for a few moist crumbs rather than wet batter. If the top is browning too fast, lay a piece of foil loosely over it for the last 15 minutes.
- Pumpkin puree — This gives the loaf its moisture and plush texture. Use plain pumpkin puree, not pumpkin pie filling, which already contains sugar and spices and will throw off the balance.
- Cocoa powder — Unsweetened cocoa is what gives the bread its deep chocolate flavor. There isn’t a real substitute that behaves the same way, so this is the ingredient to keep standard.
- Chocolate chips — Folding in most of them at the end keeps the batter from getting muddy and gives you distinct pockets of chocolate. A mix of chips and chopped chocolate works too if you want some larger melted bits.
- Vegetable oil — Oil keeps quick bread softer for longer than butter does. Melted butter can work, but the loaf will set up a little firmer and won’t stay as tender by day two.
What Each Ingredient Is Doing in the Loaf
- All-purpose flour — This gives the loaf enough structure to hold all that pumpkin without sinking. Bread flour is too strong here and makes the crumb chewier than it should be.
- Brown sugar and granulated sugar — The brown sugar adds a little molasses depth and helps with moisture, while the granulated sugar keeps the crumb lighter. Using only brown sugar would make the loaf heavier.
- Eggs — They bind the batter and help the loaf rise cleanly. Room-temperature eggs blend faster into the pumpkin mixture, which keeps the batter smoother.
- Pumpkin pie spice and cinnamon — These don’t make the bread taste like pie so much as they round out the cocoa. If you’re out of pumpkin pie spice, use extra cinnamon plus a pinch of ginger and nutmeg.
- Glaze ingredients — The melted chocolate chips, butter, and cream make a thin glaze that sets with a soft sheen. If you want a firmer top, let the loaf cool longer before drizzling so the glaze stays on the surface instead of soaking in.
Building the Loaf So It Stays Tender
Mix the Dry Ingredients First
Whisk the flour, cocoa, baking soda, baking powder, spices, and salt together until the cocoa is fully broken up. Cocoa likes to clump, and those little pockets will show up as dry streaks in the finished loaf if you rush this part. A thorough dry mix also helps the leaveners spread evenly, which keeps the rise uniform from edge to center.
Blend the Pumpkin Base Until Smooth
Whisk the pumpkin puree, both sugars, oil, eggs, and vanilla until the mixture looks glossy and even. You should not see streaks of egg white or lumps of sugar hanging around the bowl. This step sets up the texture, and a smooth base means the batter comes together quickly once the flour goes in.
Fold, Then Stop
Add the dry ingredients to the wet mixture and fold just until no flour streaks remain, then fold in 1 cup of the chocolate chips. The batter will be thick, and that’s normal. If you keep stirring because it still looks a little rustic, the loaf will bake up dense instead of soft.
Bake Until the Center Springs Back
Pour the batter into the prepared pan, scatter the remaining chips on top, and bake until a toothpick inserted in the center comes out clean or with a few moist crumbs. The top should be set and slightly cracked, and the loaf should pull just a touch from the sides of the pan. Let it rest for 15 minutes before glazing so the chocolate topping stays put and doesn’t melt into the crumb.
How to Adapt This Chocolate Pumpkin Bread Without Losing the Good Part
Dairy-Free Glaze Swap
Use a dairy-free butter and your favorite unsweetened non-dairy cream or even a splash of oat milk for the glaze. The loaf itself is already dairy-free, so this swap keeps the finish glossy without changing the bread’s texture.
Making It Less Sweet
Cut the granulated sugar to 1/2 cup if you want the chocolate flavor to come forward more. The loaf will still stay moist because of the pumpkin and oil, but the crumb will taste a little darker and less dessert-like.
Skipping the Glaze
Leave the glaze off if you want a cleaner breakfast loaf or easier slicing. The bread is still rich on its own, and skipping the topping gives you a softer crust with less sweetness on the finish.
Freezer-Friendly Slices
Bake the loaf as written, cool it completely, then slice and freeze the pieces between layers of parchment. That gives you grab-and-go slices that reheat well without drying out the whole loaf at once.
Storage and Reheating
- Refrigerator: Store in an airtight container for up to 5 days. The crumb gets a little firmer in the fridge, but it stays moist.
- Freezer: Freeze the whole loaf or individual slices for up to 3 months. Wrap tightly in plastic, then foil, so the chocolate doesn’t pick up freezer flavor.
- Reheating: Warm slices in the microwave for 10 to 15 seconds or in a low oven until just heated through. If you heat it too long, the chocolate chips turn greasy and the crumb dries out at the edges.
Answers to the Questions Worth Asking
Chocolate Pumpkin Bread
Ingredients
Equipment
Method
- Preheat oven to 350°F, then grease a 9x5 loaf pan so the loaf releases cleanly.
- Whisk together all-purpose flour, cocoa powder, baking soda, baking powder, pumpkin pie spice, cinnamon, and salt until evenly combined and no lumps remain.
- Whisk pumpkin puree, granulated sugar, brown sugar, vegetable oil, eggs, and vanilla extract until smooth and glossy.
- Fold the flour mixture into the pumpkin mixture until just combined, then fold in 1 cup of the dark chocolate chips.
- Pour the batter into the prepared loaf pan, then scatter the remaining dark chocolate chips over the top.
- Bake at 350°F for 60 to 65 minutes, until a toothpick inserted in the center comes out clean.
- Cool the loaf for 15 minutes, then drizzle with the chocolate glaze while it’s still slightly warm so it looks glossy.
- Melt chocolate chips with butter and cream, then stir until smooth and fluid enough to drizzle.