Deep chocolate ice cream with thick ribbons of peanut butter running through every scoop has a way of disappearing fast. The chocolate base tastes rich and clean instead of muddy, and the peanut butter stays soft enough to swirl without turning icy. You get that classic chocolate-and-peanut-butter hit in a texture that feels homemade in the best possible way.
The trick is building the custard gently so the chocolate stays smooth and the yolks thicken the base without scrambling. Cocoa powder gets whisked into the cream and milk first, which keeps it from floating on top or turning grainy later. Then the chopped dark chocolate melts right into the hot dairy, giving the ice cream a deeper flavor than cocoa alone can manage.
Below, I’ve included the step that keeps the peanut butter swirl from disappearing into the base, plus a few swaps that matter if you want the chocolate a little darker or the finish a little softer.
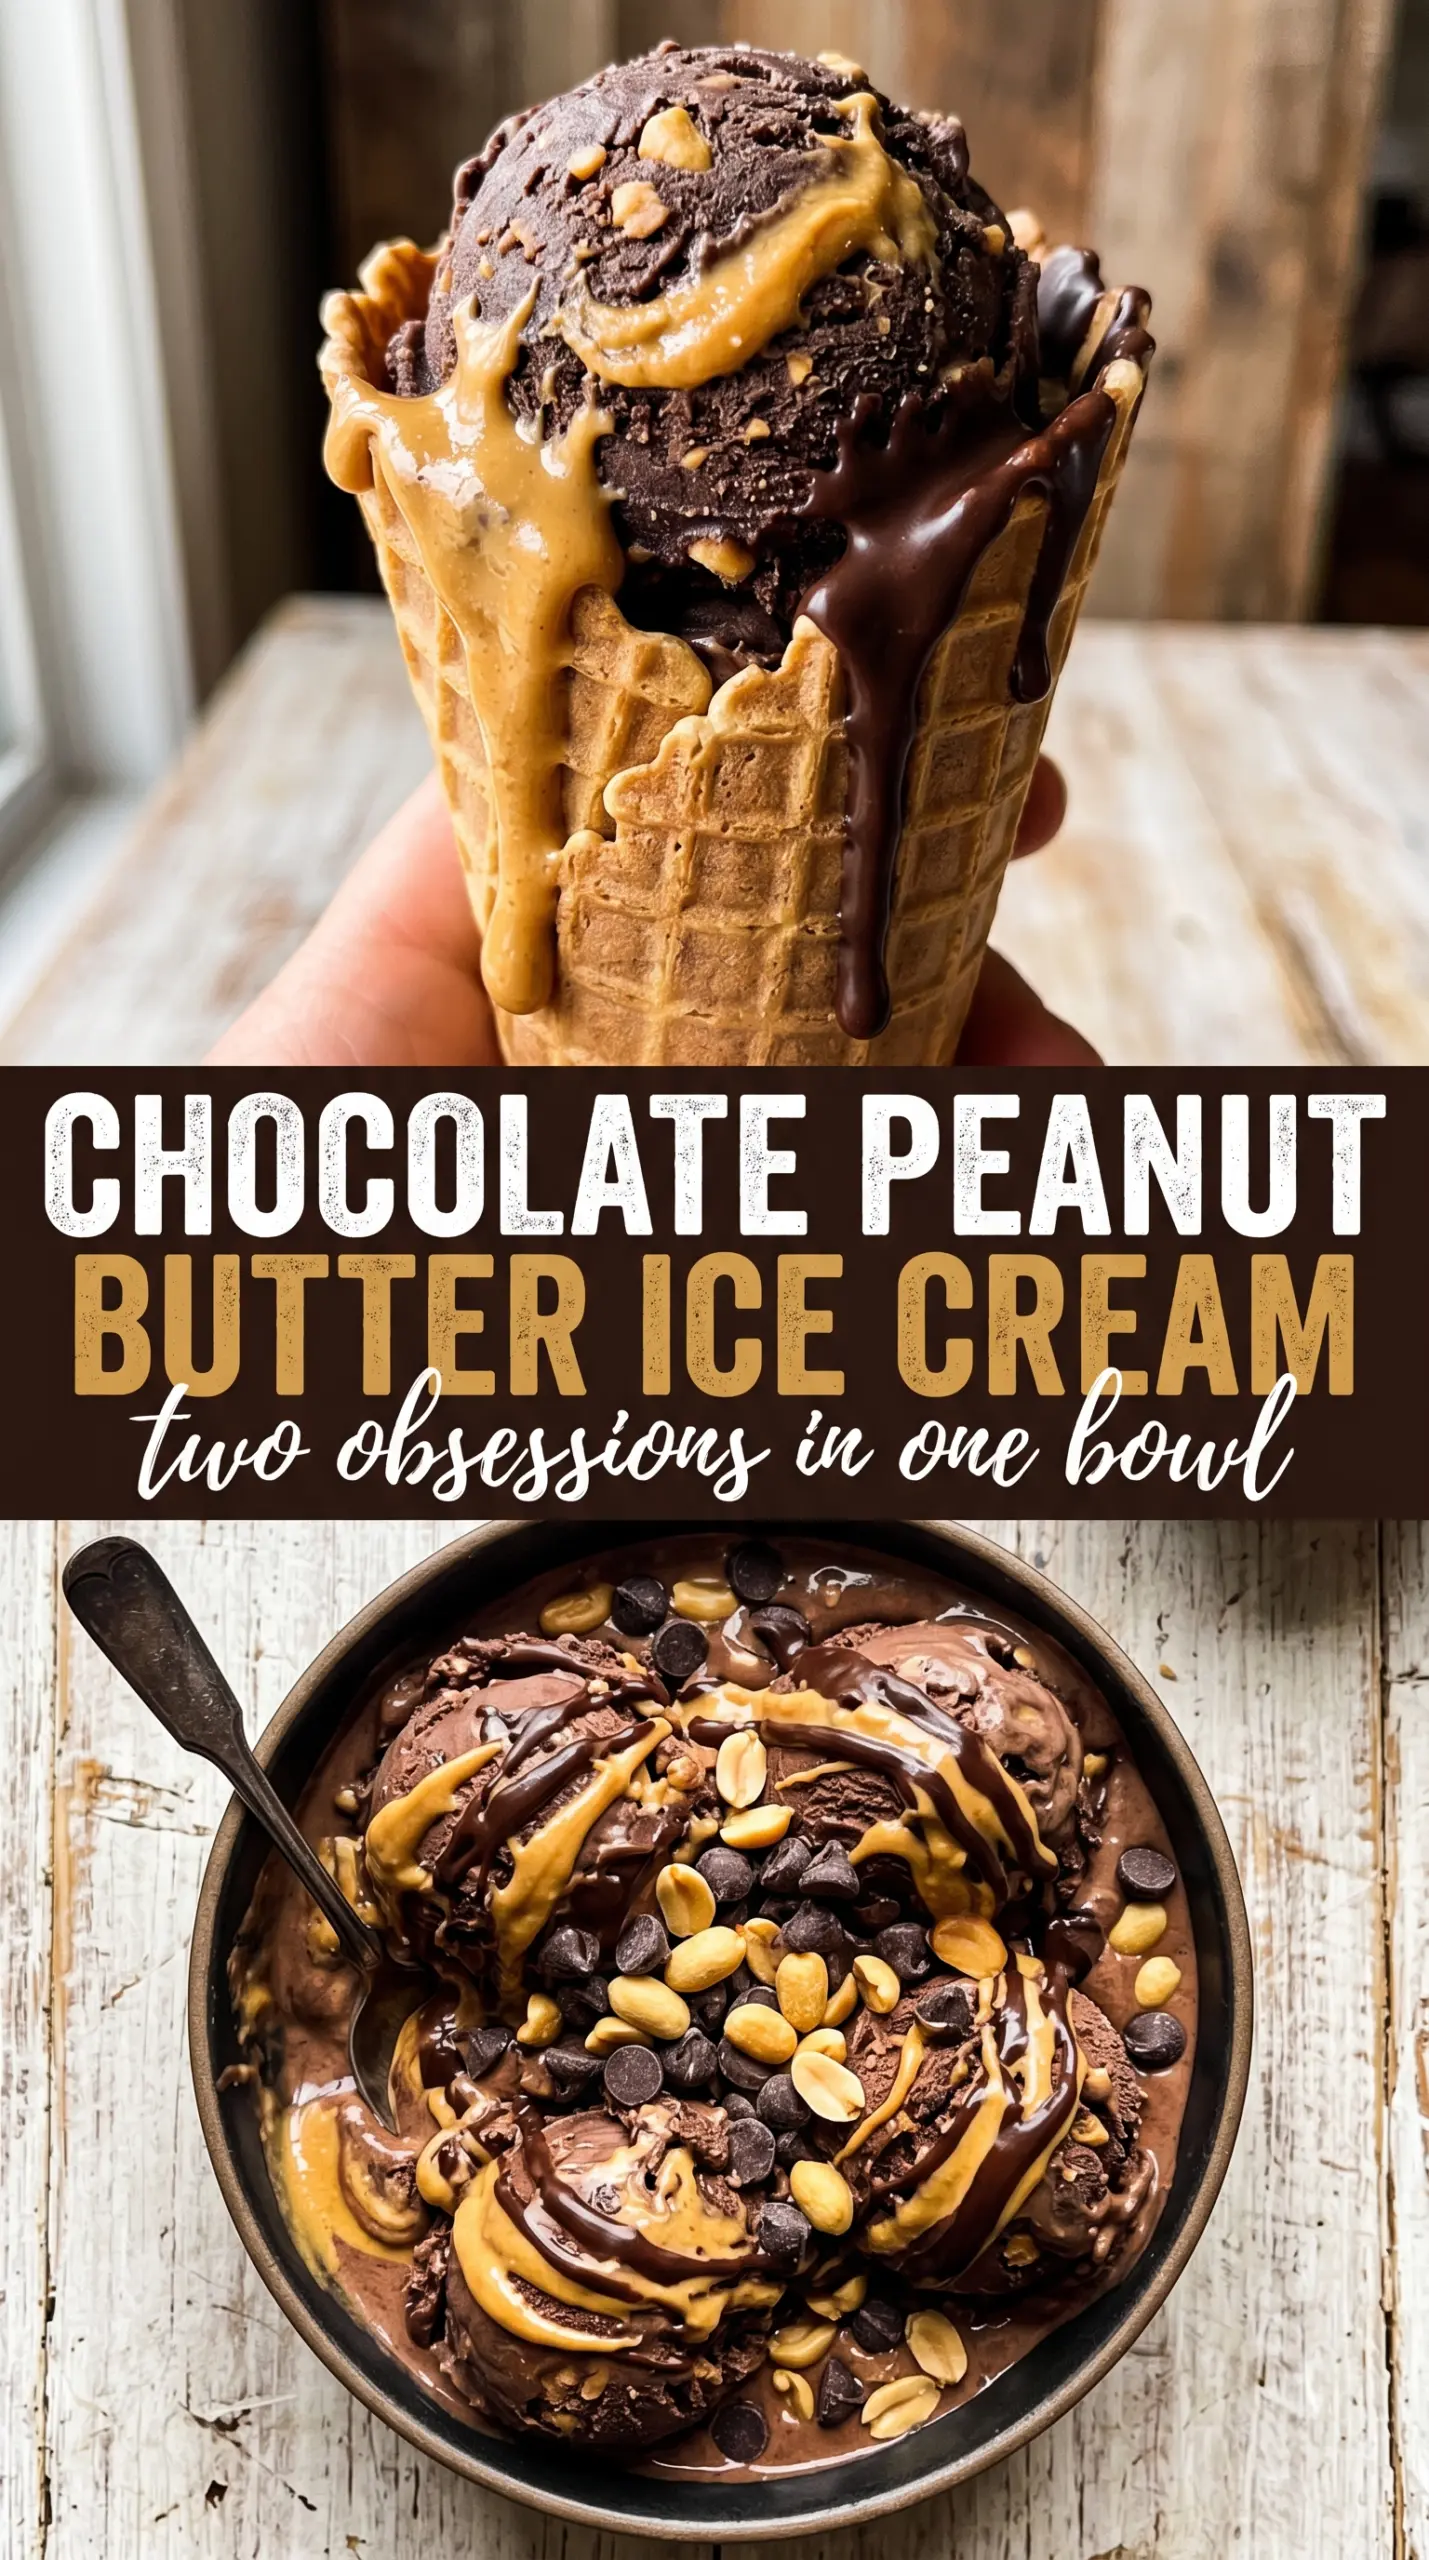
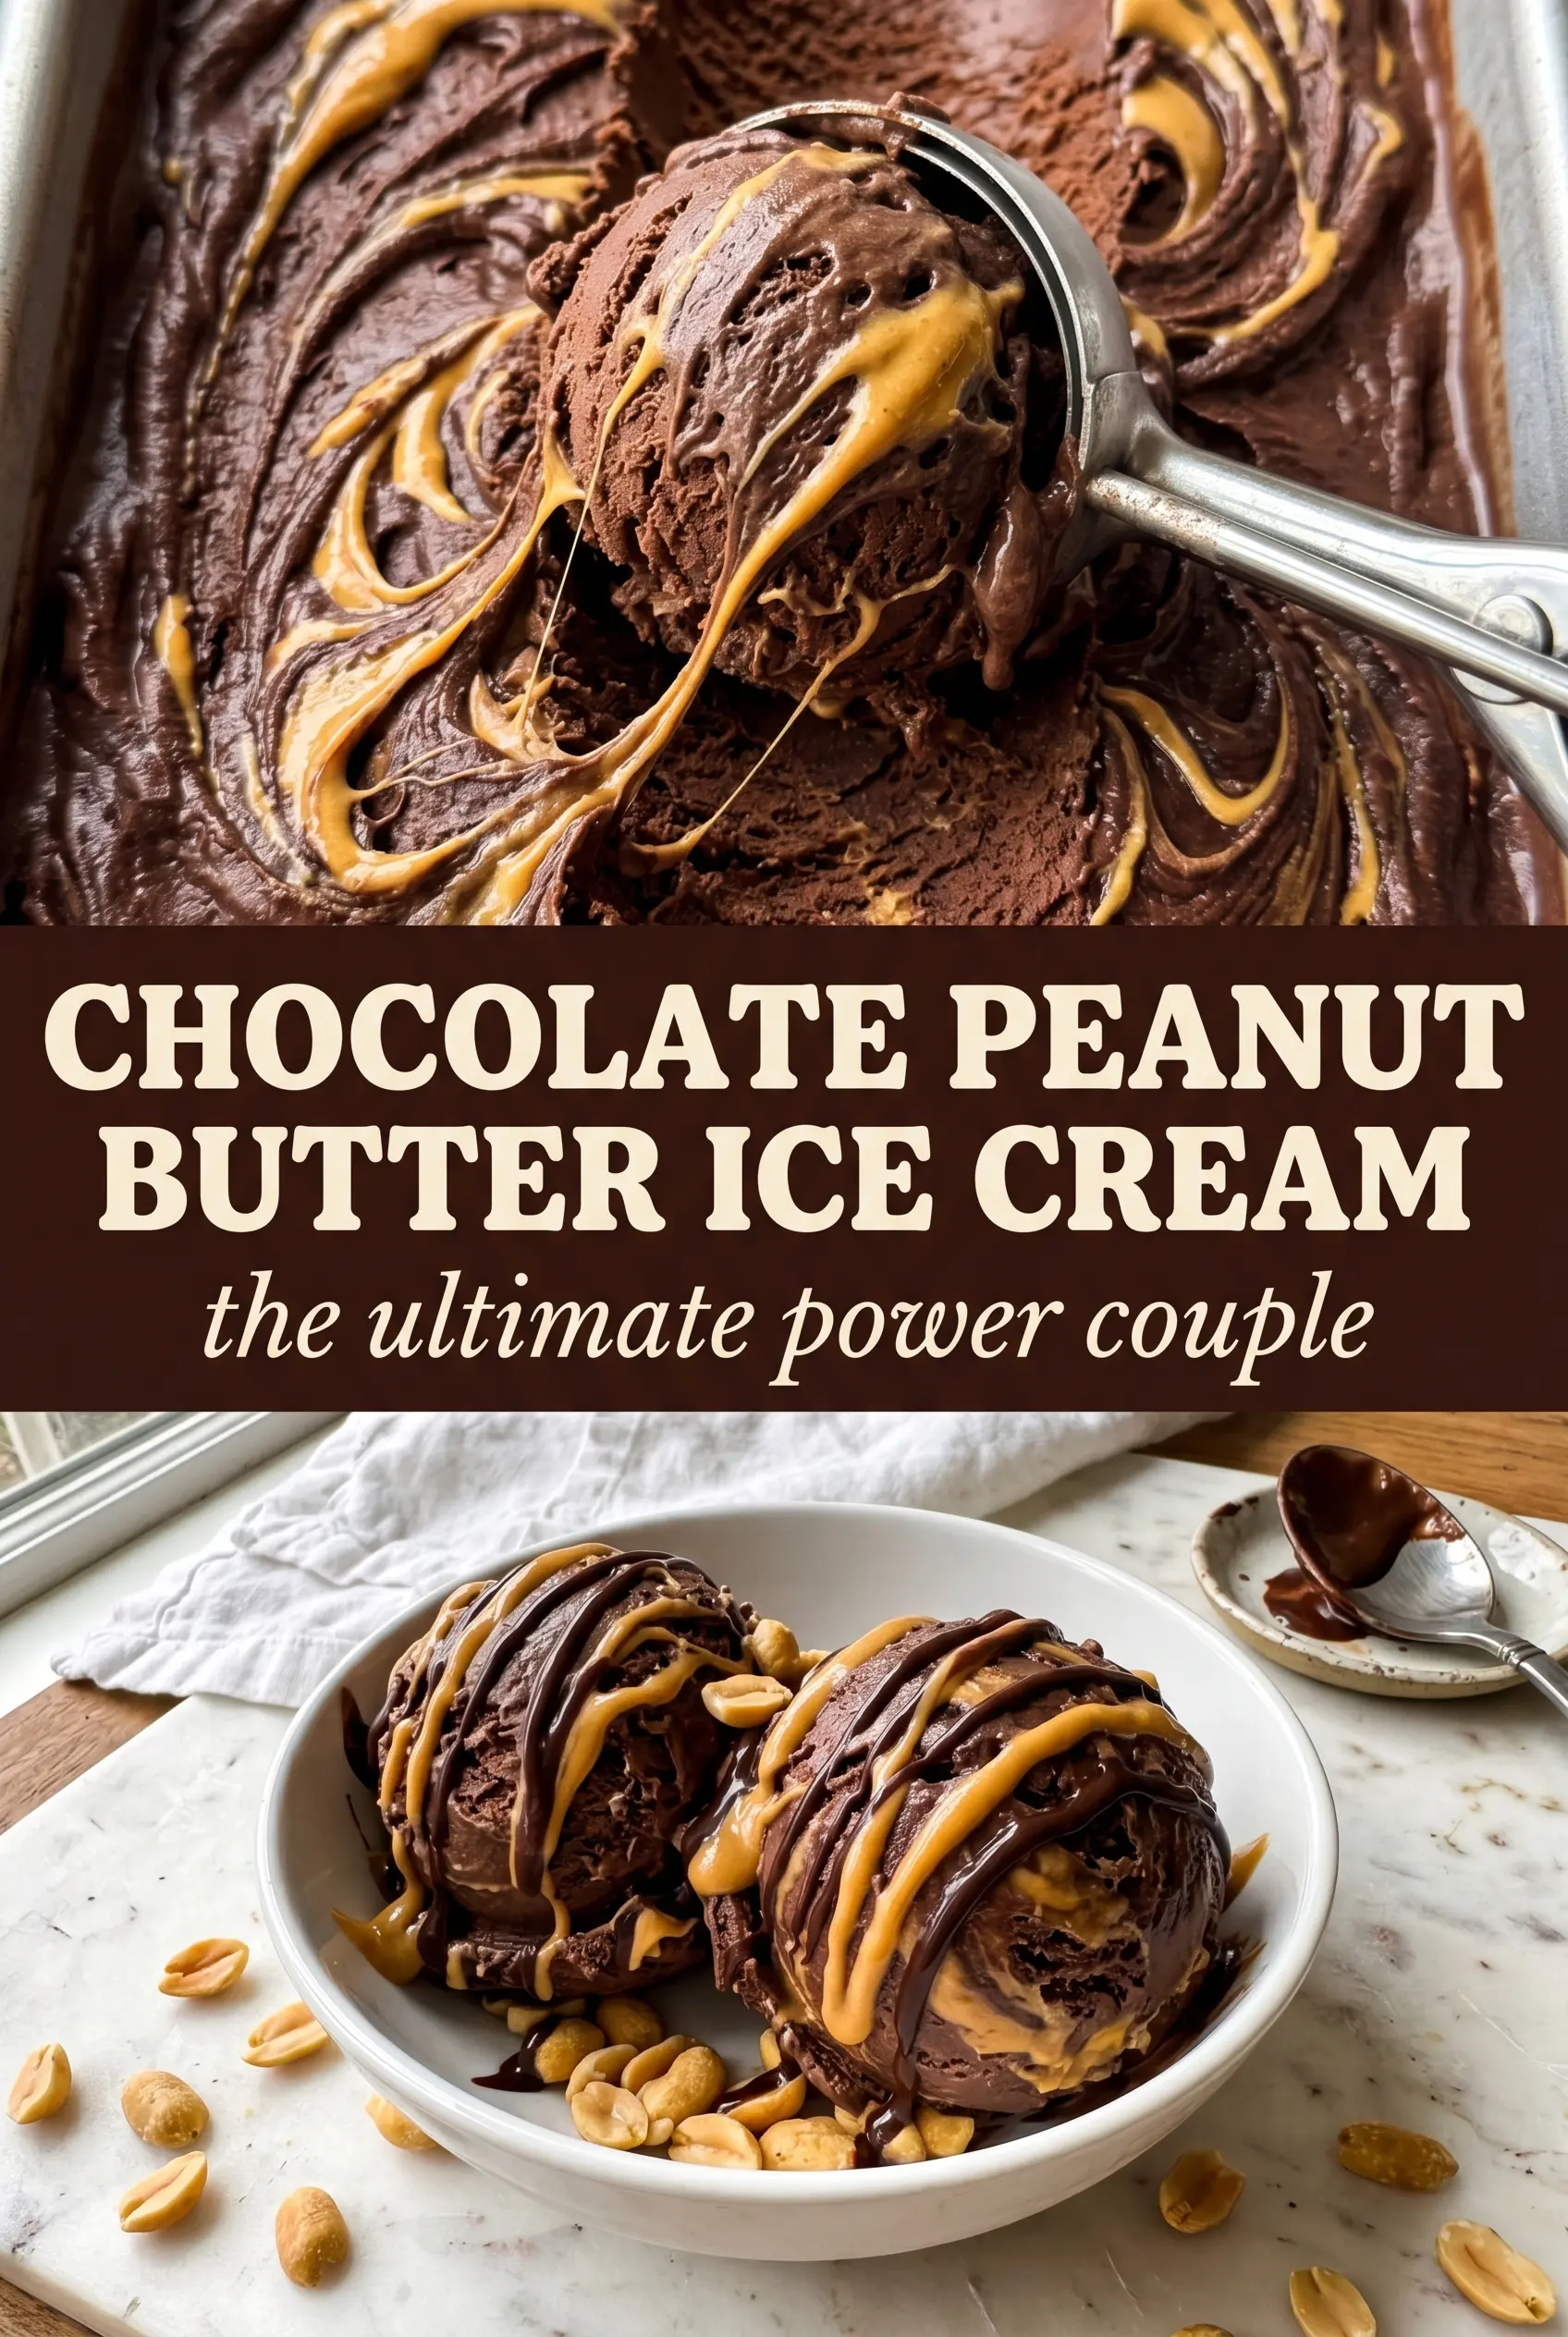
The chocolate stayed silky after churning, and the warm peanut butter swirled instead of sinking. I got those thick ribbons in every scoop, just like the photo.
Like this chocolate peanut butter ice cream? Save it to Pinterest for the nights when you want thick chocolate swirls and a peanut butter ribbon in every scoop.
The Step That Keeps the Chocolate Base Smooth Instead of Grainy
The biggest mistake in homemade chocolate ice cream is rushing the custard. If the yolks hit heat too fast, you get tiny bits of cooked egg or a base that feels slightly sandy after freezing. Tempering fixes that by raising the yolks slowly with hot dairy before everything goes back on the stove.
The other place people lose the texture is at the end of cooking. Once the custard reaches 175°F, pull it right away and strain it. That last step catches any little bits of egg before they turn into a problem, and it gives you the clean, velvet texture that makes this ice cream feel rich instead of heavy.
- Cocoa powder — This gives the base its deep chocolate backbone. Unsweetened cocoa is the right choice here because the sugar in the custard balances it. Dutch-process cocoa works too and makes the flavor darker and smoother.
- Dark chocolate — Chopped chocolate melts into the hot dairy and adds body the cocoa alone can’t give. Use a bar you’d actually eat plain; cheap chocolate can taste flat once frozen.
- Egg yolks — These thicken the custard and keep the texture scoopable straight from the freezer. There isn’t a true substitute if you want this exact custard style.
- Creamy peanut butter — Warm it until pourable so it ribbons through the churned ice cream instead of clumping. Natural peanut butter can work, but stir it very well first or the swirl may separate.
What Each Ingredient Is Actually Doing in This Ice Cream
- Base ingredient (cream, milk, or custard) — This provides the foundation and richness. Quality matters.
- Sweetener (sugar, honey, or condensed milk) — This sweetens and prevents ice crystals. The ratio is critical.
- Flavor element (vanilla, fruit, chocolate, cookie, or other) — This defines the ice cream personality. Use quality ingredients.
- Egg yolks (if making custard base) — These create richness and silky texture. Optional but elevates ice cream.
- Churning (if using ice cream maker) — This incorporates air and prevents ice crystals. Critical for smooth texture.
- Freezing temperature and time — Proper freezing prevents rock-hard texture. Store at 0°F or below.
- Mix-ins (chocolate, cookies, candy, or swirls) — These add texture and prevent one-dimensional flavor. Add near end of churning.
- Serving temperature (slightly soft, not rock hard) — This provides creamy mouthfeel. Remove from freezer 5 minutes before serving.
How to Layer in the Peanut Butter Without Losing the Swirl
Building the Chocolate Custard
Whisk the cocoa into the cream and milk before heating so it dissolves evenly. When the mixture starts steaming, add the chopped chocolate and keep whisking until the surface looks glossy and smooth. That glossy look matters; if you still see flecks or graininess, the chocolate hasn’t fully melted and the final base will taste uneven.
Tempering the Yolks
Whisk the yolks and sugar until pale and slightly thickened. Then drizzle in the hot chocolate cream while whisking constantly so the eggs warm up gradually instead of scrambling. If you dump the hot dairy in all at once, the yolks can seize in little strands, and no amount of straining will fix that.
Cooking to the Right Thickness
Return everything to the saucepan and cook over medium-low heat, stirring constantly, until it reaches 175°F and coats the back of a spoon. The custard should look slightly thicker than heavy cream but still pour smoothly. Pull it before it boils; a rolling simmer is how a custard turns lumpy or grainy.
Chilling Before Churning
Strain in the vanilla and salt, then chill the base completely in the refrigerator for at least 4 hours. Cold custard churns faster and traps smaller ice crystals, which gives you a smoother finish. If the base still feels warm, the ice cream maker has to work harder and the texture ends up softer and icier.
Swirling the Peanut Butter
Warm the peanut butter just until it pours, then layer it in between scoops of churned ice cream. Use a knife to make only a few big swirls. Stirring too much blends it into the base and you lose those dramatic ribbons that make each bite different.
What to Change When You Want a Different Kind of Chocolate Peanut Butter Ice Cream
Darker Chocolate Version
Swap the dark chocolate for an extra-dark bar and use Dutch-process cocoa if you want a more intense, less sweet base. The result tastes deeper and a little less like candy. It pairs well with the peanut butter if you like a sharper chocolate edge.
Dairy-Free Version
Use full-fat canned coconut milk in place of the cream and milk, then follow the same custard method with a dairy-free ice cream base that suits churning. The flavor shifts slightly toward coconut, and the texture is a touch softer, but the chocolate-peanut butter combination still lands. Choose a peanut butter without added oil so the swirl stays stable.
Chunky Peanut Butter Finish
Use chunky peanut butter only if you want little peanut pieces throughout the swirl. It gives the ice cream a more rustic bite, but the ribbons won’t look as clean and smooth. Warm it gently so the nut pieces don’t clump in cold spots.
Storage and Reheating
- Refrigerator: This ice cream needs the freezer, not the fridge. Once churned and layered, keep it covered in the freezer, where it stays best for about 2 weeks before the texture starts to dull.
- Freezer: Freeze in a shallow, airtight container for the smoothest scoop. Press parchment or plastic wrap directly on the surface to limit ice crystals.
- Reheating: Not needed. For serving, let it sit at room temperature for 5 to 10 minutes so the peanut butter ribbon softens and the scoops release cleanly instead of shattering.
Answers to the Questions Worth Asking
Chocolate Peanut Butter Ice Cream
Ingredients
Equipment
Method
- Whisk the cocoa powder into the heavy cream and whole milk until smooth, then heat in a saucepan until steaming (about 5–7 minutes).
- Add the chopped dark chocolate and whisk until fully melted and glossy, with no lumps (about 2 minutes).
- In a bowl, whisk the egg yolks with the granulated sugar until pale and slightly thickened (about 2 minutes).
- Slowly whisk the hot chocolate cream into the egg yolks in a thin stream to temper, keeping the mixture smooth.
- Return everything to the saucepan and cook, stirring constantly, until the custard reaches 175F (about 8–10 minutes).
- Strain the custard, then whisk in the vanilla extract and salt; discard any solids.
- Cool the mixture completely to room temperature before chilling.
- Refrigerate the custard for at least 4 hours, until very cold through (or overnight for best texture).
- Churn the chilled custard in an ice cream maker according to the manufacturer’s instructions, until thick and scoopable.
- Layer the churned ice cream into a container, drizzling the warmed peanut butter between each layer.
- Swirl the peanut butter through the ice cream with a knife to create thick ribbons throughout.
- Freeze for at least 2 hours, until firm enough to scoop cleanly.