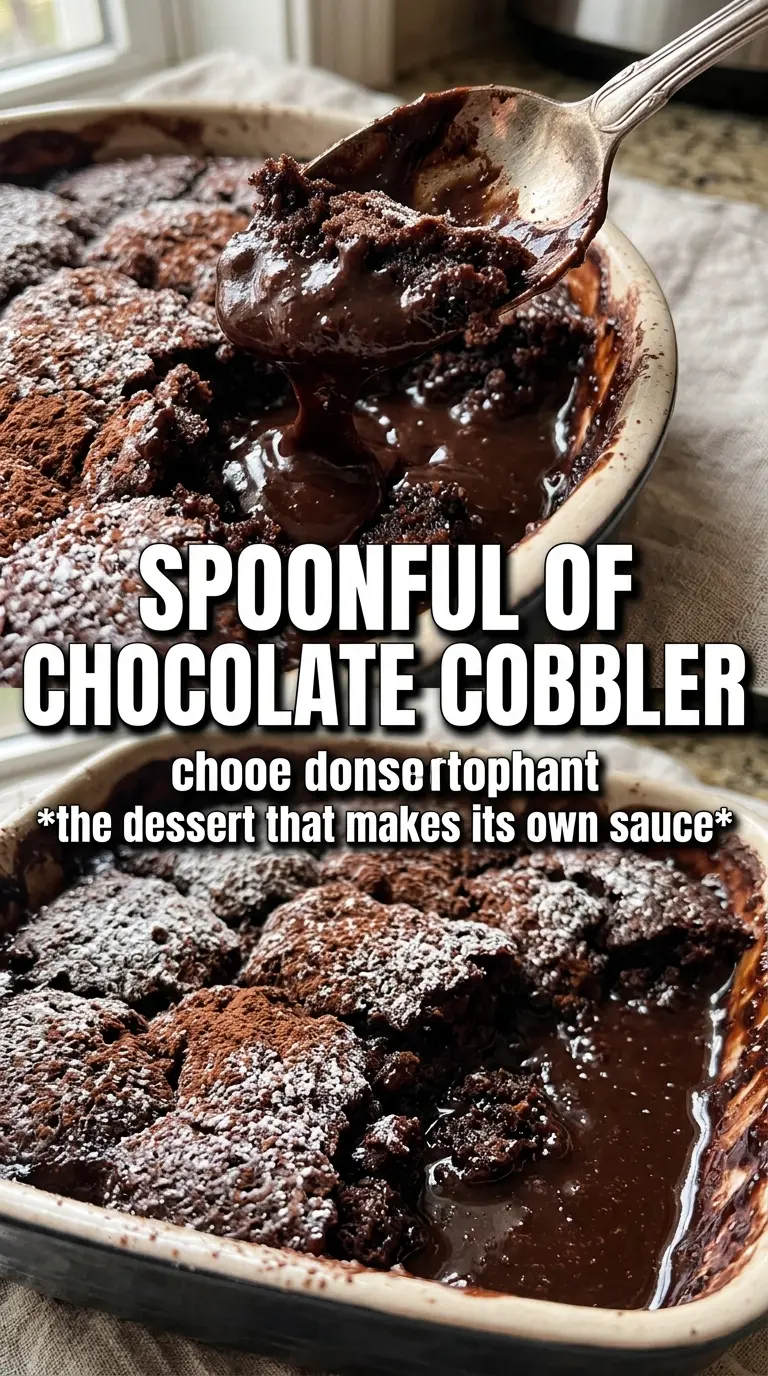
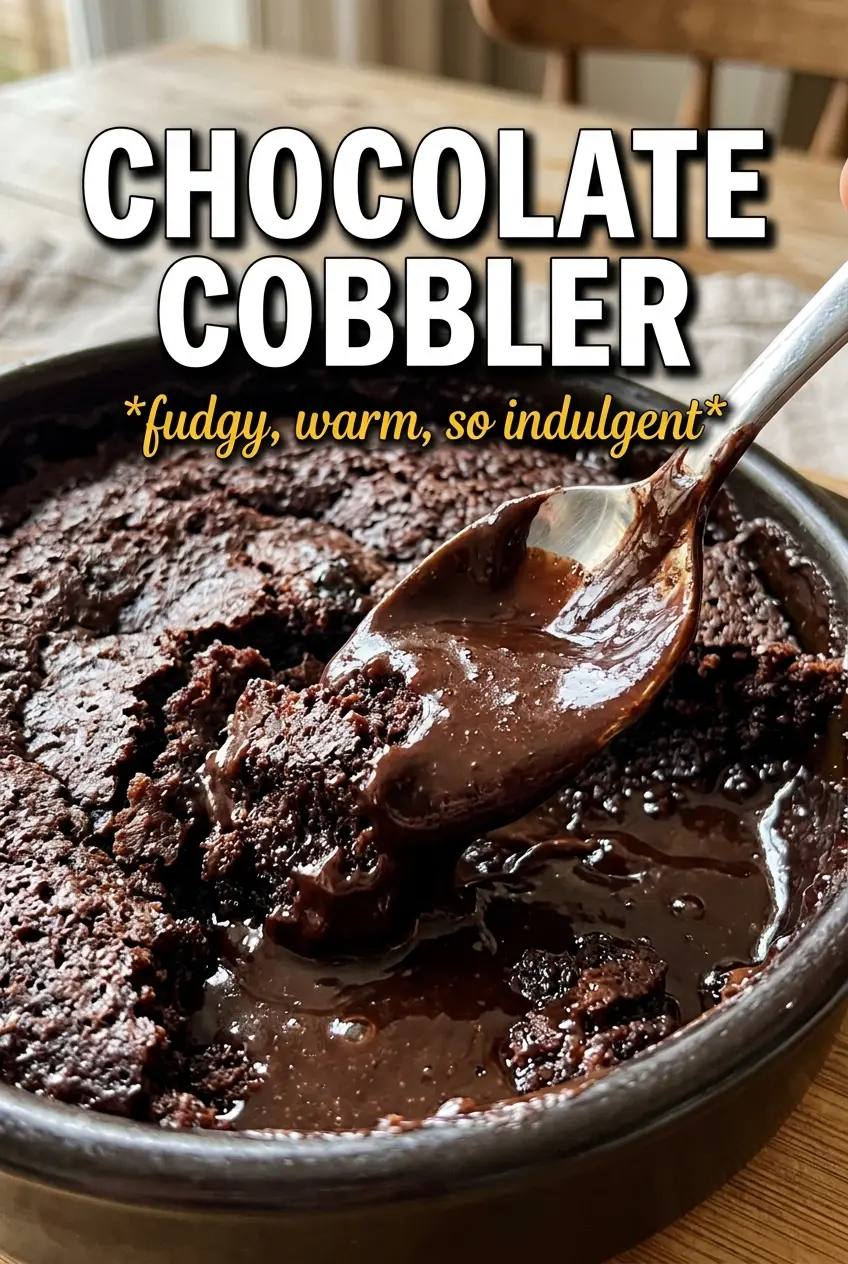
Chocolate cobbler bakes up with a fudgy cake top and a molten sauce underneath, which is exactly why it earns a permanent spot on dessert night. The top turns set and crackly at the edges while the bottom stays spoonable and rich, so every serving gives you both cake and sauce in one scoop. Add a little vanilla ice cream and the whole pan goes from warm chocolate dessert to something that feels a lot more special than the effort it takes.
The trick is in the layers. The batter stays thick enough to hold its shape, then the brown sugar-cocoa topping goes on dry before the hot water is poured over everything. That water looks strange going in, but it’s what creates the self-saucing layer below the baked top. Stir it and the whole thing turns muddy instead of distinct, so this is one of those recipes where restraint pays off.
Below, I’ll walk through the one step people most often second-guess, plus a few swaps that still keep that glossy sauce underneath. If you’ve ever wanted a chocolate dessert that tastes like it came with its own built-in fudge sauce, this is the one to keep close.
The top baked up like a soft brownie, and when I spooned into it the chocolate sauce underneath was thick and glossy instead of watery. I served it after 38 minutes with vanilla ice cream and everyone wanted seconds.
Save this chocolate cobbler for the nights when you want a warm self-saucing dessert with a fudgy top and a spoonable chocolate bottom.
The Water Layer Is What Makes the Sauce Happen
Most chocolate cobblers fail when the topping gets mixed into the batter or when the liquid isn’t hot enough to do its job. The batter and the cocoa-sugar topping need to stay separate in the oven. That top layer bakes into a soft crust while the hot water sinks through and turns the bottom into sauce.
Use water that’s steaming hot, not just warm from the tap. Cold or lukewarm water delays the saucing effect, and you end up with more of a thick cake than a cobbler. Pour it slowly over the back of a spoon if you want to keep the topping from washing into one spot.
What Each Ingredient Is Actually Doing In This Dish
- All-purpose flour — Gives the batter enough structure to set on top while still staying tender. Cake flour makes this a little softer, but all-purpose gives the best balance for a cobbler that can hold the sauce beneath it.
- Cocoa powder — This is the backbone of the chocolate flavor, so use a cocoa you actually like eating. Natural cocoa works well here; Dutch-process will make the color darker and the flavor a little smoother, but either one will work.
- Brown sugar — The topping uses brown sugar for deeper flavor and a little molasses note in the sauce. Light brown sugar is fine, and dark brown sugar gives you a more pronounced caramel edge.
- Whole milk — Adds enough richness to keep the batter from tasting dry. Lower-fat milk works in a pinch, but the finished top won’t be quite as tender.
- Melted butter — Keeps the batter moist and helps it bake with that soft, cakey crumb. Don’t use hot butter straight from the microwave if it’s bubbling; let it cool a minute so it doesn’t scramble the milk.
- Vanilla extract — It rounds out the chocolate and keeps the dessert from tasting flat. This is one place where real vanilla is worth using.
Building the Layers Without Stirring Them Together
Mix the batter until smooth, then stop
Whisk the dry ingredients first so the cocoa doesn’t stay in little dark pockets. Once the milk, melted butter, and vanilla go in, stir just until the batter is smooth and no dry streaks remain. Overmixing tightens the cake layer and makes it less tender, which matters here because the cobbler already has a lot going on beneath the surface.
Sprinkle the topping evenly
Mix the brown sugar and cocoa together, then scatter it over the batter in an even layer. Don’t dump it all in one mound or you’ll get a thick patch in the center and thinner sauce at the edges. The goal is a full blanket of sugar that can dissolve into the hot water and turn into that glossy sauce.
Pour the hot water and leave it alone
Pour the water over the back of a spoon or around the edges of the pan so you don’t blast holes through the topping. It will look wrong. That’s normal. The liquid should sit on top before baking, and the oven will do the rest; stirring now would ruin the separation that creates the sauce underneath.
Pull it when the top is set
Bake at 350°F until the top looks set around the edges and slightly puffed, with the center just a little softer. If you wait until it looks fully dry, you’ve gone too far and the sauce will be thicker but less abundant. Let it sit for a few minutes before serving so the sauce settles and thickens enough to scoop cleanly.
Three Ways to Make This Chocolate Cobbler Work For Your Kitchen
Dairy-Free Chocolate Cobbler
Swap the milk for unsweetened almond or oat milk and use a plant-based butter with a neutral flavor. The cobbler will still set and sauce properly, though the top will be a touch less rich than the version made with whole milk.
Deeper Chocolate Flavor
Use Dutch-process cocoa in both the batter and topping if you want a darker color and smoother chocolate note. The texture stays the same, but the flavor reads a little less sharp and a little more like a bakery-style chocolate pudding cake.
Gluten-Free Version
A cup-for-cup gluten-free flour blend works best here because the recipe depends on a batter that can set without turning gummy. Avoid single-ingredient swaps like almond flour; they don’t give the same structure, and the top won’t bake into that soft cake layer.
Leftovers That Still Taste Good
Chocolate cobbler is best warm from the oven, but leftovers keep well in the refrigerator for up to 3 days. The sauce thickens as it chills, so reheat individual portions in the microwave just until the center loosens again. If you overheat it, the top dries out before the sauce comes back.
Questions I Get Asked About This Recipe
Chocolate Cobbler
Ingredients
Equipment
Method
- Preheat the oven to 350F, then butter a 9x9 or 8x8 baking dish so the cobbler releases cleanly.
- Whisk all-purpose flour, granulated sugar, cocoa powder, baking powder, and salt until evenly combined and no dry streaks remain.
- Stir in whole milk, melted unsalted butter, and vanilla extract until smooth, thick, and fully incorporated.
- Spread the batter into the prepared dish in an even layer.
- Mix brown sugar and cocoa powder, then sprinkle the mixture evenly over the batter in a single layer.
- Pour very hot water over everything without stirring, creating a top layer that will sink as it bakes.
- Bake for 35-40 minutes at 350F until the top is set but still shows a moist, fudgy surface.
- Serve warm with vanilla ice cream so the ice cream melts beside the self-saucing chocolate interior.