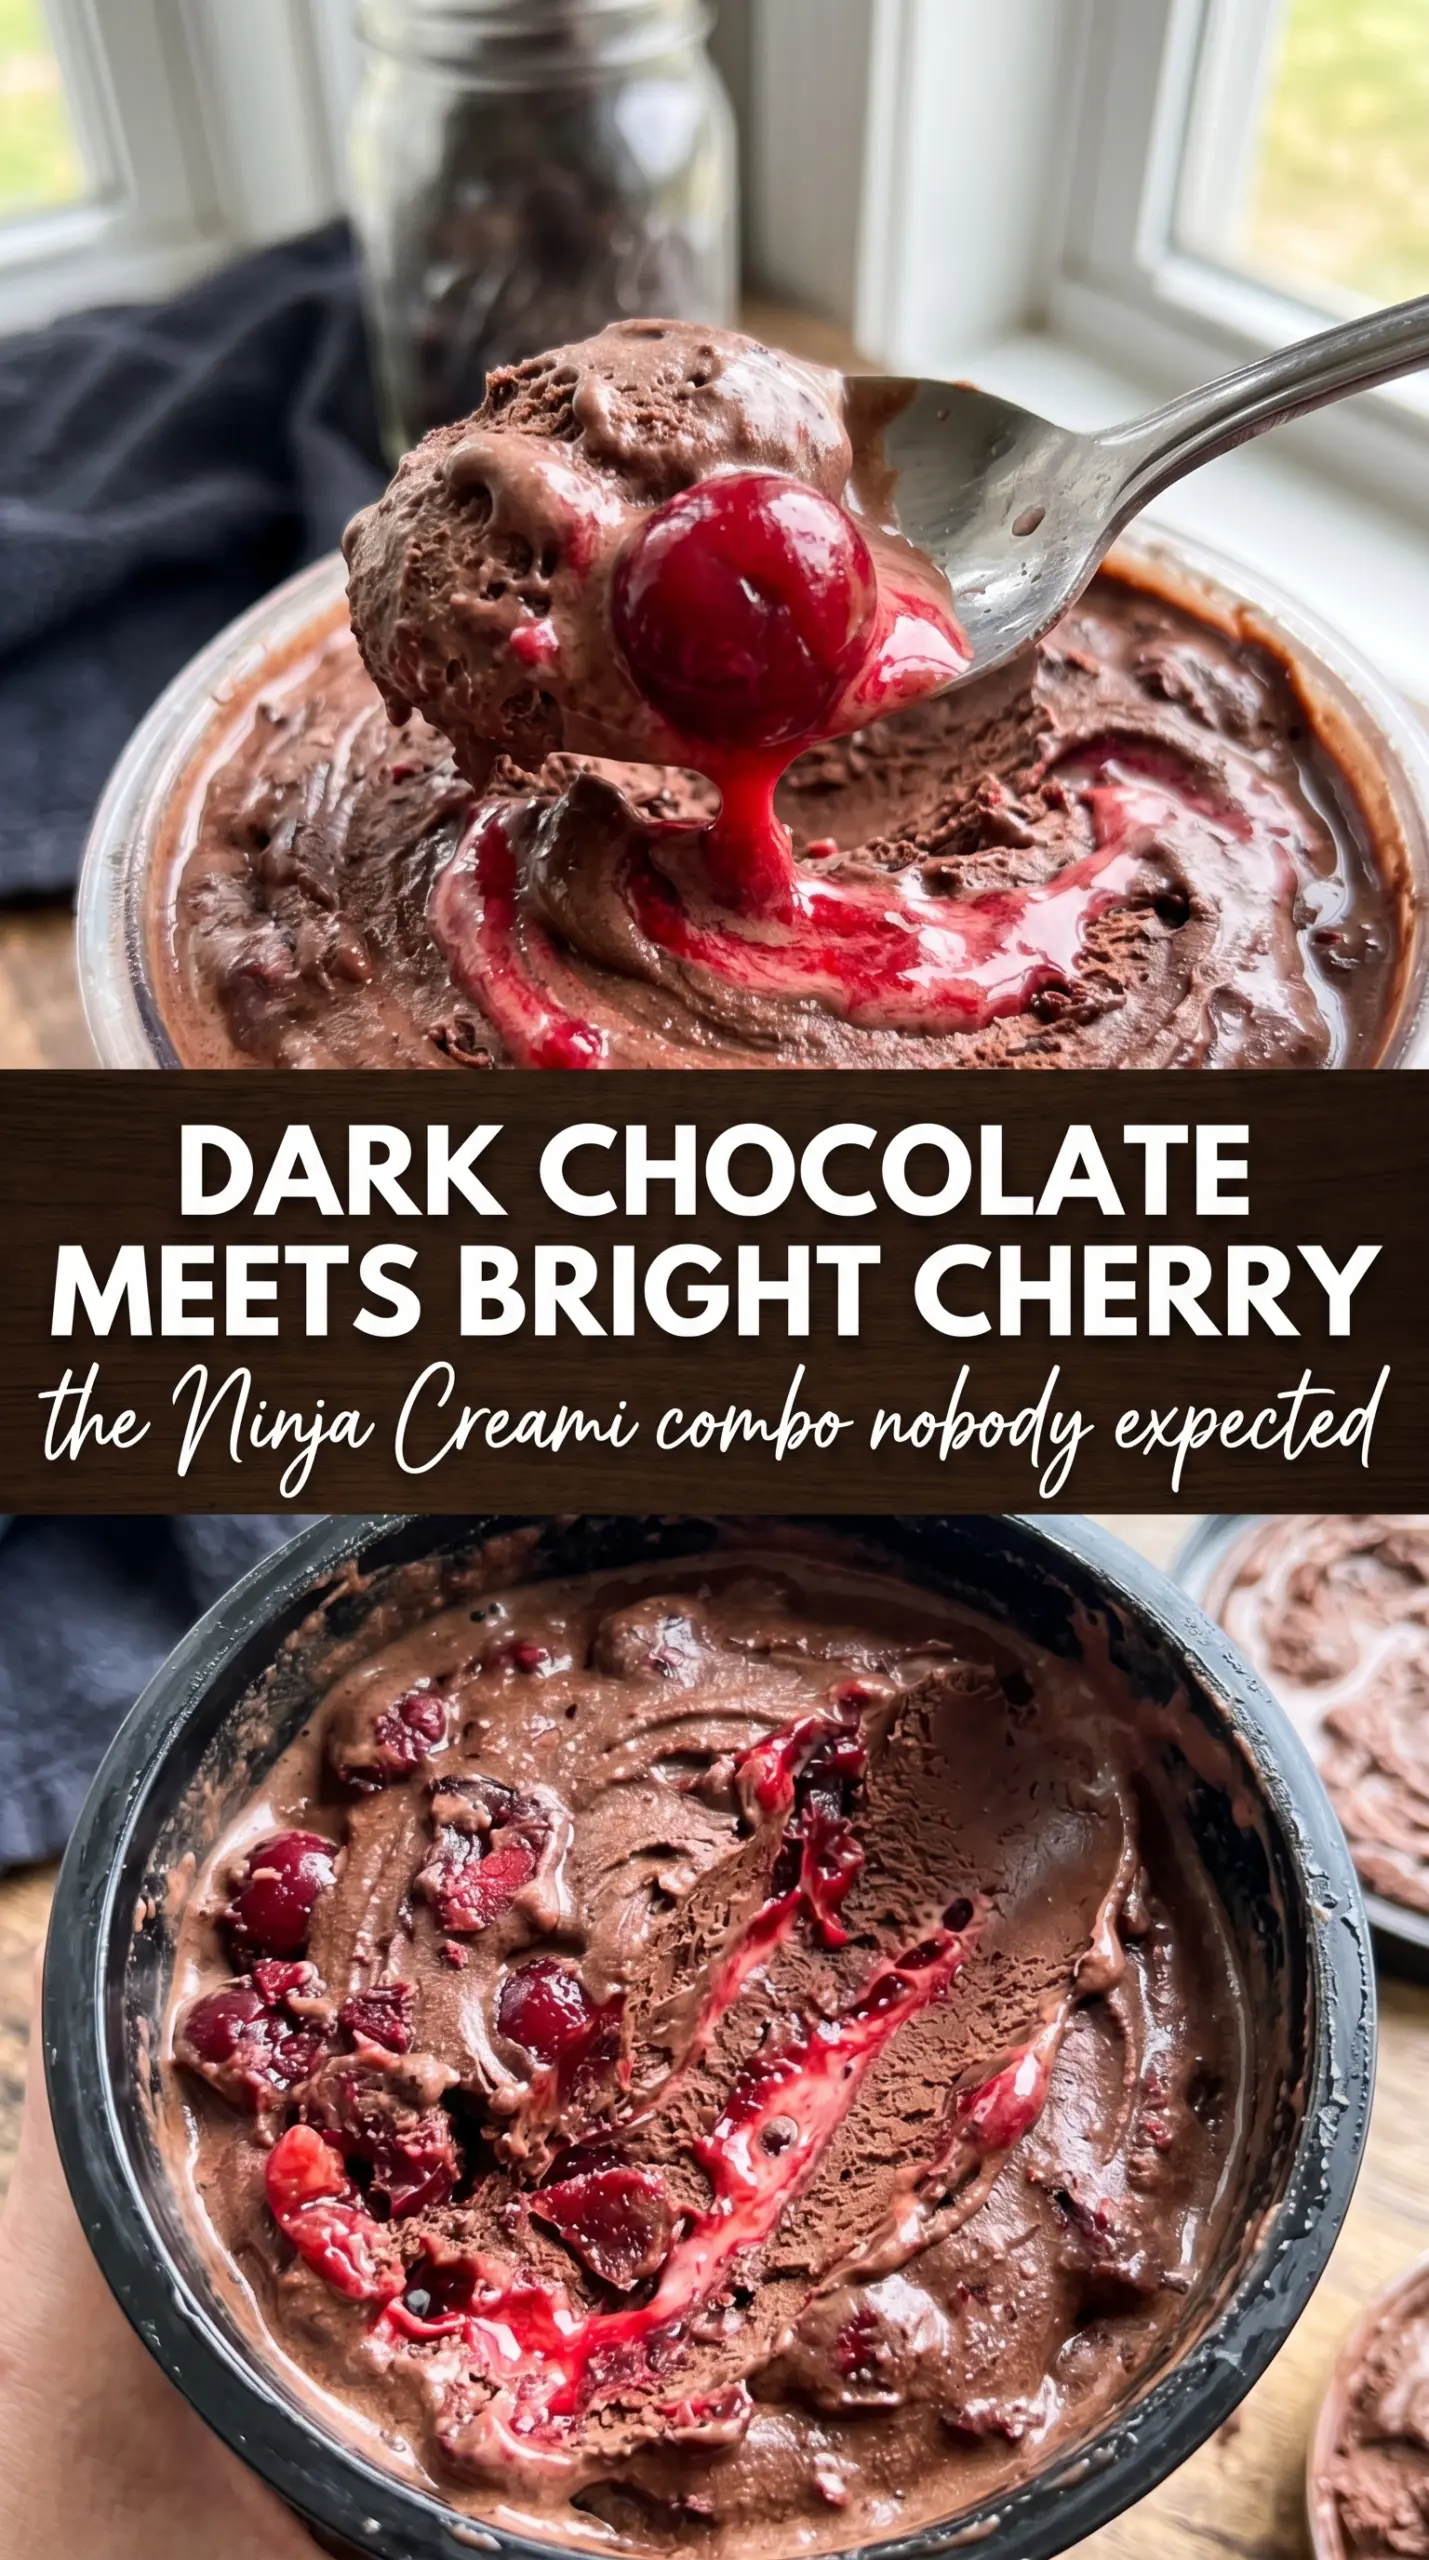
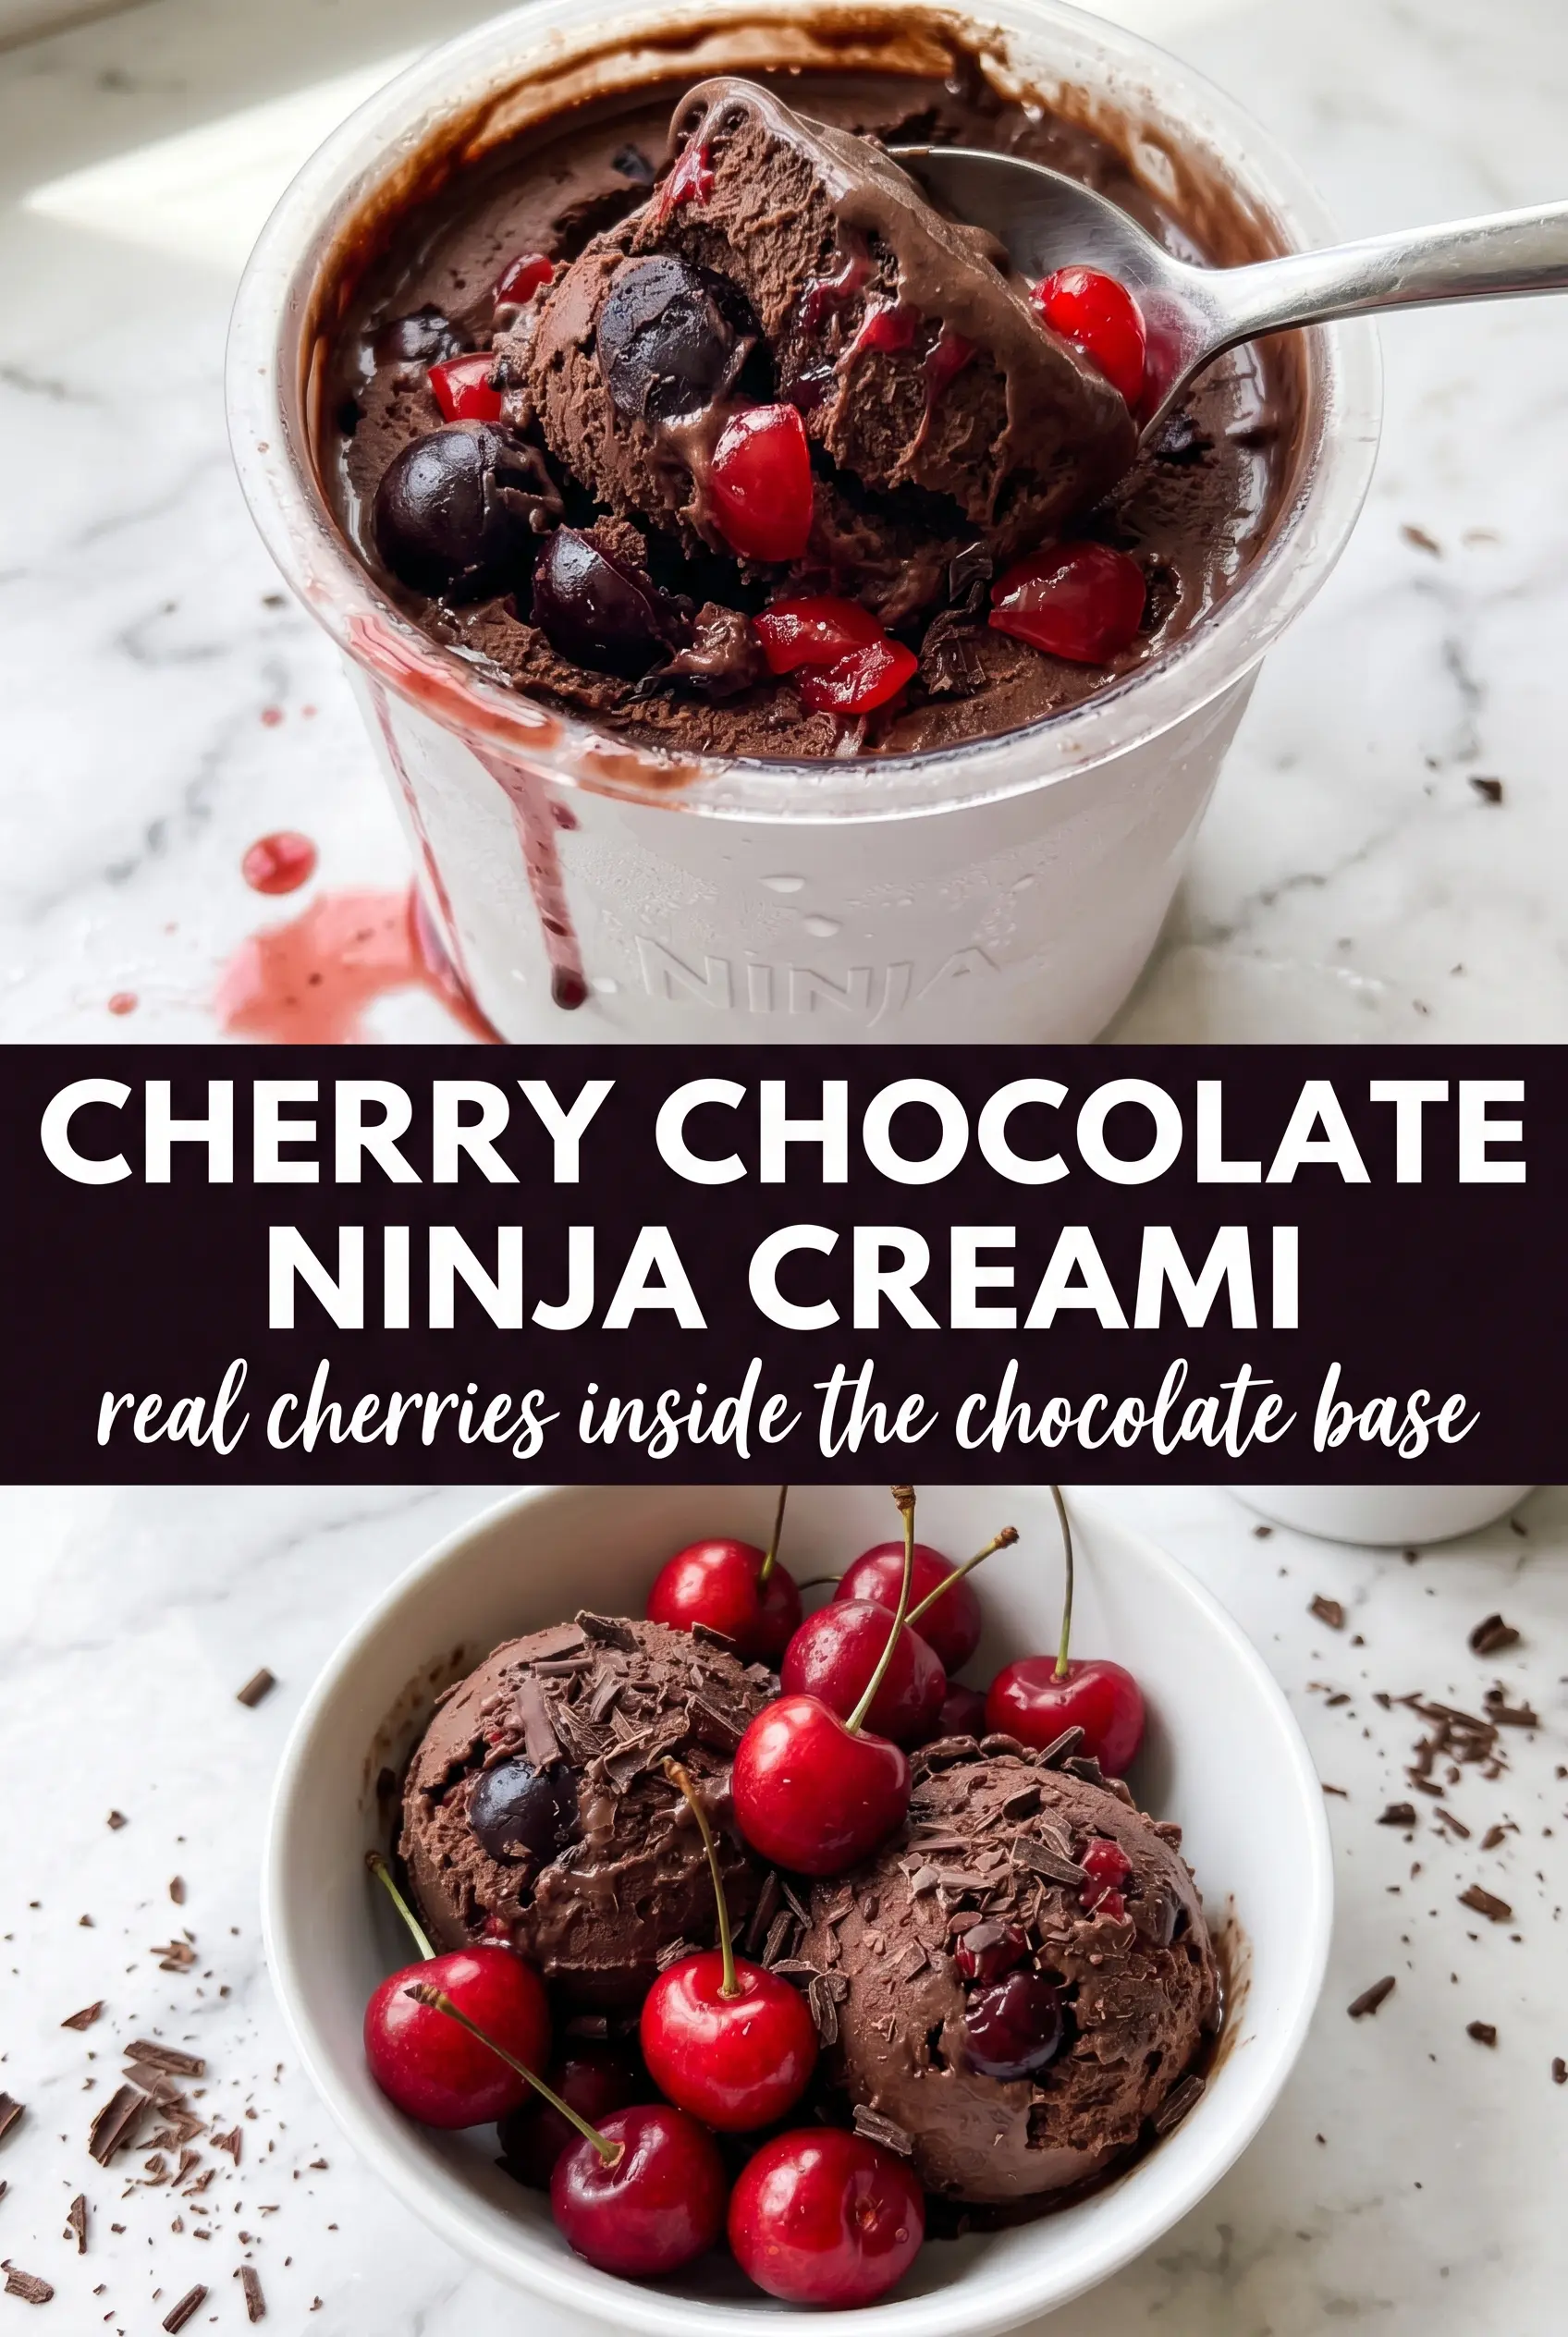
Cherry chocolate ice cream gets extra smooth in the Ninja Creami, with a deep cocoa base that tastes like Black Forest cake in frozen form. The cherries don’t just sit on top here; they’re folded through at the end so you get little bursts of tart fruit against the rich chocolate in every few bites.
The texture depends on getting the base fully blended before it ever hits the freezer. Cream cheese gives the pint a little body and helps the finished ice cream scoop like a proper dessert instead of icy slush, while almond extract nudges the cherry flavor in a direction that tastes intentional, not candy-like. That small amount of salt keeps the chocolate from tasting flat.
Below, I’ve added the one detail that keeps the pint from turning crumbly in the Creami, plus a few swaps if you want to change the chocolate base or make it dairy-free.
The base spun up creamy on the first pass, and the chopped cherries stayed in little pockets instead of disappearing. My husband said it tasted like a Black Forest sundae, only colder and better.
Love that dark cherry swirl and chocolate base? Save this Ninja Creami cherry chocolate ice cream for the next time you want a rich, fruity pint with zero guesswork.
Why This Creami Base Spinds Smooth Instead of Turning Powdery
The biggest mistake with Ninja Creami ice cream is freezing a base that tastes fine but spins up dry and crumbly. That usually happens when the mix doesn’t have enough fat, enough sugar, or enough solids to hold together once the machine shaves it into fine ice crystals. This version avoids that by combining milk and cream with a little cream cheese, which gives the pint enough structure to turn silky instead of icy.
Blending matters more than people think. You want the sugar dissolved, the cream cheese fully broken down, and the cocoa evenly distributed before freezing; any little lump you leave behind gets exaggerated after 24 hours in the freezer. If the base tastes slightly sweeter and more intense than you want before freezing, that’s correct. Cold dulls flavor, and this one needs that extra cushion.
What Each Ingredient Is Actually Doing in This Pint
- Chocolate milk or whole milk plus cocoa — This sets the chocolate flavor of the base. Chocolate milk gives you a softer, sweeter result, while milk plus cocoa tastes deeper and less sugary. If you use unsweetened cocoa, whisk it with the sugar before blending so it doesn’t float in dusty streaks.
- Heavy cream — This is what gives the spun ice cream its lush, scoopable body. You can drop it a little if you want a lighter pint, but the texture will be less rich and a touch more icy.
- Cream cheese — This is the quiet fix that keeps the texture creamy after freezing. It doesn’t make the base taste tangy if you keep the amount small and blend it smooth. Softened cream cheese blends in cleanly; cold cream cheese leaves tiny bits behind.
- Almond extract — This is what makes the cherry flavor pop and gives the pint that Black Forest feel. Don’t skip it unless you want a plain chocolate-cherry combo; the almond note is doing real work here.
- Frozen dark cherries — Frozen cherries hold their shape better in the Mix-In cycle and give you those tart, juicy pockets. Chop them first so they distribute evenly instead of clogging one section of the pint.
Freezing the Base, Spinning It, and Folding in the Cherries
Blending the Base Until It’s Completely Uniform
Add the chocolate milk or milk and cocoa, heavy cream, sugar, softened cream cheese, vanilla, almond extract, and salt to a blender or use a sturdy whisk and a bowl if your cream cheese is already very soft. Blend until the mixture looks glossy and no little flecks of cream cheese remain. If you can still see streaks, they’ll freeze into rough spots that the blade won’t smooth out later. Pour the base into the Ninja Creami pint up to the fill line and freeze it level for a full 24 hours.
Spinning the Pint the Right Way
Let the pint sit at room temperature just long enough to take the edge off the frozen block, then process it on the Ice Cream setting. If the texture comes out sandy or powdery, that means the base was a little too cold or too lean, not that the recipe failed. Add 1 tablespoon of milk and re-spin. Stop there first; dumping in too much liquid turns the pint soft instead of creamy.
Adding the Cherries After the First Spin
Use the Mix-In function to fold in the chopped frozen cherries after the base has already turned smooth. That timing keeps the fruit distinct instead of turning it into pink streaks. If your cherries are huge, chop them a little smaller than you think you need; big pieces can get in the way of an even mix. Finish with a fresh cherry on top if you want that little extra bite of brightness.
Ways to Adjust the Pint Without Losing the Creami Texture
Dairy-Free Cherry Chocolate Creami
Use full-fat canned coconut milk in place of the milk and cream, and skip the cream cheese unless you have a dairy-free version that blends smoothly. The texture will be a little softer and the flavor will lean more tropical, but the chocolate and cherry still carry the pint. If you use coconut milk, chill the can well and whisk it thoroughly before blending so the fat doesn’t separate.
Deeper Black Forest Flavor
Add 1 extra tablespoon of cocoa and a tiny pinch more almond extract if you want the cherry-chocolate contrast to taste stronger. The result is less sweet and more grown-up, with a darker cocoa finish that tastes closer to Black Forest cake filling. Don’t overdo the almond extract; too much turns the pint perfumey fast.
Lower-Sugar Version
Use unsweetened milk and reduce the sugar slightly, but don’t cut it all the way out. Sugar isn’t just for sweetness here; it keeps the base from freezing into a hard block. If you want less sweetness without wrecking the texture, lean on darker cocoa and tart cherries instead of stripping out the sugar completely.
Storage and Re-Spinning
- Refrigerator: The base should never be stored in the fridge once mixed; it needs to freeze solid before spinning.
- Freezer: You can freeze the blended base for up to 1 month, but the texture is best in the first 1 to 2 weeks.
- Reheating: Not applicable here. If the spun ice cream gets too firm after refreezing, let it rest on the counter for 5 to 10 minutes, then respin with a splash of milk.
The Questions I Get Asked About This Cherry Chocolate Creami
Cherry Chocolate Ice Cream in the Ninja Creami
Ingredients
Equipment
Method
- Combine chocolate milk (or milk + cocoa), heavy cream, granulated sugar, cream cheese, vanilla extract, almond extract, and salt in a blender and blend until smooth, 45-60 seconds, until no cream cheese lumps are visible.
- Scrape down and blend again for 10-15 seconds if needed so the base looks glossy and fully combined.
- Pour the blended mixture into the Ninja Creami pint and cover, then freeze for 24 hours until solid and scoopable, with the surface fully set and opaque.
- Process the pint on the Ice Cream setting until churned, stopping once the texture looks thick and creamy; if it’s too stiff, re-spin with 1 tablespoon milk.
- Run the Mix-In function and fold in chopped frozen dark cherries until they’re evenly distributed with visible ruby pieces throughout.
- Top with a fresh cherry and serve immediately for the best contrast of dark chocolate base and bright cherry bits.