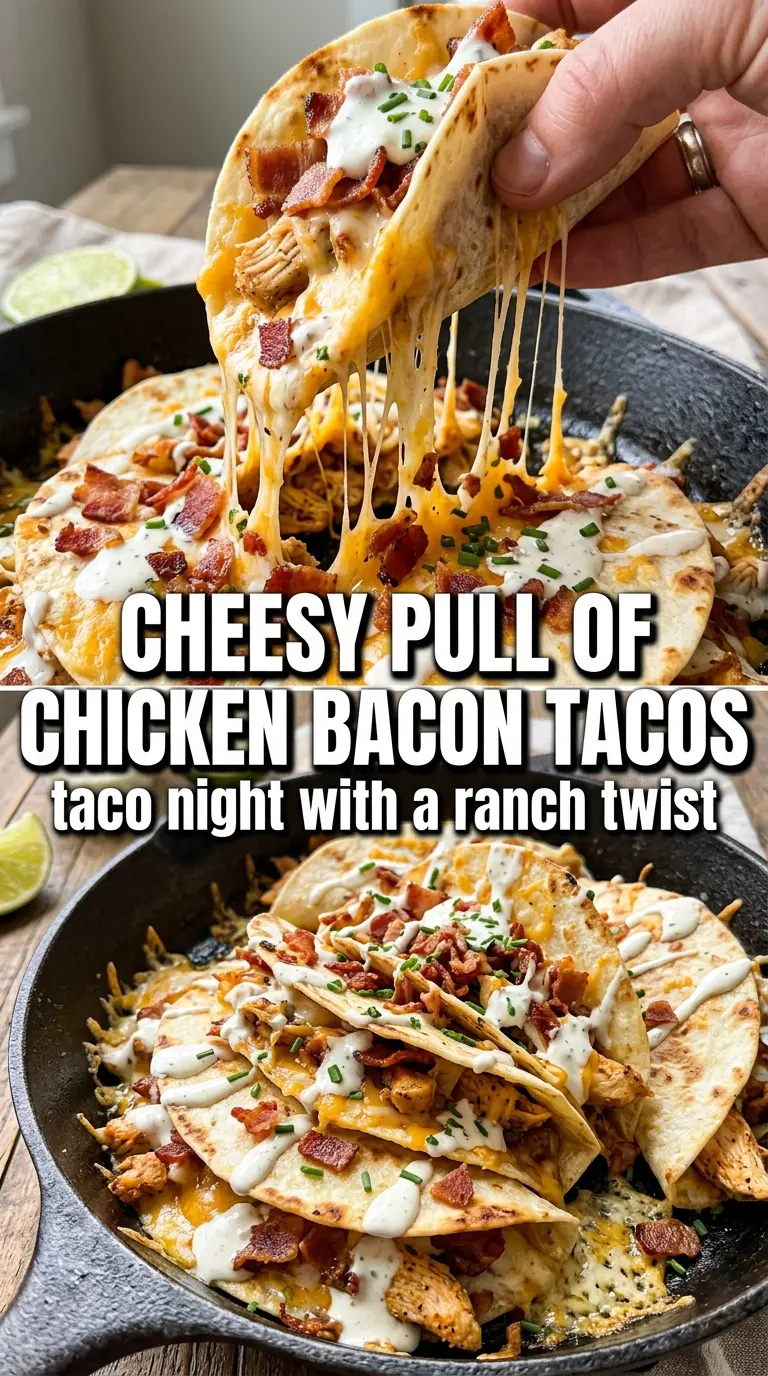
Cheesy chicken bacon ranch tacos hit that sweet spot between fast and satisfying: crisp tortilla shells, juicy ranch-seasoned chicken, smoky bacon, and cold fresh toppings all in one bite. The cheese melts just enough to hold everything together, and the ranch drizzle ties it up without turning the tacos soggy if you build them in the right order.
What makes this version work is the balance of textures. The chicken gets a head start with part of the ranch seasoning, so the flavor is built right into the meat instead of sitting only on top. Then the tortillas are griddled dry after folding, which gives you that lightly blistered crunch and helps the cheddar melt into the seam. It’s a small extra step, but it’s the difference between a floppy taco and one that eats like it was planned.
Below, I’ll show you where the ranch seasoning goes, how to keep the tacos crisp, and the one order of assembly that keeps the lettuce and tomatoes fresh instead of wilted.
The chicken stayed juicy, the tortillas crisped up beautifully, and the ranch seasoning on top gave the tacos a nice little extra punch. My kids asked for these again the next night.
Save these cheesy chicken bacon ranch tacos for the night you want crispy shells, juicy chicken, and an easy dinner that feels a little extra.
The Trick to Keeping These Tacos Crispy Instead of Soggy
The biggest failure point here is rushing the assembly. Once the warm chicken, cheese, and ranch hit the tortilla, steam starts building fast. If you pile on the lettuce and tomatoes too early, the shell softens before you even get to the table.
The fix is simple: cook the chicken first, then griddle the folded tortillas just long enough to melt the cheddar and firm up the shell, and only then add the cold toppings. That gives you a taco with contrast instead of a soft wrap pretending to be crisp. It also helps to let the chicken rest before slicing so the juices stay in the meat instead of running into the shell.
- Cooked chicken, rested before slicing — Resting keeps the slices juicy and stops the filling from flooding the tortilla.
- Dry skillet for the tacos — No oil is needed here. A dry pan gives the tortillas a better crisp and keeps the shell from tasting greasy.
- Cheddar inside the fold — The cheese acts like edible glue. It melts just enough to help the taco hold together.
What Each Ingredient Is Actually Doing in These Tacos
- Chicken breast — Thin slices cook fast and stay tender. If the pieces are thick, the outside overcooks before the center is done.
- Ranch seasoning mix — Dividing the packet is the smart move. Half seasons the chicken directly, and the rest goes on top at the end for a brighter ranch hit.
- Bacon — This is the smoky, salty backbone of the filling. Cook it until crisp enough to crumble cleanly so it doesn’t go limp in the taco.
- Flour tortillas — Flour tortillas fold without cracking and brown evenly in the skillet. They’re the right choice for this style because they can hold the filling and still crisp at the seam.
- Sharp cheddar — Sharp cheddar brings enough flavor to stand up to the ranch and bacon. Mild cheese works, but it gets lost.
- Romaine, tomatoes, and red onion — These finish the tacos with crunch, freshness, and a little bite. Add them last so they stay crisp against the warm filling.
Building the Filling and the Shell in the Right Order
Seasoning the Chicken First
Toss the sliced chicken with half the ranch packet before it ever hits the pan. That keeps the seasoning from just sitting on the surface after cooking and gives the meat a fuller ranch flavor. Cook the chicken in olive oil over medium-high heat until the pieces are no longer pink and the edges have a little color, about 4 to 5 minutes per side depending on thickness. If the pan looks crowded, cook it in batches; packed chicken steams instead of browns.
Getting the Tortillas Crispy
Fold each tortilla in half with the cheese inside, then set it in a dry skillet over medium heat. Press lightly so the folded edge makes good contact with the pan. You’re looking for a golden, crisp surface and melted cheese at the seam, not a hard shell that cracks when you pick it up. If the heat is too high, the tortilla browns before the cheese has time to melt, so keep the pan steady and patient.
Stacking the Toppings Last
Add the chicken first, then the bacon, then the lettuce, tomatoes, and onion. That order matters because the hot filling warms the cheese and shell while the cold toppings stay fresh on top. Finish with ranch dressing and the remaining ranch seasoning. If you add the dressing too early, it soaks into the tortilla before the shell has a chance to stay crisp.
Three Ways to Make These Tacos Fit Your Night
Make Them Gluten-Free with Corn Tortillas
Corn tortillas work if you warm them first and handle them gently, but they won’t crisp into the same folded shell as flour tortillas. You’ll get a softer taco with more corn flavor and less of that sturdy handheld crunch. If you go this route, build them open-faced or use two tortillas per taco for support.
Swap in Chicken Thighs for Extra Juiciness
Boneless chicken thighs stay even juicier than breast meat and bring a little more richness. They take a touch longer to cook, but they’re forgiving if you like a less lean filling. Slice them after cooking the same way, and keep an eye on excess rendered fat in the pan so the tortillas don’t pick it up.
Use Turkey Bacon for a Lighter Version
Turkey bacon gives you the smoky note without as much fat, though it won’t crumble quite as crisp as pork bacon. Cook it until well browned so it doesn’t turn chewy in the tacos. The rest of the recipe stays the same, but the final flavor will be a little leaner and less smoky.
Storage and Reheating
- Refrigerator: Store the chicken and bacon separately from the tortillas and toppings for up to 3 days. The assembled tacos soften fast, so keep everything in separate containers if you want good leftovers.
- Freezer: The chicken filling freezes well for up to 2 months. Don’t freeze the assembled tacos; the lettuce, tomatoes, and ranch won’t thaw with a good texture.
- Reheating: Reheat the chicken in a skillet over medium heat or in the microwave until hot, then rebuild the tacos fresh. If you try to re-crisp a fully assembled taco, the filling warms unevenly and the shell turns leathery instead of crisp.
Questions I Get Asked About This Recipe
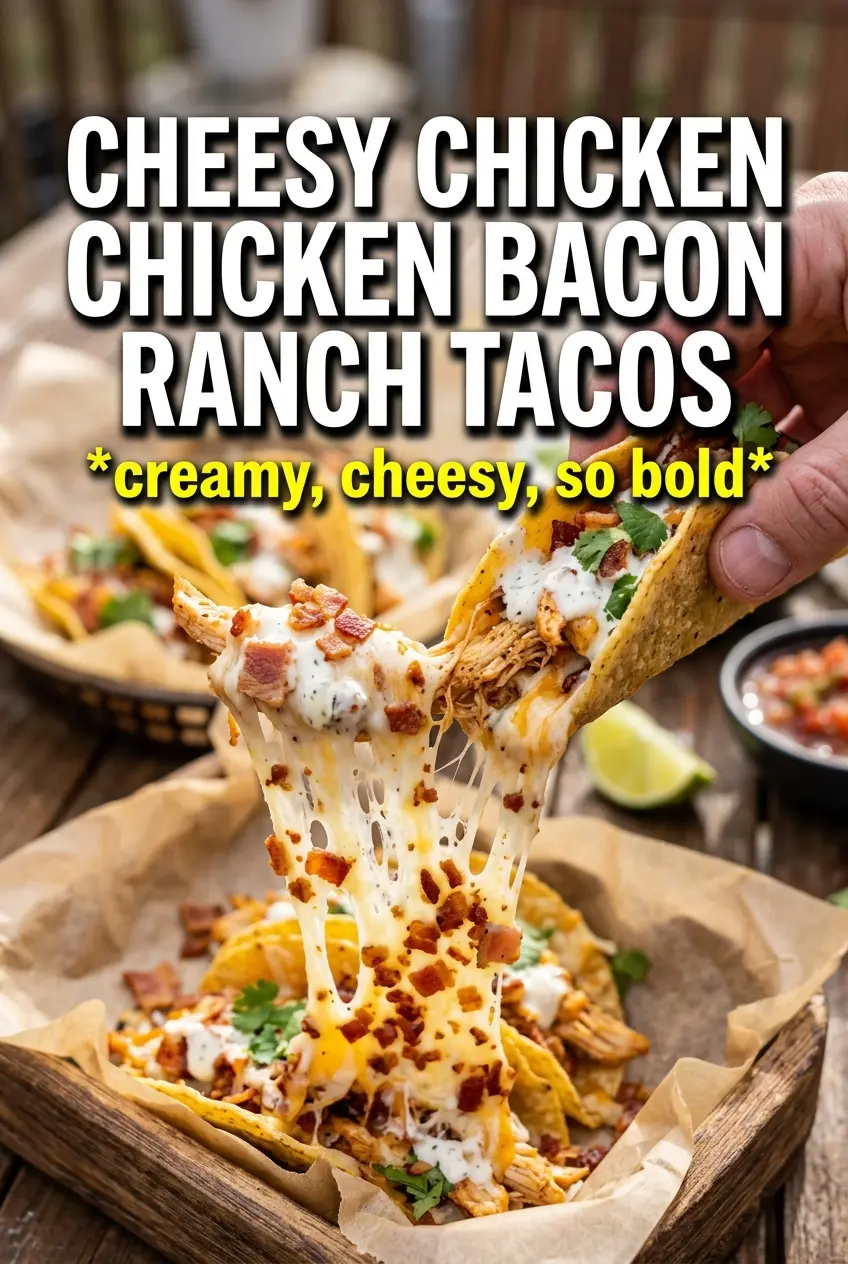
Cheesy Chicken Bacon Ranch Tacos
Ingredients
Equipment
Method
- Season the sliced chicken breast with half the ranch seasoning mix. Heat olive oil in a skillet over medium-high heat.
- Cook the chicken for 4-5 minutes per side until cooked through. Keep it in a single layer so it browns instead of steaming.
- Remove the chicken from the skillet and rest briefly. Slice as needed so the pieces are easy to fill the tacos.
- Fold each flour tortilla in half. Griddle in a dry skillet over medium heat until crispy on both sides.
- Add shredded sharp cheddar inside the folded tortilla during griddling. Continue until the cheddar melts so the shell feels cheesy when you open it.
- Fill each crispy taco shell with ranch chicken, crispy bacon, shredded romaine, cherry tomatoes, and diced red onion. Tuck toppings in so they stay contained.
- Drizzle ranch dressing across the tacos and dust with the remaining ranch seasoning mix. Serve immediately while the tortillas are crisp and the cheese is melty.