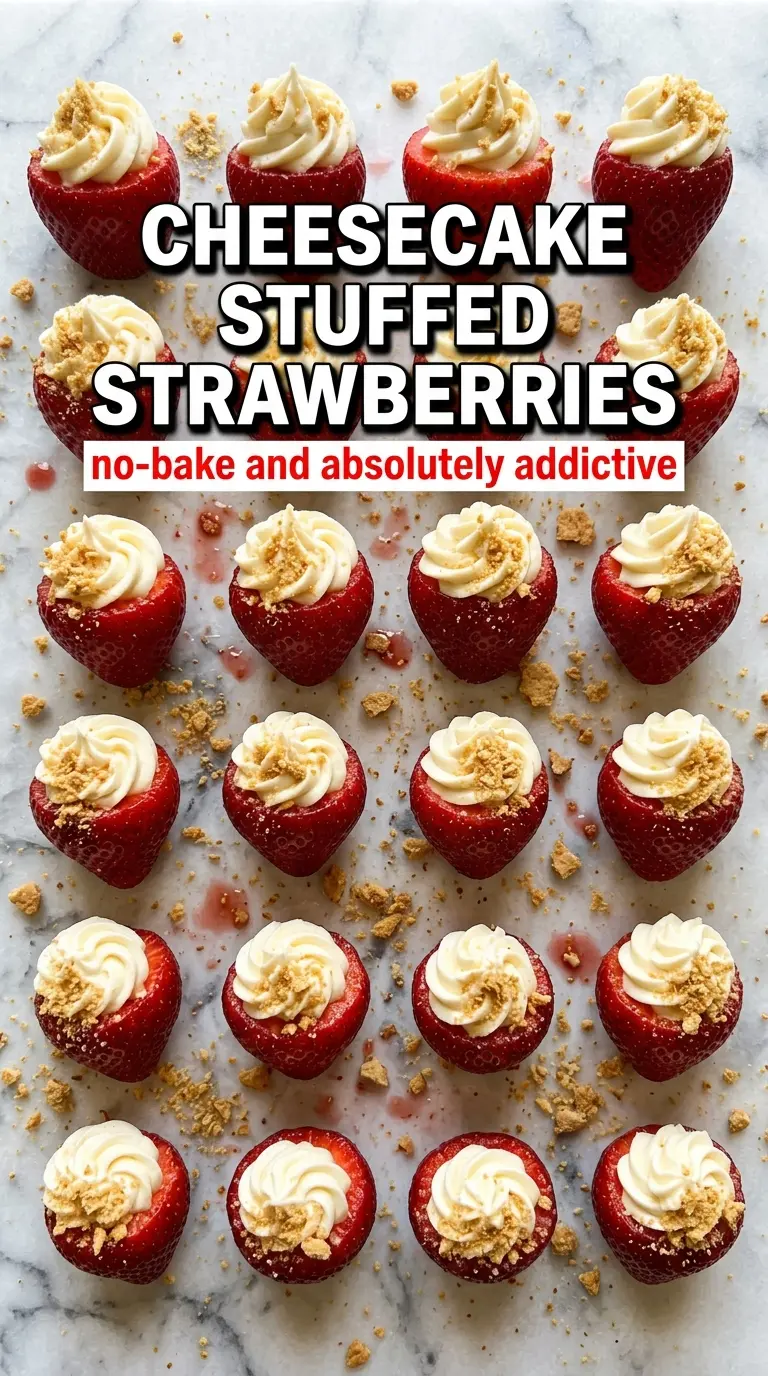
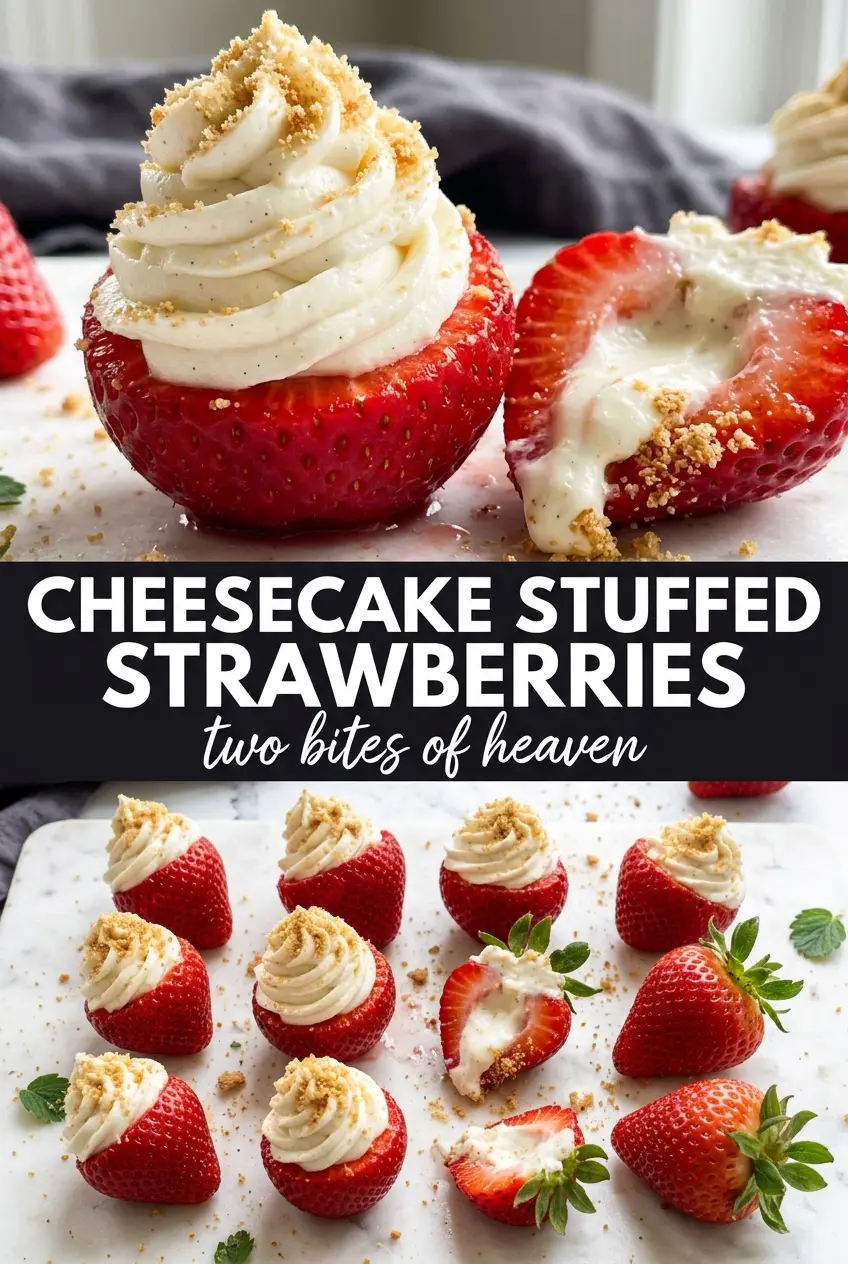
Cheesecake stuffed strawberries hit that sweet spot between fresh and indulgent. You get a juicy berry that still tastes like a berry, then a chilled cheesecake filling piped high enough to look festive without turning heavy or clumsy. The little graham crumble on top gives you just enough cheesecake-crust energy to make each bite feel finished.
What makes this version work is the balance in the filling. Cream cheese alone would taste dense, and whipped topping alone would taste flat; together, they turn into something smooth, pipeable, and light enough to sit inside the strawberries without sliding out. A touch of lemon keeps the filling from reading too sweet, and the quick chill gives it the structure you need for clean serving.
Below, I’ve included the small details that matter most here: how to hollow the berries without cracking them, how to get the filling fluffy enough to pipe, and what to do if you want a more classic cheesecake finish or a more playful party-style topping.
The filling piped beautifully and held its shape after chilling. I used a melon baller for the centers, and every strawberry came out neat enough for a party tray.
Love the creamy swirl and fresh berry bite? Save these cheesecake stuffed strawberries for your next no-bake dessert tray.
The Trick to Stuffed Strawberries That Hold Their Shape
The biggest mistake with cheesecake stuffed strawberries is overworking the berries before the filling even goes in. If you cut too deeply or hollow them too aggressively, they collapse and leak juice into the filling. A shallow, stable cavity is all you need. The strawberry should stay sturdy enough to stand upright once you trim the bottom just enough to flatten it.
The other thing that matters is chilling. The filling can taste fine right away, but it pipes and serves better after the cream cheese has had a little time to firm up in the fridge. That short rest also helps the whipped topping and cream cheese settle together, which keeps the swirl tall instead of slumping after a few minutes on the plate.
- Strawberries — Pick large, evenly shaped berries so they stand up cleanly and give you enough room for filling. Smaller berries work, but they’re harder to hollow and don’t hold as dramatic a swirl.
- Cream cheese — This is the backbone of the filling. Full-fat cream cheese gives the best texture and tang; low-fat versions tend to be softer and less stable.
- Whipped topping — This lightens the filling so it pipes easily and doesn’t feel dense. If you swap in whipped cream, fold it in gently and serve sooner, since it won’t hold quite as long.
- Lemon juice — Just a little brightens the filling and keeps it from tasting one-note sweet. Fresh lemon is worth using here because bottled juice can taste dull in a no-bake dessert.
- Graham cracker crumbs — These give the strawberries that familiar cheesecake finish. Keep them dry until the last minute so they stay crumbly instead of dissolving into the filling.
What Each Ingredient Is Actually Doing in This Recipe
- Primary ingredient (the star) — Quality matters most. Choose the best you can find.
- Cooking medium (oil, butter, or broth) — This carries flavors and prevents dryness.
- Seasonings (salt, pepper, spices, herbs) — Layer flavors so nothing overpowers. Build depth gradually.
- Aromatics (garlic, onion, herbs) — Cook with fat to bloom flavors. Become the foundation.
- Supporting ingredients — Complement the main ingredient without overpowering it.
- Sauce or liquid (if applicable) — Brings flavors together. Balance richness with acid.
- Acid (lemon, vinegar, wine, or other) — Brightens and prevents flat-tasting results.
- Final finish (garnish, glaze, or sauce) — Prevents one-dimensional taste and adds visual appeal.
How to Build the Filling and Fill the Berries Without a Mess
Prepping the Strawberries
Hull each strawberry from the top, then trim a thin slice off the bottom so it sits flat. Use a small spoon or melon baller to remove just enough center to make a pocket for the filling. If you scoop too deeply, the berry wall turns fragile and the strawberry starts weeping before it ever reaches the platter. Keep the cavity narrow and the outer shape intact.
Making the Cheesecake Filling
Beat the cream cheese, powdered sugar, vanilla, and lemon juice until the mixture is completely smooth with no lumps left at the bottom of the bowl. If the cream cheese is even a little cold, you’ll chase little bits around the bowl forever and the filling won’t pipe cleanly. Fold in the whipped topping gently so you keep the light texture. Stirring hard here deflates the filling and makes it heavy.
Piping and Finishing
Spoon the filling into a piping bag fitted with a star tip, then pipe in a steady swirl from the center up past the top of each berry. Stop before it gets too tall to handle; a high spiral looks nice, but it should still feel stable. Sprinkle on the graham crumbs and garnish right away so they stick, then chill the tray for 30 minutes. That rest sets the filling just enough for serving without the swirl sliding off the fruit.
How to Adapt These for Different Crowds and Preferences
Gluten-Free Version
The strawberries themselves are naturally gluten-free, so the only swap you need is the topping. Use certified gluten-free graham-style crumbs or leave them off and finish with a little shaved chocolate. The texture stays the same; you just lose that classic cheesecake crust note.
Dairy-Free Adaptation
Use a dairy-free cream cheese and a coconut- or almond-based whipped topping with enough structure to hold a swirl. The flavor shifts a little more tangy and less rich, but the shape and serving style stay the same. Chill them well before serving, since dairy-free fillings can soften faster.
More Classic Cheesecake Flavor
Swap half the whipped topping for an extra 4 ounces of cream cheese if you want a denser, tangier filling. It won’t pipe quite as high, but it tastes closer to a real cheesecake slice and holds its shape beautifully. Add the cream cheese slowly so the filling still stays smooth.
Make-Ahead for a Party Tray
You can prep the strawberries and the filling a few hours ahead, but keep them separate until close to serving time. Filled strawberries hold best for the first 6 to 8 hours in the fridge, and the crumb topping looks freshest when it goes on right before they hit the table. If you assemble them too early, the berries start releasing juice and the bottoms get soft.
Storage and Reheating
- Refrigerator: Store assembled strawberries in a single layer for up to 24 hours. After that, the berries soften and the filling can start to loosen from the fruit.
- Freezer: These don’t freeze well. The strawberries turn watery and the filling loses its smooth texture once thawed.
- Reheating: No reheating needed. Serve them chilled straight from the fridge, and add the crumbs or garnish just before serving so they stay crisp and visible.
Questions I Get Asked About This Recipe
Cheesecake Stuffed Strawberries
Ingredients
Equipment
Method
- Hull the strawberries from the top and cut a small slice off the bottom so they stand upright; hollow out the center of each with a small spoon or melon baller.
- Clean and dry the hollowed strawberries so the filling pipes cleanly and doesn’t slip inside.
- Beat cream cheese, powdered sugar, vanilla, and lemon juice until completely smooth.
- Fold in whipped topping until light and airy.
- Transfer the filling to a piping bag fitted with a star tip, then hold it upright for cleaner swirls.
- Pipe cheesecake filling into each hollowed strawberry, swirling up above the top with a tall, visible swirl.
- Sprinkle graham cracker crumbs and mini chocolate chips over each one for a crumbly top layer and a contrasting garnish.
- Refrigerate the stuffed strawberries for 30 minutes, then serve chilled with the filling set and the swirl intact.