
Chai scones bake up with crisp edges, tender centers, and enough warm spice to make the kitchen smell like you’ve been at it all morning, even though they come together fast. The maple chai glaze adds just enough sweetness to settle into the cracks on top without turning the scones sticky or heavy. They slice cleanly, hold their shape, and still feel soft enough to pull apart with your fingers.
The trick is keeping the butter cold and stopping the dough before it looks perfectly smooth. That rough, shaggy texture is what gives you layered scones instead of dry little hockey pucks. The chai spices are built right into the dough, then echoed again in the glaze, so every bite tastes balanced instead of one-note cinnamon sugar.
Below, I’ll show you how to keep the dough tender, what the glaze should look like before you drizzle it, and the small changes that help these turn out well even if you’ve never made scones from scratch before.
The scones stayed tender in the middle, and the maple chai glaze set up just enough that it didn’t slide off the top. I loved how the cardamom came through without overpowering everything else.
Drizzle these chai scones with maple glaze and save them for the mornings when you want something warm, spiced, and bakery-style without the bakery trip.
The Butter Has to Stay Cold or the Scones Go Flat
Scones depend on pockets of butter staying intact until the oven hits them. If the butter softens too much while you’re mixing, it blends into the flour and you lose that lift and layering that makes a scone worth eating. The goal is a crumbly dough with visible bits of butter, not a smooth batter.
Another place people go wrong is mixing past the point where the dough just comes together. Overworking it develops gluten and gives you tough, bready scones instead of tender ones. Stop as soon as the flour is mostly absorbed, then bring it together with your hands on the counter only enough to form the circle.
- Cold butter — This is what creates the flaky texture. Cube it, then cut it in while it’s still firm. If your kitchen runs warm, chill the cubed butter for 10 minutes before mixing.
- Heavy cream and eggs — They add richness and keep the crumb tender. The eggs help the scones hold together and give the tops a little more structure than cream alone would.
- Strong chai tea in the glaze — This is the part that keeps the topping from tasting like plain powdered sugar. Brew it concentrated so the glaze picks up actual tea flavor without thinning out too much.
What Each Spice Is Doing in the Dough
- Cinnamon — Gives the scones their familiar warmth and rounds out the sharper spices. It’s the backbone here, so don’t skip it.
- Cardamom — This is the spice that makes the scones taste unmistakably chai. Fresh cardamom will taste brighter, but grocery-store ground cardamom still works well if it’s not ancient.
- Ginger and cloves — These keep the flavor from leaning too sweet. Use the measured amounts here; cloves can take over fast if you get heavy-handed.
- Maple syrup in the glaze — Maple gives the topping depth that powdered sugar alone can’t offer. If you swap in milk, the glaze gets sweeter but flatter.
Cut, Shape, Bake, Glaze
Mix the Dough Just Until It Clumps
Whisk the dry ingredients well first so the baking powder and spices are spread evenly through the flour. When you cut in the butter, stop when the mixture looks sandy with some pea-size pieces left behind. Once the cream, eggs, and vanilla go in, stir only until the dough starts to hold together; dry pockets are better than a sticky mess at this stage.
Shape a Circle, Not a Perfect Disc
Turn the dough onto the counter and pat it into an 8-inch circle about 1 inch thick. If the dough cracks at the edges, that’s fine; press it back together instead of kneading. Slice straight down with a sharp knife so the wedges rise cleanly, then separate them slightly on the baking sheet so the edges can brown.
Bake Until the Edges Are Set and the Tops Turn Gold
Brush the tops with cream for a deeper color and a little sheen. Bake until the scones are puffed, the tops are golden, and the bottoms release without looking pale or doughy. If the tops brown too quickly before the centers are done, your oven is running hot; move the tray one rack lower next time.
Glaze After a Short Cool-Down
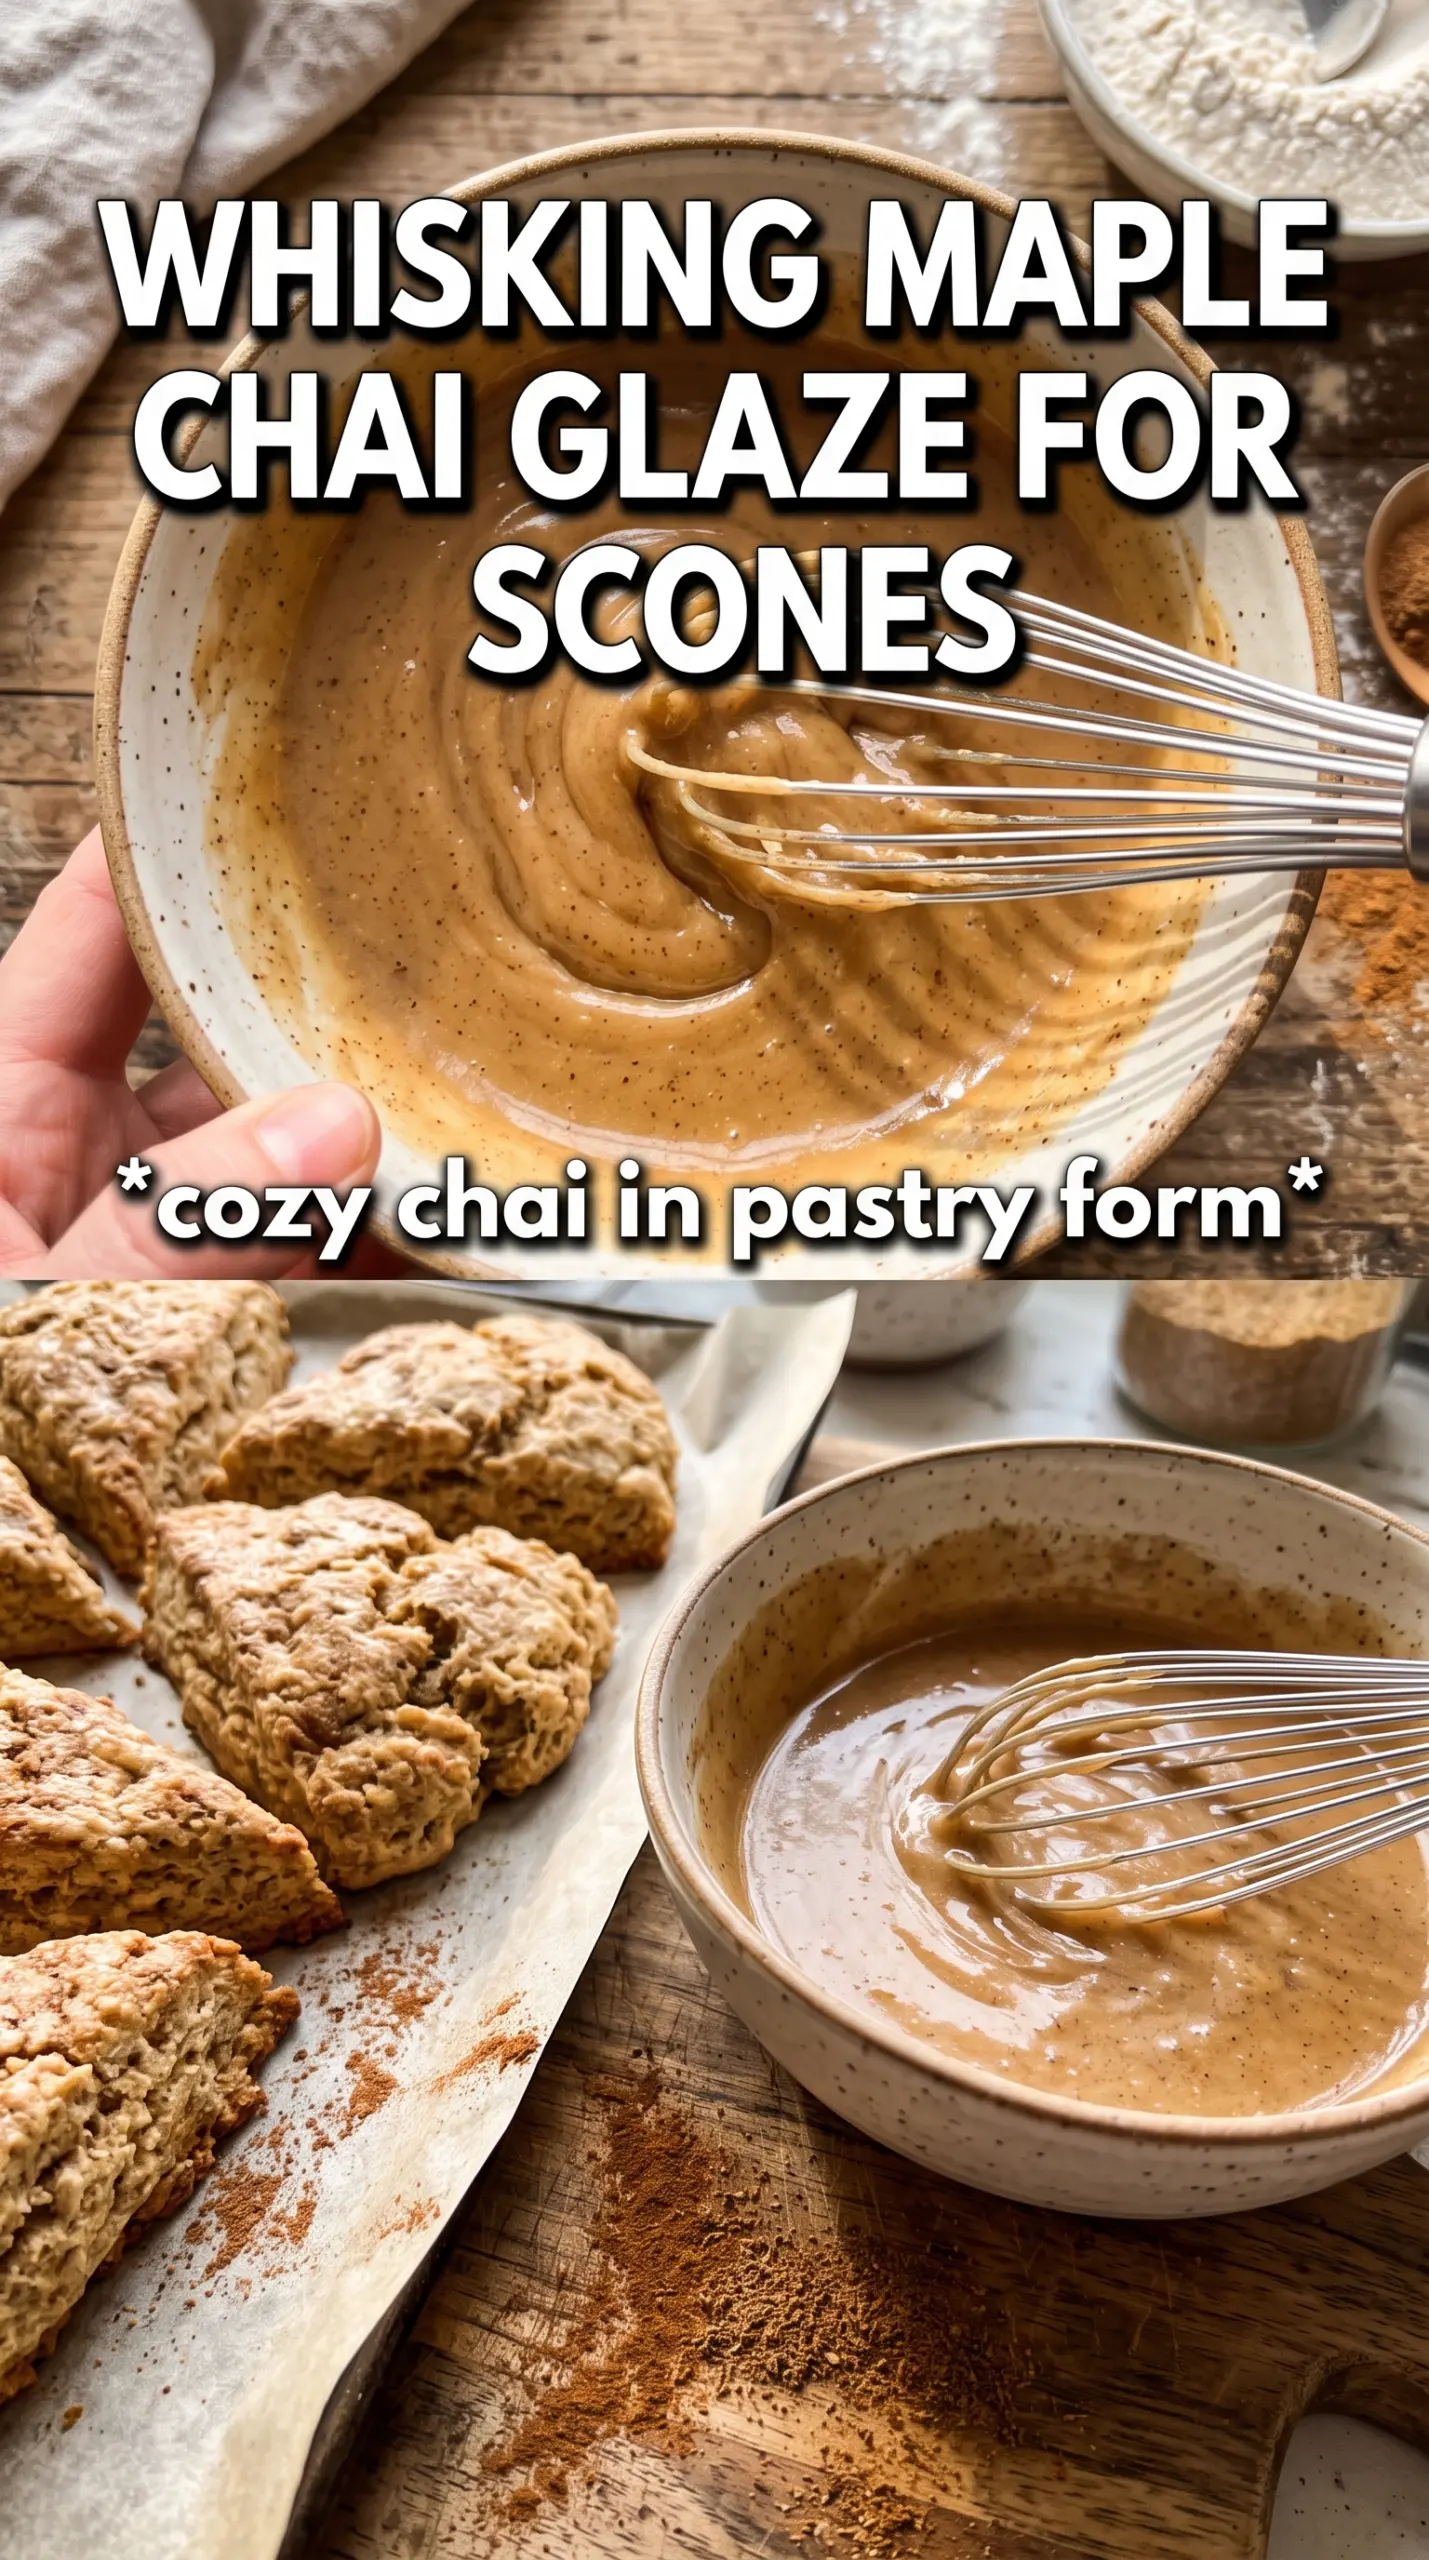
Let the scones cool for about 10 minutes before glazing so the topping stays on top instead of melting into the crumb. The glaze should drizzle in thick ribbons, not run like syrup; if it’s too loose, add a little more powdered sugar. If it’s too stiff, thin it with a few drops of chai tea at a time.
How to Adjust These Scones Without Losing the Texture
Dairy-Free Version
Use a good plant-based butter and full-fat coconut cream in place of the heavy cream. The scones will still bake up tender, but they won’t be quite as rich, and the flavor will lean slightly coconut if you use a strongly flavored substitute.
Extra-Spiced Bakery Style
Add an extra 1/2 teaspoon cinnamon and a pinch more cardamom if you want the chai flavor to come through harder. Don’t push the cloves higher than written unless you like a sharper, almost medicinal note.
Make-Ahead Dough
Shape and cut the scones, then chill them on the baking sheet for up to 24 hours before baking. Cold dough bakes taller, which is a nice bonus, and it also makes breakfast easier because you can slide them straight into the oven.
Glaze Less Sweet
Use a little less maple syrup and replace the missing volume with brewed chai tea. The glaze will be thinner and more tea-forward, which works well if you want the scones to stay less sugary.
Storage and Reheating
- Refrigerator: Store in an airtight container for up to 4 days. The glaze will soften a bit, but the scones still hold up well.
- Freezer: Freeze unglazed scones for up to 2 months. Wrap them tightly and thaw at room temperature before glazing so the topping stays pretty and doesn’t weep.
- Reheating: Warm in a 300°F oven for 6 to 8 minutes. The biggest mistake is microwaving too long, which makes the crumb rubbery and the glaze sticky.