Caramel apple cheesecake lands in that sweet spot between cozy and polished: a crisp graham cracker crust, a tangy cream cheese filling, soft cinnamon apples, and a buttery oat streusel that bakes into a golden lid. The caramel on top ties it all together without making the whole dessert feel heavy or one-note. Every bite has something different going on, which is exactly why this one disappears fast at the table.
The trick here is treating each layer like it matters on its own. The apples are cooked first so they don’t leak juice into the cheesecake, and the streusel goes on top dry so it can brown instead of sinking. Baking the cheesecake in a water bath keeps the filling creamy and helps prevent the usual cracks that show up when the edges set too fast.
Below, I’ve included the timing cues that matter most, plus a few smart swaps if you need to adjust the apples, the crust, or the topping. If you’ve ever had a cheesecake that baked up dense or watery, this version fixes both problems.
The apple layer stayed nicely thick instead of running into the cheesecake, and the streusel baked up crisp even under the caramel. I chilled it overnight and the slices came out clean the next day.
Save this caramel apple cheesecake for the one with the silky filling, thick apple layer, and buttery streusel crown.
The Water Bath Is What Keeps the Center Creamy
Cheesecake turns grainy or cracks when the edges race ahead of the center. The water bath slows that down by surrounding the pan with gentle heat, which gives the filling time to set evenly. That matters even more here because the apple layer and streusel add weight to the top, and you want the middle to stay plush instead of tightening up around the edges.
The other mistake to avoid is overbaking. Pull the cheesecake when the outer ring looks set and the center still has a slight wobble, like soft gelatin. It will finish firming as it cools, and that carryover heat is doing the last bit of work for you.
What Each Layer Is Doing in This Cheesecake
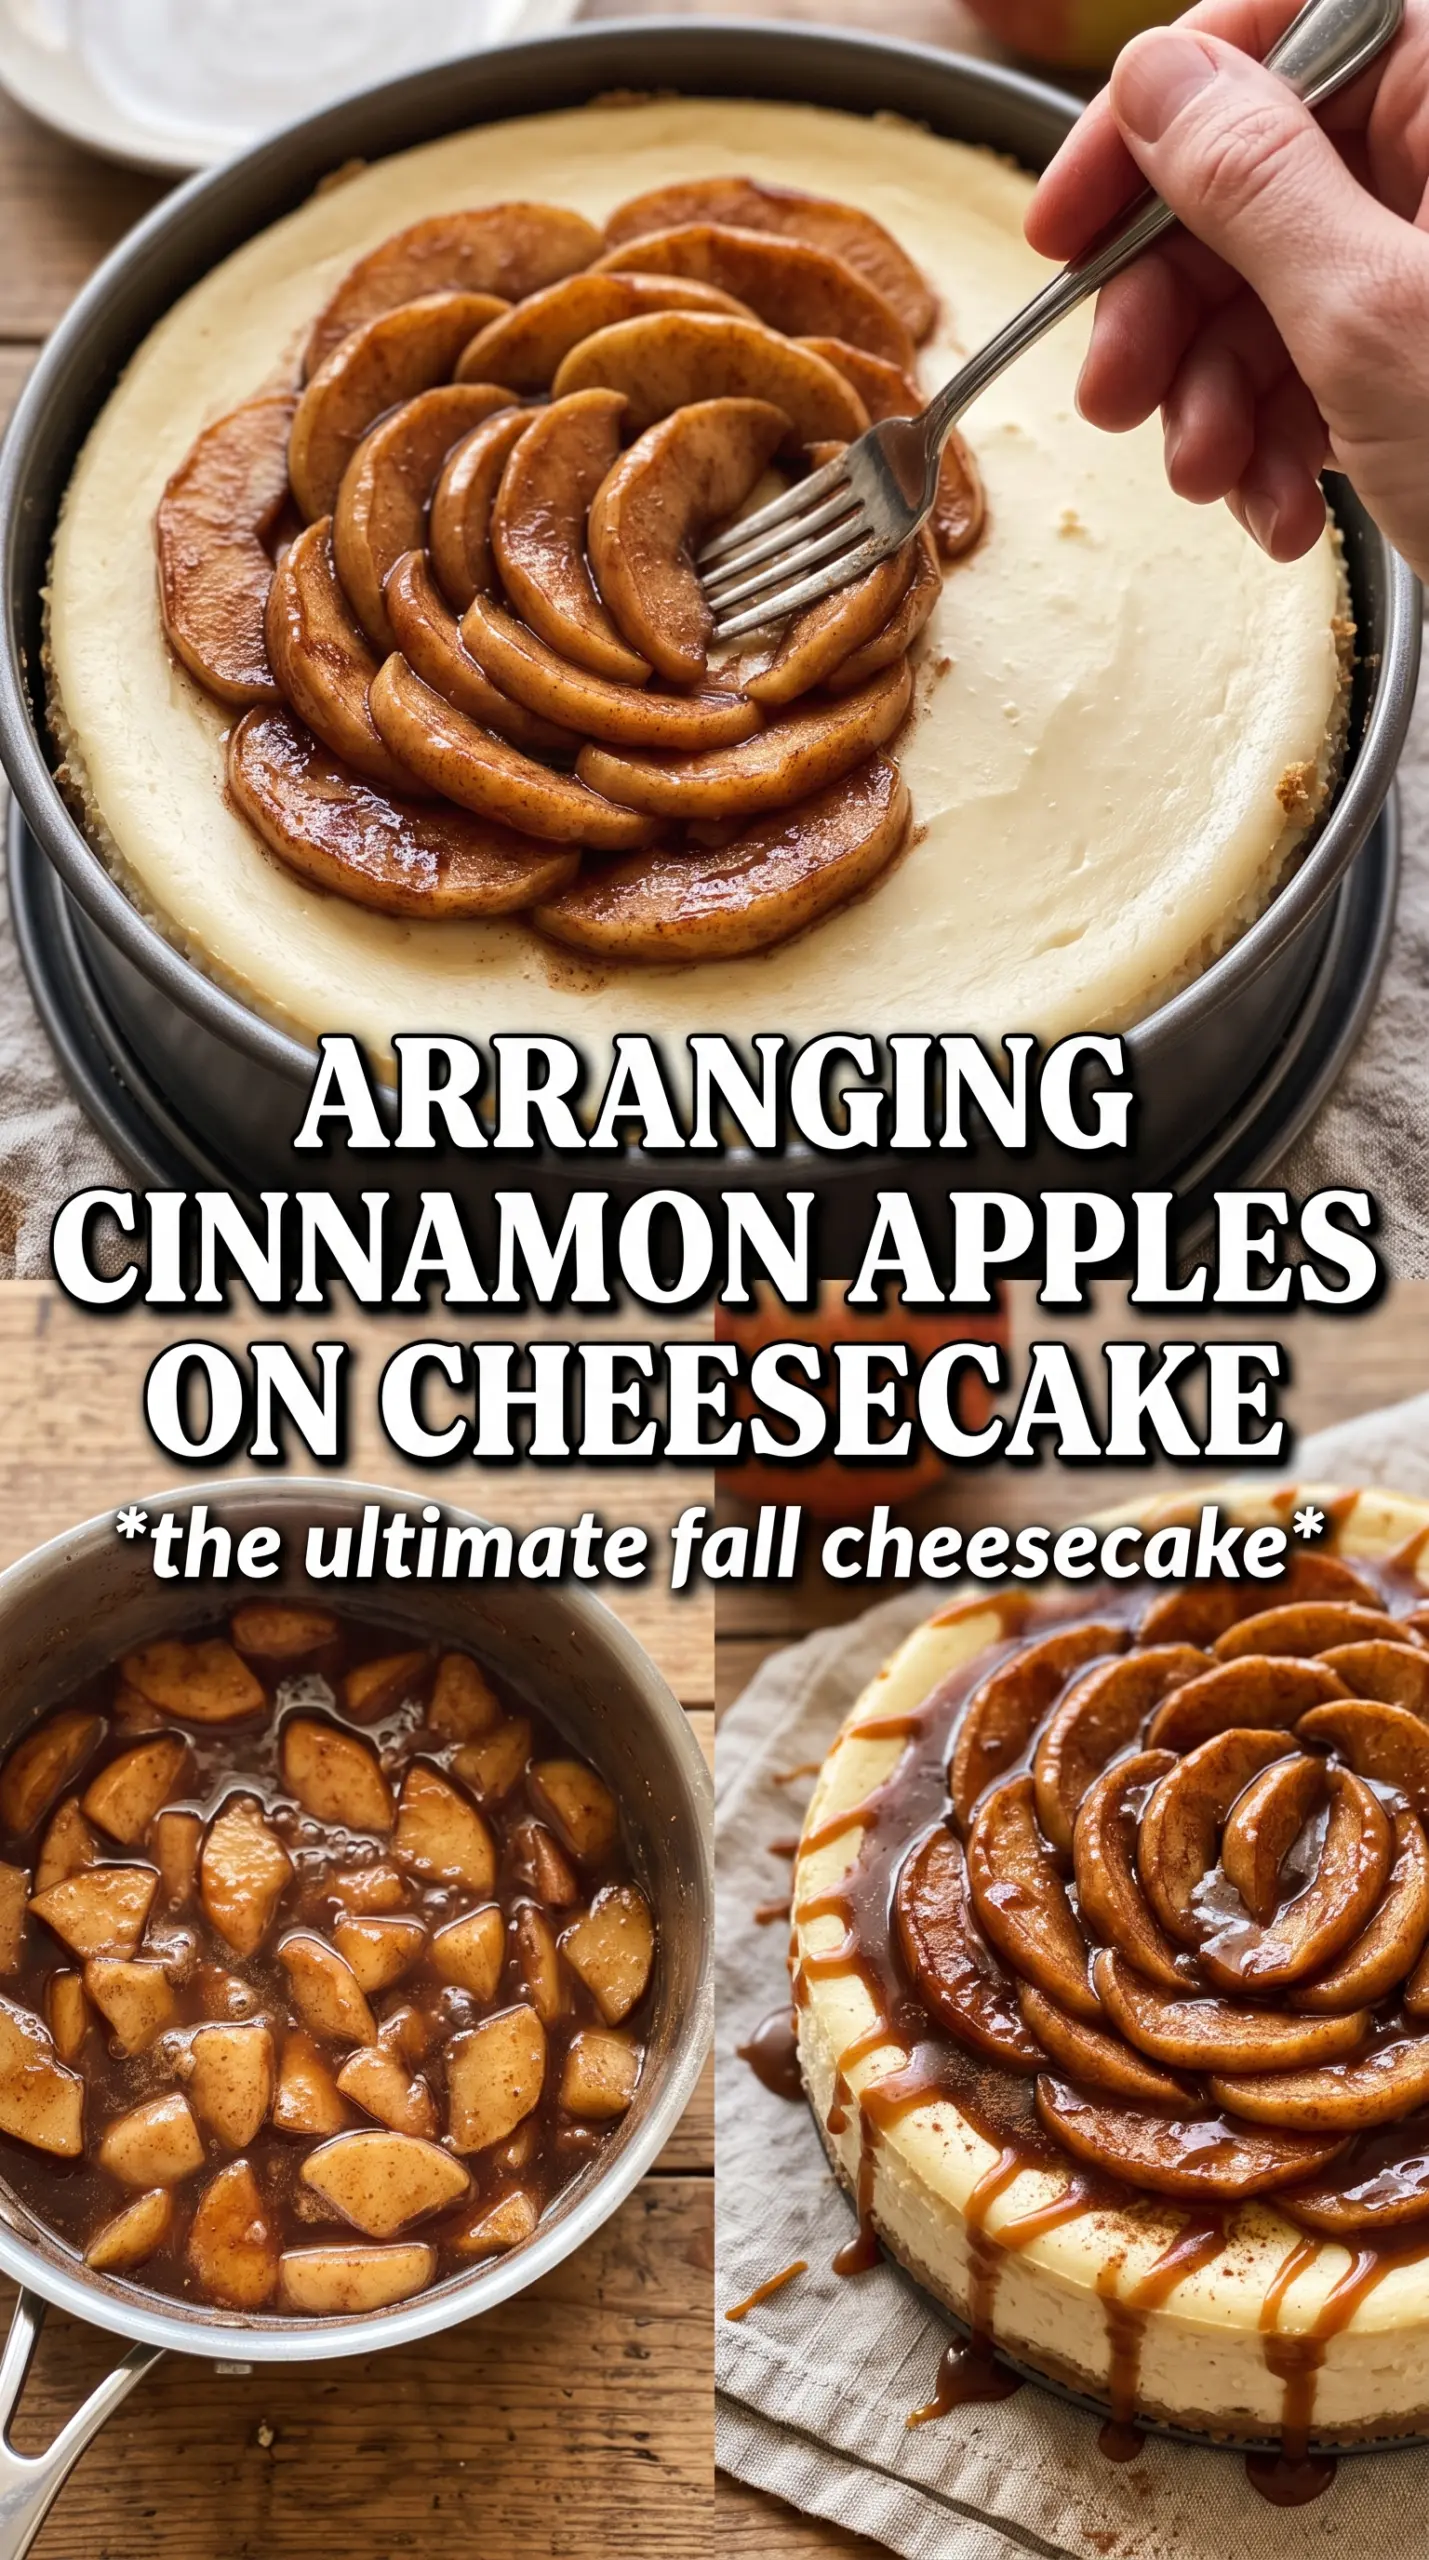
- Graham cracker crumbs — These give you a crust that slices cleanly and holds up under the filling. Finely ground crumbs pack best; if yours are coarse, pulse them a little more so the crust doesn’t crumble when you cut it.
- Cream cheese — Use full-fat blocks, not the spreadable tub kind. The tub version has more water and stabilizers, and that’s how you end up with a filling that bakes up loose or slightly gummy.
- Sour cream — This adds tang and keeps the texture softer than cream cheese alone. If you need to swap it, use full-fat Greek yogurt, but expect a slightly sharper, less plush result.
- Apples — A firm baking apple holds its shape best after the quick stovetop cook. Soft apples break down too much and can turn the top layer into applesauce instead of neat, tender pieces.
- Oats and brown sugar — The streusel needs both for that crisp, crumbly topping. If you want a gluten-free version, use certified gluten-free oats and a 1:1 gluten-free flour blend; the texture stays close, but the topping may brown a little faster.
- Caramel sauce — Add it at the end, after the cheesecake has chilled and been sliced. If you pour it on too early, it sinks into the streusel and you lose that glossy finish on top.
Building the Layers Without Letting Them Bleed Together
Pressing and Prebaking the Crust
Mix the graham crumbs, sugar, and melted butter until the texture looks like damp sand, then press it firmly into the bottom of the springform pan. Use the bottom of a measuring cup to pack it evenly so the crust doesn’t lift or turn sandy when sliced. Bake it for 10 minutes, just until it smells toasty and the surface looks set. If it goes too dark, it will taste bitter under the sweet filling, so pull it as soon as the edges deepen in color.
Cooking the Apple Layer First
Cook the diced apples with brown sugar, cinnamon, butter, and cornstarch until the juices turn glossy and thick. You’re looking for apples that are just tender, not collapsing into mush. This step matters because raw apples release water in the oven, and that extra moisture can wreck the cheesecake texture. Let the apples cool before layering them on, or they can start softening the filling before it even goes into the oven.
Mixing the Cheesecake Filling Gently
Beat the cream cheese and sugar until completely smooth before adding the eggs, then stop mixing as soon as the batter looks uniform. Too much air gives you a puffy cheesecake that falls and cracks as it cools. Add the sour cream, vanilla, and cinnamon last, and scrape the bowl well so there aren’t streaks of unmixed cream cheese hiding at the bottom. The batter should look silky and thick, not fluffy.
Baking, Cooling, and Chilling
Pour the filling over the crust, spoon the cooled apples over the top, and scatter the streusel across in an even layer. Set the springform pan in a larger pan with hot water and bake until the outer edge is set and the center still jiggles slightly. Let the cheesecake cool slowly before refrigerating it for at least 6 hours, because rushing that chill is how you get messy slices and a filling that hasn’t fully set. Add the caramel right before serving so it stays bold and glossy.
How to Adapt This Dessert Without Losing the Good Parts
Gluten-Free Version With a Crisp Crust
Swap the graham crackers for certified gluten-free grahams or finely crushed gluten-free cookies, and use a 1:1 gluten-free flour blend in the streusel. The filling doesn’t need any changes, and the result still slices cleanly. The only tradeoff is a slightly more delicate crust, so press it firmly and chill the finished cheesecake well before cutting.
Dairy-Free Swap for the Filling
Use dairy-free cream cheese and a thick plant-based yogurt in place of the sour cream. You’ll still get a creamy slice, but the flavor will be a little less tangy and the texture a touch softer. Chill it fully before slicing, since dairy-free fillings usually need that extra time to set up.
Swapping the Apples
Honeycrisp, Braeburn, or Granny Smith all work well, but they give slightly different results. Granny Smith stays firmer and sharper, while Honeycrisp turns sweeter and softer. Pick firmer apples if you want a cleaner-looking layer and the best contrast against the sweet cheesecake filling.
Make-Ahead Timing for Cleaner Slices
This dessert is better the day after it’s baked, not the same afternoon. Bake it the night before, chill it overnight, and add the caramel right before serving. The extra time lets the filling firm up fully, which gives you neat slices instead of a soft center that slumps on the plate.
Storage and Reheating
- Refrigerator: Store covered for up to 5 days. The streusel softens a little over time, but the flavor stays excellent.
- Freezer: Freeze without the caramel for up to 2 months. Wrap slices tightly and thaw overnight in the refrigerator for the cleanest texture.
- Reheating: This cheesecake is meant to be served cold or cool, not warmed. If you want to soften it slightly, let a slice sit at room temperature for 15 to 20 minutes; microwaving will make the filling greasy and the crust soggy.
Answers to the Questions Worth Asking
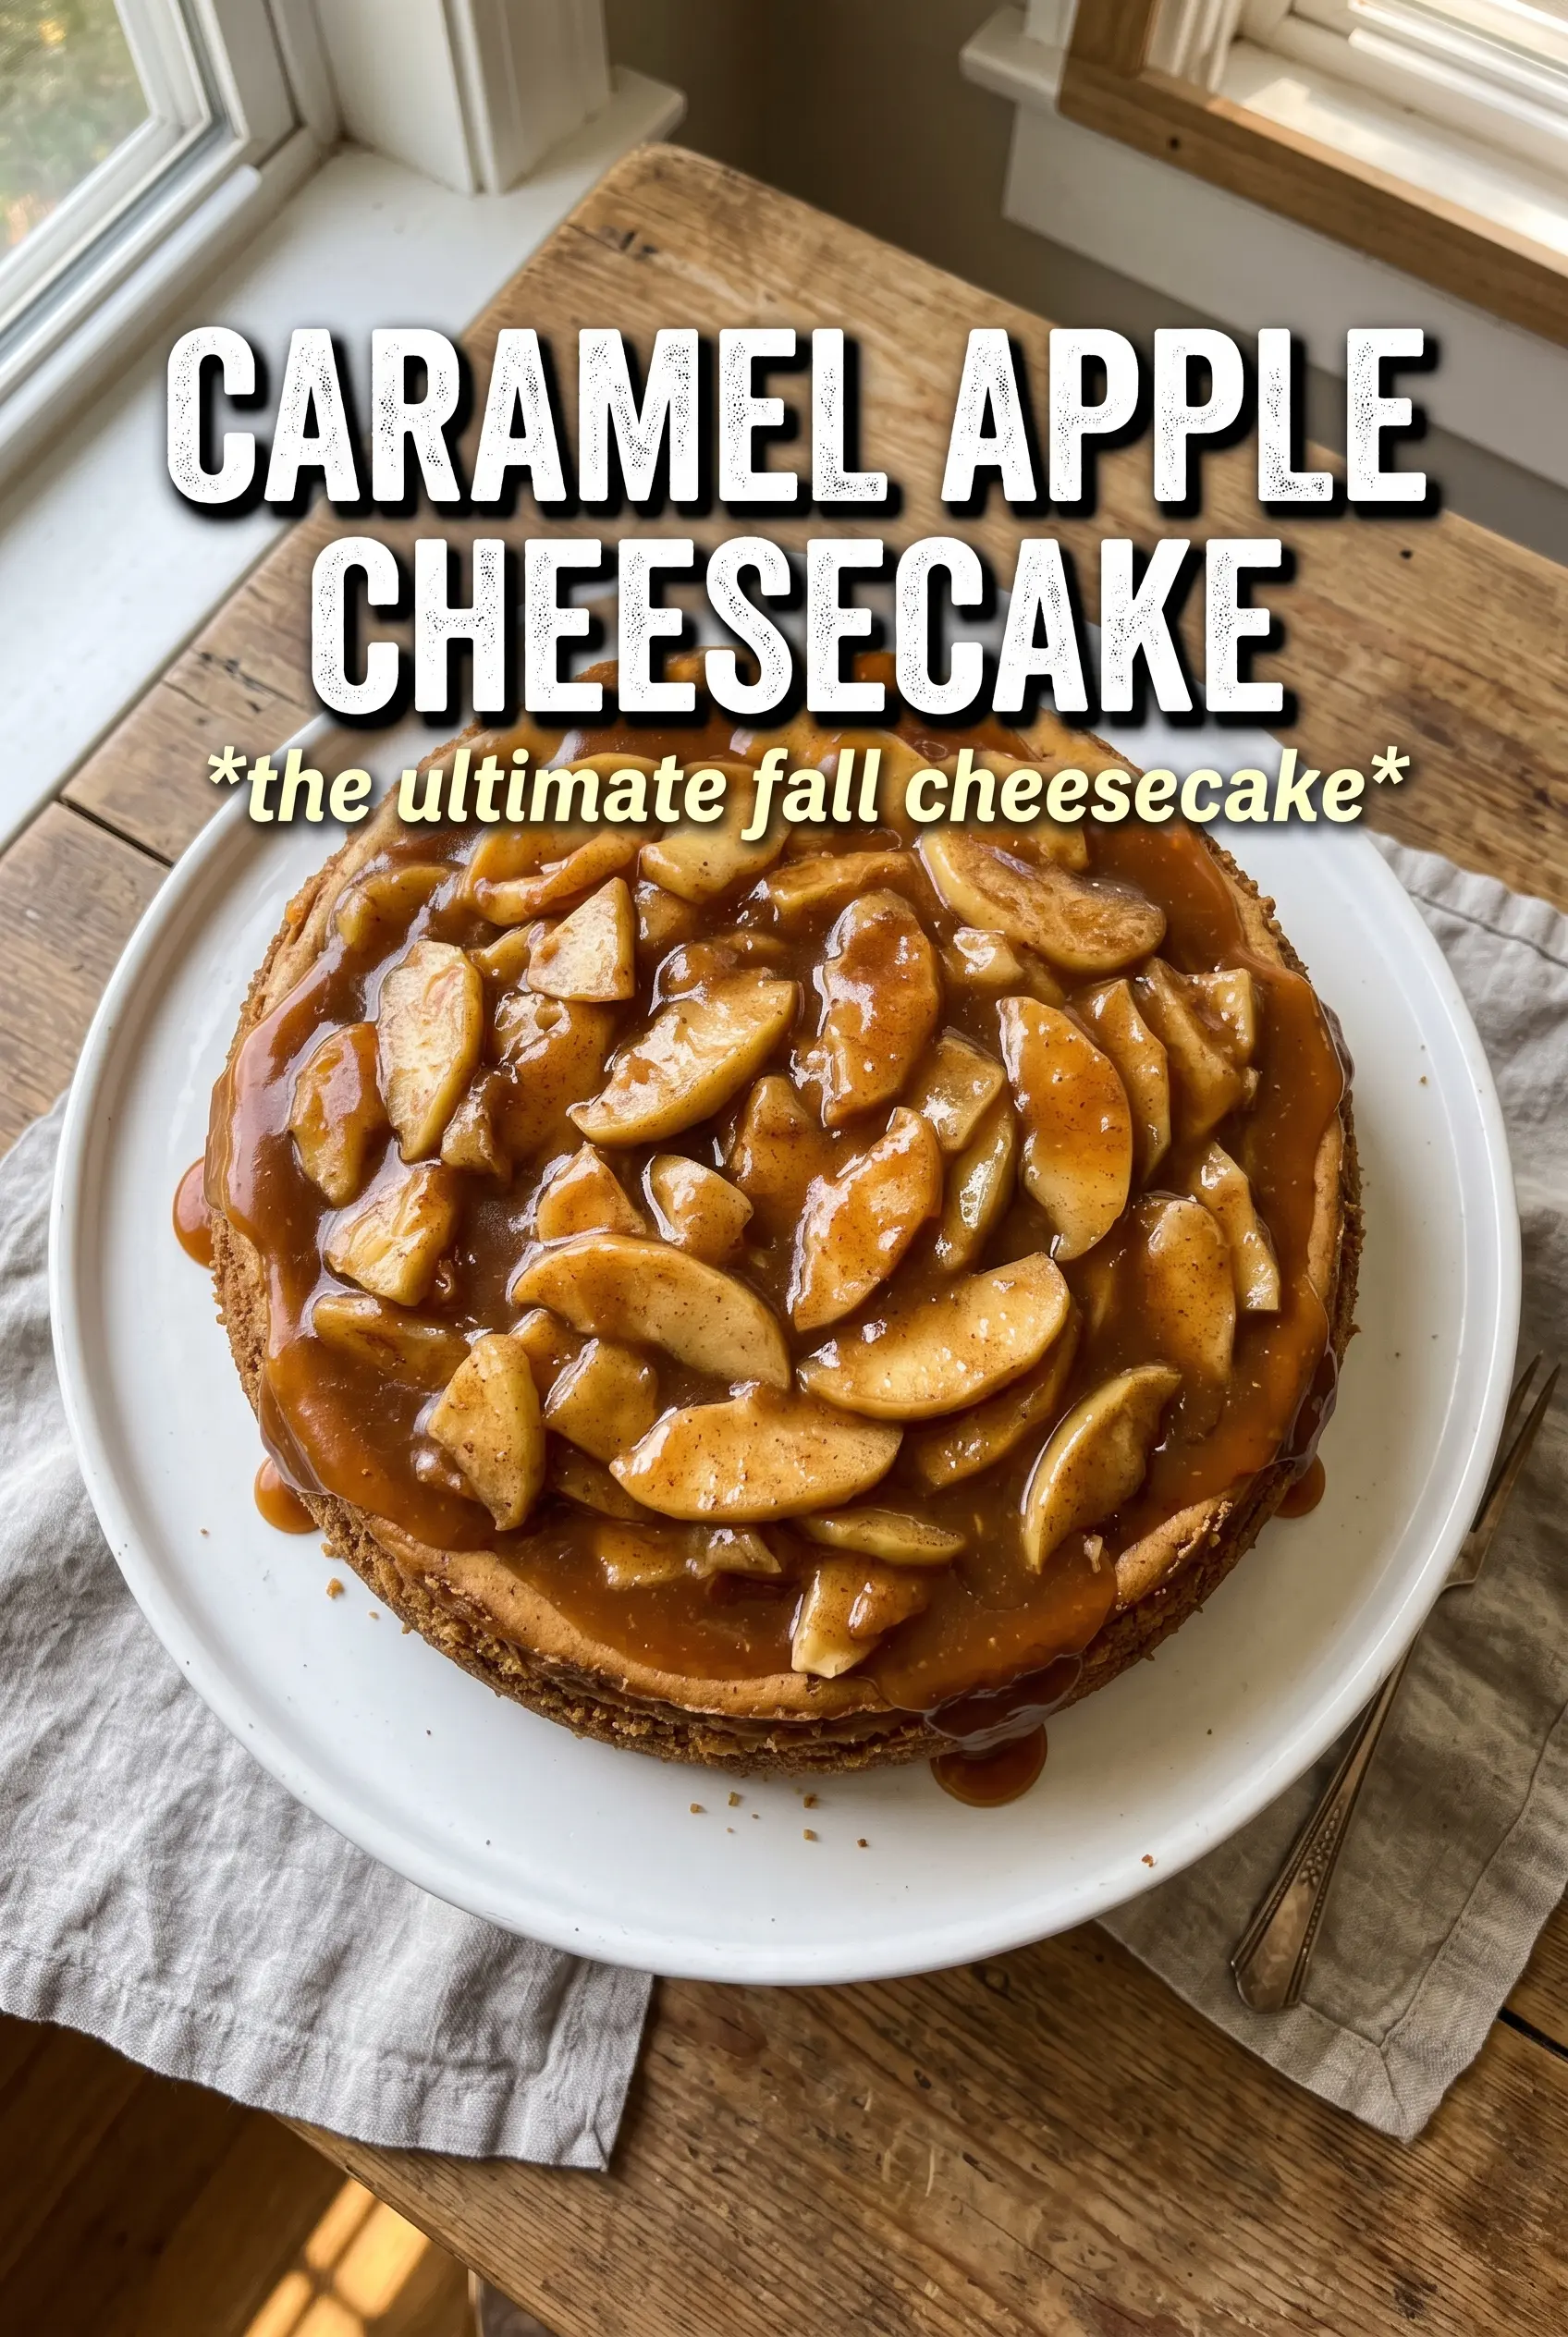
Caramel Apple Cheesecake
Ingredients
Equipment
Method
- Preheat oven to 325F. Press graham cracker crumb mixture into a 9-inch springform pan.
- Bake the crust at 325F for 10 minutes, until set and lightly fragrant. (Visual cue: crust should look dry and firm at the edges.)
- In a saucepan, cook apples with brown sugar, cinnamon, butter, and cornstarch for 5 minutes until thickened. (Visual cue: juices become glossy and coat the apples.)
- Cool the apple layer completely. (Visual cue: mixture thickens further and is no longer hot.)
- Beat cream cheese and sugar until smooth, then add eggs one at a time until incorporated. (Visual cue: batter looks silky, with no visible lumps.)
- Mix in sour cream, vanilla, and cinnamon just until combined. (Visual cue: batter turns evenly speckled and thick.)
- Pour cheesecake filling over the baked crust. (Visual cue: filling settles into an even layer.)
- Top the filling with the cooled apple layer. (Visual cue: apples cover the surface without sinking too deeply.)
- Scatter streusel over the top so it forms an even oat crumble layer. (Visual cue: you should see pebble-like crumbs across the entire surface.)
- Bake in a water bath at 325F for 60-65 minutes until just set. (Visual cue: edges are set while the center still has a slight wobble.)
- Cool the cheesecake completely after baking. (Visual cue: it stops jiggling and reaches room temperature.)
- Refrigerate for 6 hours. (Visual cue: the cheesecake slices cleanly and the topping firms up.)
- Drizzle caramel sauce over the top right before serving. (Visual cue: caramel runs slightly and creates streaks down the sides.)