Caramel apple cake lands with a soft crumb, warm spice, and that thick ribbon of caramel frosting that settles into every bite. The apples stay tender without disappearing, so you get little bursts of fruit against the buttery cake instead of a uniform, muddy texture. It’s the kind of layer cake that slices cleanly, looks bakery-worthy on a stand, and still tastes homemade in the best way.
The texture comes from a few smart choices: sour cream for moisture, brown sugar for depth, and a careful balance of apples so the batter stays plush instead of heavy. The cake bakes up tall because the butter and sugar are beaten until fluffy before anything else goes in, and the diced apples are folded in at the end so they don’t sink or bleed too much juice into the batter.
Below, I’ll walk you through the part that matters most: keeping the layers tender, getting the frosting smooth, and deciding whether to add more caramel on top or keep it restrained for a cleaner slice.
The cake came out so moist and the apples stayed tender without turning mushy. I loved that the caramel frosting set up enough to spread easily, and the drizzle on top made each slice look polished.
Pin this caramel apple cake for the kind of layer cake that stays moist, slices clean, and finishes with a glossy caramel drizzle.
The Trick to Keeping the Apples from Weighing Down the Cake
The biggest mistake with apple layer cakes is adding too much fruit or cutting it too large. Big chunks release more juice, create pockets in the crumb, and drag the batter down before it sets. Finely diced apples spread through the cake instead, giving you texture in every slice without collapsing the structure.
This batter also works because it starts with a proper creaming step. Butter and brown sugar need to turn light and fluffy before the eggs go in, or the cake ends up dense and flat. Once the flour and sour cream are added, stop mixing as soon as the batter comes together. Overmixing at that point tightens the crumb and makes the finished cake feel heavy.
What Each Ingredient Is Doing in the Background
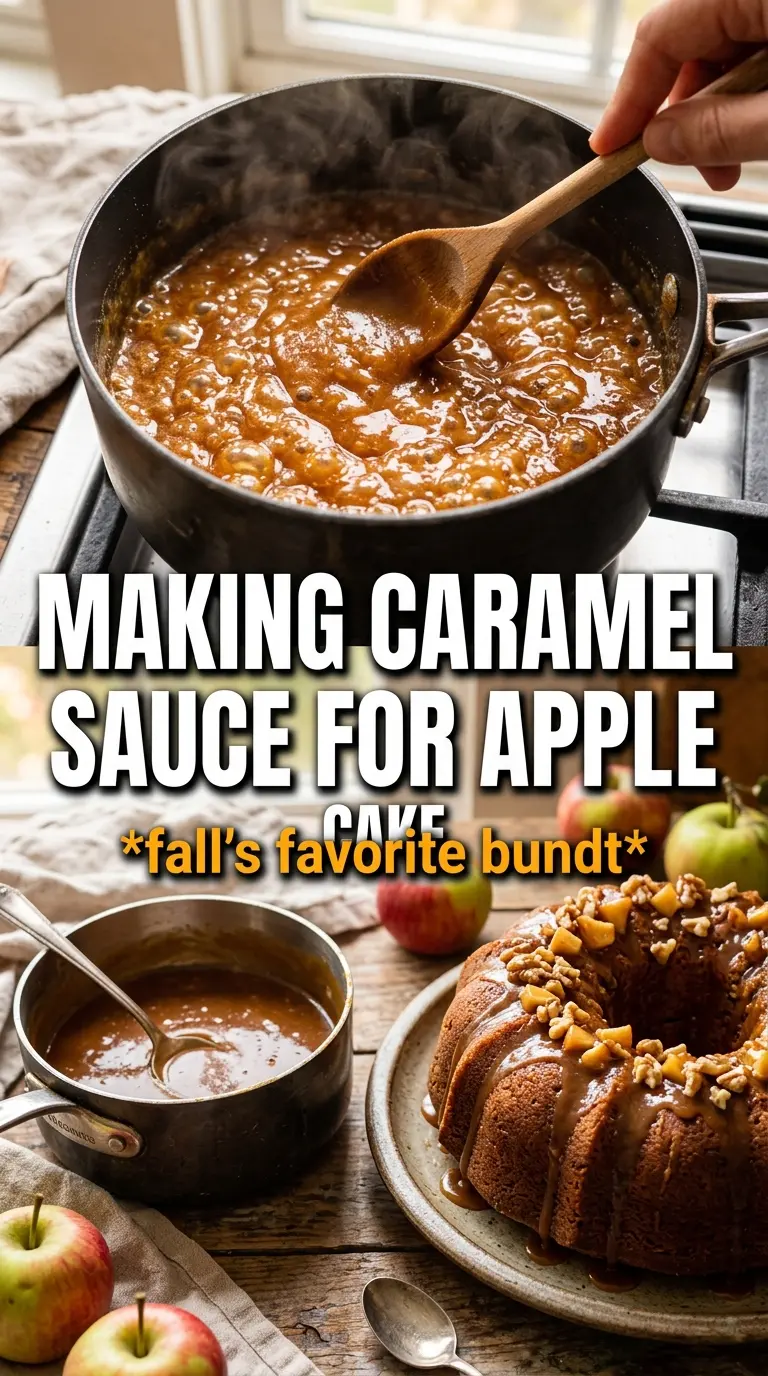
- All-purpose flour — This gives the cake its structure without making it bready. Cake flour will make the crumb softer, but it can lose some of the sturdy layer-cake feel once the apples and frosting are added.
- Brown sugar — It brings moisture and a deeper caramel note that white sugar just can’t match. Light or dark brown sugar both work; dark brown sugar will push the flavor a little richer.
- Sour cream — This is the ingredient that keeps the crumb plush and tender. Plain Greek yogurt is the closest swap, and it should be full-fat for the best texture.
- Finely diced apples — Use a firm baking apple so the pieces hold their shape in the oven. Softer apples turn mushy and disappear into the batter.
- Cream cheese and caramel frosting — The cream cheese keeps the frosting from tasting one-note sweet, and the caramel rounds it out. Let both the butter and cream cheese soften fully or the frosting will turn lumpy no matter how long you beat it.
Building the Layers Without Crushing the Crumb
Creaming the Butter and Sugar
Beat the butter and brown sugar until the mixture looks pale, fluffy, and almost whipped. That step traps air, and that air is part of what gives the cake lift before the eggs and flour come in. If the mixture still looks grainy and dense, keep going a little longer. When you add the eggs, do it one at a time so the batter stays smooth instead of looking broken.
Adding the Dry Ingredients and Sour Cream
Alternate the flour mixture with the sour cream and start and end with flour. That keeps the batter stable and helps it emulsify without curdling. Once the last streaks of flour disappear, stop mixing. If you beat it until the batter looks perfectly glossy, you’ve already gone too far and the crumb will bake up tight.
Folding in the Apples and Baking the Layers
Fold the diced apples in by hand so they stay evenly distributed. Scrape the batter into two greased 9-inch pans and level the tops gently, but don’t bang the pans hard on the counter or you’ll knock out the air you just worked in. Bake until a toothpick comes out clean or with a few moist crumbs, not wet batter. The top should spring back lightly when touched, and the edges will pull just slightly from the pan.
Whipping the Frosting and Finishing the Cake
Beat the cream cheese and butter until completely smooth before adding the caramel, powdered sugar, and vanilla. If the frosting feels loose, chill it for a few minutes before assembling so it holds between the layers. Spread a generous layer between the cakes, then frost the outside and let the caramel drizzle run over the top in slow ribbons. Warm caramel drizzles prettier, but don’t pour it on while it’s hot or it will melt the frosting and slide right off.
How to Adjust This Cake for the Pantry You Have
Make it dairy-free
Use plant-based butter in both the cake and frosting, then swap the sour cream for unsweetened dairy-free yogurt. The cake still bakes up tender, but the frosting will taste a little less tangy and a little sweeter, so the caramel matters even more here.
Turn it into a simple sheet cake
Bake the batter in a greased 9×13-inch pan and start checking a little earlier, since the center will set faster than layered rounds. You’ll lose the dramatic stacked look, but you gain an easier cake that’s excellent for casual serving and travel.
Use a different apple
Granny Smith gives the sharpest contrast against the sweet frosting, while Honeycrisp or Braeburn lean sweeter and softer. Just keep the dice small and the pieces firm, because watery apples will soften the crumb and muddy the flavor.
Storage and Reheating
- Refrigerator: Store covered for up to 4 days. The frosting firms up in the fridge, but the cake stays moist.
- Freezer: Freeze unfrosted layers tightly wrapped for up to 2 months. The frosted cake can be frozen, but the texture of the frosting softens a bit after thawing.
- Reheating: Bring slices to room temperature before serving for the best texture. If you warm them, use short bursts in the microwave and stop before the frosting starts to melt.
Questions I Get Asked About This Recipe
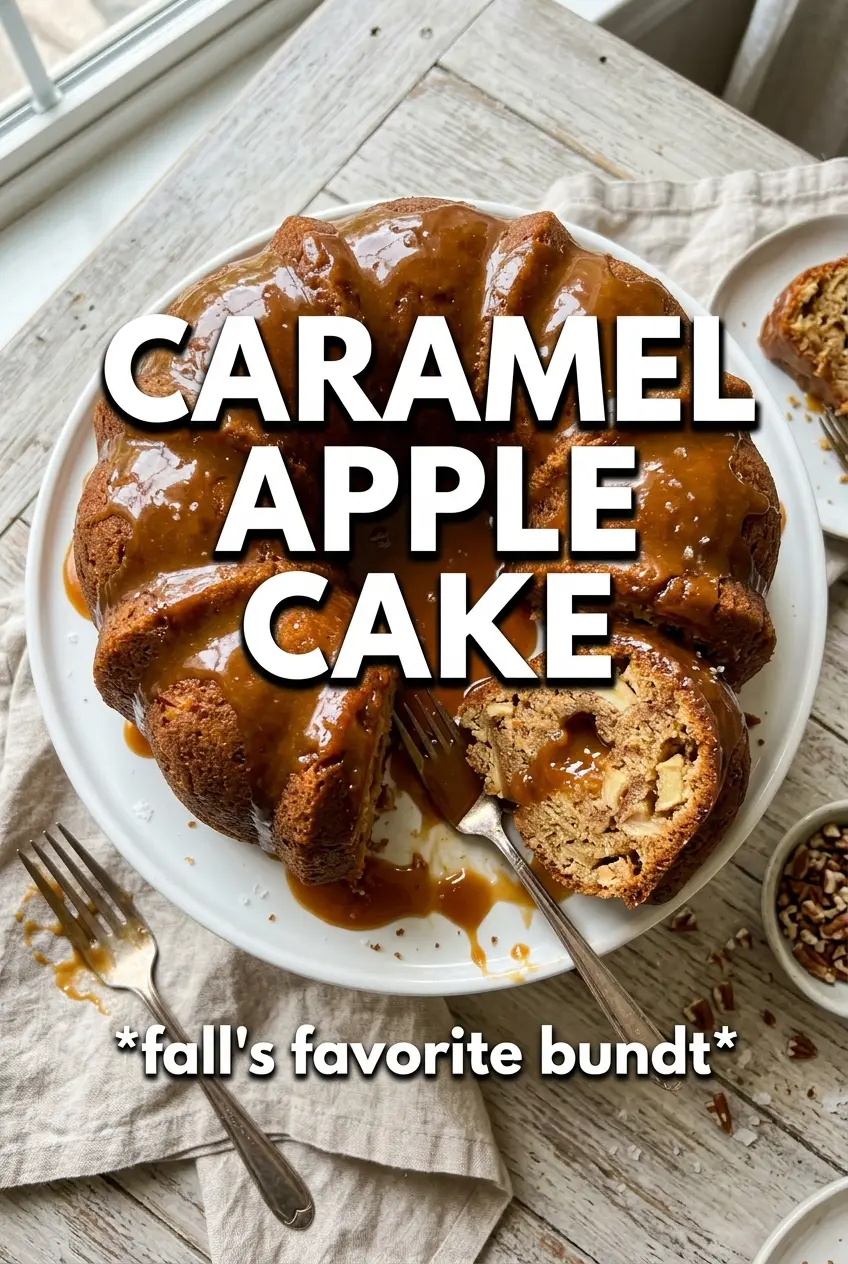
Caramel Apple Cake
Ingredients
Equipment
Method
- Preheat oven to 350F and grease two 9-inch round pans so the batter releases cleanly. Place one pan ready on a sheet pan for easier handling.
- Whisk all-purpose flour, baking powder, baking soda, cinnamon, nutmeg, and salt in a bowl until evenly combined, with no visible spice clumps. Keep the mixture at room temperature.
- Beat butter and brown sugar until very fluffy, then beat in eggs one at a time and mix in vanilla. Stop to scrape the sides for an even batter.
- Alternate adding the flour mixture and sour cream to the batter, mixing just until incorporated. Fold in diced apples until the pieces are evenly distributed.
- Divide the batter between the two prepared pans and smooth the tops. Bake at 350F for 50-55 minutes until a toothpick comes out clean.
- Cool the cakes completely before frosting so the layers don’t melt the filling. Aim for room temperature throughout.
- Beat cream cheese until smooth, then beat in butter, caramel sauce, powdered sugar, and vanilla until the frosting is creamy. Stop when it spreads easily with no lumps.
- Frost between the cake layers and spread frosting over the top. Drizzle extra caramel across the top for a glossy finish.