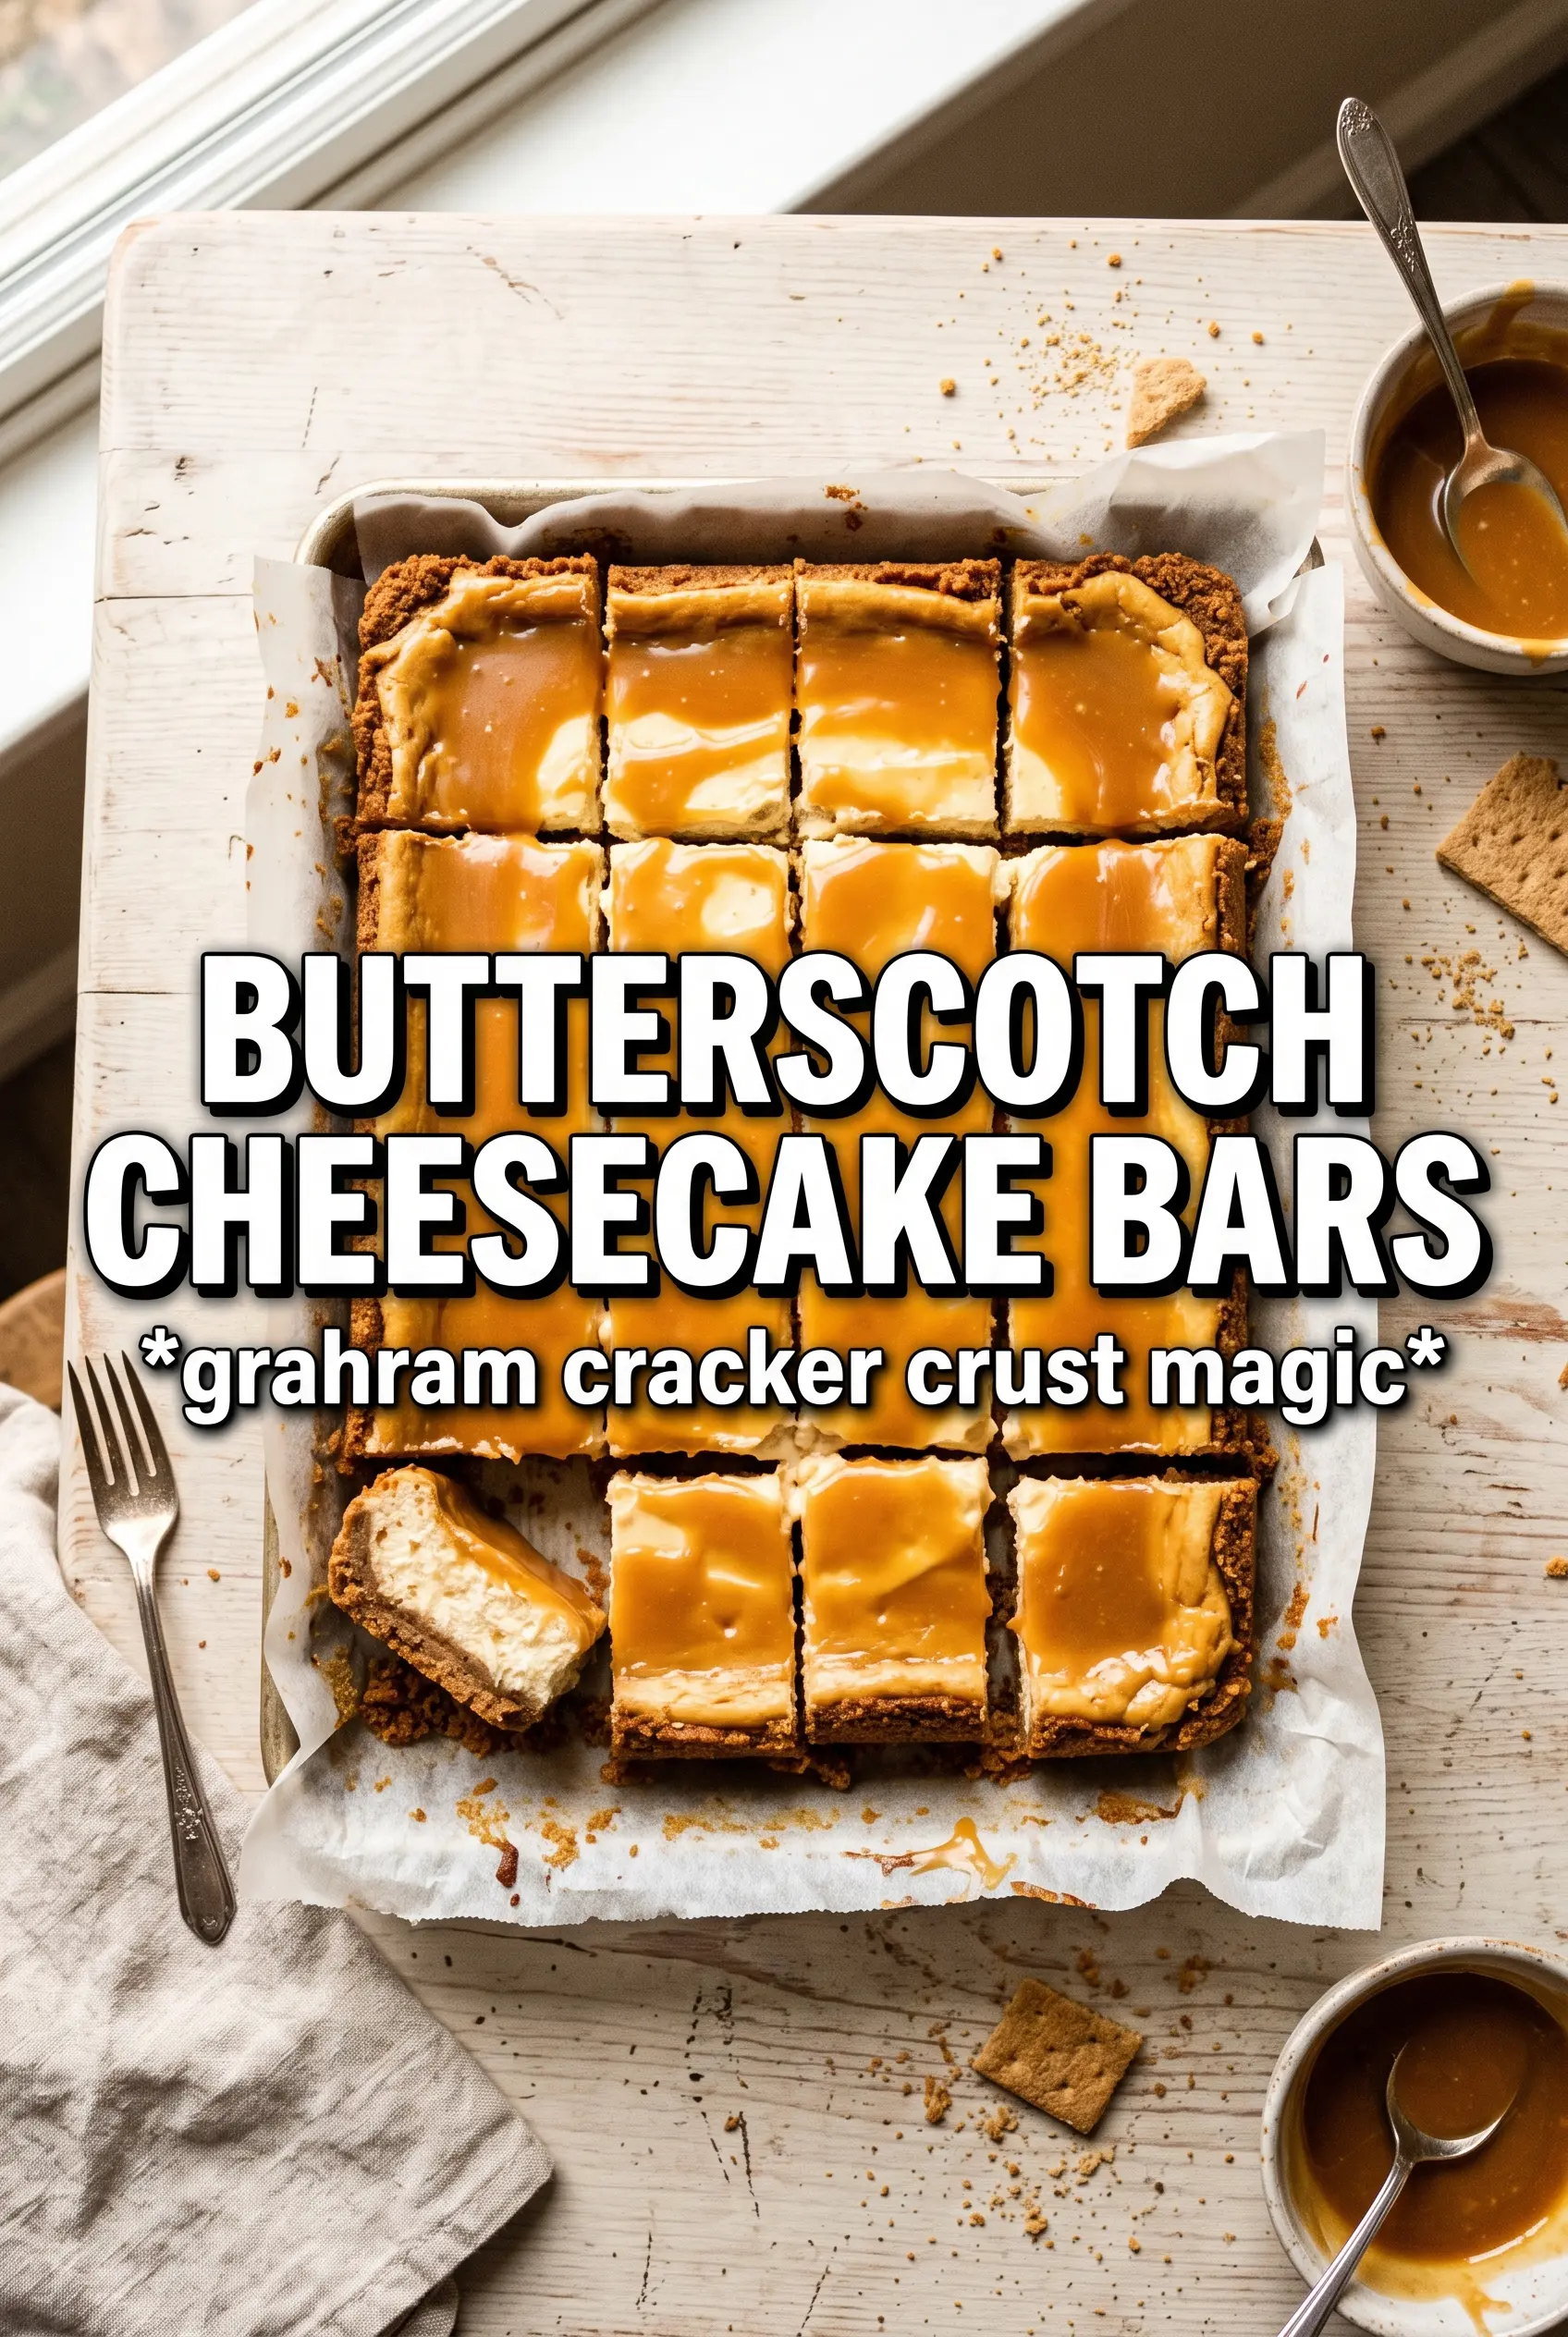
Butterscotch Graham Cracker Cheesecake Bars hit that sweet spot between rich and easy to slice, with a buttery crust, a smooth cheesecake layer, and a glossy butterscotch finish that sets the whole pan off. The bars hold their shape once chilled, but the filling stays creamy instead of dense, which is exactly what you want in a dessert like this. Every bite gets a little crunch from the graham base and a little caramel-like depth from the butterscotch.
The part that makes these work is balance. The crust bakes first, so it stays crisp under the filling instead of turning soggy. The butterscotch goes into the cheesecake layer and the topping, but in two different forms, which keeps the flavor layered instead of one-note. I also keep the cream cheese fully softened and add the eggs one at a time so the filling stays smooth and bakes up without that grainy texture you get when the batter is rushed.
Below, I’ll walk through the exact point where the bars should still look slightly soft in the center, plus a few smart swaps and storage notes so you can make them ahead without losing that clean slice.
The crust stayed crisp even after chilling, and the butterscotch layer on top set up thick enough to cut clean squares. I used the cooled melted chips in the filling like you said, and the texture came out silky instead of heavy.
Love the creamy center and thick butterscotch drizzle on these cheesecake bars? Save them to Pinterest for the next time you want a chilled dessert that slices neatly and tastes like a bakery treat.
The Trick to Keeping the Cheesecake Layer Smooth, Not Grainy
Cheesecake bars go sideways when the filling is mixed cold or overbeaten. Cold cream cheese leaves little lumps that never fully disappear, and overmixing after the eggs go in adds too much air, which can cause the bars to puff and crack instead of baking into a dense, creamy slab. The goal here is a smooth batter that looks satiny and flows off the spatula in a thick ribbon.
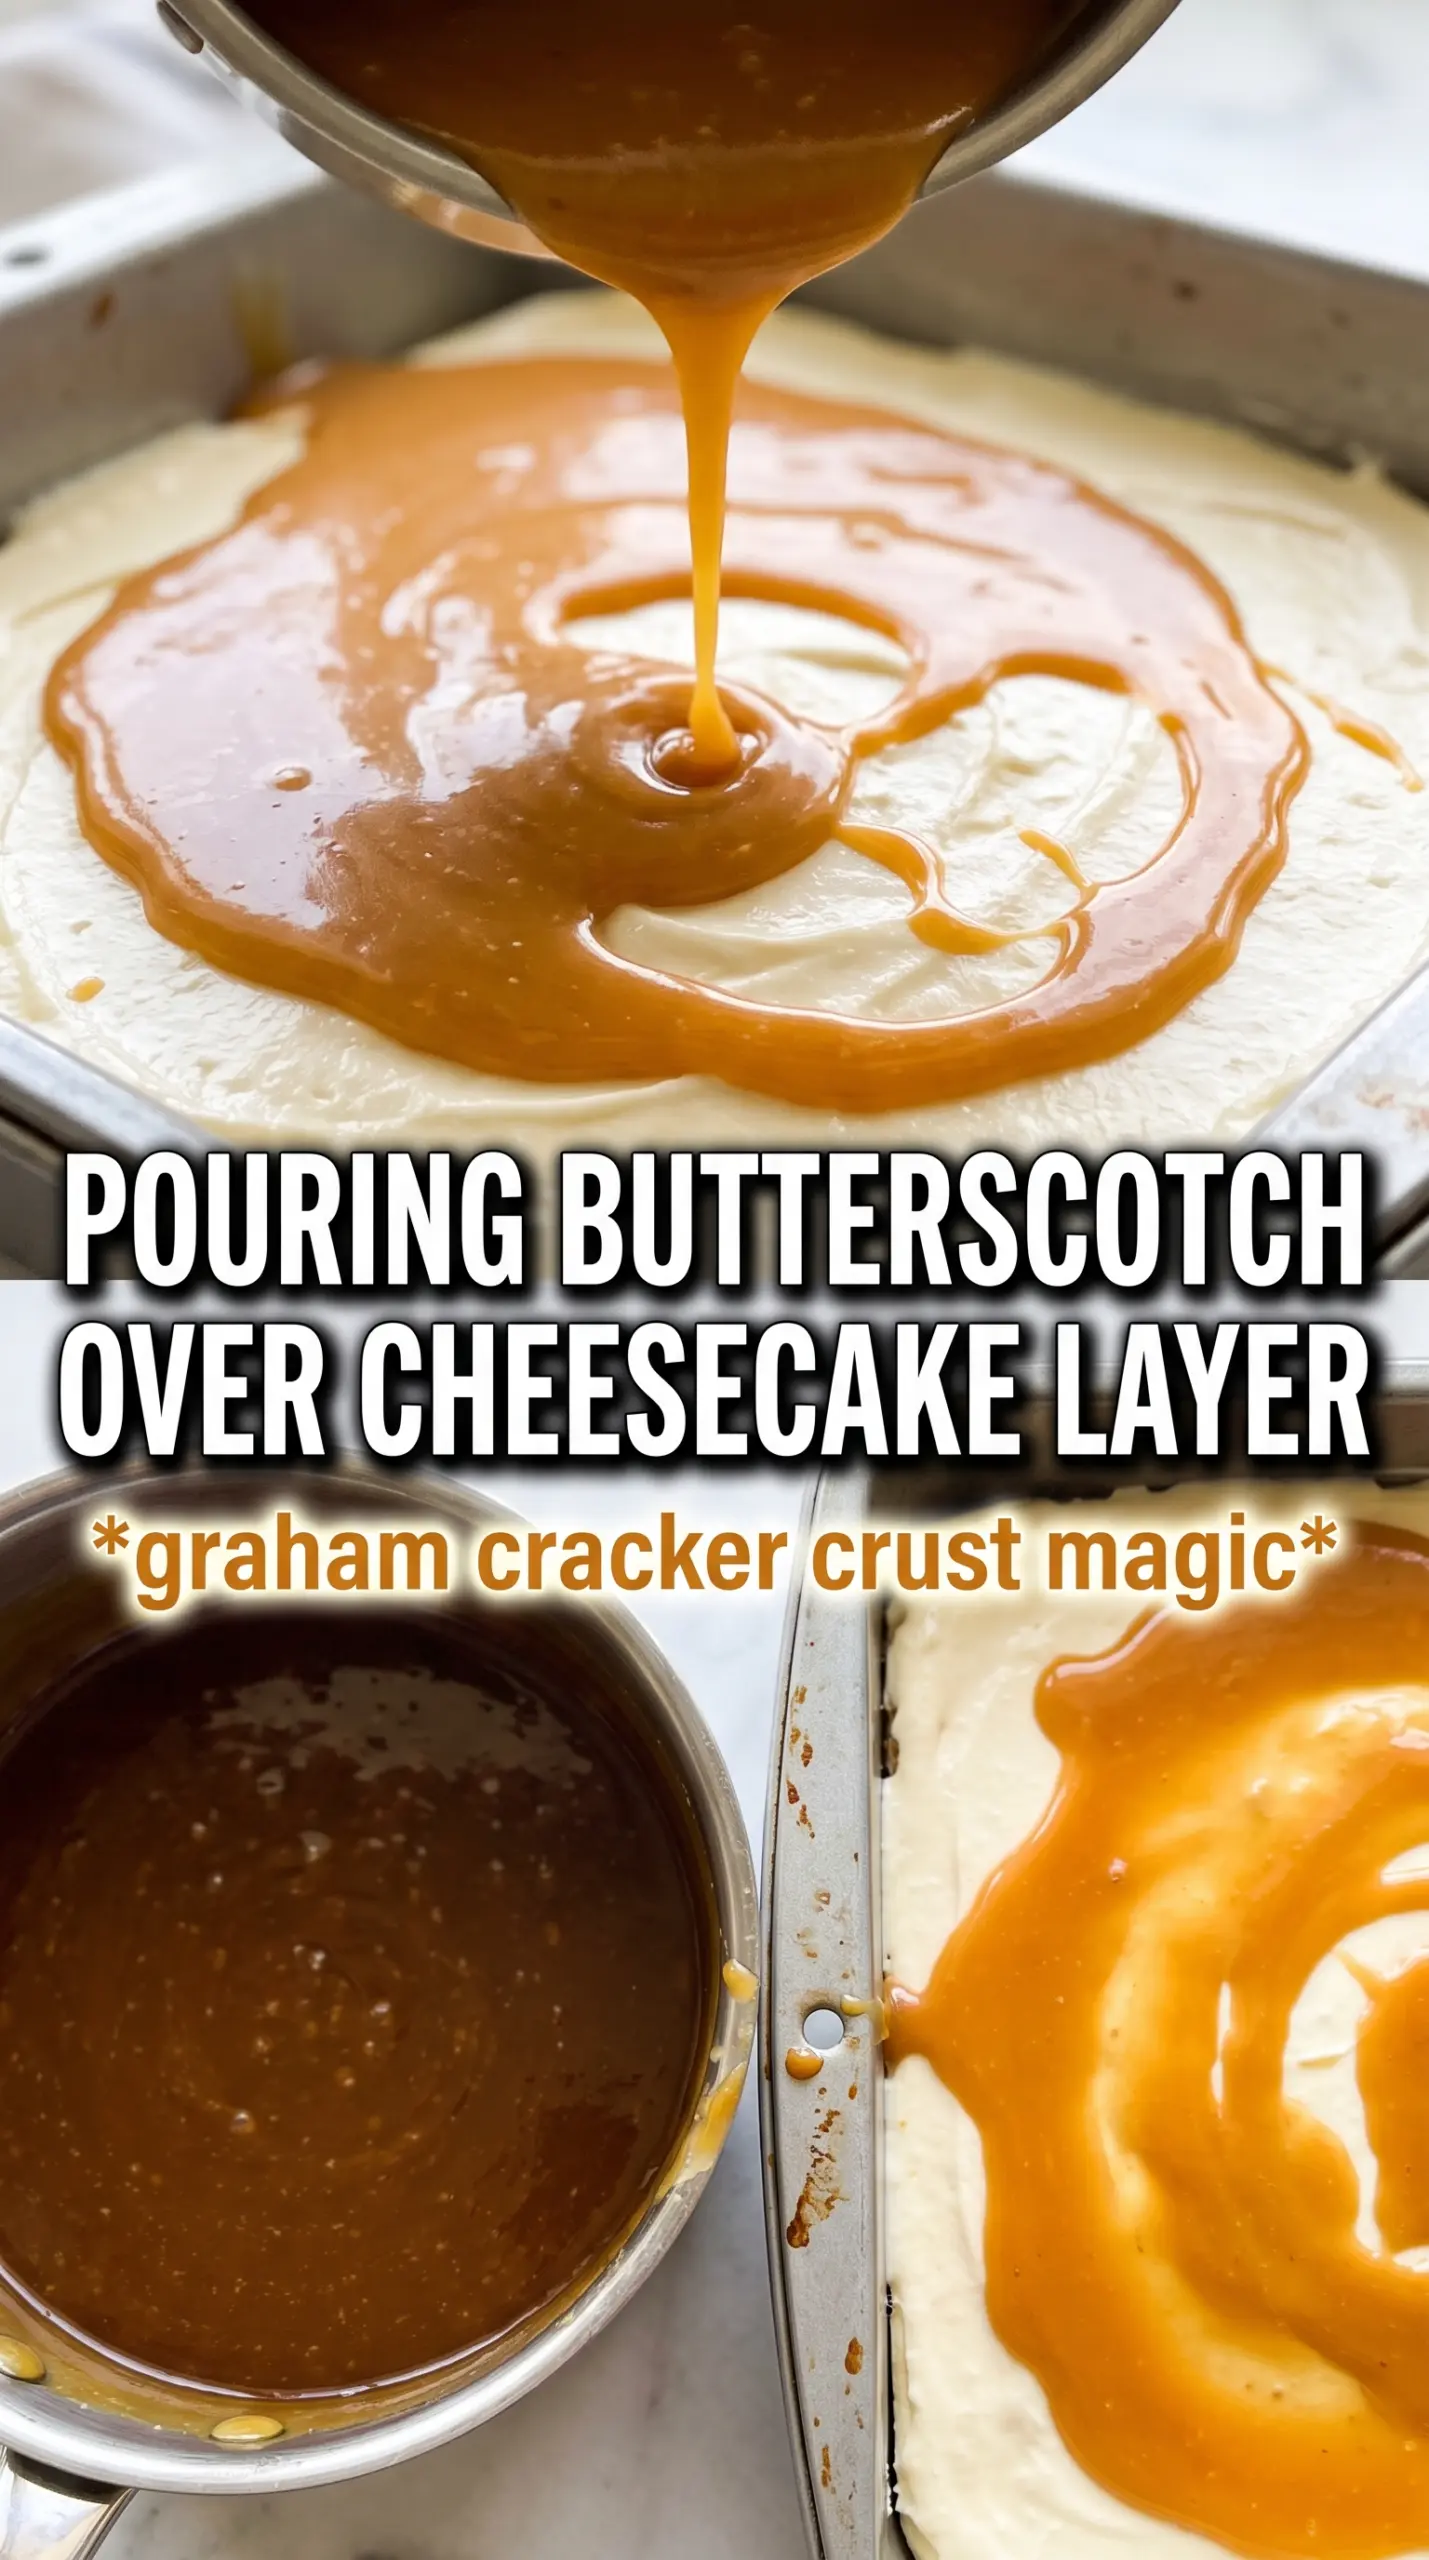
The melted butterscotch chips need to cool before they go into the filling. Hot chips can soften the cream cheese too much and make the batter loose, and if they’re scorching hot, they can scramble the eggs as soon as they hit the bowl. Add them when they’re just barely warm to the touch.
- Softened cream cheese blends cleanly and gives you that uniform texture people expect from cheesecake bars.
- Eggs add structure, but they need to go in one at a time so the batter stays smooth.
- Sour cream keeps the filling from tasting heavy and gives the bars a softer set after chilling.
- Butterscotch extract boosts the flavor without thinning the batter the way extra melted chips can.
What Each Ingredient Is Doing in These Bars
- Graham cracker crumbs — These form the base and bring the first hit of toasted sweetness. Fresh crumbs hold together best, but boxed crumbs work fine as long as they’re fine and even. If the crumbs are too coarse, the crust will crumble when sliced.
- Melted butter — This is what binds the crust and gives it that shortbread-like snap after baking. Don’t cut it back or the crust turns sandy and weak.
- Cream cheese — This is the body of the filling, and full-fat blocks give the best texture. Tub-style cream cheese is softer and can make the bars less stable.
- Sour cream — It loosens the filling just enough to keep it creamy while still baking up cleanly. Plain Greek yogurt works in a pinch, but the bars will taste a little tangier and set a touch firmer.
- Butterscotch chips — These carry the main flavor, but they need to be melted gently and cooled before going into the batter. The topping can handle a little more heat, but the filling cannot.
- Butterscotch extract — This is the ingredient that makes the butterscotch taste bold instead of faded after chilling. If you skip it, the bars still work, but the flavor reads more like sweet vanilla cheesecake with butterscotch on top.
Building the Layers So the Bars Slice Cleanly
Pressing and Prebaking the Crust
Mix the crust until every crumb looks evenly coated, then press it firmly into the parchment-lined pan. Use the bottom of a measuring cup to pack it down hard, especially in the corners, because a loose crust will break apart when you lift the bars out. Bake it just long enough to smell toasted and look slightly darker at the edges. If you skip the prebake, the crust absorbs moisture from the filling and goes soft underneath.
Mixing the Filling Without Overworking It
Beat the cream cheese and sugar until the mixture looks completely smooth before anything else goes in. Add the eggs one at a time and stop mixing as soon as each one disappears. Once the sour cream, vanilla, melted butterscotch, and extract are in, the batter should look thick and glossy, not airy. If you whip it hard at this stage, you’ll bake bubbles into the bars and the surface can split.
Knowing When the Center Is Done
Pour the filling over the crust and bake until the edges are set and the center still has the slightest wobble when you tap the pan. The bars will finish setting as they cool, and that residual heat is part of what keeps the texture creamy. If the middle looks completely firm in the oven, the bars usually end up dry after chilling. Cool them on the counter first, then refrigerate for the full chill time so the slices hold their shape.
Finishing with the Butterscotch Drizzle
Melt the topping ingredients together until smooth and spoonable, then drizzle over chilled bars. If the bars are still warm, the drizzle will melt into the surface instead of sitting on top in a thick layer. A scattering of crushed graham crackers adds a little crunch and gives the finished bars a bakery-style look without any extra work.
How to Adapt These Cheesecake Bars Without Losing the Texture
Make Them Gluten-Free
Swap in certified gluten-free graham crackers and crush them finely. The crust still bakes up crisp and sweet, but gluten-free crumbs can be a little drier, so press them especially firmly into the pan before baking.
Use Caramel Chips Instead of Butterscotch
Caramel chips will give you a milder, more buttery flavor and a less pronounced butterscotch note. The bars will still taste rich, but the topping becomes the louder element, so I’d keep the extract if you want that deeper candy-shop flavor.
Make a Dairy-Free Version
Use dairy-free cream cheese and a thick dairy-free sour cream alternative, then swap in plant-based butter for the crust. The texture will be a little softer and the bars may need extra chilling time, but they’ll still slice well if you chill them fully before cutting.
Storage and Reheating
- Refrigerator: Store covered for up to 5 days. The crust stays best on day 1 and 2, but the bars still slice cleanly after chilling.
- Freezer: These freeze well. Wrap individual bars tightly and freeze for up to 2 months, then thaw overnight in the fridge.
- Reheating: No reheating needed. Serve them cold straight from the fridge; warming them softens the filling and makes the drizzle sticky instead of cleanly set.
Answers to the Questions Worth Asking
Butterscotch Graham Cracker Cheesecake Bars
Ingredients
Equipment
Method
- Preheat the oven to 325F and line a 9x13 pan with parchment paper.
- Combine graham cracker crumbs, sugar, and melted butter, then press the mixture firmly into the bottom of the pan.
- Bake the crust for 10 minutes until set and fragrant.
- In a mixing bowl, beat the cream cheese and sugar until smooth.
- Add the eggs one at a time, mixing just until each addition disappears.
- Stir in sour cream, vanilla, melted butterscotch chips, and butterscotch extract until the batter is uniform.
- Pour the cheesecake filling over the baked crust and spread it evenly.
- Bake for 30-35 minutes at 325F until the center is just set with a slight wobble.
- Cool to room temperature, then refrigerate for 3 hours until firm.
- Melt the butterscotch chips together with heavy cream until smooth and thick enough to drizzle.
- Drizzle the topping over the chilled bars and scatter crushed graham crackers over the top as a final visual cue.