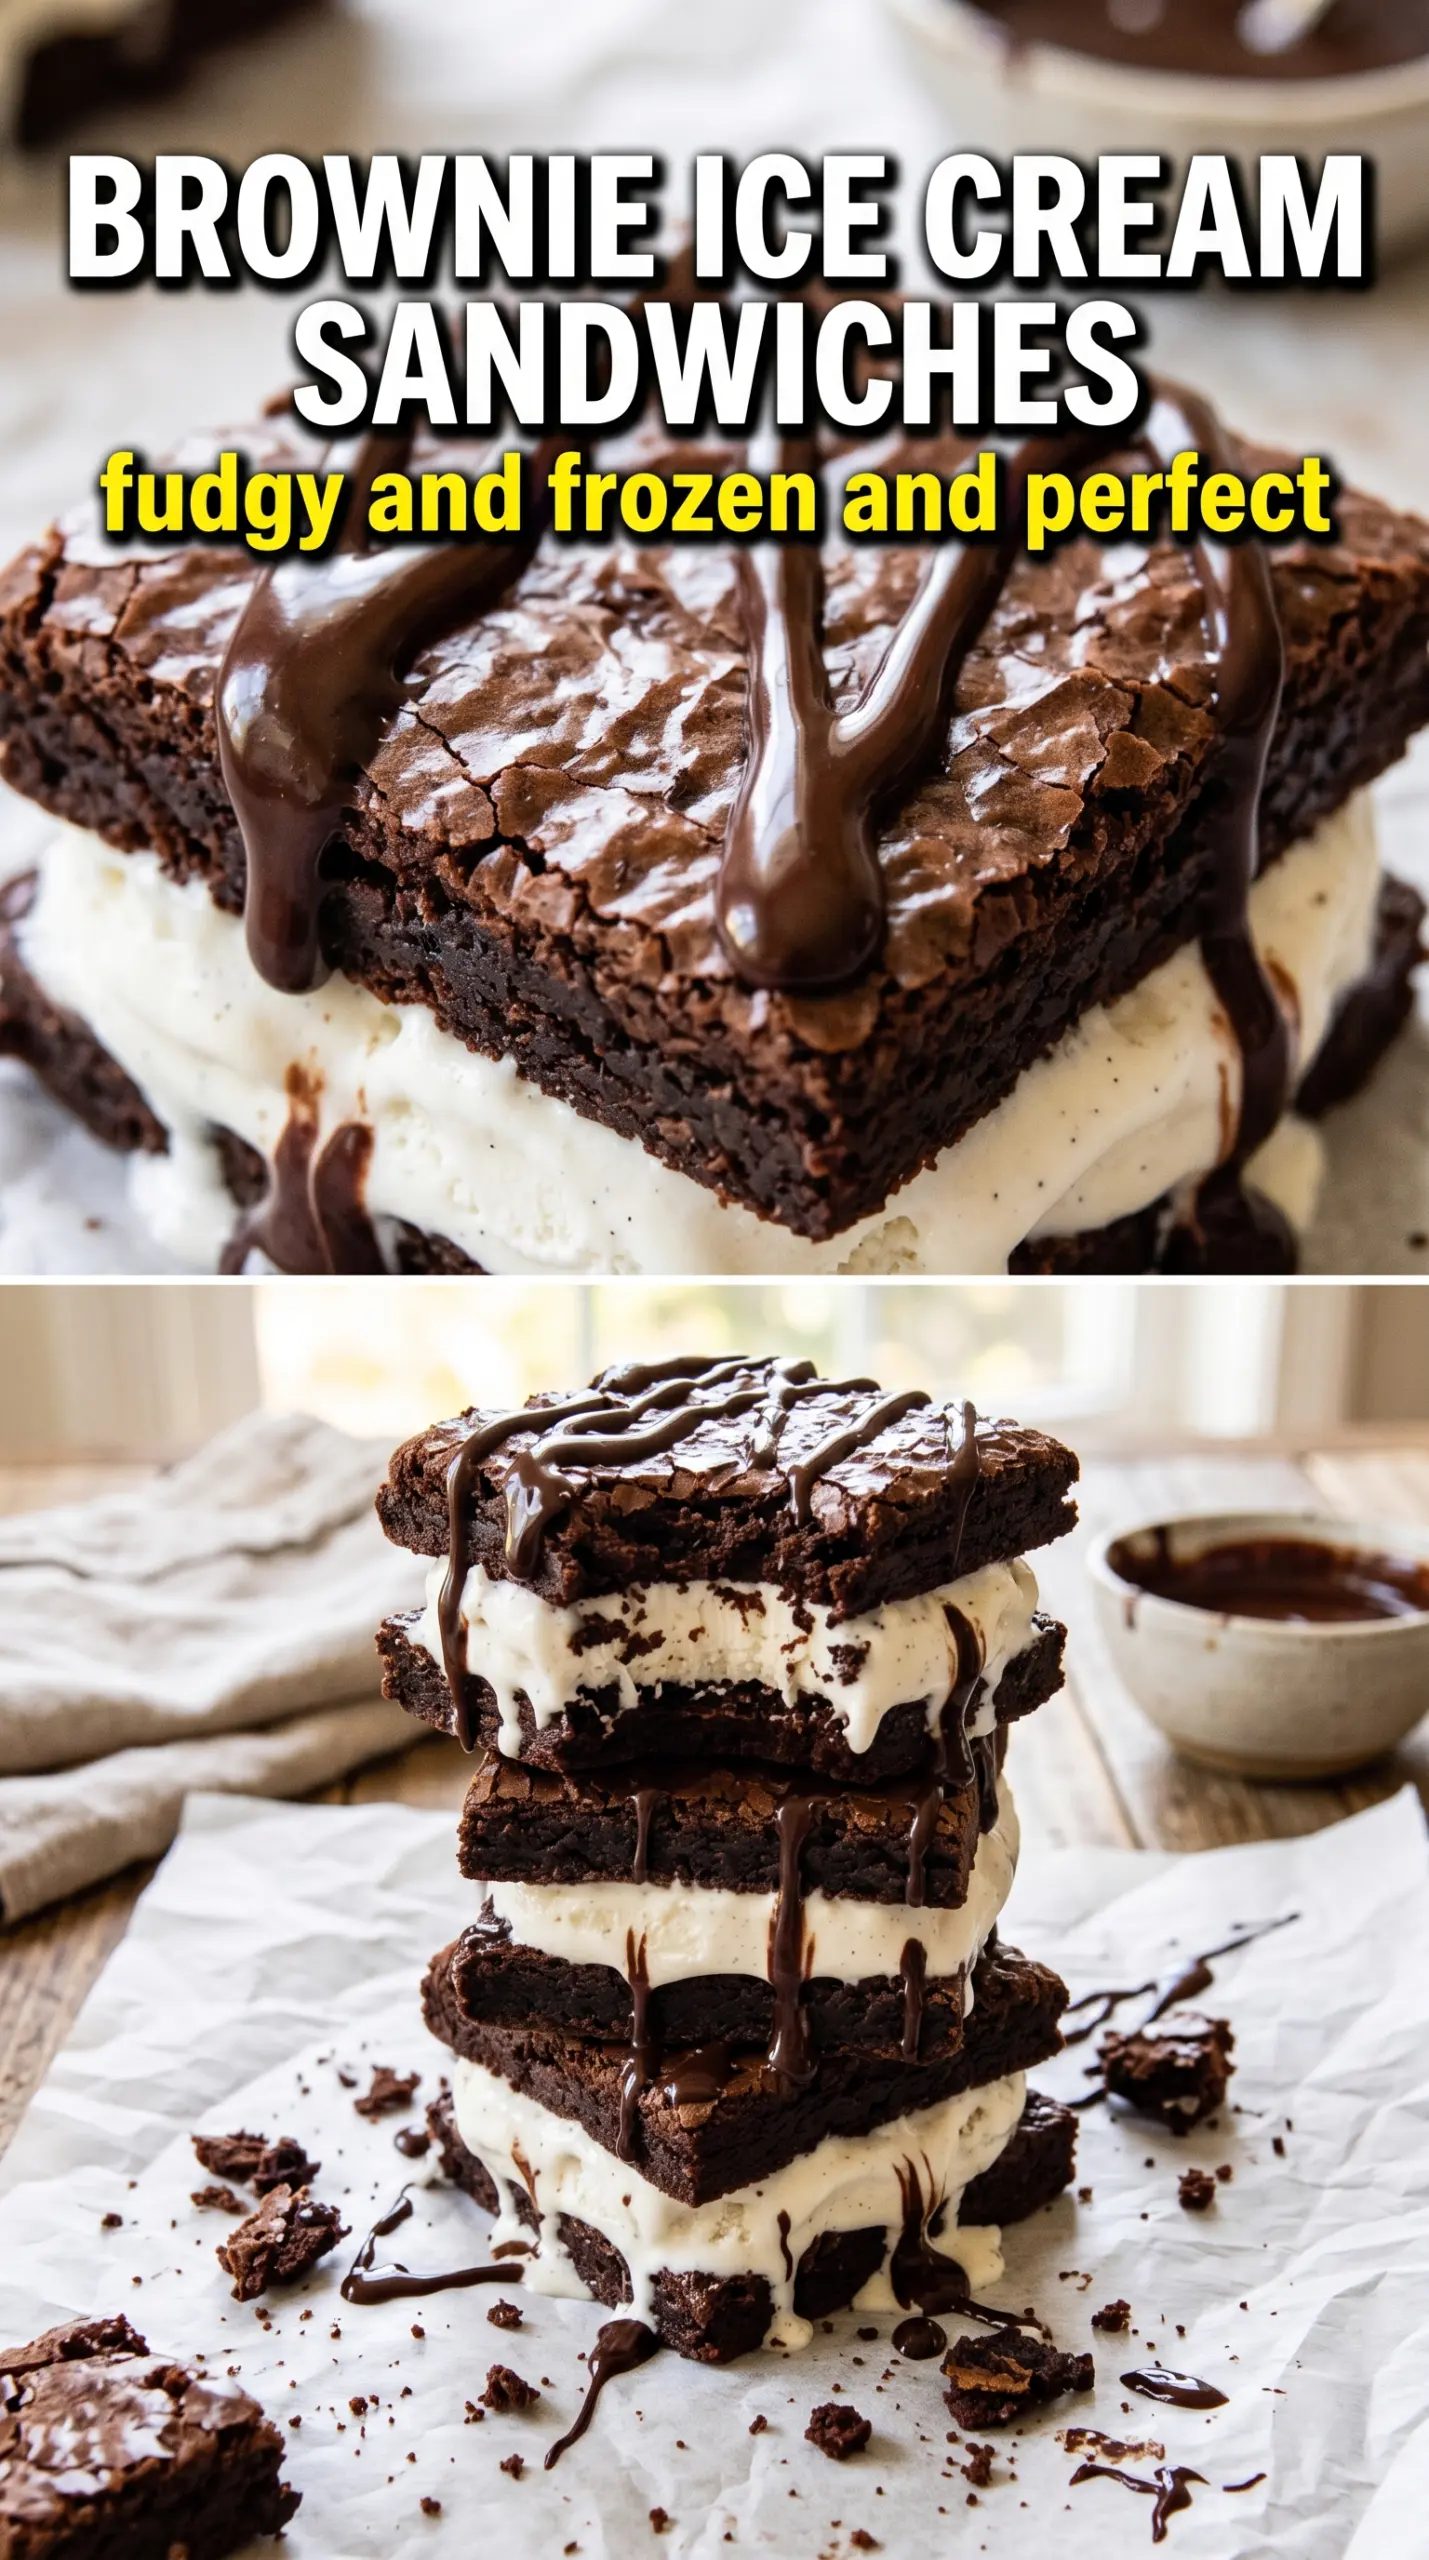
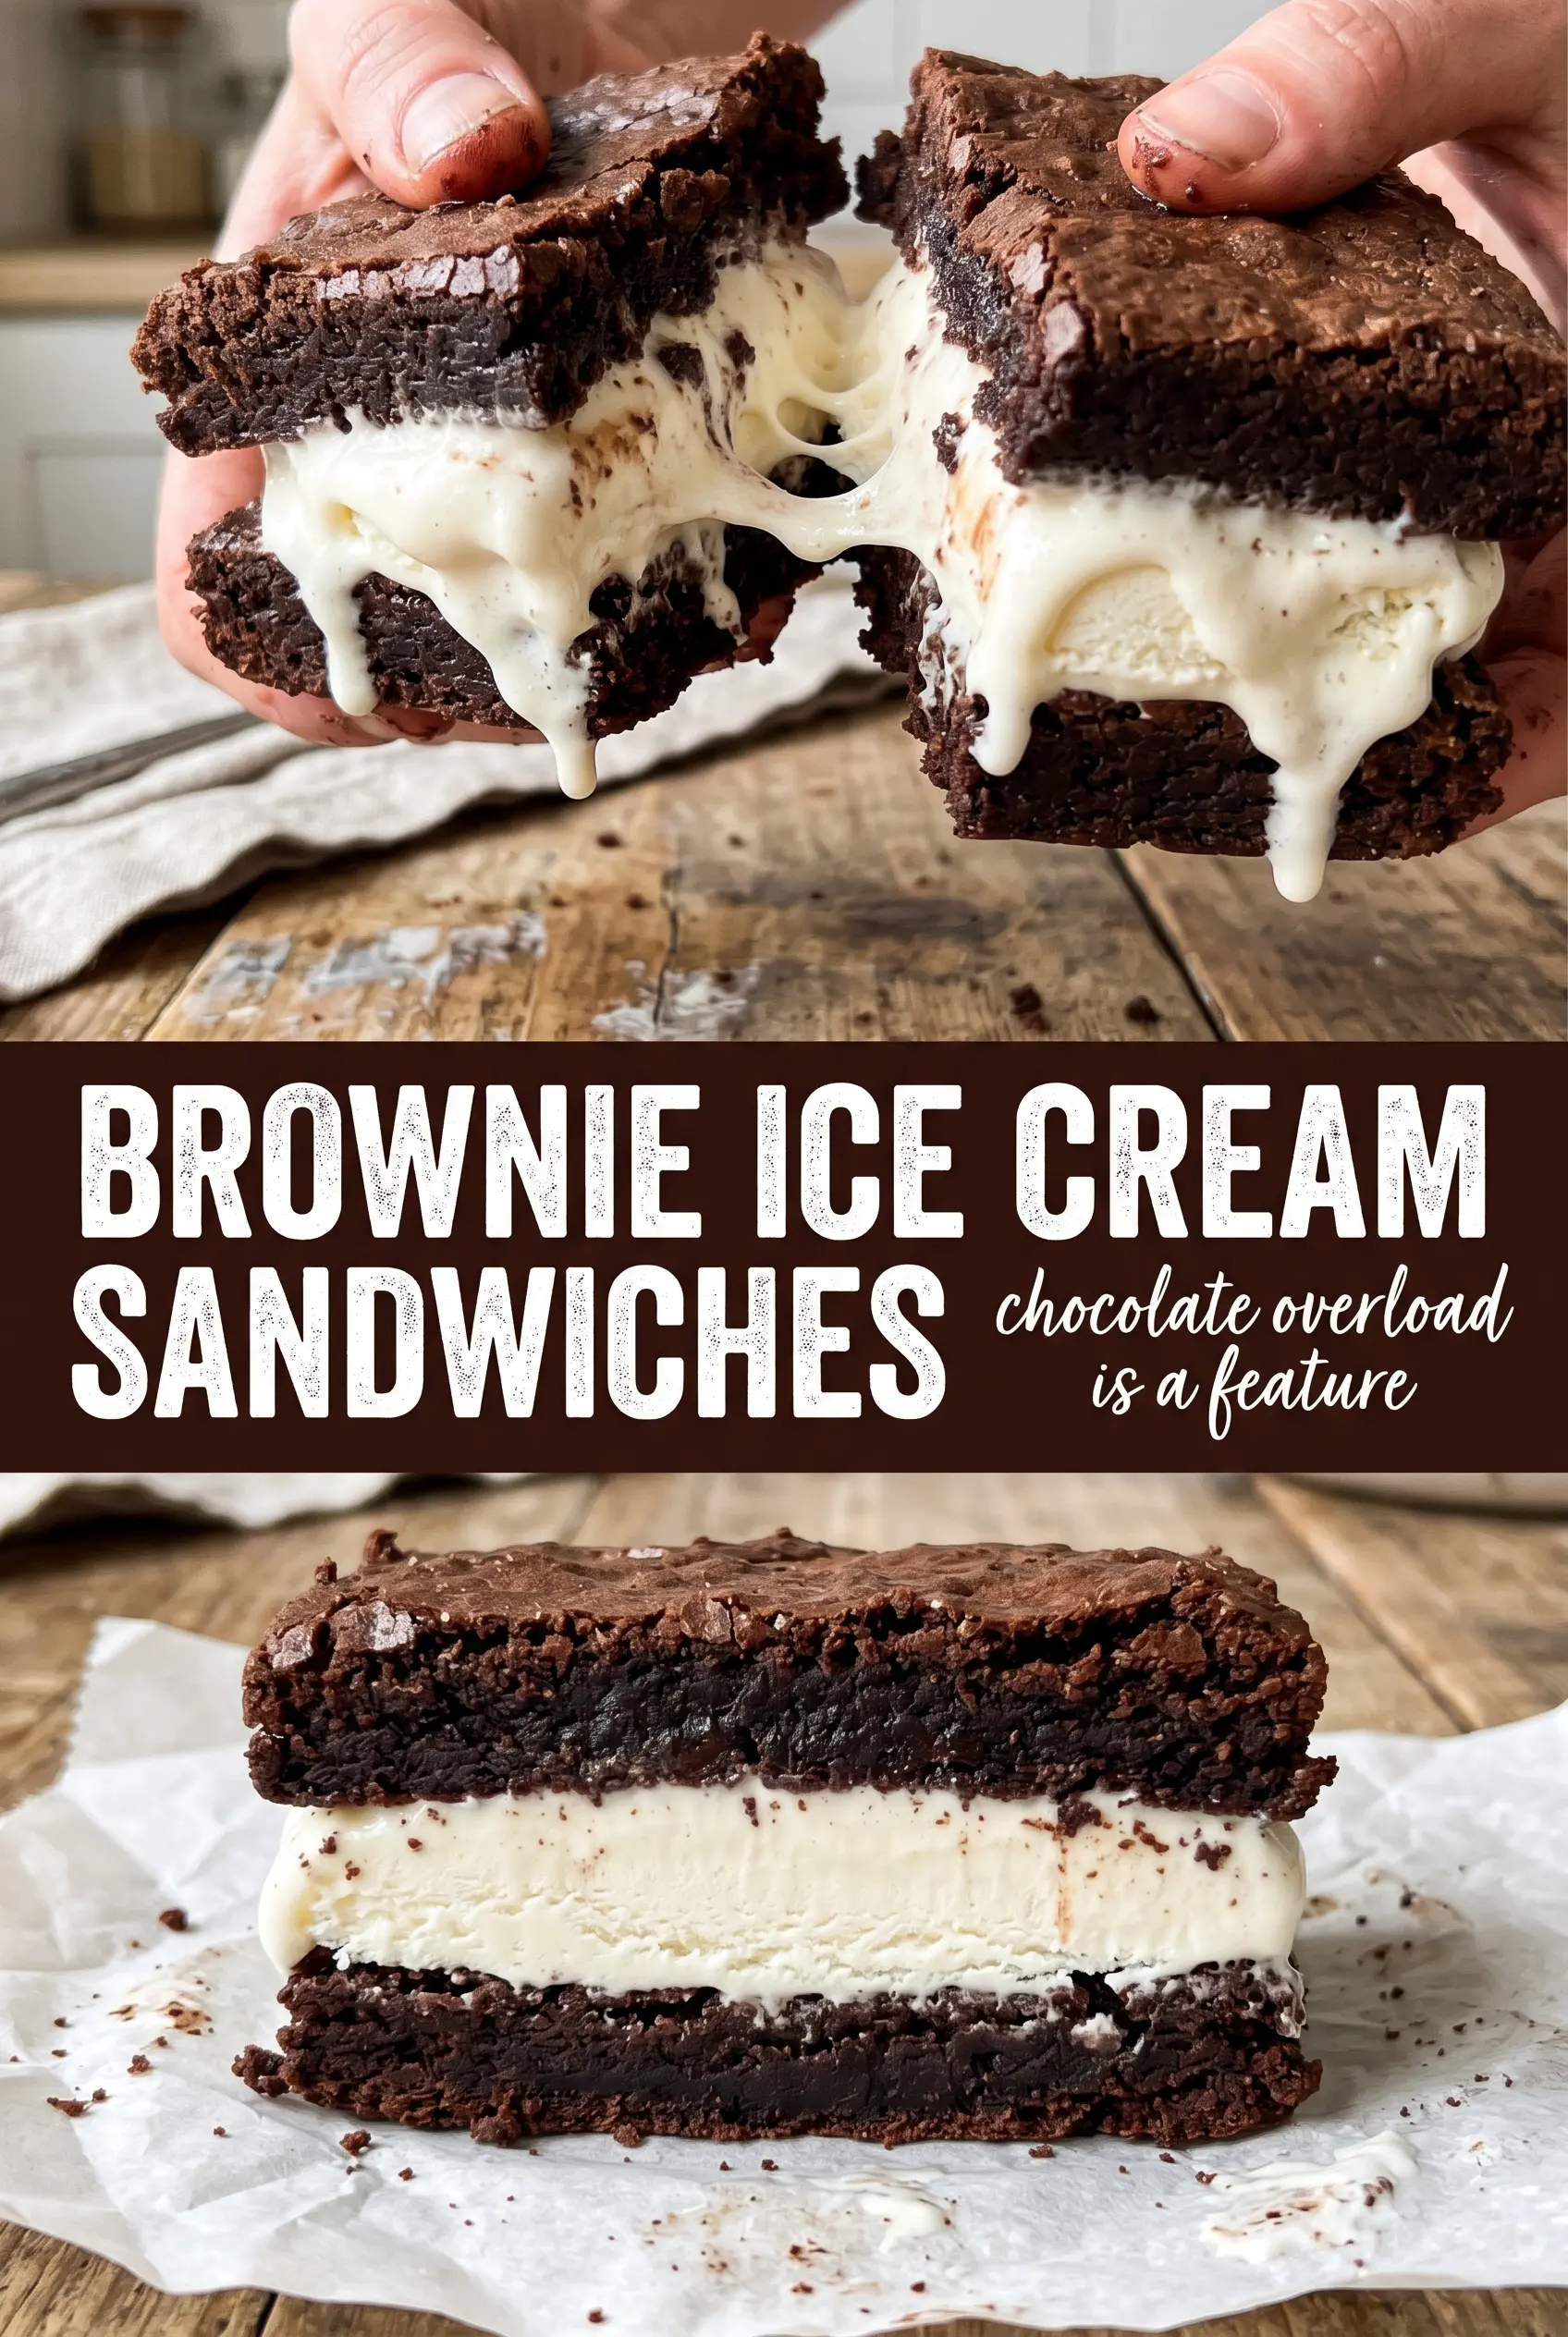
Brownie ice cream sandwiches hit that sweet spot between nostalgic and a little bit over the top: chewy, fudgy chocolate on the outside and cold, creamy ice cream pressed through the middle. The brownie layer stays dense enough to slice cleanly after freezing, but it still gives that soft bite that keeps the whole dessert from feeling hard or icy. One square in your hand and it’s clear why this is the kind of treat people remember.
The trick is baking the brownie sheet just to the point where the center sets. Overbake it and the sandwich turns dry once it’s frozen; underbake it and it won’t hold up when you fold it around the ice cream. Melting the butter and chocolate together first gives the batter that deep, glossy texture you want, and freezing the brownie before assembly makes the ice cream layer stay where it belongs instead of sliding around.
Below you’ll find the timing that matters most, the one pan trick that keeps the layers even, and a few ways to adapt these for different ice cream flavors or dietary needs without losing that fudgy center.
The brownie stayed chewy even after freezing, and cutting it with a warm knife gave me those clean edges instead of a smashed mess. I used coffee ice cream like suggested and it tasted like a fancy bakery dessert.
Save these brownie ice cream sandwiches for the kind of dessert that slices clean, freezes firm, and still tastes fudgy straight from the freezer.
The Freezer Step That Keeps the Sandwich from Turning Sloppy
Brownie ice cream sandwiches fail when the brownie is still warm or the ice cream is too soft. In that state, the layers smear instead of stacking, and you end up with a pan of chocolate rubble instead of neat squares. Freezing the brownie sheet before assembly gives it enough structure to lift, fold, and cut without cracking.
The other mistake is baking the brownie like a regular pan of brownies and waiting for a toothpick to come out clean. For this dessert, you want the center just set and still a little soft because the brownies firm up a lot once frozen. That slightly underbaked edge is what keeps the final bite chewy instead of dry and brittle.
What Each Ingredient Is Actually Doing in This Ice Cream
- Base ingredient (cream, milk, or custard) — This provides the foundation and richness. Quality matters.
- Sweetener (sugar, honey, or condensed milk) — This sweetens and prevents ice crystals. The ratio is critical.
- Flavor element (vanilla, fruit, chocolate, or other) — This defines the ice cream personality. Use quality ingredients.
- Egg yolks (if making custard base) — These create richness and silky texture. Optional but elevates ice cream.
- Churning (if using ice cream maker) — This incorporates air and prevents ice crystals. Critical for smooth texture.
- Freezing temperature and time — Proper freezing prevents rock-hard texture. Store at 0°F or below.
- Mix-ins (chocolate, cookies, fruit, or swirls) — These add texture and prevent one-dimensional flavor. Add near end of churning.
- Serving temperature (slightly soft, not rock hard) — This provides creamy mouthfeel. Remove from freezer 5 minutes before serving.
What the Chocolate and Ice Cream Are Really Doing Here
- Dark chocolate — This gives the brownies their deep, bittersweet base. Use decent chocolate here, because it’s one of the main flavors in the finished dessert. Chocolate chips work in a pinch, but chopped baking chocolate melts smoother and tastes cleaner.
- Unsalted butter — Butter carries the melted chocolate and keeps the brownie layer rich enough to stay chewy after freezing. Salted butter works if that’s what you have; just reduce the added salt slightly.
- Cocoa powder — This boosts the chocolate flavor without making the batter heavy. Dutch-process or natural cocoa both work, but natural cocoa gives a slightly sharper chocolate note.
- Vanilla or coffee ice cream — Vanilla gives you that classic brownie-sundae vibe, while coffee makes the chocolate taste darker and more grown-up. Slightly soften it before spreading, but don’t let it melt into a puddle or the filling won’t freeze into a clean layer.
Building the Layers Before the Ice Cream Melts
Melt the Chocolate Base
Start by melting the butter and chopped dark chocolate together until the mixture is smooth and glossy. Let it sit for about 5 minutes before adding the eggs so you don’t scramble them. If the bowl feels hot, wait a little longer; warm is fine, steaming hot is how the batter turns grainy.
Finish the Brownie Batter
Whisk in the sugar, eggs, and vanilla until the mixture looks thick and shiny. Then stir in the flour, cocoa powder, and salt just until no dry streaks remain. Stop there. Overmixing tightens the brownie and makes the frozen squares tougher than they should be.
Bake for a Fudgy, Sliceable Sheet
Spread the batter into a parchment-lined 9×13 pan in a thin, even layer. Bake until the surface is set and the center no longer looks wet, usually 18 to 22 minutes. Pull it before the top gets dry or cracked all over; you want a brownie sheet that can bend slightly when folded, not one that shatters.
Assemble and Freeze in One Clean Move
Cool the brownie completely, then freeze it for 30 minutes so it firms up enough to handle. Spread the softened ice cream over half the brownie sheet, fold the other half over, and press gently so the filling reaches the edges. Freeze for 2 hours until firm, then cut with a warm knife for the cleanest squares.
Swap the Ice Cream Flavor Without Changing the Method
Vanilla is the safest choice, but coffee, chocolate, or mint chip all work well here. Keep the filling slightly softened so it spreads in an even layer, and choose a flavor that can stand up to the dense brownie. Swirl-heavy ice creams add a little visual interest, but they can smear more during slicing.
Make It Gluten-Free
Use a good 1:1 gluten-free flour blend in place of the all-purpose flour. The brownie will still freeze nicely, but it may need the full bake time to set in the center. Let it cool completely before moving it, since gluten-free brownies are a little more fragile when warm.
Use Dairy-Free Ice Cream and Chocolate
Swap in plant-based butter and a dairy-free dark chocolate, then fill the sandwiches with a sturdy nondairy ice cream. The texture will still be rich and chewy, though the chocolate flavor may be a little less rounded depending on the brand you choose. Let the sandwiches freeze fully so the dairy-free filling firms up before slicing.
Storage and Reheating
- Refrigerator: Not recommended. The ice cream softens fast and the brownie loses its clean sandwich texture.
- Freezer: Wrap individual squares tightly and freeze for up to 2 weeks. After that, the brownies start to pick up freezer flavor.
- Reheating: Don’t reheat these. Set them out for 5 to 8 minutes before serving so the brownie is easier to bite without making the ice cream melt out.
Questions I Get Asked About This Recipe
Brownie Ice Cream Sandwiches
Ingredients
Equipment
Method
- Preheat the oven to 350F, melt the unsalted butter and dark chocolate together, then cool for 5 minutes.
- Whisk in the granulated sugar, eggs, and vanilla extract until smooth, then keep the mixture glossy and lump-free.
- Stir in the all-purpose flour, unsweetened cocoa powder, and salt until just combined, with no dry streaks remaining.
- Spread the batter into a parchment-lined 9x13 pan in a thin, even layer, then bake at 350F for 18-22 minutes until just set with a slightly soft center.
- Cool completely, then freeze the brownie sheet for 30 minutes to firm up before assembling.
- Spread the slightly softened vanilla or coffee ice cream over half the brownie sheet, leaving a clean border around the edges.
- Fold the other half of the brownie sheet over to sandwich, pressing gently so the ice cream meets the edges.
- Freeze for 2 hours until firm, then cut into squares with a warm knife and serve immediately or wrap individually for later.