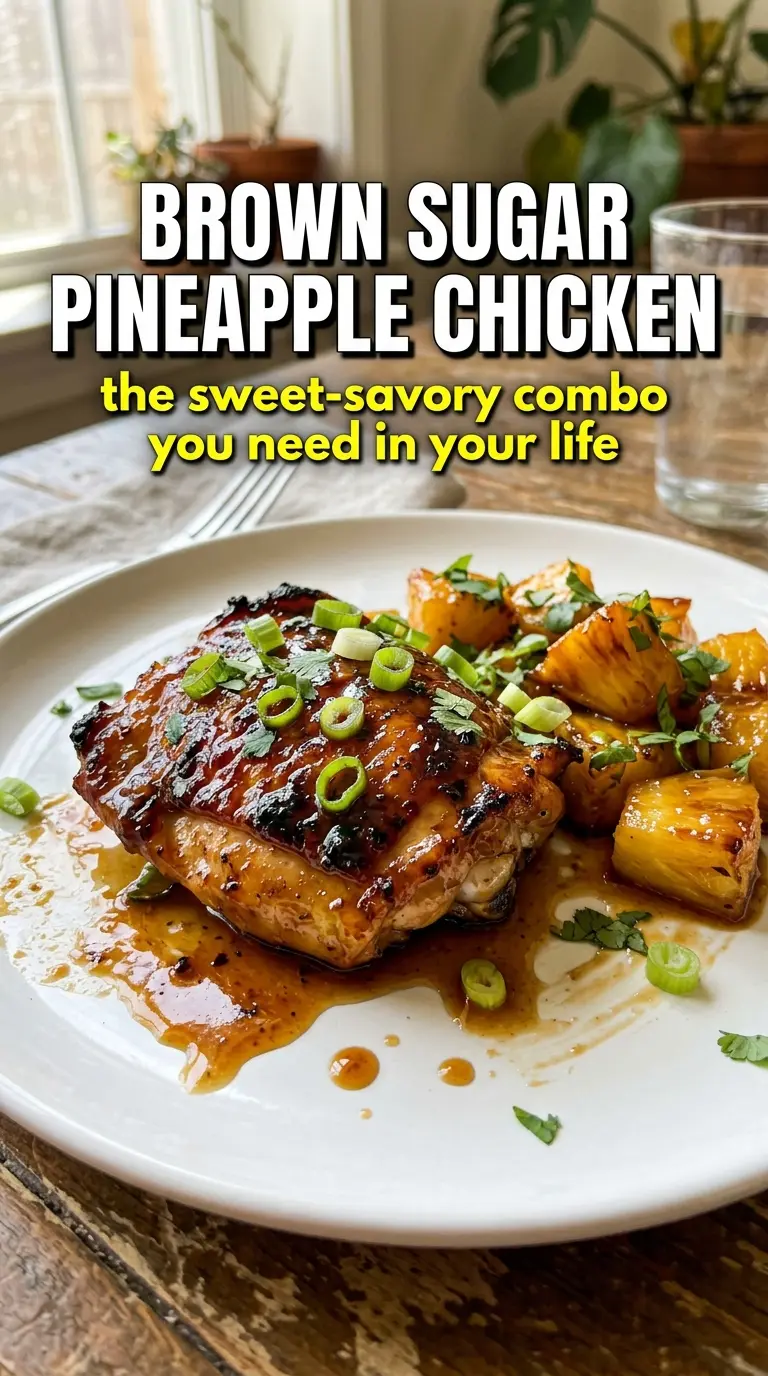
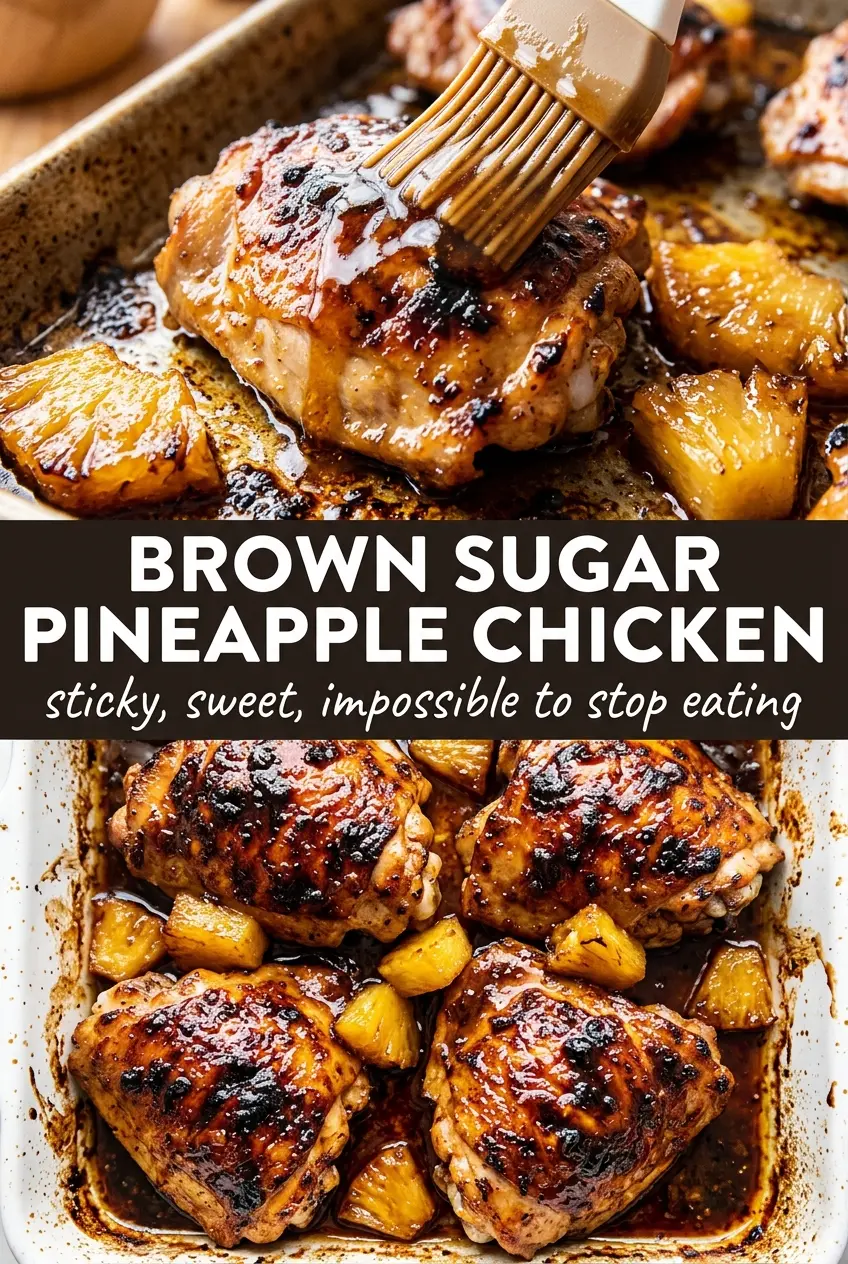
Sticky brown sugar pineapple chicken lands on the plate with that rare mix of sweet, savory, and tangy that keeps people going back for one more bite. The chicken sears up golden first, then gets coated in a glossy glaze that clings to every edge instead of pooling thinly at the bottom of the pan. Pineapple chunks soften just enough to taste bright and juicy, while the brown sugar and soy sauce turn into a deep amber sauce that feels special without asking for much work.
The trick here is building the glaze in the same skillet you used for the chicken. Those browned bits left behind after searing are part of the flavor, and the cornstarch slurry only needs a short simmer to turn the sauce shiny and thick. If you rush that part, the glaze stays loose; if you let it bubble for a couple of minutes, it turns sticky and coats the chicken the way it should.
Below, I’ve included the timing cue that keeps the chicken juicy, the ingredient swaps that still make sense, and the one reheating method that keeps the glaze from turning dull.
The glaze thickened up exactly the way you described and coated the chicken instead of sliding off. I served it over rice, and even the pineapple pieces had that caramelized edge that made the whole pan taste like takeout in the best way.
Brown Sugar Pineapple Chicken is worth pinning for that sticky glaze, caramelized pineapple, and fast skillet finish.
The Sear That Keeps the Chicken Juicy Before the Glaze Goes On
Chicken breasts dry out when they spend too long in sauce before they’ve picked up color. The first pass in the skillet is doing two jobs at once: cooking the chicken most of the way through and building the browned fond that gives the glaze depth. Don’t crowd the pan, or the chicken will steam and the glaze will taste flatter later.
- Chicken breasts — Boneless, skinless breasts keep this quick, but they need even thickness to cook at the same pace. If one end is much thicker, pound it lightly so the whole piece finishes without the thin side turning dry.
- Pineapple juice — This is the backbone of the glaze, and bottled juice works fine here. Fresh juice tastes brighter, but either way you need the full cup because it becomes the simmering liquid that carries the brown sugar and soy sauce.
- Brown sugar — Packed brown sugar gives the glaze its sticky finish and a deeper caramel note than white sugar would. Light or dark both work; dark brown sugar will push the sauce a little richer and more molasses-forward.
- Cornstarch slurry — This is what turns the sauce from thin and syrupy into a coating glaze. Mix it with cold water first, then stir it into a simmering sauce so it thickens evenly instead of clumping.
- Pineapple chunks — Use canned or fresh, but drain canned chunks well so they don’t water down the glaze. They go in near the end because they only need to warm through and pick up the sauce, not cook into mush.
What Each Ingredient Is Actually Doing in This Recipe
- Primary ingredient (the star) — Quality matters most. Choose the best you can find.
- Cooking medium (oil, butter, or broth) — This carries flavors and prevents dryness.
- Seasonings (salt, pepper, spices, herbs) — Layer flavors so nothing overpowers. Build depth gradually.
- Aromatics (garlic, onion, herbs) — Cook with fat to bloom flavors. Become the foundation.
- Supporting ingredients — Complement the main ingredient without overpowering it.
- Sauce or liquid (if applicable) — Brings flavors together. Balance richness with acid.
- Acid (lemon, vinegar, wine, or other) — Brightens and prevents flat-tasting results.
- Final finish (garnish, glaze, or sauce) — Prevents one-dimensional taste and adds visual appeal.
How to Build the Sticky Glaze Without Breaking It
Getting the Chicken Golden
Season the chicken before it hits the skillet, then sear it in olive oil over medium-high heat until the surface is deep golden and the center reaches 165°F. If the pan is too hot, the outside will darken before the middle cooks; if it’s too low, you’ll miss the browned crust that makes the final sauce taste full. Move the chicken to a plate once it’s cooked through so it doesn’t overcook while you build the glaze.
Turning the Pan Drippings Into Sauce
Pour the pineapple juice, brown sugar, soy sauce, ketchup, garlic, and ginger into the same pan and scrape up every browned bit from the bottom. Those bits dissolve into the liquid and give the glaze its savory edge. Bring it to a steady simmer over medium heat; a weak simmer won’t reduce enough, and a hard boil can make the sweetness taste sharp instead of rounded.
Thickening to a True Glaze
Stir in the cornstarch slurry and keep the sauce moving as it cooks for 2 to 3 minutes. It should shift from cloudy and loose to glossy and thick enough to coat a spoon. Add the pineapple chunks after the sauce has started to thicken so they stay intact and glossy instead of breaking apart.
Coating the Chicken at the End
Return the chicken to the pan and spoon the glaze over the top until every piece is lacquered. Let it cook for 2 more minutes so the chicken absorbs some of the sauce and everything comes back to serving temperature. If the sauce thickens too much, splash in a spoonful of pineapple juice and swirl it in until it loosens just enough to glide.
How to Adapt This Sweet Sticky Chicken for Different Tables
Make it with chicken thighs
Boneless, skinless thighs give you a juicier result and are a little more forgiving if the pan runs hot. They take a few minutes longer to cook through, but they pair well with the sticky glaze because the richer meat stands up to the sweetness.
Use tamari for a gluten-free version
Swap the soy sauce for tamari in the same amount and the sauce stays just as savory and balanced. That change keeps the glaze smooth and glossy without losing the salty backbone that keeps the pineapple from tasting one-note.
Make it a little less sweet
Cut the brown sugar back to 2 tablespoons and add an extra teaspoon of soy sauce if you want a sharper, more savory glaze. You’ll lose a little of the candy-like stickiness, but the sauce will taste brighter and work well if you’re serving it over plain rice.
Storage and Reheating
- Refrigerator: Store leftovers in an airtight container for up to 4 days. The sauce will thicken as it chills, which is normal.
- Freezer: It freezes well for up to 2 months, though the pineapple chunks soften a bit after thawing. Freeze the chicken and sauce together in a sealed container once cooled.
- Reheating: Reheat gently in a skillet over low heat with a splash of pineapple juice or water. High heat can make the glaze seize up and turn sticky in the wrong way before the chicken is warmed through.
Questions I Get Asked About This Recipe
Brown Sugar Pineapple Chicken
Ingredients
Equipment
Method
- Season the chicken breasts with salt, pepper, garlic powder, and smoked paprika, then let them marinate in the skillet or on a plate for 20 minutes. Resting helps the seasoning stick and jump-starts flavor for better caramelized edges.
- Heat olive oil in a large skillet over medium-high heat and sear the chicken for 5-6 minutes per side until golden. Cook until the thickest part reaches 165°F, then remove the chicken to a plate.
- Whisk pineapple juice, brown sugar, soy sauce, ketchup, garlic, and grated ginger in the same pan. Bring the mixture to a simmer over medium heat until it looks glossy and amber.
- Stir in the cornstarch slurry (cornstarch mixed with water) and simmer for 2-3 minutes until the sauce thickens into a glaze. Keep stirring until the glaze coats the back of a spoon.
- Add pineapple chunks to the thickened glaze and cook until they start turning shiny and slightly caramelized. Toss them through the sauce so they’re visible throughout.
- Return the seared chicken to the pan and turn to coat in the brown sugar pineapple glaze. Cook for 2 more minutes so the glaze clings and sets at the edges.
- Garnish with sesame seeds and sliced green onions right before serving. The bright green onions and tiny seeds make the caramel-dark glaze look finished.
- Serve the brown sugar pineapple chicken over steamed rice. Spoon extra amber sauce with pineapple chunks on top for the sticky, caramelized bite.