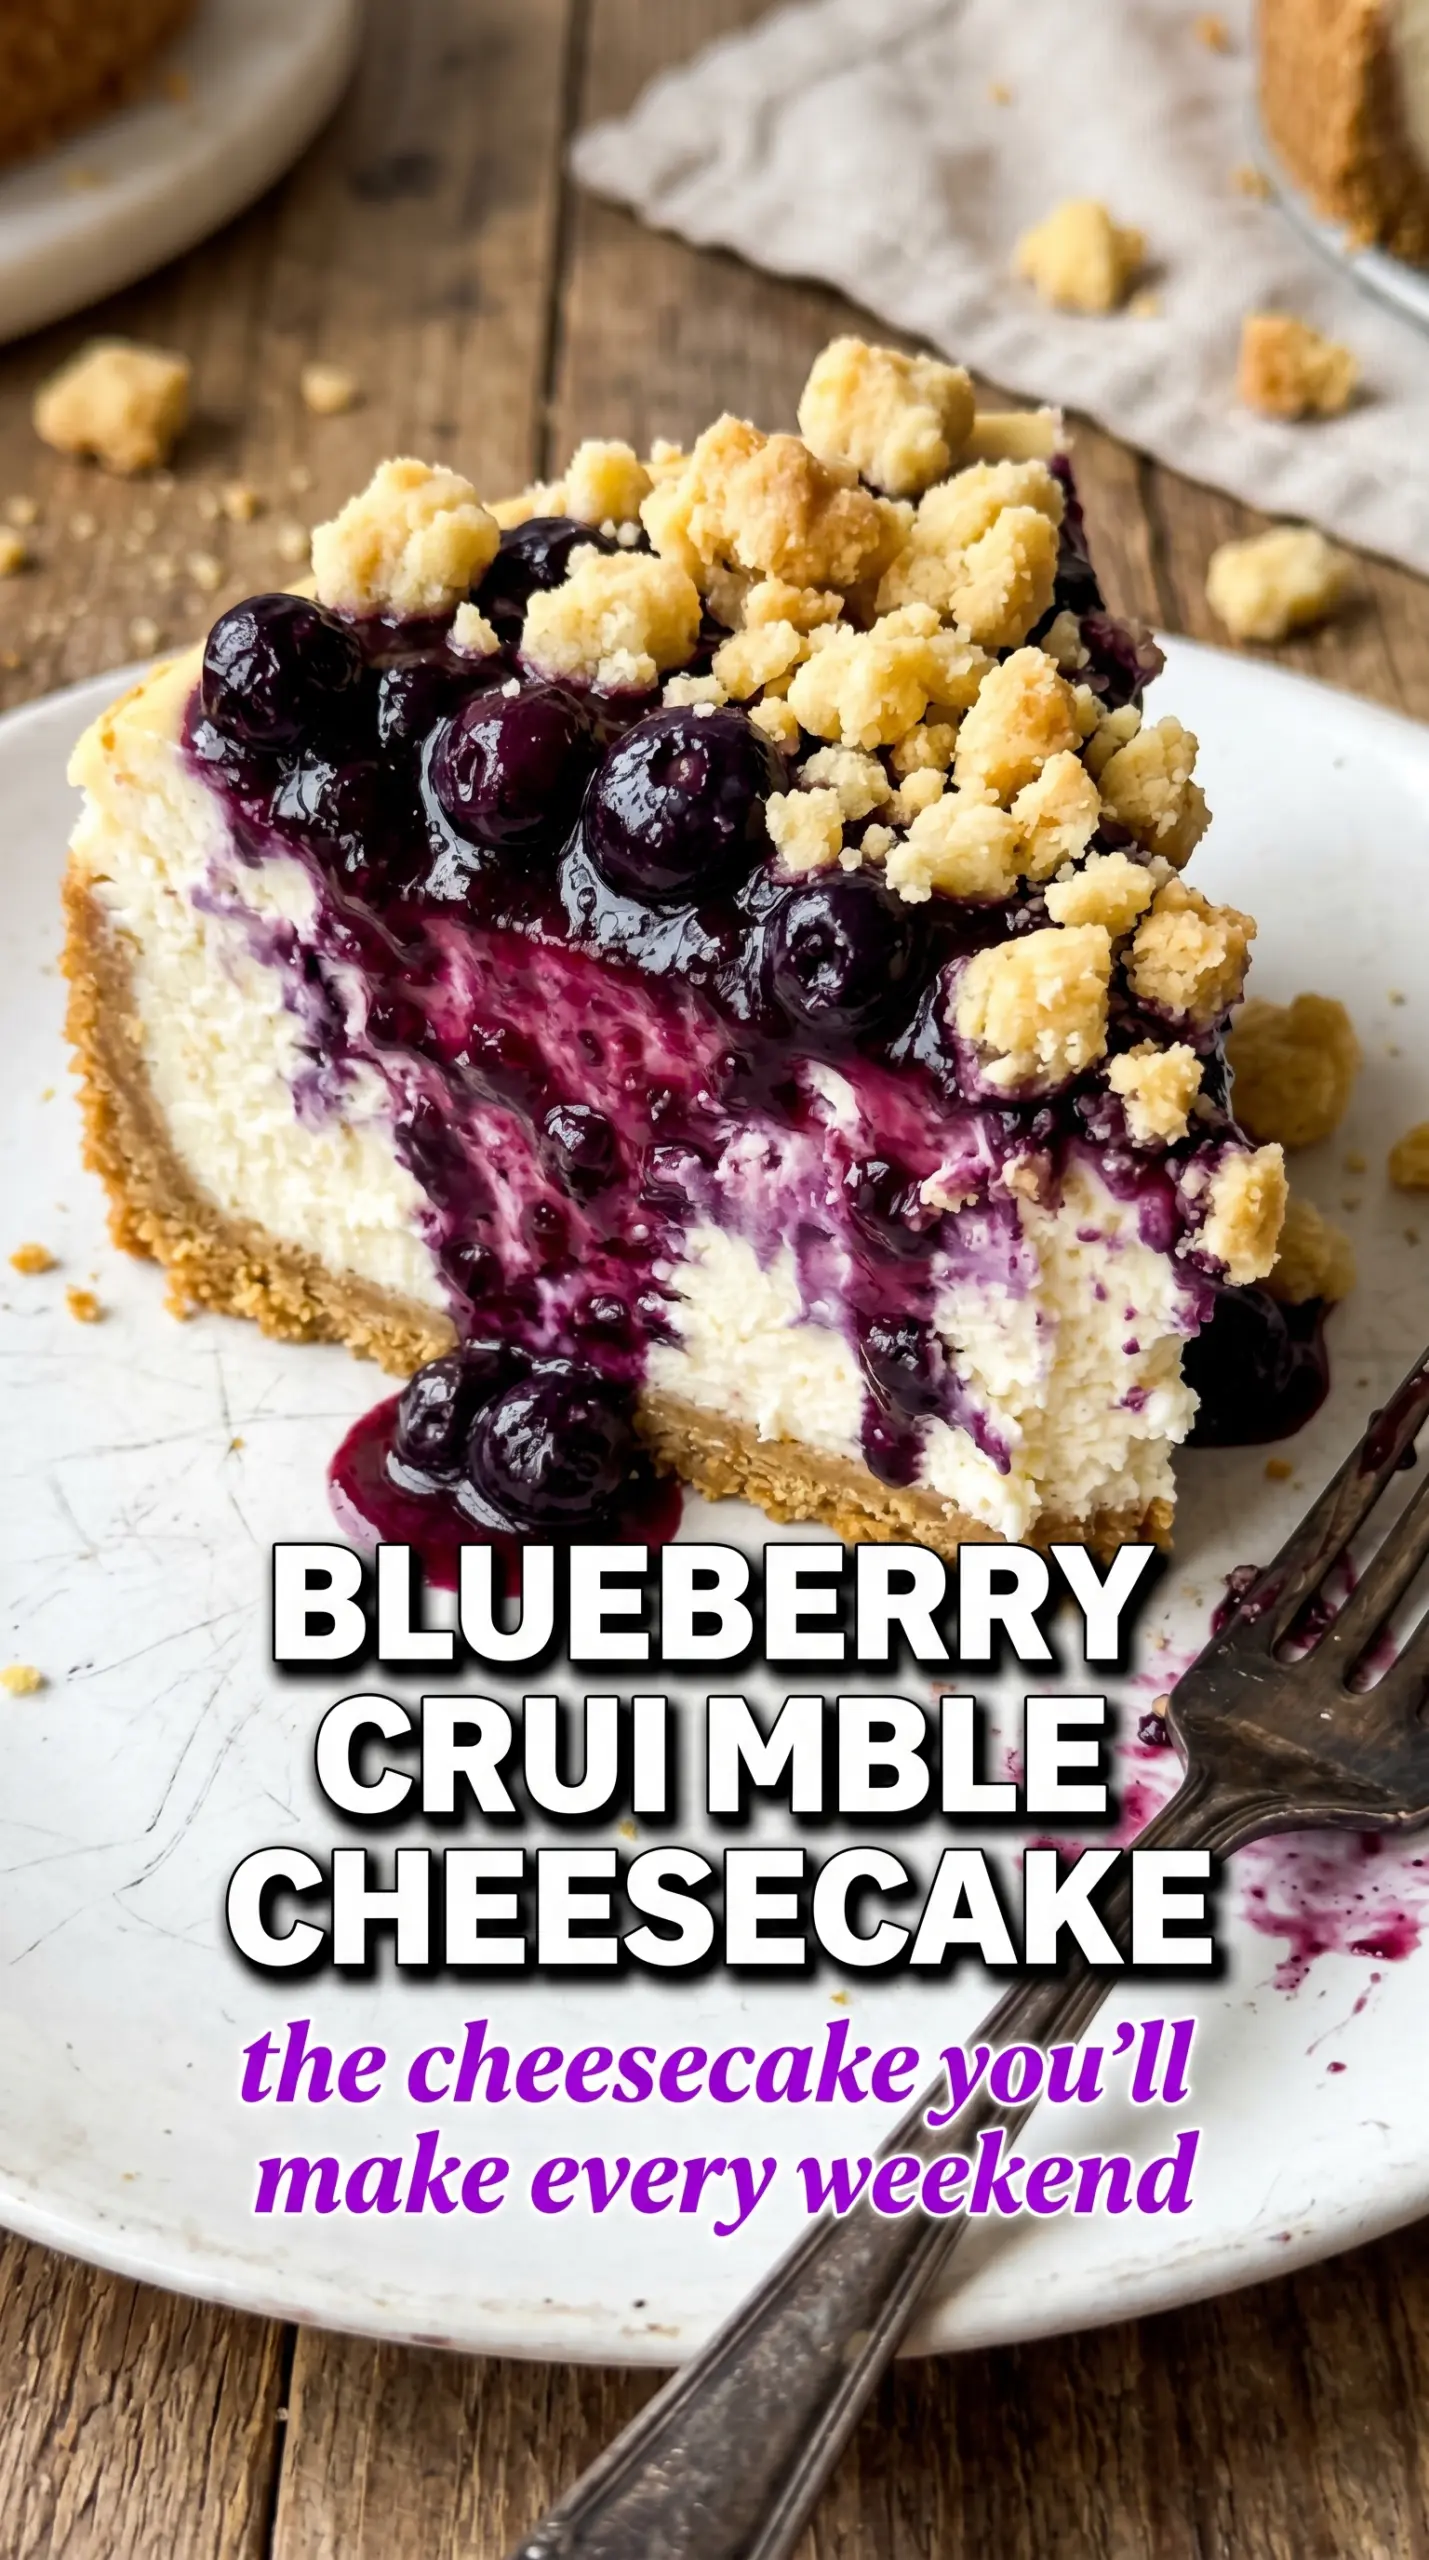
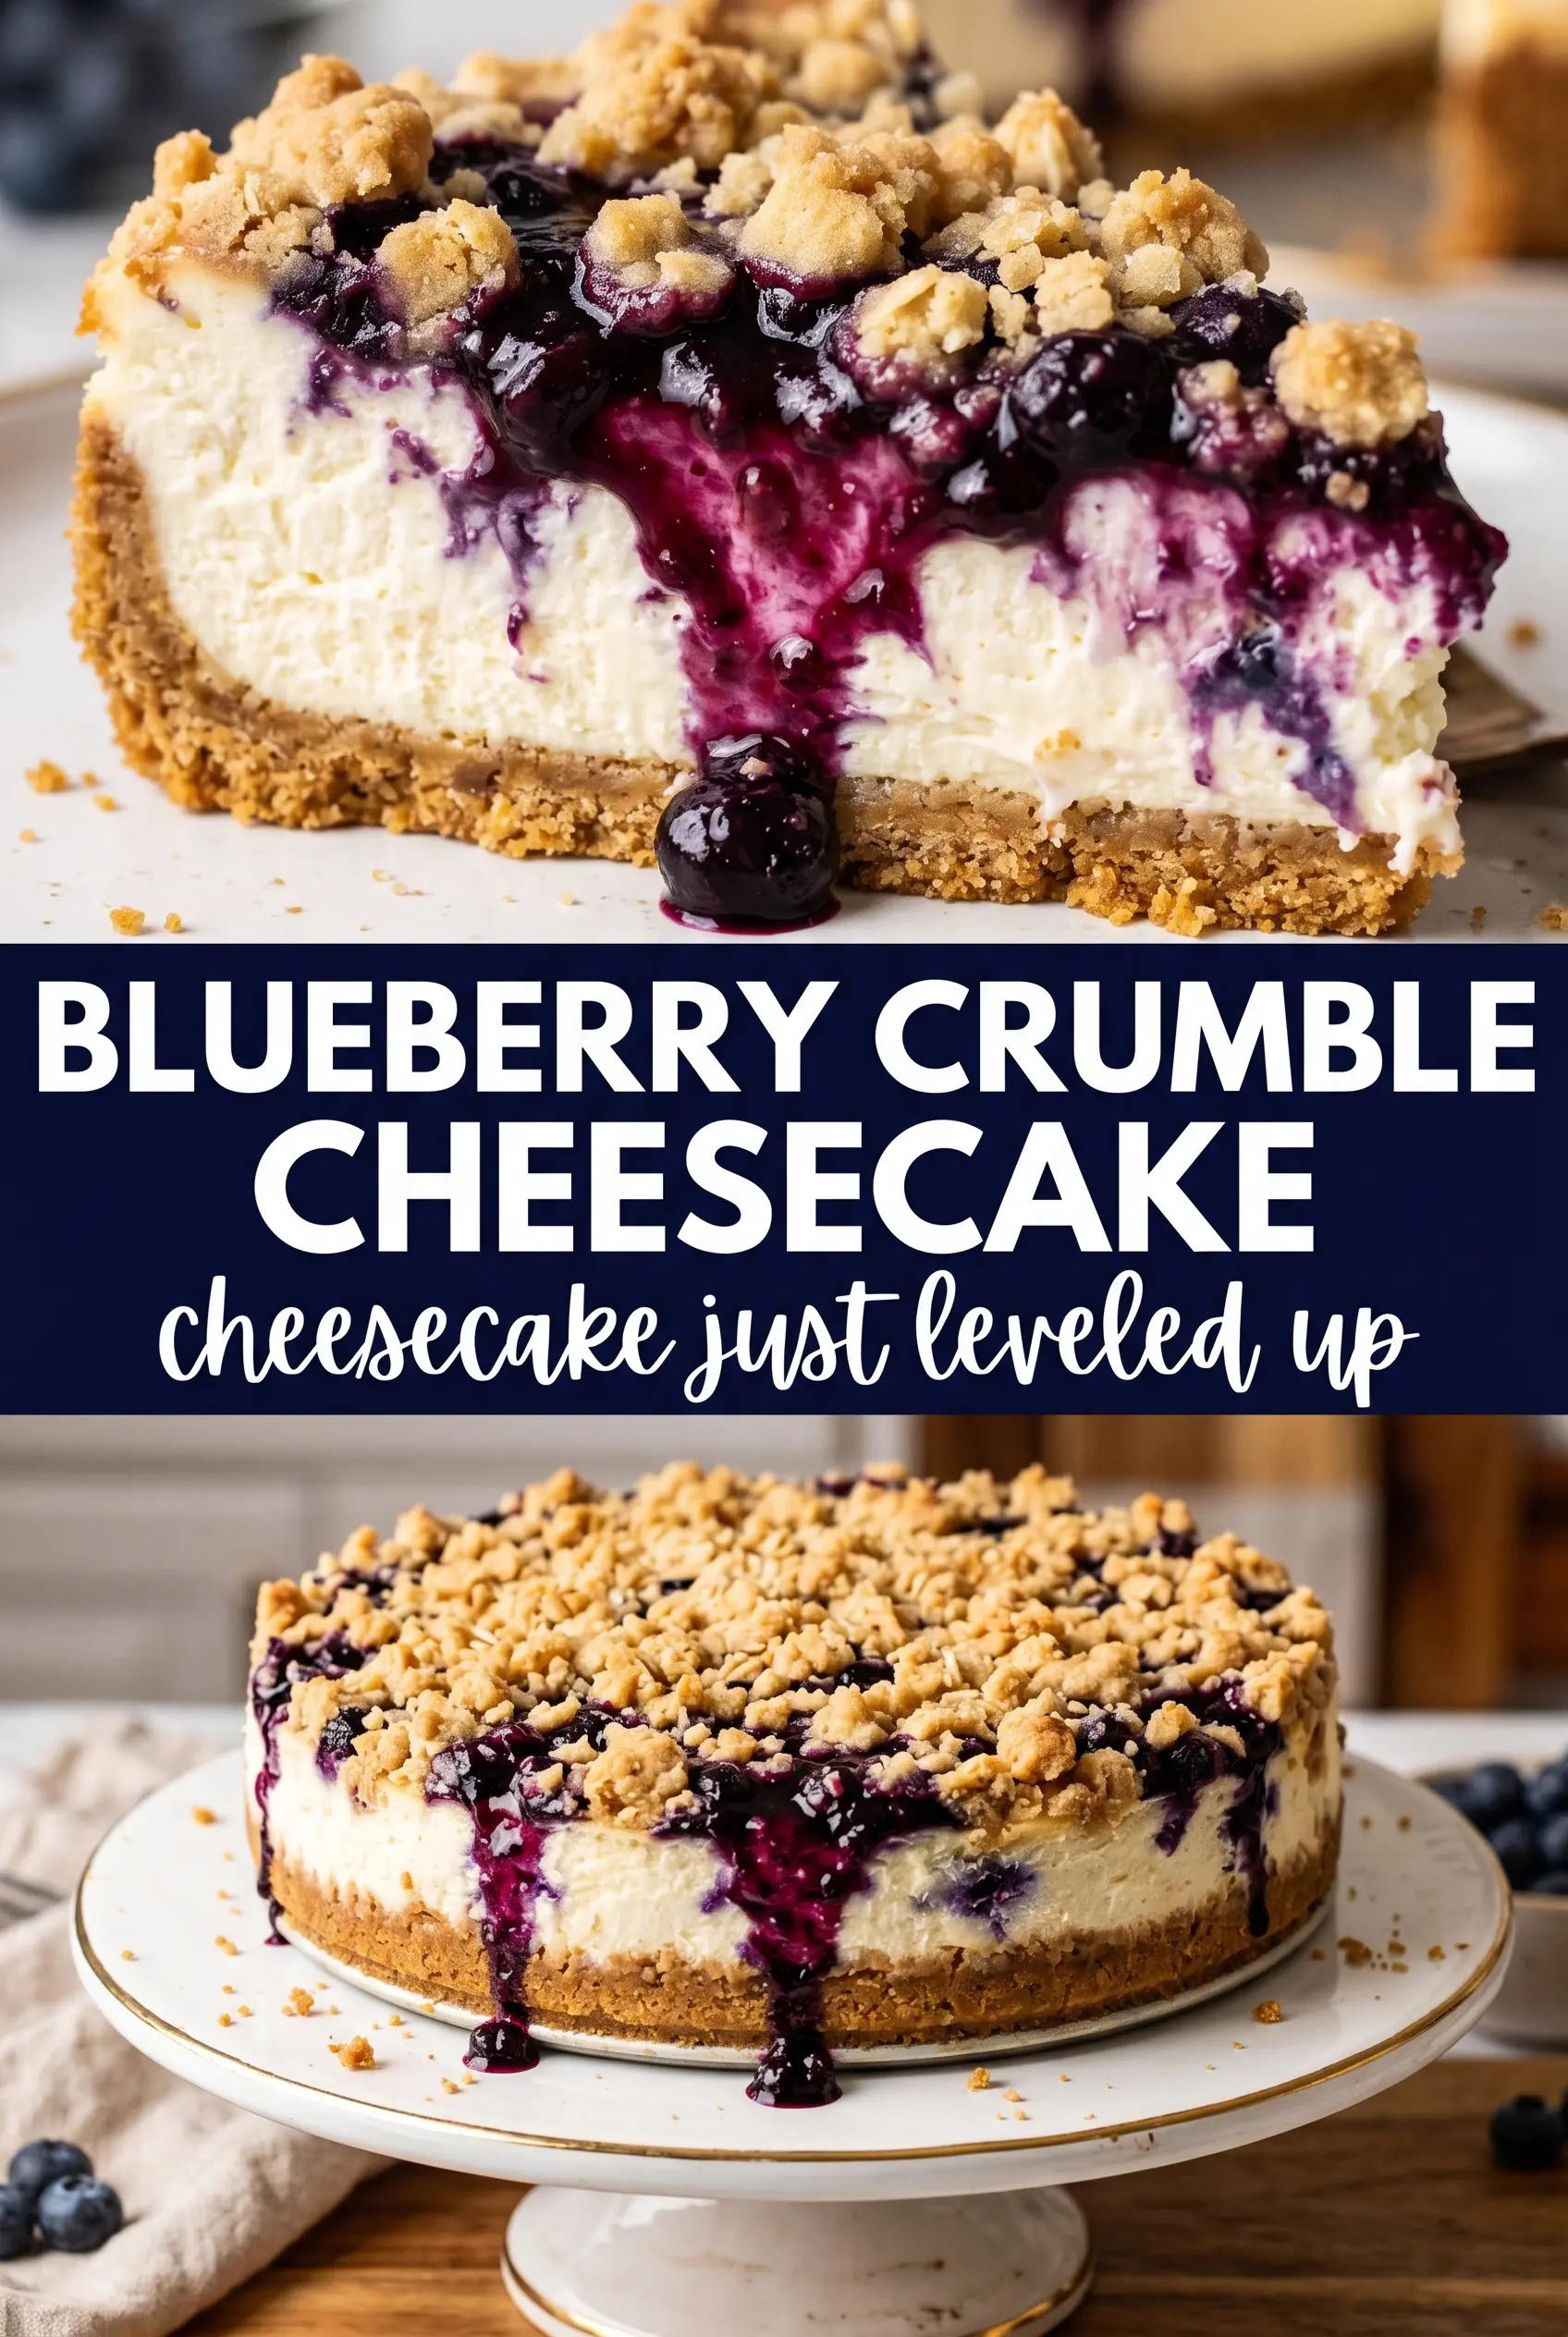
Blueberry crumble cheesecake lands in that sweet spot between classic cheesecake and fruit crisp: creamy, tangy filling underneath, juicy blueberry topping in the middle, and a buttery oat crumble that turns every slice into something a little more interesting. The contrast is what makes it memorable. You get the clean richness of baked cheesecake, then the blueberries soften into a jammy layer, and the crumble bakes into crisp clusters instead of disappearing into the filling.
The trick is keeping each layer distinct. The crust gets a quick bake so it stays firm under the filling, the cheesecake batter is mixed just until smooth so it bakes up dense and silky instead of airy, and the blueberry layer is thickened with cornstarch so it settles into the cheesecake instead of running through it. The crumble goes on last, with cold butter worked in just enough to form clumps that brown before the cheesecake overbakes.
Below, I’ve included the little things that matter most here: how to keep the cheesecake from cracking, how to know the blueberry layer is thick enough, and the one cooling step that makes the texture set up properly for clean slices.
The crumble stayed crisp even after chilling, and the blueberry layer thickened up into that jammy middle I was hoping for. I followed the cooling time exactly and the slices came out clean.
Save this blueberry crumble cheesecake for the times you want a creamy baked dessert with a jammy berry layer and a crisp oat topping.
The Part That Keeps the Crumble Crisp Instead of Sinking In
The blueberry layer is the detail that changes this from a standard cheesecake into something with real texture. If you spoon on raw berries without thickening them, they release juice in the oven and soak into the filling. That’s how you end up with a wet top and a crumb topping that softens before it even sets.
Cooking isn’t necessary here, but a little cornstarch goes a long way. It catches the berry juices as they bake, so the topping turns glossy and jammy instead of soupy. The other thing that matters is the crumble: cold butter and a light hand. If you melt the butter or press the mixture into paste, you lose those irregular clusters that brown into crisp little shards.
- Cream cheese — Use full-fat blocks, not whipped tubs. The block-style cheese gives you the dense, smooth structure a baked cheesecake needs.
- Sour cream — This loosens the filling just enough and adds tang. Greek yogurt can work in a pinch, but it sets a little less silkily and tastes brighter.
- Fresh blueberries — Fresh berries hold their shape best here. Frozen berries can work if that’s what you have, but don’t thaw them first or the topping turns watery.
- Rolled oats — These give the crumble its chew and help it bake into clusters. Quick oats can be used, but the topping will be finer and a little less crisp.
What Each Ingredient Is Actually Doing in This Recipe
- Primary ingredient (the star) — Quality matters most. Choose the best you can find.
- Cooking medium (oil, butter, or broth) — This carries flavors and prevents dryness.
- Seasonings (salt, pepper, spices, herbs) — Layer flavors so nothing overpowers. Build depth gradually.
- Aromatics (garlic, onion, herbs) — Cook with fat to bloom flavors. Become the foundation.
- Supporting ingredients — Complement the main ingredient without overpowering it.
- Sauce or liquid (if applicable) — Brings flavors together. Balance richness with acid.
- Acid (lemon, vinegar, wine, or other) — Brightens and prevents flat-tasting results.
- Final finish (garnish, glaze, or sauce) — Prevents one-dimensional taste and adds visual appeal.
Building the Layers Without Messing Up the Texture
Setting the Crust First
Press the graham cracker mixture into the pan firmly and evenly, especially along the bottom edge where slices usually break apart. A short bake before the filling goes in gives the crust enough structure to stay intact under the weight of the cheesecake and fruit. Let it cool for a few minutes so it doesn’t start melting the filling on contact.
Mixing the Filling Gently
Beat the cream cheese and sugar until completely smooth before the eggs go in. If the base still feels lumpy at that stage, those lumps stay in the finished cheesecake. Add the eggs one at a time and stop mixing as soon as they disappear; overmixing pulls in too much air, and air is what causes cracks and puffy edges that collapse later.
Layering the Blueberries and Crumble
Spoon the blueberry mixture over the batter in an even layer instead of dumping it in one spot. That keeps the berries suspended across the top rather than sinking into the center. Scatter the crumble over everything without pressing it down. If you pack it, the butter melts out before the oats brown, and the topping turns dense instead of crisp.
The Water Bath and Slow Cool
The water bath is what keeps the cheesecake creamy from edge to center. It softens the oven’s heat so the outside doesn’t overbake while the middle is still loose. Pull the cheesecake when the center still has a slight wobble, then let it cool in the oven with the door cracked. If you rush it to the counter, the sudden temperature change can split the top and make the center fall before it sets.
How to Adapt This Cheesecake for Different Kitchens and Cravings
Gluten-Free Version
Swap the graham crackers for certified gluten-free crumbs and use a gluten-free all-purpose flour blend in the crumble. The texture stays very close to the original, though the crumble may brown a touch faster, so start checking it near the end of baking.
Dairy-Free Adaptation
Use dairy-free cream cheese and a thick unsweetened coconut or almond-based yogurt in place of the sour cream. The filling won’t taste identical, but it will still set well if you choose a brand that bakes firmly and avoid overmixing once the eggs go in.
Frozen Blueberries Work Too
Frozen berries can stand in for fresh ones without changing the method. Use them straight from the freezer and add an extra minute or two to the cornstarch mixture if it looks loose. Thawing first releases too much liquid and makes the topping slide into the cheesecake layer.
Storage and Reheating
- Refrigerator: Store covered for up to 5 days. The crumble softens a little after day one, but the flavor holds up beautifully.
- Freezer: This freezes well in slices. Wrap each piece tightly, then freeze for up to 2 months. Thaw overnight in the refrigerator for the cleanest texture.
- Reheating: Cheesecake is best served cold or slightly cool, not warmed. If you want to take the chill off a frozen slice, let it sit at room temperature for 20 to 30 minutes instead of using heat, which can make the filling greasy and the topping soggy.
Questions I Get Asked About This Recipe
Blueberry Crumble Cheesecake
Ingredients
Equipment
Method
- Preheat the oven to 325°F. Press graham cracker crumbs, sugar, and melted butter into a 9-inch springform pan.
- Bake the crust at 325°F for 8 minutes, until set and fragrant. Cool the crust while you prepare the filling.
- Beat softened cream cheese and granulated sugar until smooth at medium speed. Add the eggs one at a time, mixing until just incorporated.
- Mix in sour cream, vanilla extract, and lemon zest until the batter looks glossy and fully combined. Pour the batter over the cooled crust.
- Combine fresh blueberries, sugar, cornstarch, and lemon juice until the berries are coated. Spoon the blueberry mixture over the cheesecake batter in an even layer.
- Mix rolled oats, all-purpose flour, and brown sugar with cold butter cubed using fingertips until clumpy. Scatter the crumble generously over the blueberry layer.
- Bake in a water bath at 325°F for 55-65 minutes, until the center barely jiggles. You should see a slight wobble in the middle when the pan is gently nudged.
- Cool the cheesecake in the oven with the door cracked for 1 hour to prevent cracks. Then remove it from the oven and let it finish cooling to room temperature.
- Refrigerate the cheesecake for at least 4 hours, until fully set. Unmold and serve with the crumble topping shattering when cut.