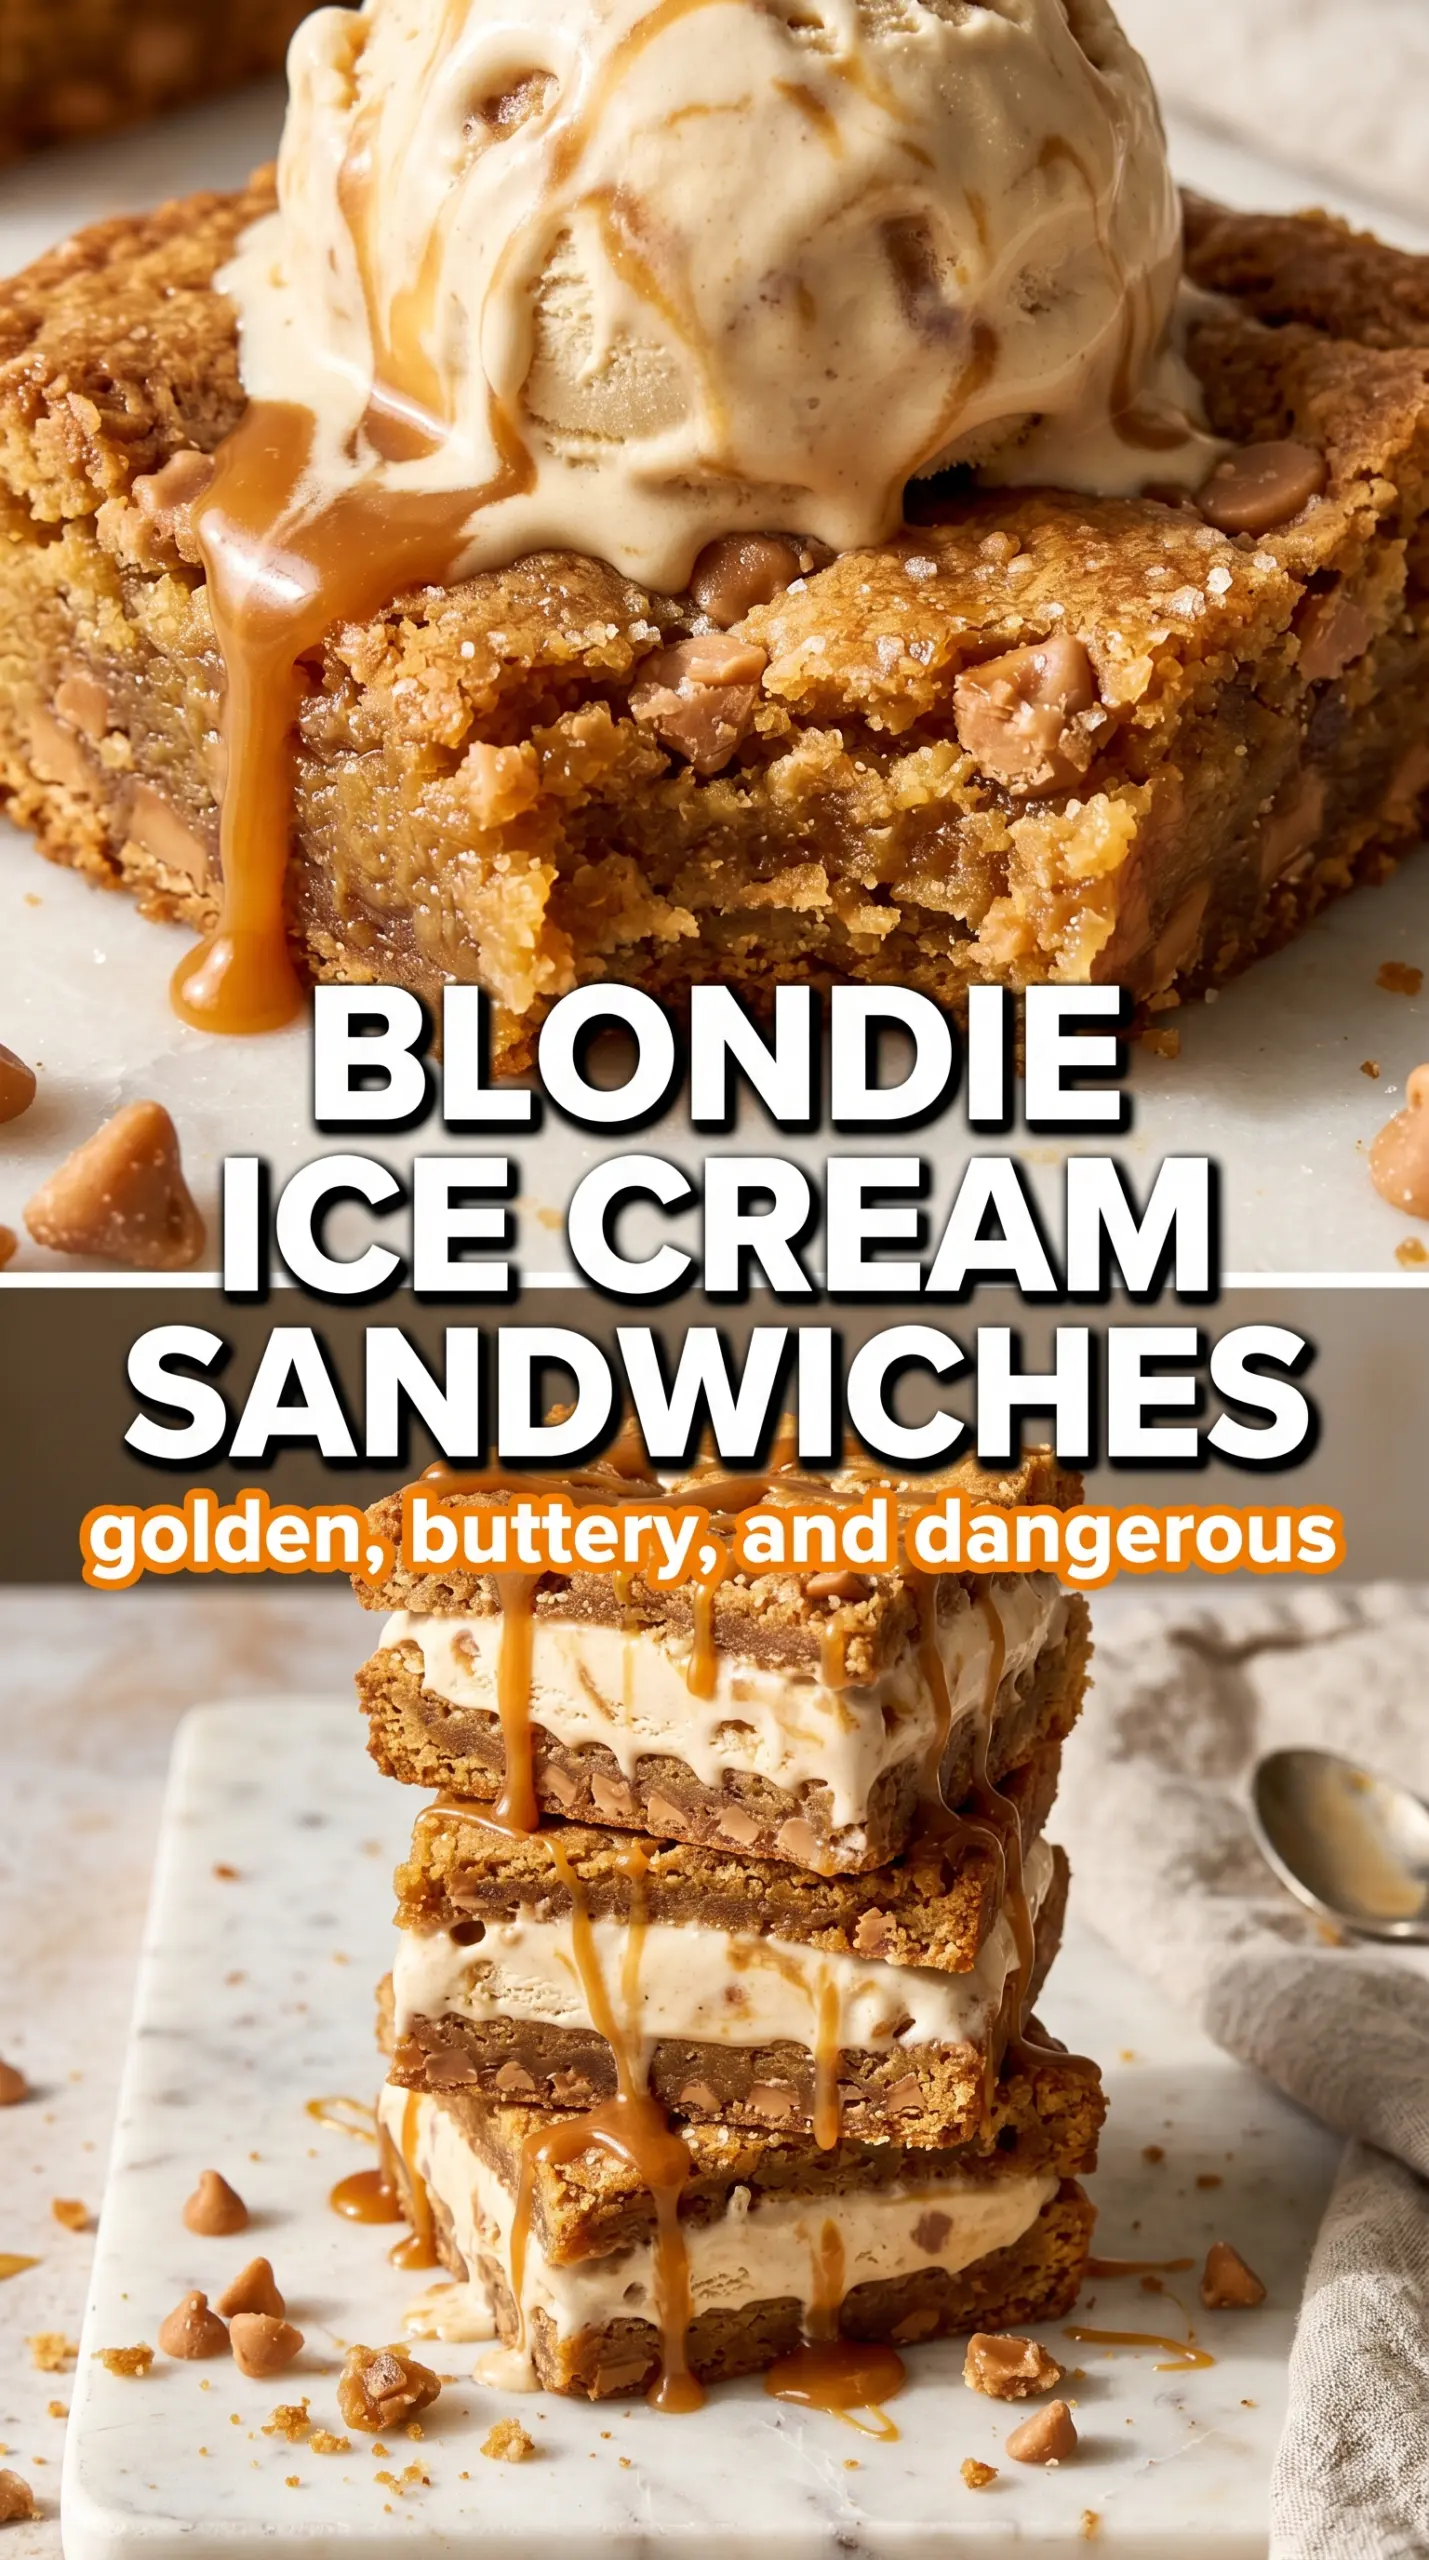
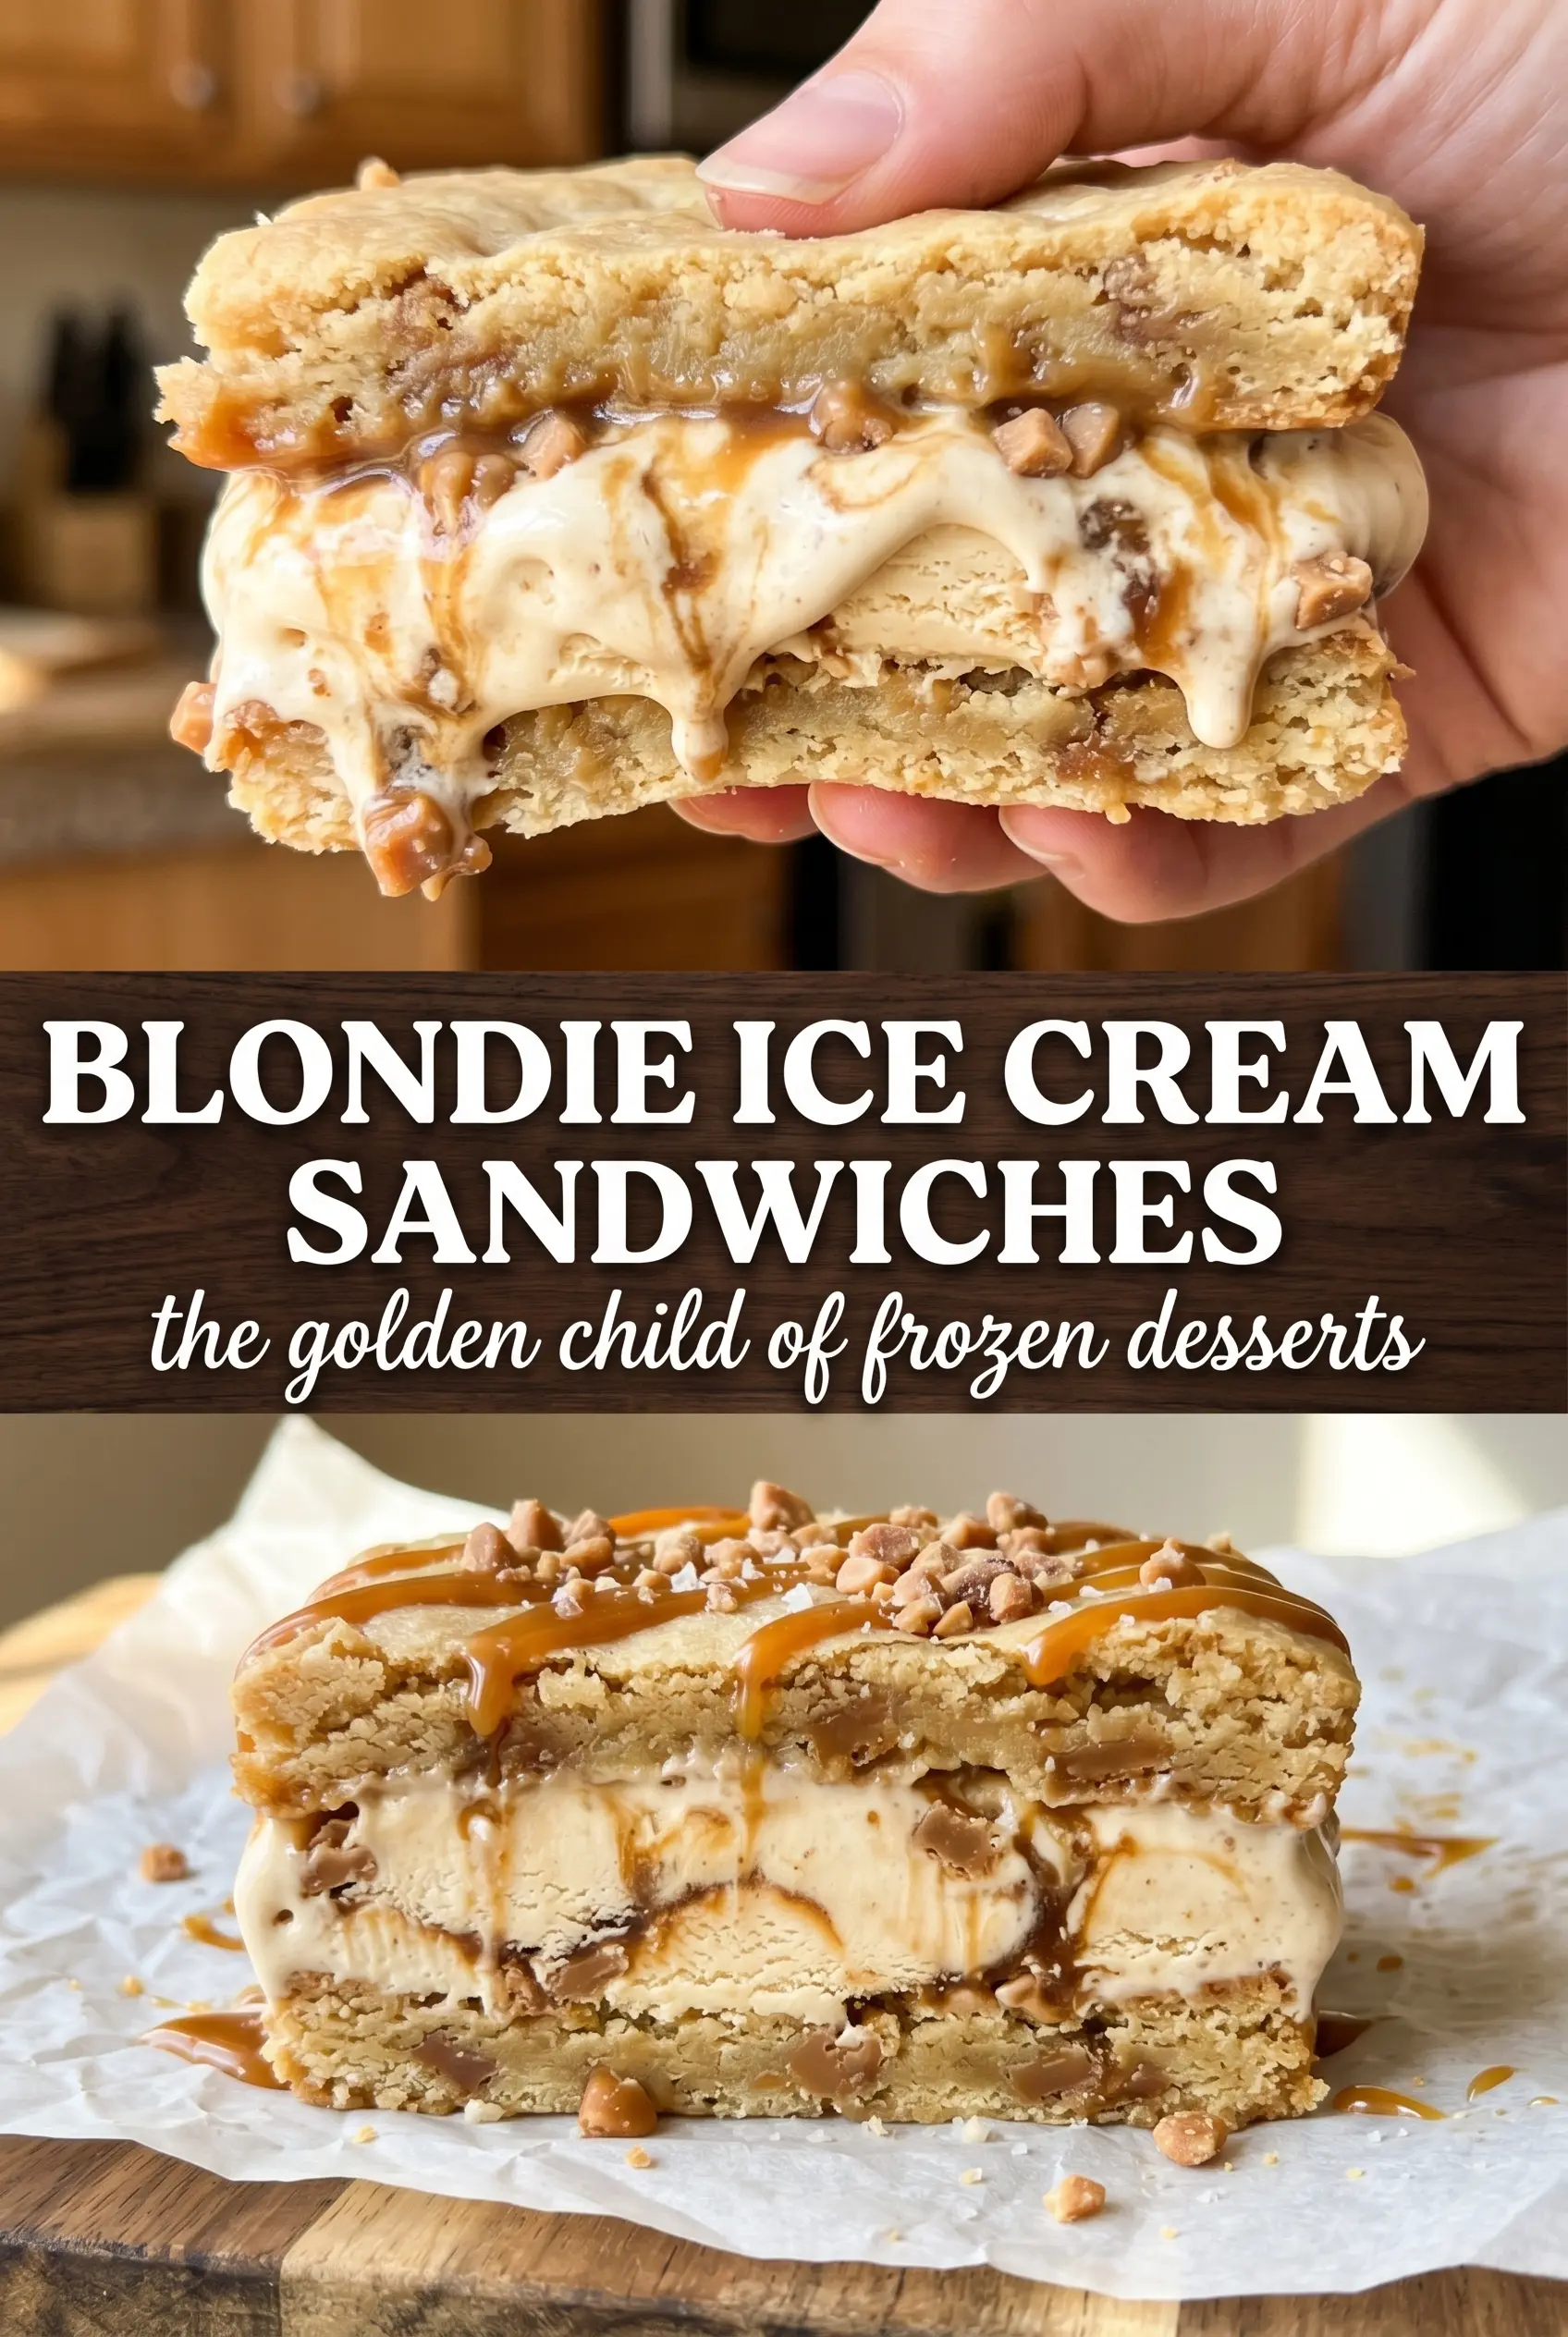
Chewy blondie ice cream sandwiches hit that perfect middle ground between rich dessert bar and classic frozen treat. The blondie stays soft enough to bite cleanly from the freezer, but it still brings a deep brown sugar and butter flavor that plain cookies can’t match. Once the ice cream settles in, the whole thing eats like a bakery-style version of an old favorite: crisp at the edges, creamy in the middle, and full of caramel notes from the first bite to the last.
The secret is in the browned butter and the bake time. Browning the butter gives the blondies a toasted, almost toffee-like base, and cooling it first keeps the batter from turning greasy. The bars should come out just set, not deeply browned, because they firm up as they cool and freeze. That’s what keeps the sandwiches tender instead of stiff and crumbly.
Below, I’ve included the little details that matter most here: how to keep the ice cream layer even, why you need to freeze the blondie sheet before assembling, and the easiest way to cut and stack the finished sandwiches without making a mess.
The blondie layer stayed chewy even after freezing, and the browned butter gave it that caramel flavor I was hoping for. I used vanilla ice cream and a little drizzle of caramel on top, and they sliced cleanly after the two-hour freeze.
Save these blondie ice cream sandwiches for when you want chewy brown sugar bars, creamy ice cream, and a caramel finish all in one frozen dessert.
The Reason These Blondies Stay Chewy After Freezing
Most ice cream sandwich bars go wrong because the cookie layer is baked too dry. Once they freeze, that dryness turns into a hard, brittle bite that cracks instead of yielding. These blondies avoid that by leaning on brown sugar, browned butter, and a short bake time, which keeps the crumb dense and tender enough to hold up in the freezer without turning tough.
The other thing that matters is cooling them completely before you even think about adding ice cream. Warm blondies melt the filling at the edges, and then you end up with a slippery layer that smears when you cut it. A brief freeze after baking gives the sheet enough structure to handle the ice cream and makes the final sandwich much easier to assemble.
What the Brown Butter and Butterscotch Chips Are Doing Here
- Browned butter — This gives the blondies their deepest flavor and makes them taste toasted instead of just sweet. Brown it until you see amber bits and smell a nutty aroma, then cool it before mixing so it doesn’t scramble the eggs.
- Brown sugar — This is what keeps the bars soft and chewy. Light or dark brown sugar both work, but dark brown sugar brings a stronger caramel note if you want a richer result.
- Butterscotch chips — These add little pockets of extra sweetness and reinforce the caramel flavor already in the blondie base. If you don’t have them, toffee bits are the best swap because they keep that same buttery crunch.
- Caramel or vanilla ice cream — Softened ice cream spreads evenly without tearing the blondie layer. Caramel ice cream gives you the most flavor, but vanilla is a good blank canvas if you want the blondie to stay front and center.
Assembling the Sandwiches Without Cracking the Bars
Baking the Blondie Sheet
Whisk the dry ingredients first so the baking powder and baking soda are evenly distributed, then mix the browned butter with the brown sugar until the mixture looks thick and glossy. Add the eggs and vanilla, then stir in the flour just until the last streaks disappear. Spread the batter into a parchment-lined 9×13 pan and bake until the top looks set and the center no longer jiggles, but don’t wait for deep color. Overbaking is the fastest way to lose that chewy texture once the bars are frozen.
Freezing Before Assembly
Let the blondie slab cool all the way, then freeze it for about 30 minutes. That short chill firms the surface so the ice cream doesn’t sink in and make the layers uneven. If the pan is still warm, the filling starts melting immediately and you’ll get a streaky middle instead of a clean, thick layer.
Adding the Ice Cream Layer
Spread the softened ice cream over half the blondie sheet in an even layer, working quickly so it stays spreadable. If you’re using a full bar-style sandwich, fold the other half over the filling; if you want cleaner portions, cut the sheet into squares and stack them as individual sandwiches. The key is even pressure, not force. Press too hard and the ice cream squeezes out the sides.
Final Freeze and Cutting
Freeze the assembled sandwiches for at least 2 hours, or until the ice cream is firm enough to slice without dragging. Use a sharp knife and wipe the blade between cuts if the filling starts to smear. A drizzle of caramel over the top works best right before serving, when the sandwiches are cold but not rock hard.
Three Ways to Make These Blondie Sandwiches Fit What You’ve Got
Vanilla Ice Cream for a Cleaner Blondie Flavor
Vanilla ice cream keeps the filling simple and lets the browned butter and butterscotch flavors stand out. It’s the best choice if you want the blondie to taste like the main event instead of a support act.
Dairy-Free Version
Use a plant-based butter with a neutral flavor and a dairy-free ice cream that softens evenly. The blondies will still be chewy, but the browned butter note will be a little less deep, so lean on the caramel drizzle for extra richness.
Toffee Bits Instead of Butterscotch Chips
Toffee bits add crunch and a more brittle caramel flavor, which makes the final sandwich taste a little more bakery-style. They’re a smart swap if you want extra texture and don’t mind a slightly less creamy bite.
Storage and Reheating
- Refrigerator: Keep leftovers wrapped tightly for up to 3 days, but expect the blondies to soften and lose their frosty edge.
- Freezer: They freeze well for up to 2 weeks. Wrap individual sandwiches in parchment and then plastic or foil so they don’t stick together.
- Reheating: These aren’t meant to be reheated. Let them sit at room temperature for 3 to 5 minutes before eating so the blondie layer gives slightly instead of tasting hard.
Questions I Get Asked About This Recipe
Blondie Ice Cream Sandwiches
Ingredients
Equipment
Method
- Preheat the oven to 350F. Whisk the all-purpose flour, baking powder, baking soda, and salt until evenly combined.
- Whisk the browned and cooled unsalted butter with the packed brown sugar until combined, glossy, and uniform. Add the eggs and vanilla extract and whisk until smooth.
- Stir the flour mixture into the wet ingredients until no dry streaks remain. Fold in the butterscotch chips so they’re evenly distributed.
- Spread the batter into a parchment-lined 9x13 pan. Bake for 20-25 minutes until the center is just set and the edges look lightly golden.
- Cool the blondies completely in the pan. Let them cool fully so the ice cream won’t melt or slide.
- Freeze the blondie sheet for 30 minutes to firm it up. Spread the softened caramel or vanilla ice cream over half of the surface.
- Fold the other half of the blondie over the ice cream to sandwich it, or cut into squares and stack. Press gently so the layers adhere without squeezing out the ice cream.
- Freeze the assembled sandwiches for at least 2 hours until firm. Drizzle with caramel sauce for drizzling and serve straight from the freezer for the cleanest edges.