Blackberry apple crumble comes out with a bubbling fruit layer that tastes bright and jammy under a thick, nubbly oat topping. The apples keep enough shape to give each spoonful some bite, while the blackberries melt into the gaps and turn the filling deep purple-red at the edges. It’s the kind of dessert that lands on the table looking rustic and unbothered, then disappears fast once the cream hits it.
The part that matters most here is balance. Apples bring structure, blackberries bring juice and sharpness, and cornstarch keeps the filling from turning runny in the oven. Cold butter in the topping is just as important; it melts as the crumble bakes, leaving behind those crisp little pockets that make the surface stay craggy instead of sandy.
Below, I’ve included the small details that keep the fruit thick and the topping crisp, plus a few easy swaps if you’re working with frozen berries or need a dairy-free version.
The filling set up perfectly after a short rest, and the blackberries gave it that tart little pop without making the crumble watery. I used frozen berries and it still baked up with a crisp top and a thick, spoonable center.
Love the bubbling blackberry apple crumble topping? Save it to Pinterest for the nights when you want a fruit dessert with a crisp oat lid and a spoonable center.
The Filling That Thickens Before the Top Goes Too Dark
With fruit crumbles, the usual problem is a topping that looks done before the filling has had time to bubble and thicken. Here the cornstarch starts working as soon as the fruit releases its juices, so the filling turns glossy instead of soupy by the time the top is golden. That short rest after baking matters too; the juices settle, the starch finishes its job, and the crumble slices into proper spoonfuls instead of running all over the dish.
The other thing worth watching is the fruit size. Apple slices that are too thin can collapse into applesauce, while thick slices stay a little defined and give the filling some texture. You want the blackberries to burst, not vanish, because those pockets of tart juice are what keep the dessert from tasting flat.
What the Apples, Berries, and Oats Are Really Doing
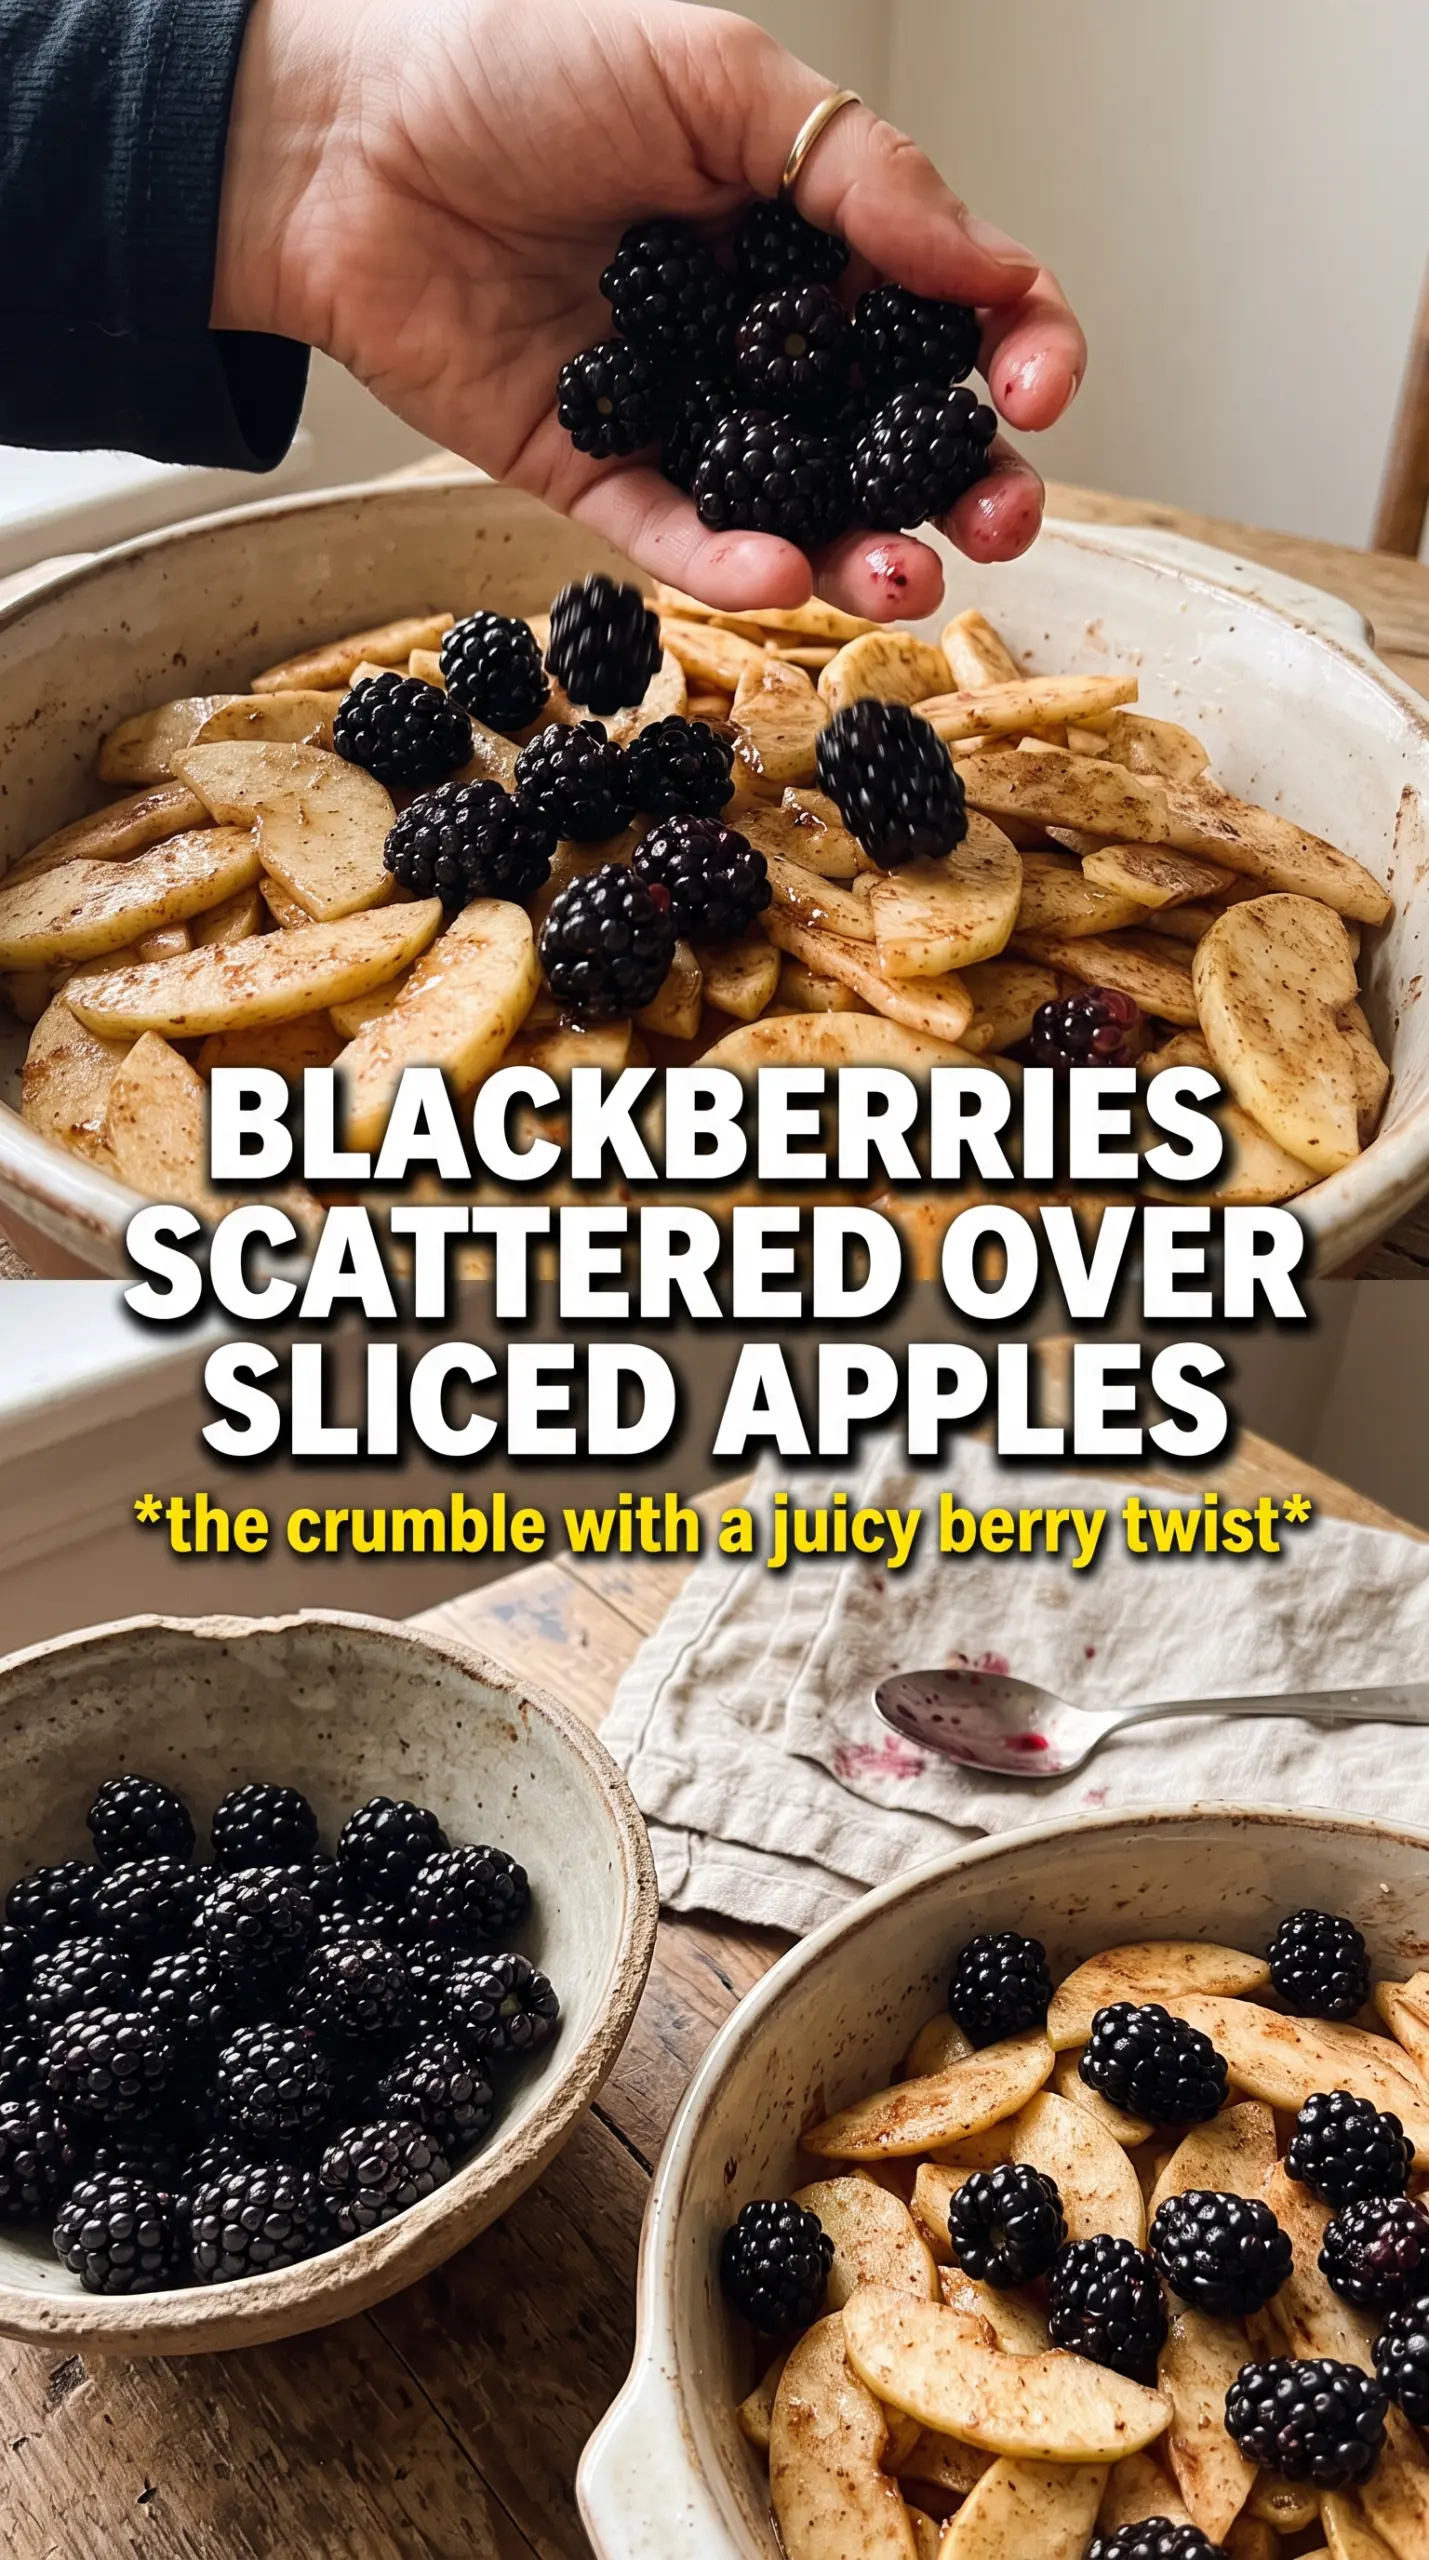
- Apples — Use a baking apple if you have one, or a firm all-purpose apple that holds its shape. Soft apples turn mushy before the crumble is browned, which leaves you with a jammy filling but no distinct pieces of fruit.
- Blackberries — Fresh berries give the cleanest flavor, but frozen blackberries work well straight from the freezer. Don’t thaw them first or they’ll leak too much juice before the cornstarch can thicken it.
- Cornstarch — This is what keeps the filling from flooding the pan. Flour can thicken, but it takes longer and leaves the fruit heavier; cornstarch gives you a cleaner set in the same bake time.
- Cold butter — The butter should stay cold until it hits the oven. That’s what creates the rough, crisp crumble texture instead of a dense paste, so cube it and cut it in just until the mixture forms clumps.
- Rolled oats — Oats give the topping its chew and help it hold those craggy peaks. Quick oats will work in a pinch, but the texture is tighter and less rustic.
Building the Crumble So It Stays Crisp
Coating the Fruit
Toss the apples and blackberries with the sugar, cornstarch, lemon juice, and cinnamon until everything looks evenly coated. The fruit should glisten, and you shouldn’t see dry pockets of starch at the bottom of the bowl. Spread it in the dish in an even layer so the fruit cooks at the same pace; if you mound it in the center, the edges will overbake before the middle bubbles.
Making the Topping
Combine the flour, oats, brown sugar, cinnamon, and salt, then cut in the cold butter until the mixture looks clumpy and looks a little uneven. Stop before it turns into a smooth dough. Those uneven bits are what bake into crisp crags, and if the butter softens too much, the topping will come out heavy instead of crunchy.
Baking Until the Edges Bubble
Scatter the crumble over the fruit and bake until the top is golden and the fruit is bubbling around the edges, about 35 to 40 minutes. If the top browns too quickly, lay a piece of foil loosely over the dish for the last stretch. Don’t pull it early just because the topping looks colored; the filling has to bubble in the center or it won’t thicken properly.
Letting It Rest Before Serving
Give the crumble about 10 minutes on the counter before you dig in. That pause lets the juices settle and keeps the serving from collapsing into a puddle. Spoon it warm with double cream or vanilla ice cream, and the contrast between cold cream and hot fruit is exactly what makes this dessert feel complete.
Three Ways to Adjust This Crumble Without Losing What Makes It Good
Frozen Blackberries, No Thawing
Use the berries straight from frozen and add them exactly as written. Thawing first dumps extra liquid into the filling, which makes the crumble wetter and can weaken the topping before it browns.
Dairy-Free Crumble
Swap the butter for a solid plant-based baking block, not a soft tub spread. You’ll still get a crisp top if the substitute stays cold, but the flavor will be a little less rich and the crumbs may brown a touch faster.
Gluten-Free Version
Replace the flour with a 1:1 gluten-free baking blend and check that your oats are certified gluten-free if that matters for your kitchen. The texture stays close to the original, though the topping may be a little more fragile when you scoop it.
Making It a Little Less Sweet
Reduce the granulated sugar in the filling by a couple of tablespoons if your apples are very sweet, but keep enough sugar to help the juices turn syrupy. Cutting too much sugar can leave the berries sharp and the sauce thin.
Storage and Reheating
- Refrigerator: Cover and keep for up to 4 days. The topping softens a little in the fridge, but the flavor stays good.
- Freezer: Freeze baked crumble in portions or freeze the unbaked assembled dish tightly wrapped. Bake from frozen if unbaked, adding extra time, or thaw overnight before reheating baked leftovers for the best texture.
- Reheating: Warm in a 325F oven until the fruit is hot and the topping crisps again. The microwave makes the topping damp, so use it only if you don’t mind losing the crunch.
Questions I Get Asked About This Recipe
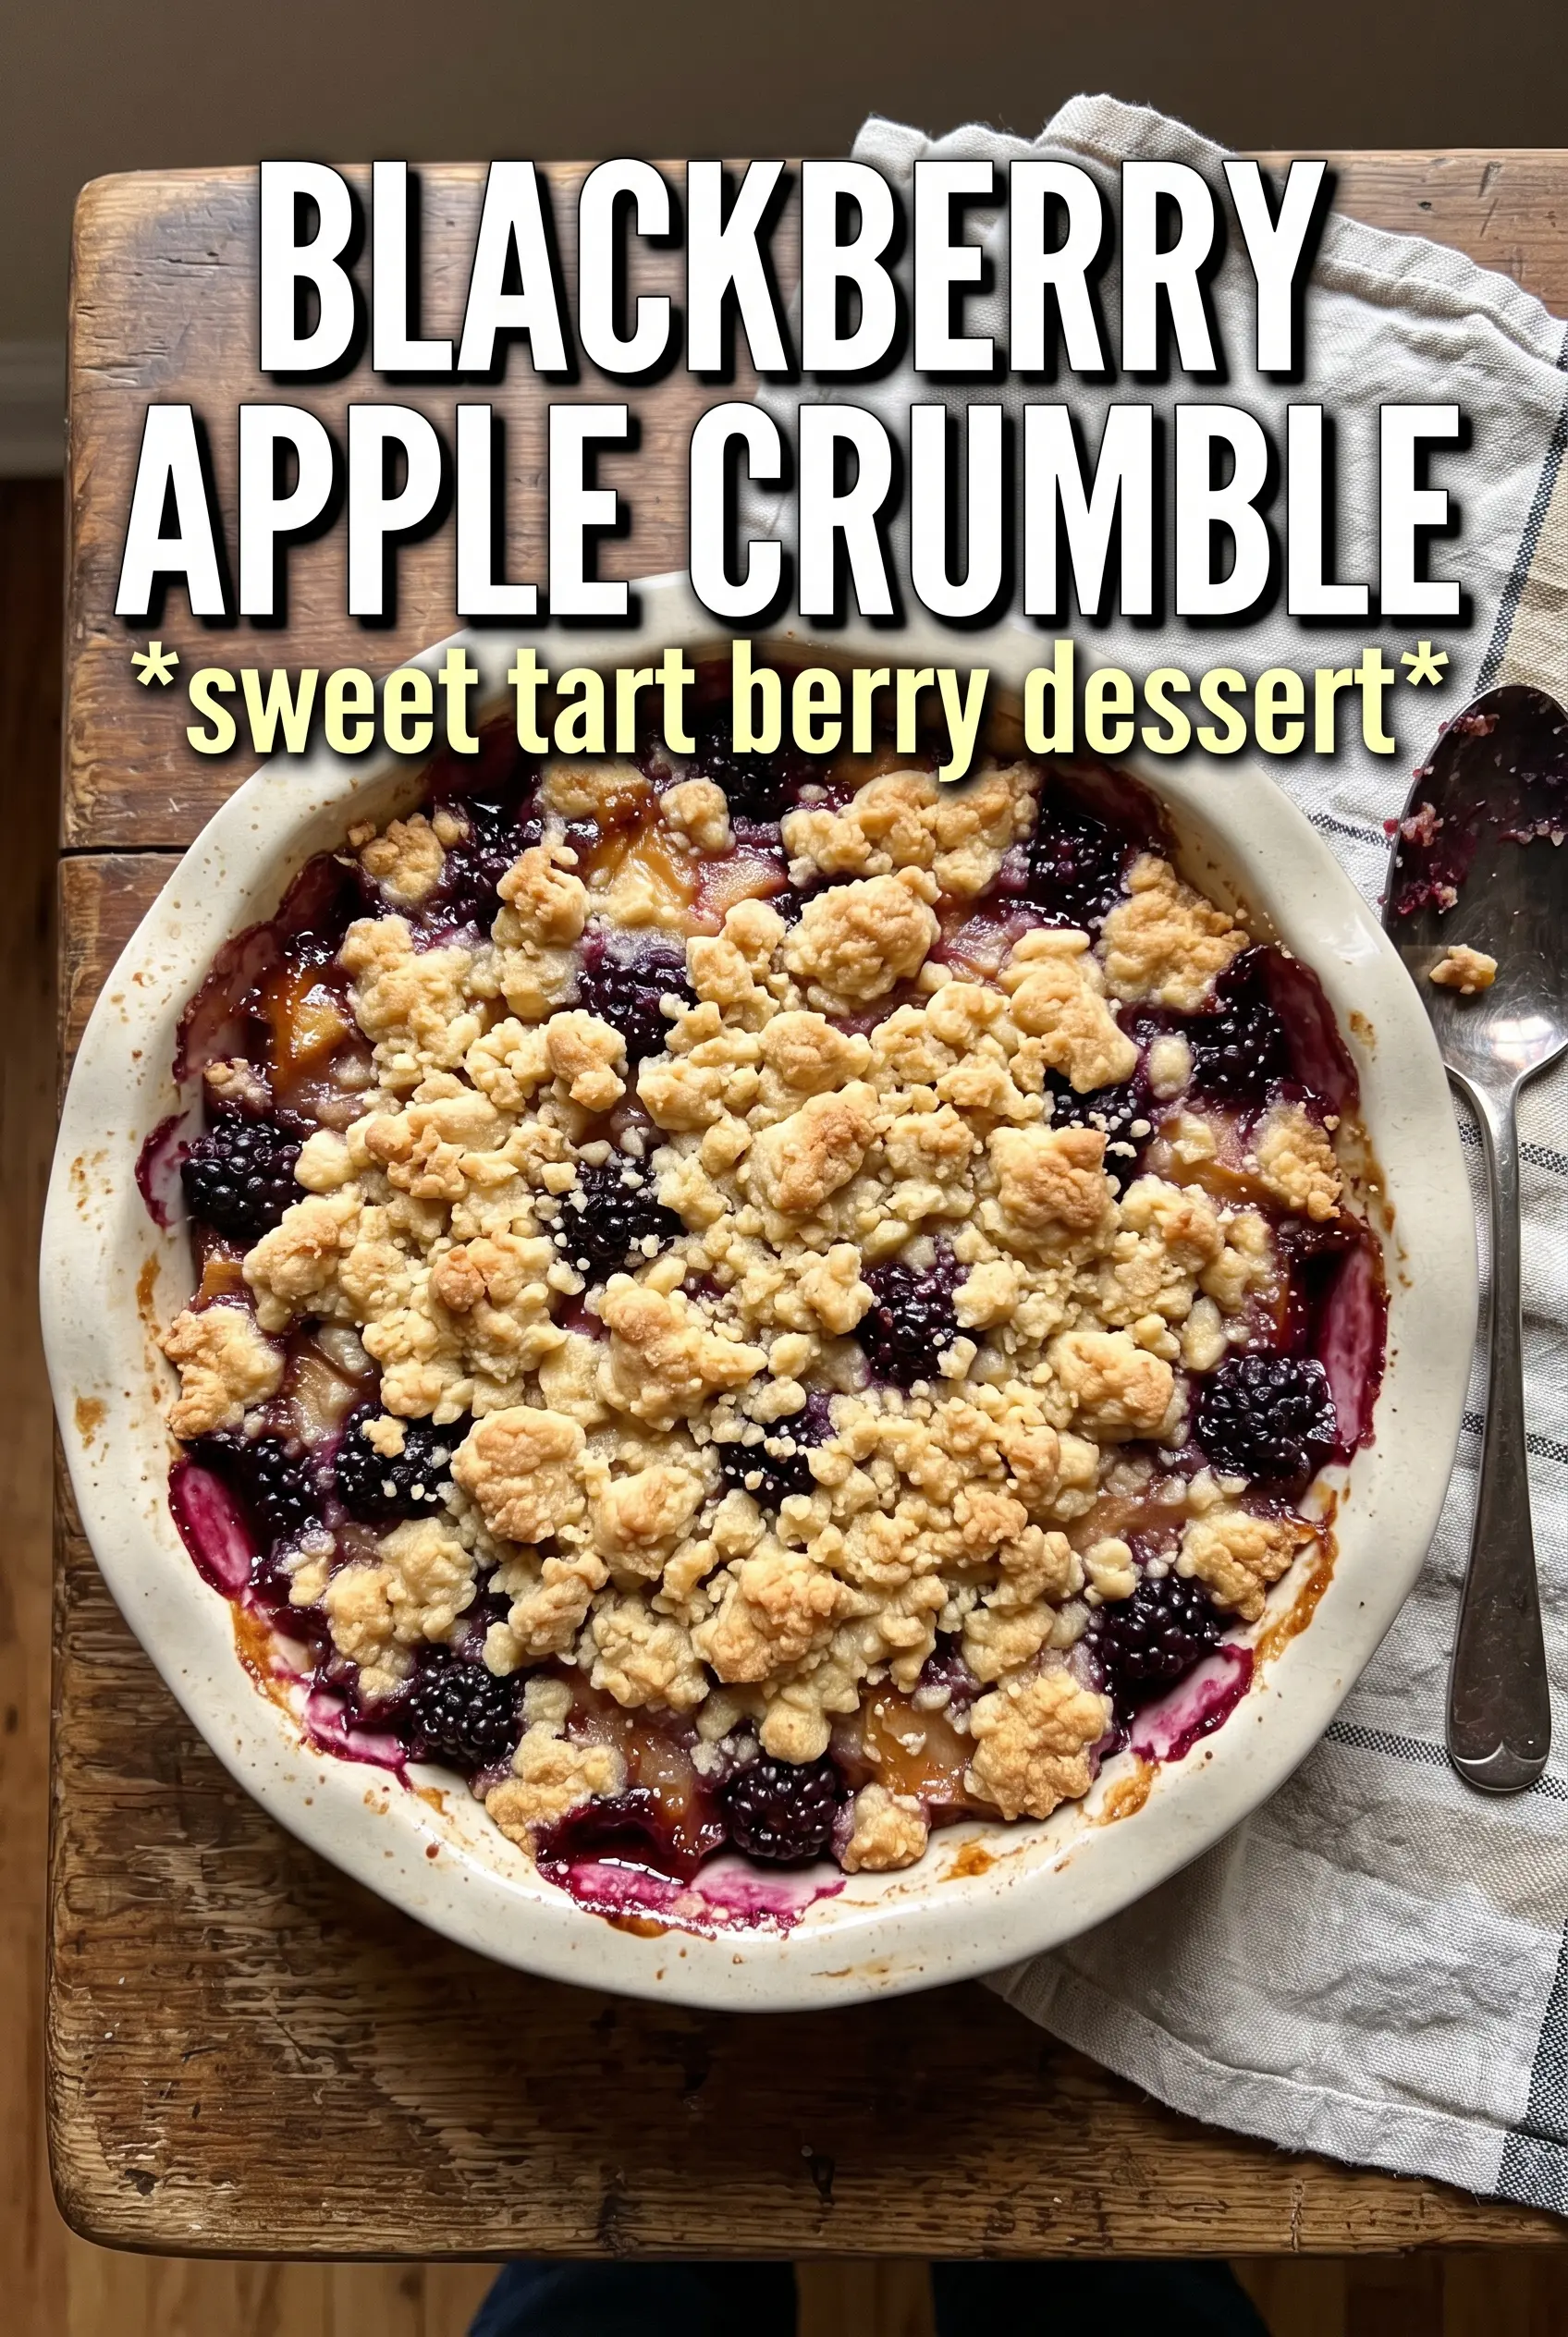
Blackberry Apple Crumble
Ingredients
Equipment
Method
- Preheat the oven to 375°F and grease a 9x13 baking dish. Set it aside while you prep the fruit.
- Toss the apple slices and blackberries with granulated sugar, cornstarch, lemon juice, and cinnamon, then spread them evenly in the dish. Look for fully coated fruit with no dry pockets.
- Combine flour, oats, brown sugar, cinnamon, and salt, then cut in the cold butter until clumpy. Stop when the mix holds together like uneven crumbs.
- Scatter the crumble over the fruit in an even layer, covering most of the filling. Bake for 35 to 40 minutes, until the topping is golden and the fruit is bubbling at the edges.
- Rest the crumble for 10 minutes after baking, so the juices thicken. The filling should be set enough to scoop without running.
- Serve warm with double cream or vanilla ice cream. Add the cream drizzle right before serving.