Caramel-colored layers, a soft crumb, and that unmistakable spiced cookie-butter flavor make this Biscoff Cookie Butter Cake the kind of dessert people remember after the first bite. The cake stays tender without being flimsy, and the frosting brings enough richness to feel special without drowning out the cookie butter flavor that makes the whole thing worth baking.
What makes this version work is the balance. Brown sugar and buttermilk keep the crumb moist and plush, while a full half cup of Biscoff spread in the batter gives the cake its signature warmth. The frosting uses butter and a little cream for structure and spreadability, so it sets up smoothly between the layers instead of sliding around the plate.
Below, I’ll walk through the small details that matter most, including how to keep the layers even and how to get that bakery-style finish with crushed Biscoff cookies on the outside.
The cake layers baked up even and soft, and the frosting held its shape without getting greasy. I also loved that the crushed Biscoff cookies stayed crunchy on the sides instead of disappearing into the icing.
Save this Biscoff Cookie Butter Cake for the days when you want soft layers, cookie butter frosting, and a crushed-cookie finish that looks straight from a bakery case.
The Trick to Keeping Biscoff Flavor Front and Center
The easiest way to lose the character of a cookie butter cake is to treat Biscoff like an add-in instead of a major flavor. It needs to show up in both the cake and the frosting, otherwise you end up with a plain spice cake wearing cookie crumbs. This recipe builds flavor in layers, so every bite gives you butter, brown sugar, cinnamon, and that deep caramelized cookie butter note all at once.
The other thing that matters is how the batter comes together. Once the flour goes in, stop mixing as soon as the streaks disappear. Overmixing turns the crumb tight, and with a cake this rich, you want it tender and sliceable. Even the frosting benefits from restraint; beat it until fluffy, but don’t whip it into an airy cloud that can’t hold under the weight of the layers.
What Each Ingredient Is Actually Doing in This Cake
- All-purpose flour — This gives the cake enough structure to support the frosting and layers without turning dry. Cake flour will make it a touch softer, but all-purpose keeps the crumb sturdy enough for slicing cleanly.
- Butter — Use real butter, softened but not oily. It creams with the brown sugar to trap air, which is what gives the cake its lighter texture before it ever goes in the oven.
- Brown sugar — This does more than sweeten. It brings moisture and a deeper caramel note that echoes the cookie butter and keeps the cake from tasting flat.
- Biscoff cookie butter — This is the flavor engine. A different speculoos-style spread will work in a pinch, but the texture and spice level can shift, so stick with the real thing if you want the same finish.
- Buttermilk — It loosens the batter and reacts with the baking soda for a finer crumb. If you don’t have it, mix 1 cup milk with 1 tablespoon vinegar or lemon juice and let it sit for 5 minutes.
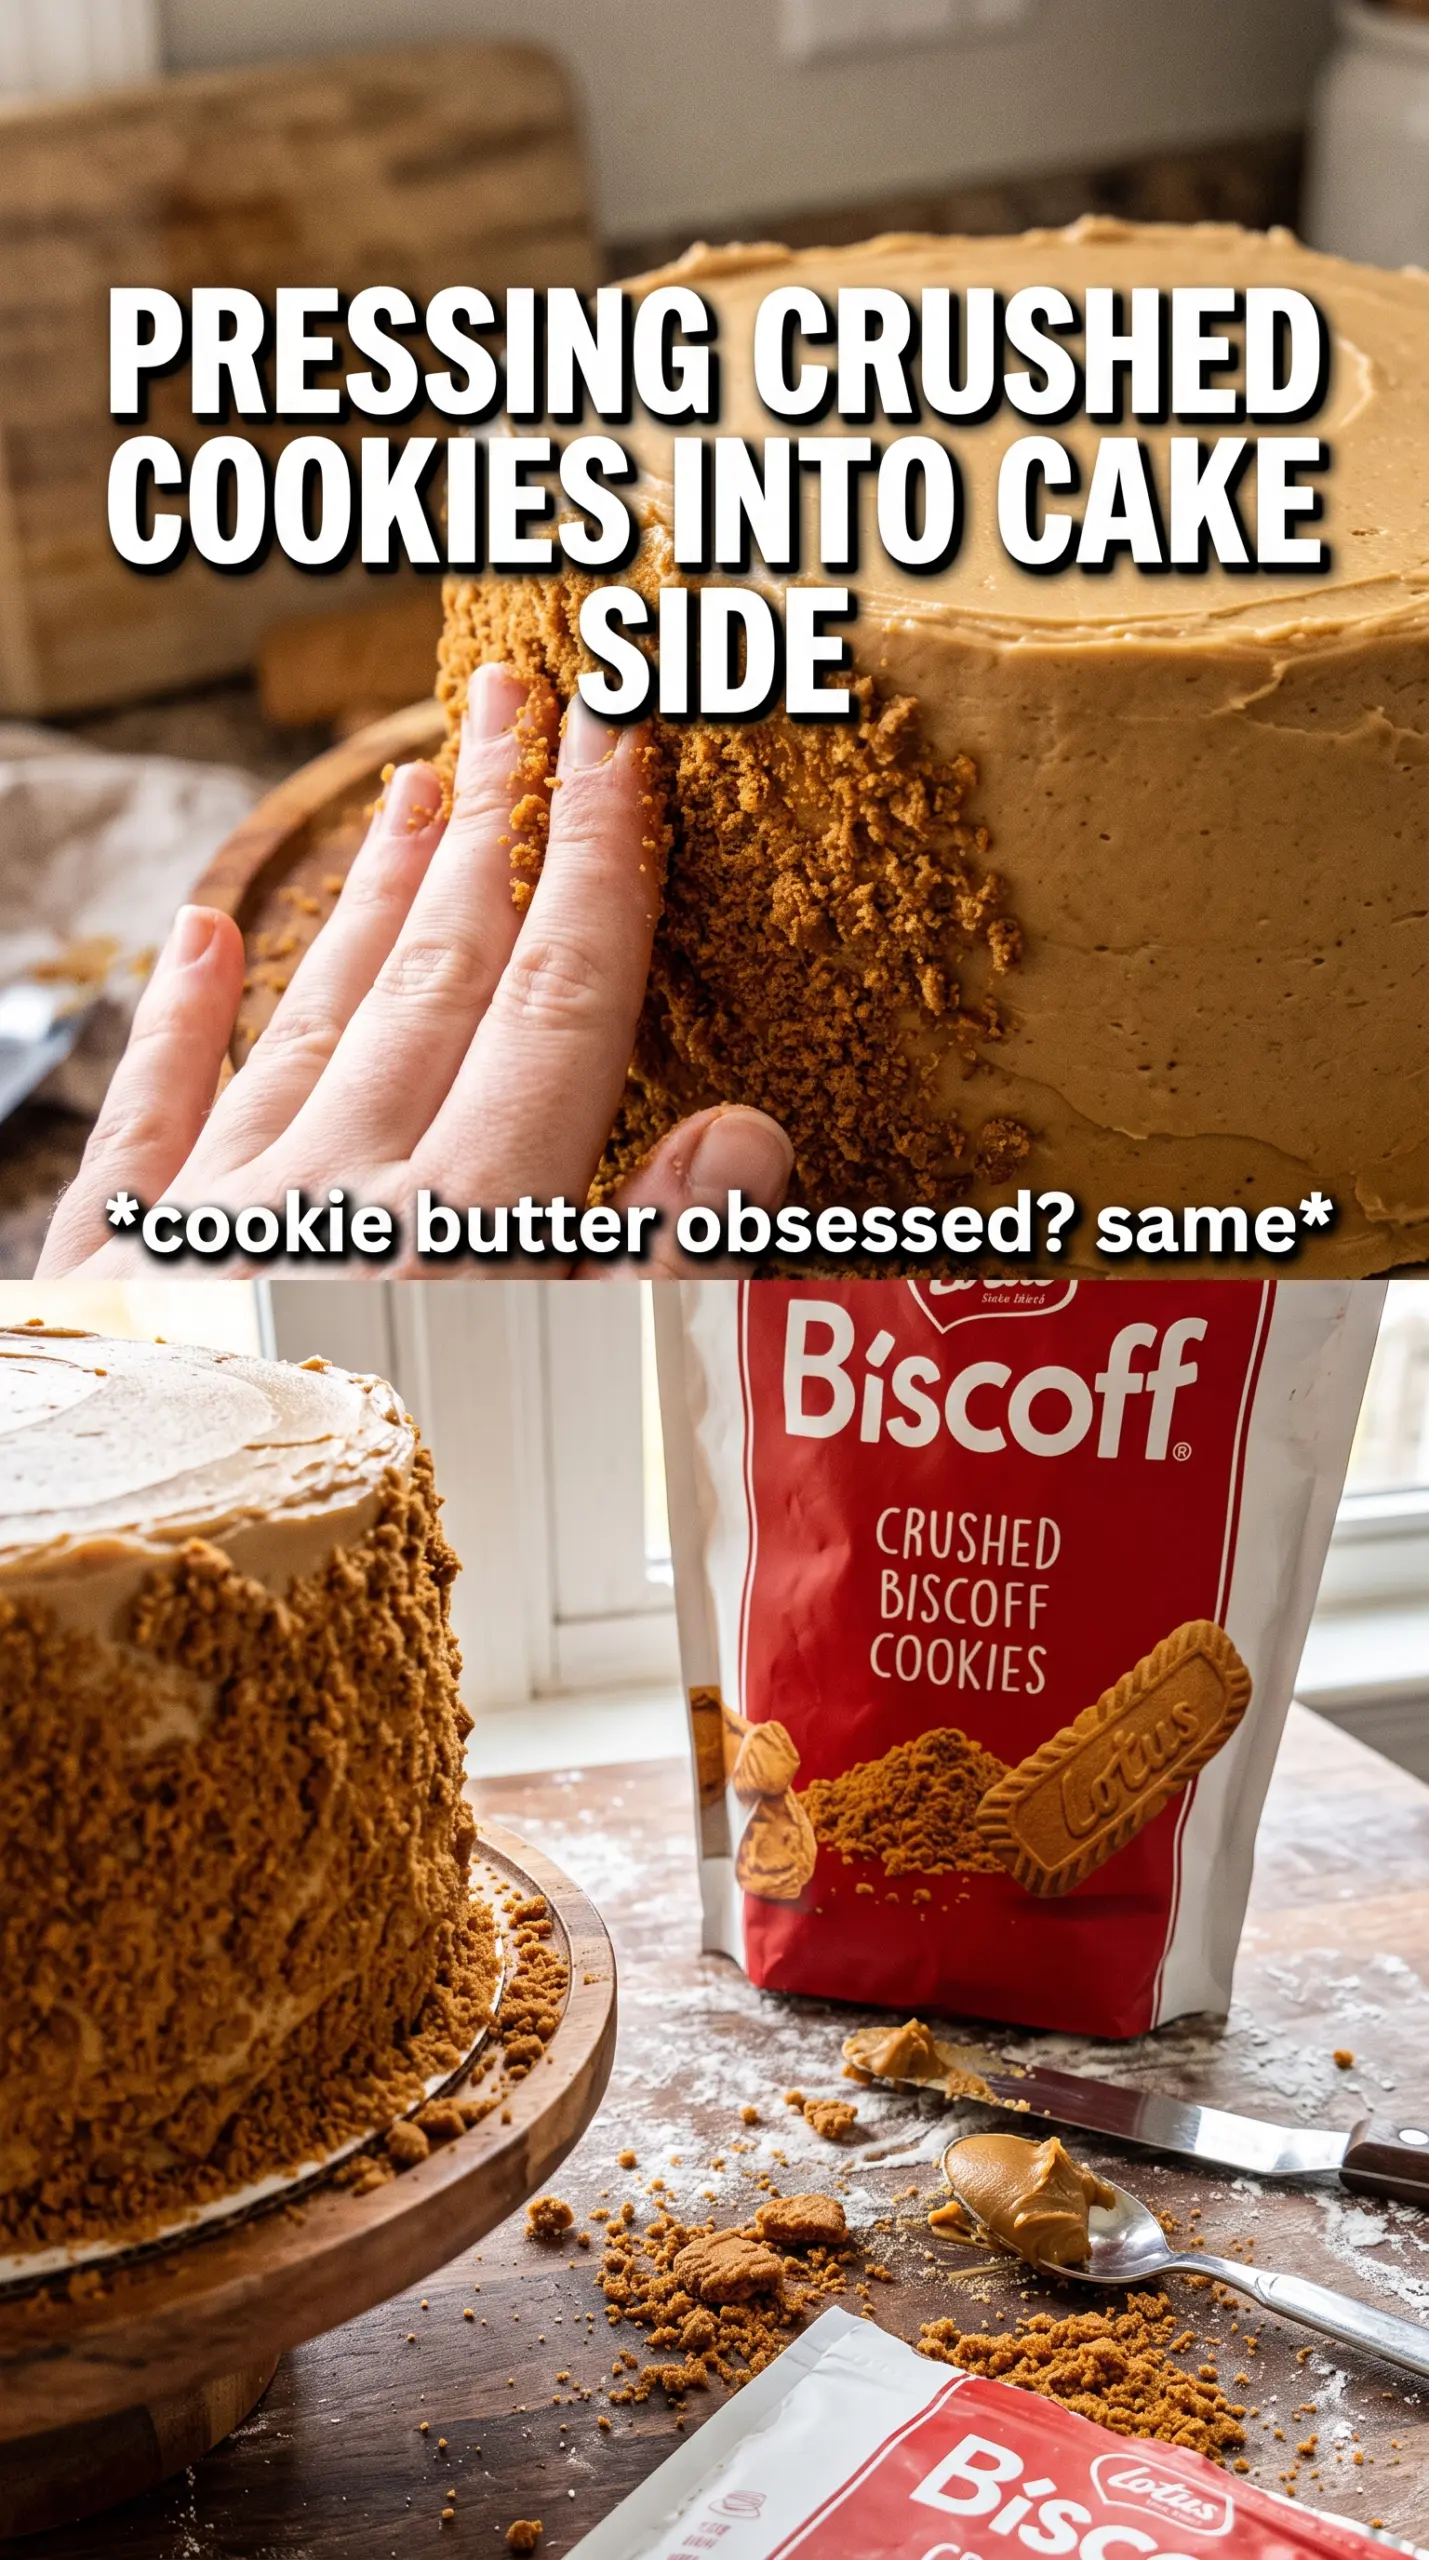
- Crushed Biscoff cookies — These are for texture and a little extra crunch on the outside. Crush them fairly fine so they stick to the frosting, but leave a few slightly larger bits for contrast.
Building the Layers So They Bake Evenly and Stay Tender
Creaming the Base
Start by beating the butter and brown sugar until the mixture looks pale and fluffy, not just combined. That step matters because it builds air into the batter before the flour goes in. Add the eggs one at a time so the batter stays smooth, then mix in the Biscoff, vanilla, and buttermilk until everything looks emulsified. If the mixture looks a little curdled at this stage, don’t panic; it comes back together once the flour is added.
Folding in the Dry Ingredients
Whisk the flour, baking powder, baking soda, cinnamon, and salt first, then fold the dry ingredients into the wet mixture just until no dry streaks remain. The biggest mistake here is stirring like you’re making muffin batter, which tightens the crumb and makes the layers bake up dense. Divide the batter evenly between the pans so the cakes finish at the same time. A kitchen scale helps, but even a good visual divide is enough if you keep the batter level.
Baking and Cooling Without a Collapse
Bake until the tops spring back lightly and a toothpick comes out with a few moist crumbs, usually around 30 to 35 minutes. If the centers still jiggle, give them a few more minutes; underbaked layers sink in the middle when they cool. Let the cakes cool in the pans for about 10 minutes, then turn them out onto a rack and cool completely before frosting. Warm cake softens the frosting and turns a neat layer cake into a slippery mess.
Frosting and Decorating the Finish
Beat the butter and Biscoff spread together first, then add the powdered sugar and cream gradually until the frosting turns fluffy and spreadable. If it’s too loose, add a little more powdered sugar; if it feels stiff, add cream a teaspoon at a time. Spread a generous layer between the cakes, then over the top and sides. Press the crushed cookies into the frosting while it’s still soft so they actually stick instead of falling onto the plate.
How to Adapt This for Different Pans, Diets, and Bigger Cravings
Make It into Two Tall Layers
If you only have two 9-inch pans, divide the batter between them and shorten the bake time a bit. The layers will be slightly thinner, but the cake still slices beautifully. Watch the center closely, since wider pans can go from underdone to overbaked faster than 8-inch rounds.
Dairy-Free Version
Use a plant-based butter that behaves well in baking, plus an unsweetened dairy-free milk with a teaspoon of vinegar in place of the buttermilk. The texture will be a touch less rich, but the cookie butter flavor still comes through clearly. Keep the frosting on the thicker side so it holds between layers.
Extra Spice, Deeper Flavor
Add a pinch of nutmeg or a little extra cinnamon if you want the cake to lean more warmly spiced. Keep it subtle, though, because too much spice can push the Biscoff into the background. The goal is a layered flavor, not a spice cake that happens to have cookie butter in it.
Storage and Reheating
- Refrigerator: Store covered for up to 4 days. The frosting firms up in the fridge, but the cake stays moist.
- Freezer: Freeze individual slices or unfrosted layers tightly wrapped for up to 2 months. If freezing frosted slices, freeze them uncovered first, then wrap once firm so the decoration stays intact.
- Reheating: Let slices sit at room temperature for 20 to 30 minutes before serving. Cold cake tastes muted, and warming it gently brings back the soft crumb without melting the frosting.
Answers to the Questions Worth Asking
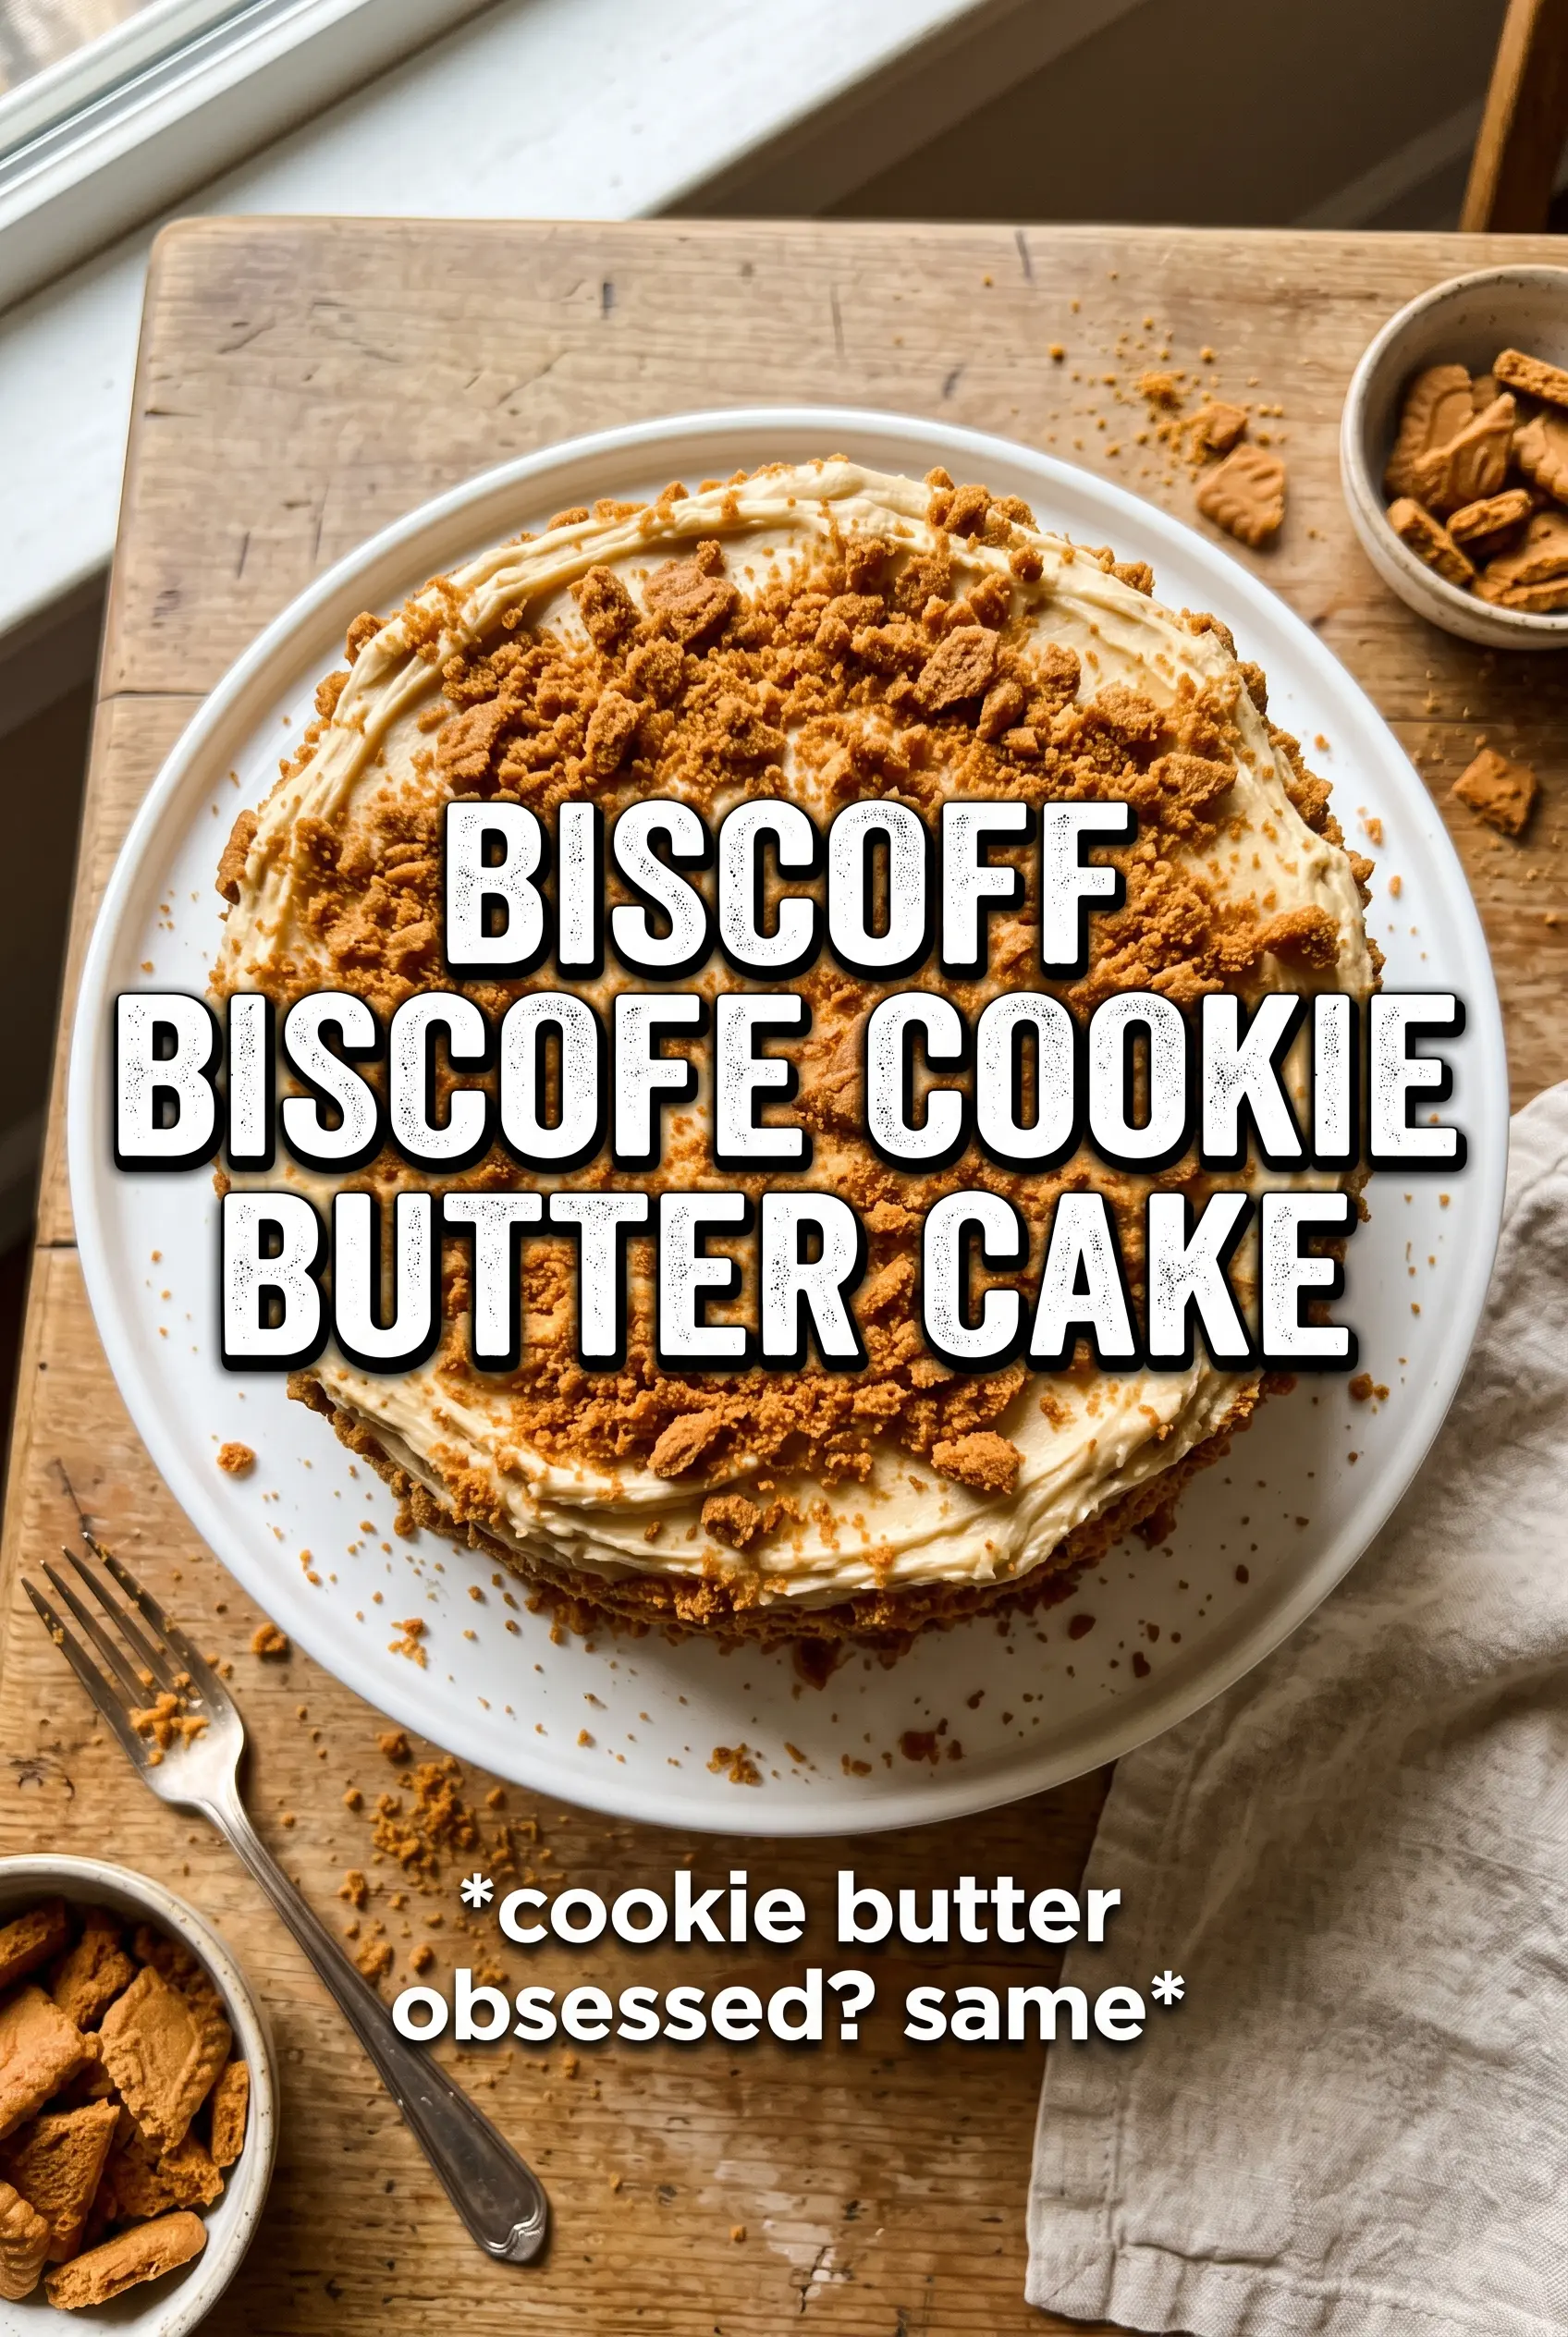
Biscoff Cookie Butter Cake
Ingredients
Equipment
Method
- Preheat the oven to 350F, then grease three 8-inch round pans.
- Whisk together all-purpose flour, baking powder, baking soda, cinnamon, and salt.
- Beat the butter and brown sugar until fluffy, then beat in the eggs, Biscoff cookie butter, vanilla, and buttermilk.
- Fold the flour mixture into the wet ingredients until just combined.
- Divide the batter between the three pans.
- Bake for 30-35 minutes, until the centers spring back lightly when touched.
- Cool the cakes completely before frosting.
- Beat the frosting ingredients until fluffy: butter, Biscoff spread, powdered sugar, cream, and vanilla.
- Spread frosting between each cake layer and then over the top.
- Press crushed Biscoff cookies onto the frosting on the sides for decoration.