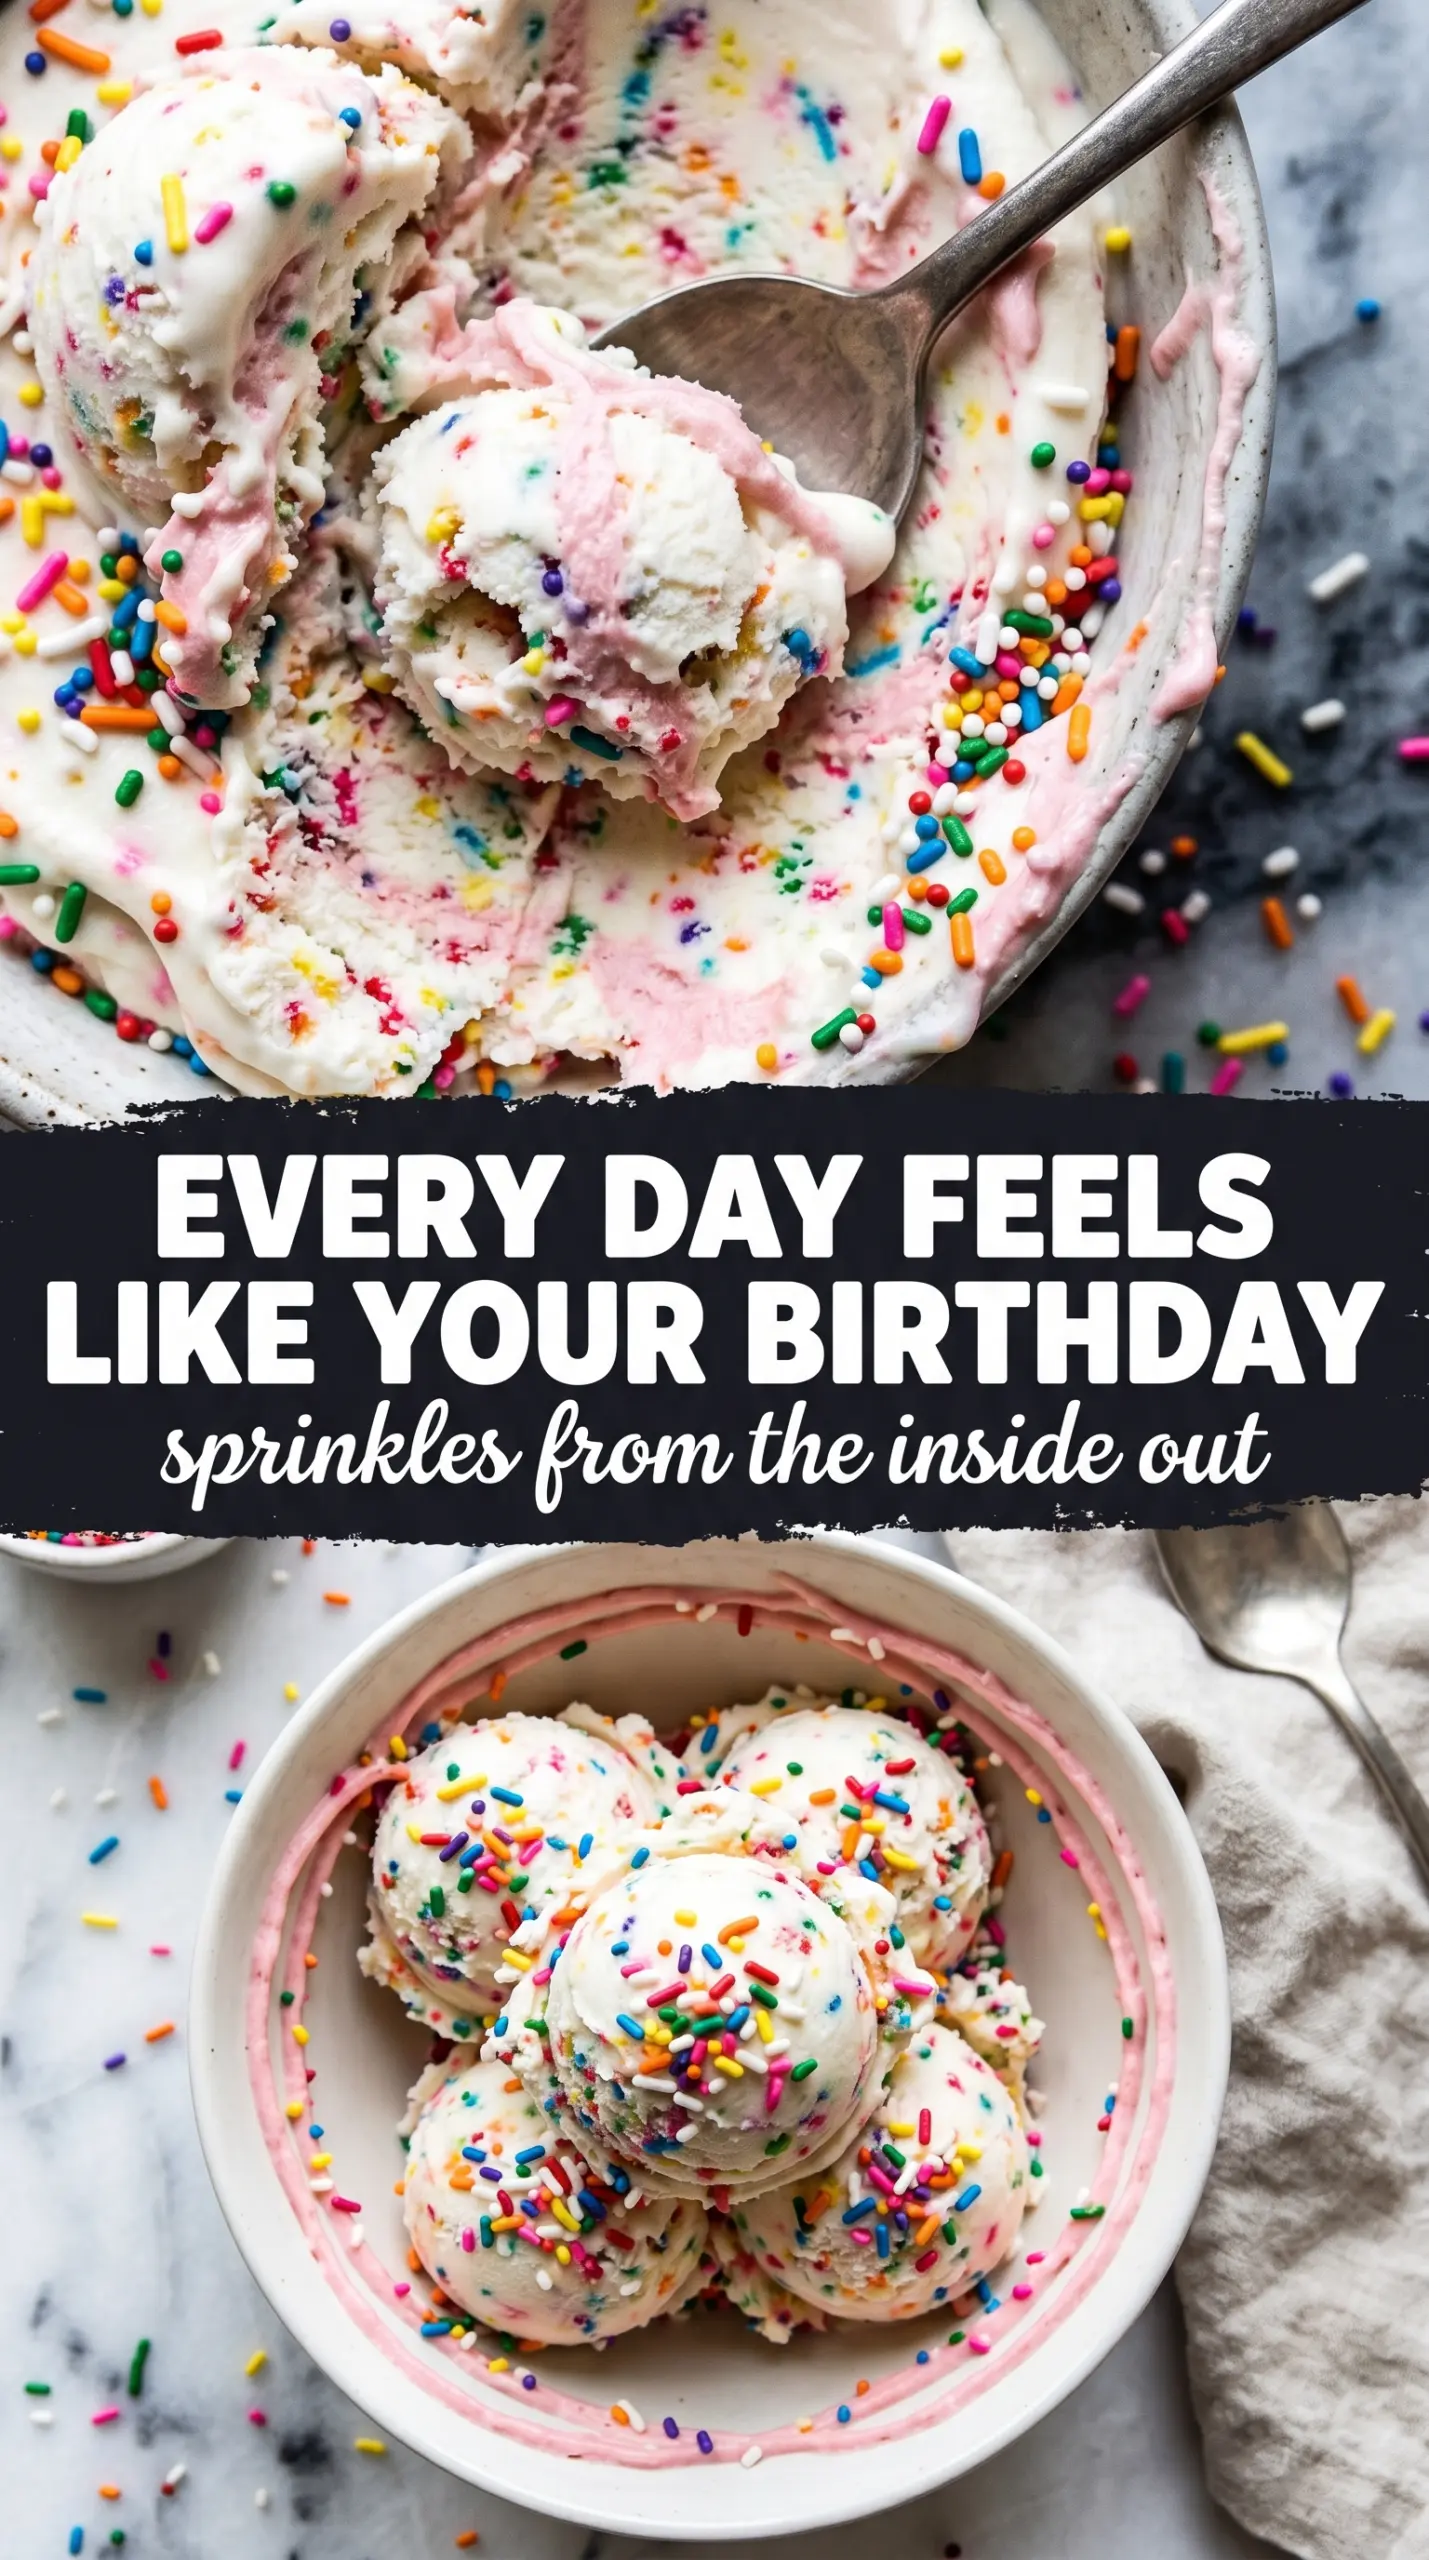
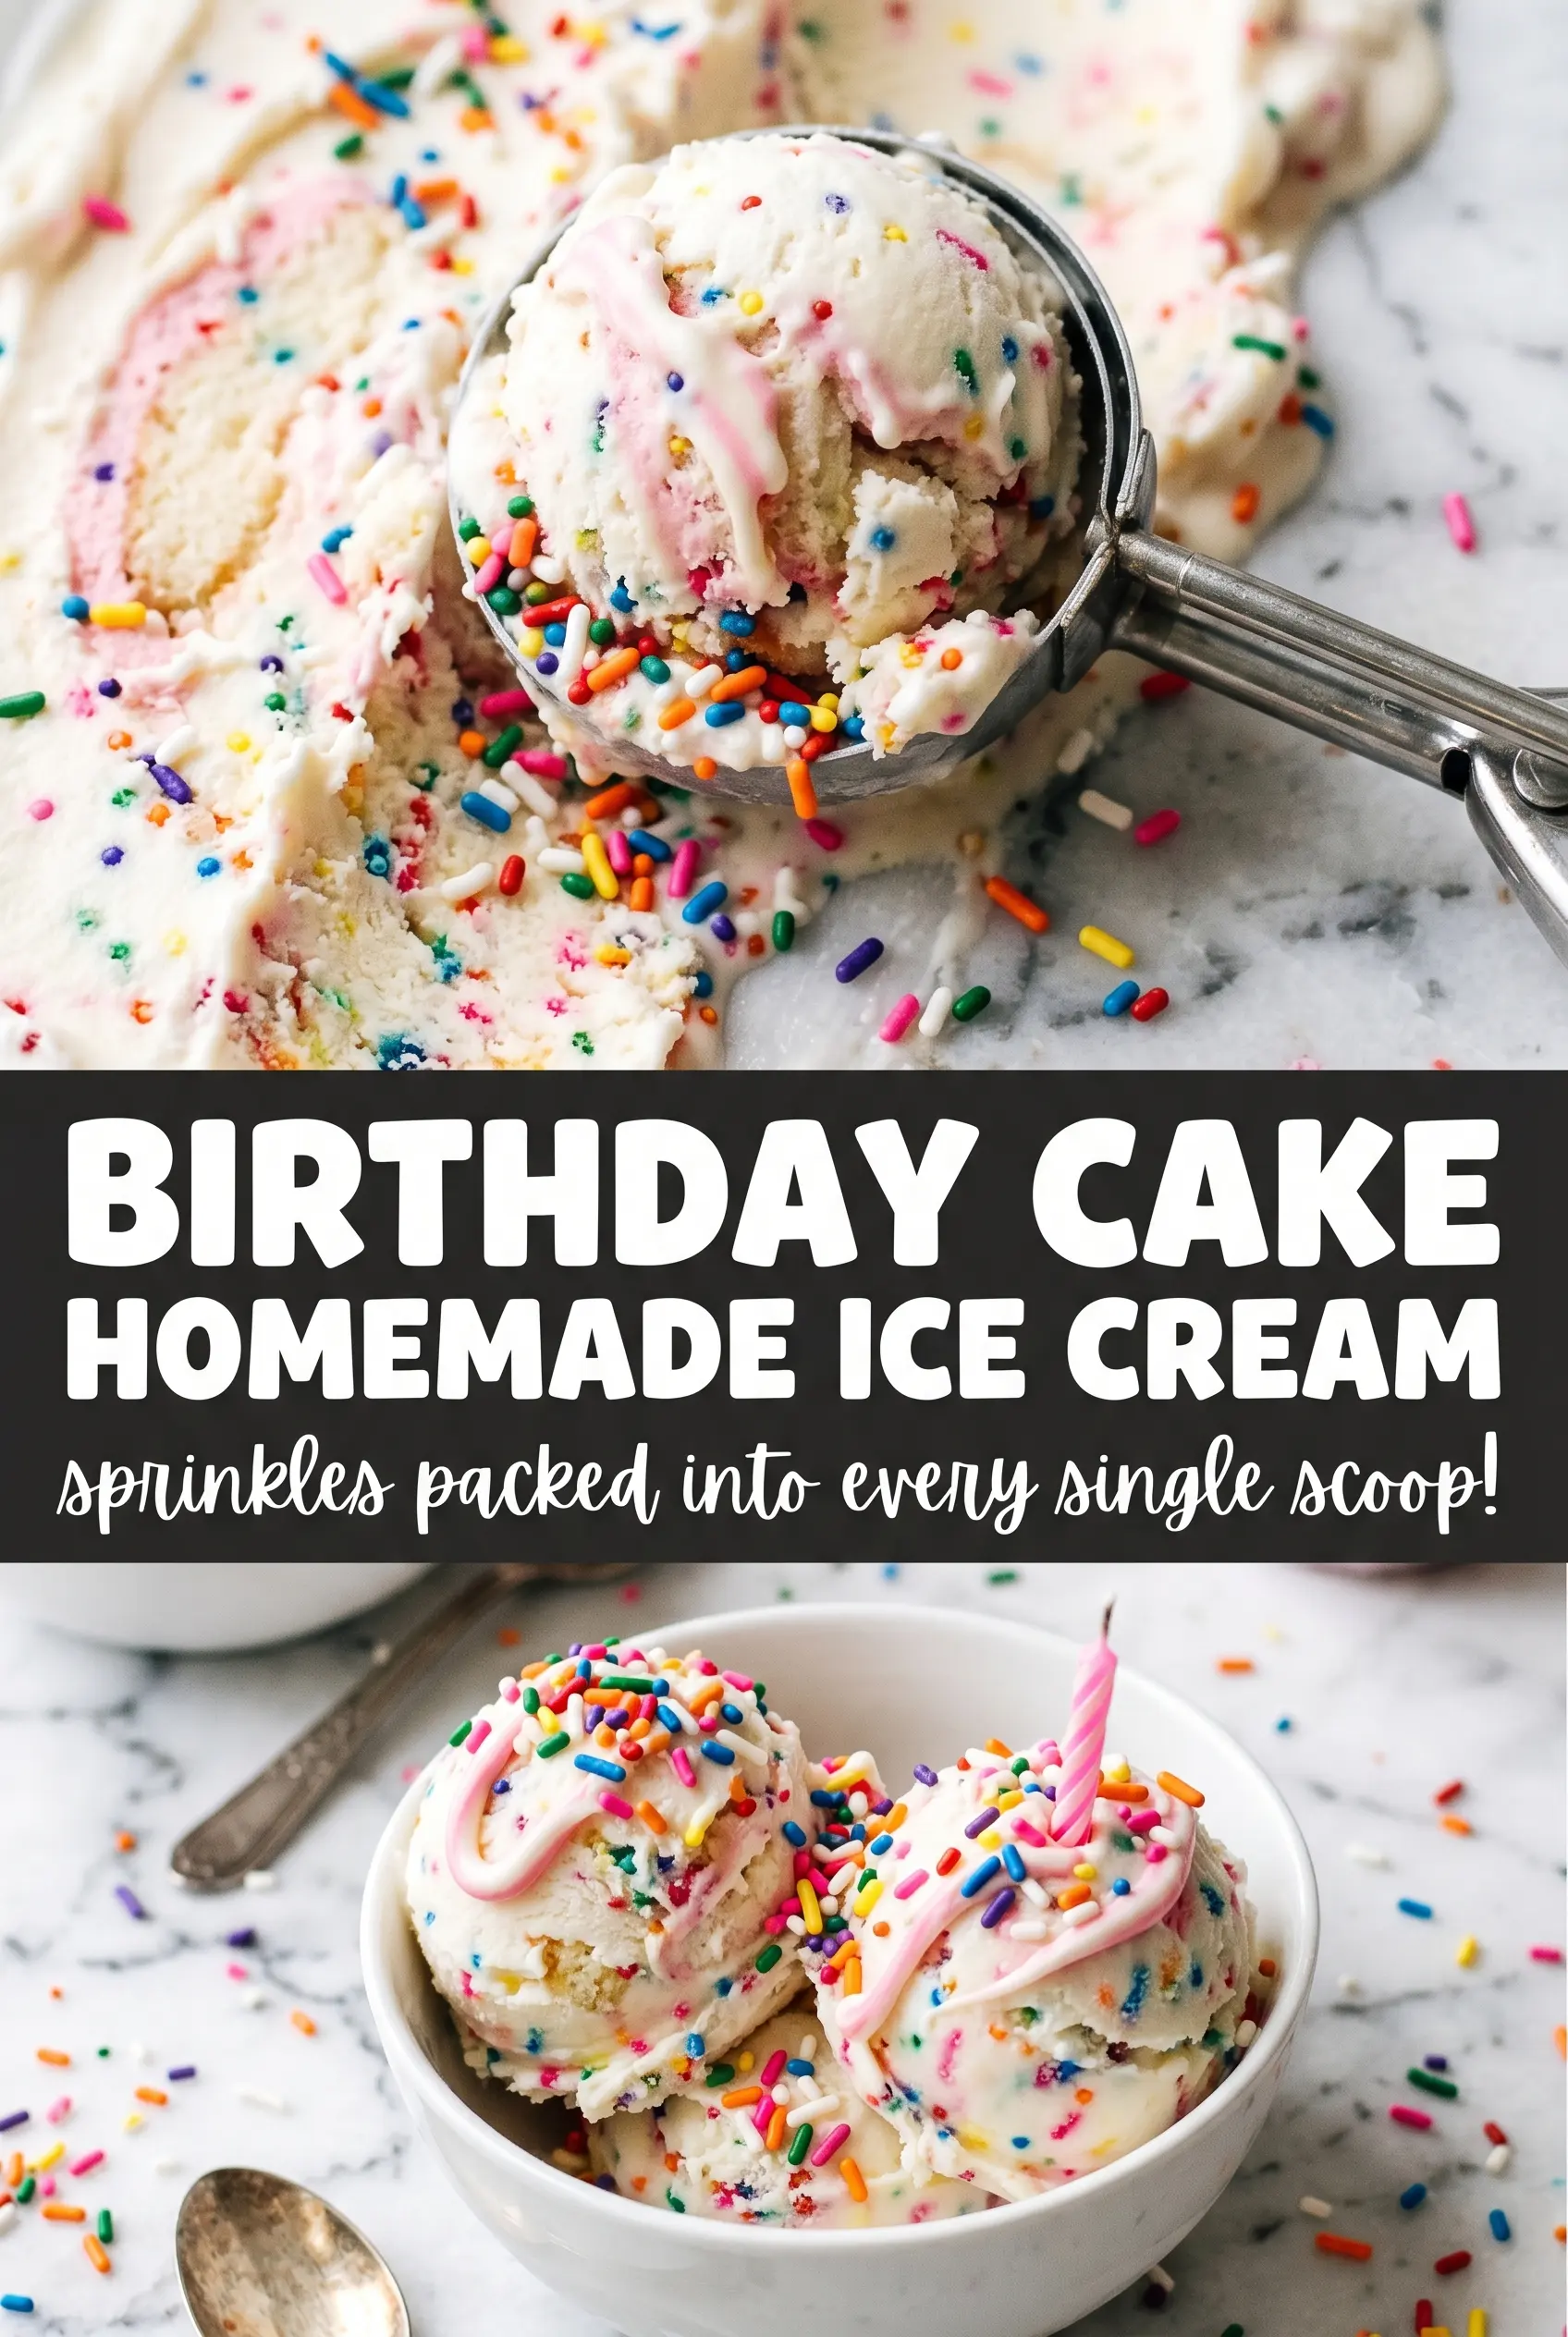
Creamy birthday cake homemade ice cream tastes like the inside of a celebration: pale vanilla custard, a soft cake-batter note, and plenty of rainbow sprinkles in every scoop. The texture matters here. It should churn up thick and plush, then firm into something scoopable without turning icy or heavy.
The trick is building a real custard base instead of leaning on shortcuts. Egg yolks give this ice cream body, butter extract brings that unmistakable bakery-cake flavor, and a little almond extract adds the round, sweet note people often can’t quite name but always recognize. The sprinkles go in at the end so they stay bright and stay in pieces instead of bleeding all over the base.
Below, you’ll find the temperature cue that keeps the custard silky, plus the one small timing detail that keeps the sprinkles looking festive instead of muddy. If you’ve ever wanted homemade birthday cake ice cream that tastes like the real thing, this is the version worth keeping.
The custard cooked up silky and the sprinkles stayed bright instead of melting into the base. I chilled it overnight and it churned into the creamiest birthday cake ice cream I’ve made at home.
Save this birthday cake homemade ice cream for the kind of dessert that tastes like funfetti cake in a creamy scoop.
The Custard Temperature That Keeps This Ice Cream Smooth
Birthday cake ice cream can go grainy fast if the custard gets rushed. The yolks need enough heat to thicken the base, but not so much that they scramble or turn chalky. Cooking to 175°F gives you that sweet spot: thick enough to coat a spoon, still smooth enough to strain cleanly.
The other place people lose the texture is chilling. Warm custard churns poorly and freezes into a denser, icier scoop. Letting it cool completely in the fridge gives the fat time to settle and the flavors time to round out, which is a big part of why this tastes like cake batter instead of plain vanilla cream.
What Each Ingredient Is Actually Doing in This Scoop
- Heavy cream — This is what gives the ice cream its rich body and soft mouthfeel. Don’t swap in lighter cream if you want the same plush texture; the finished ice cream will freeze harder and taste thinner.
- Whole milk — It loosens the base just enough so the custard doesn’t turn greasy or overly heavy. Lower-fat milk works in a pinch, but the ice cream won’t have the same round finish.
- Egg yolks — The yolks are what make this a true custard ice cream. They thicken the base and help it freeze into a smooth, scoopable texture instead of an icy one.
- Butter extract — This is the ingredient that pushes the flavor into birthday cake territory. It matters here; vanilla alone won’t give you that bakery-style note.
- Almond extract — Use it sparingly, but don’t skip it unless you have to. It gives the familiar cake-batter scent that reads as “funfetti” even before you taste the sprinkles.
- Rainbow sprinkles — Add them at the very end of churning so they stay bright and distinct. Jimmies-style sprinkles hold up best; nonpareils tend to bleed and dissolve faster.
How to Build the Base So It Stays Silky
Warming the Dairy
Heat the cream and milk until they’re steaming around the edges, not boiling. If the dairy gets too hot, it can shock the yolks and leave you with little cooked bits instead of a smooth custard. Steaming is enough to temper the eggs gradually and start the thickening process without any drama.
Tempering the Yolks
Whisk the sugar and yolks together until they look pale and thick, then drizzle in the hot dairy slowly while whisking the whole time. That slow stream matters because it raises the yolk temperature gently. Dumping it in all at once is how you end up with scrambled egg flecks in the saucepan.
Cooking to the Right Thickness
Return the mixture to the pan and stir constantly over medium-low heat until it reaches 175°F. It should coat the back of a spoon and leave a clear line when you run a finger through it. If you go past that point, the custard can get grainy, so pull it off the heat as soon as it thickens and strain it right away.
Chilling, Churning, and Adding Sprinkles
Stir in the extracts and salt after straining, then chill the base completely before it goes into the machine. Churn until it looks like soft-serve, then fold in the rainbow sprinkles during the last couple of minutes so they stay suspended instead of sinking. Freeze until firm, but don’t leave it uncovered; ice crystals form fast on homemade ice cream.
How to Adapt This for Different Kitchens and Occasions
Dairy-Free Birthday Cake Ice Cream
Use full-fat coconut milk in place of the cream and milk, then keep the egg yolks for body if you’re okay with eggs. The flavor gets a faint coconut note, but the texture stays rich enough to churn well. A dairy-free butter flavoring helps bring back that bakery-style finish.
No-Almond Version
Leave out the almond extract and add a little more vanilla if you want a cleaner vanilla-cake flavor. You’ll lose a bit of the classic bakery aroma, but the ice cream will still taste like birthday cake, especially with the butter extract doing the heavy lifting.
Gluten-Free Funfetti Style
This recipe is naturally gluten-free as written, since the cake flavor comes from extracts rather than actual cake mix. Just check your sprinkles and extracts if you’re serving someone with celiac disease, because that’s where hidden gluten can sneak in.
Storage and Reheating
- Refrigerator: The base can sit up to 2 days before churning once it’s fully chilled, but keep it covered so it doesn’t pick up fridge flavors.
- Freezer: Freeze the churned ice cream in a sealed container for up to 2 weeks. After that, it’s still safe, but the texture starts getting icier.
- Reheating: Not needed here. For serving, let the container stand at room temperature for 5 to 10 minutes so the scoop softens instead of cracking into hard shards.
Questions I Get Asked About This Recipe
Birthday Cake Homemade Ice Cream
Ingredients
Equipment
Method
- Heat heavy cream and whole milk in a saucepan over medium heat until steaming, then lower the heat to keep it just steaming. Keep an eye out for small bubbles around the edges (do not boil).
- Whisk egg yolks and granulated sugar in a bowl until smooth, pale, and slightly thick. Slowly stream the hot cream mixture into the yolks while whisking constantly to temper.
- Return the mixture to the saucepan and cook to 175F, stirring constantly with a steady pace. Stop when it coats the back of a spoon and reaches 175F on a thermometer.
- Strain the custard into a clean container to remove any bits of cooked egg. Stir in butter extract, vanilla extract, almond extract, and salt until fully combined.
- Cool the custard completely at room temperature, then cover and refrigerate for 4 hours. Chill until thoroughly cold before churning.
- Churn the chilled custard in an ice cream maker according to the manufacturer’s directions until it reaches a soft-serve consistency. Add rainbow sprinkles during the last 2 minutes of churning.
- Transfer the churned ice cream to a freezer-safe container and freeze until firm. Serve in bowls with more rainbow sprinkles on top.