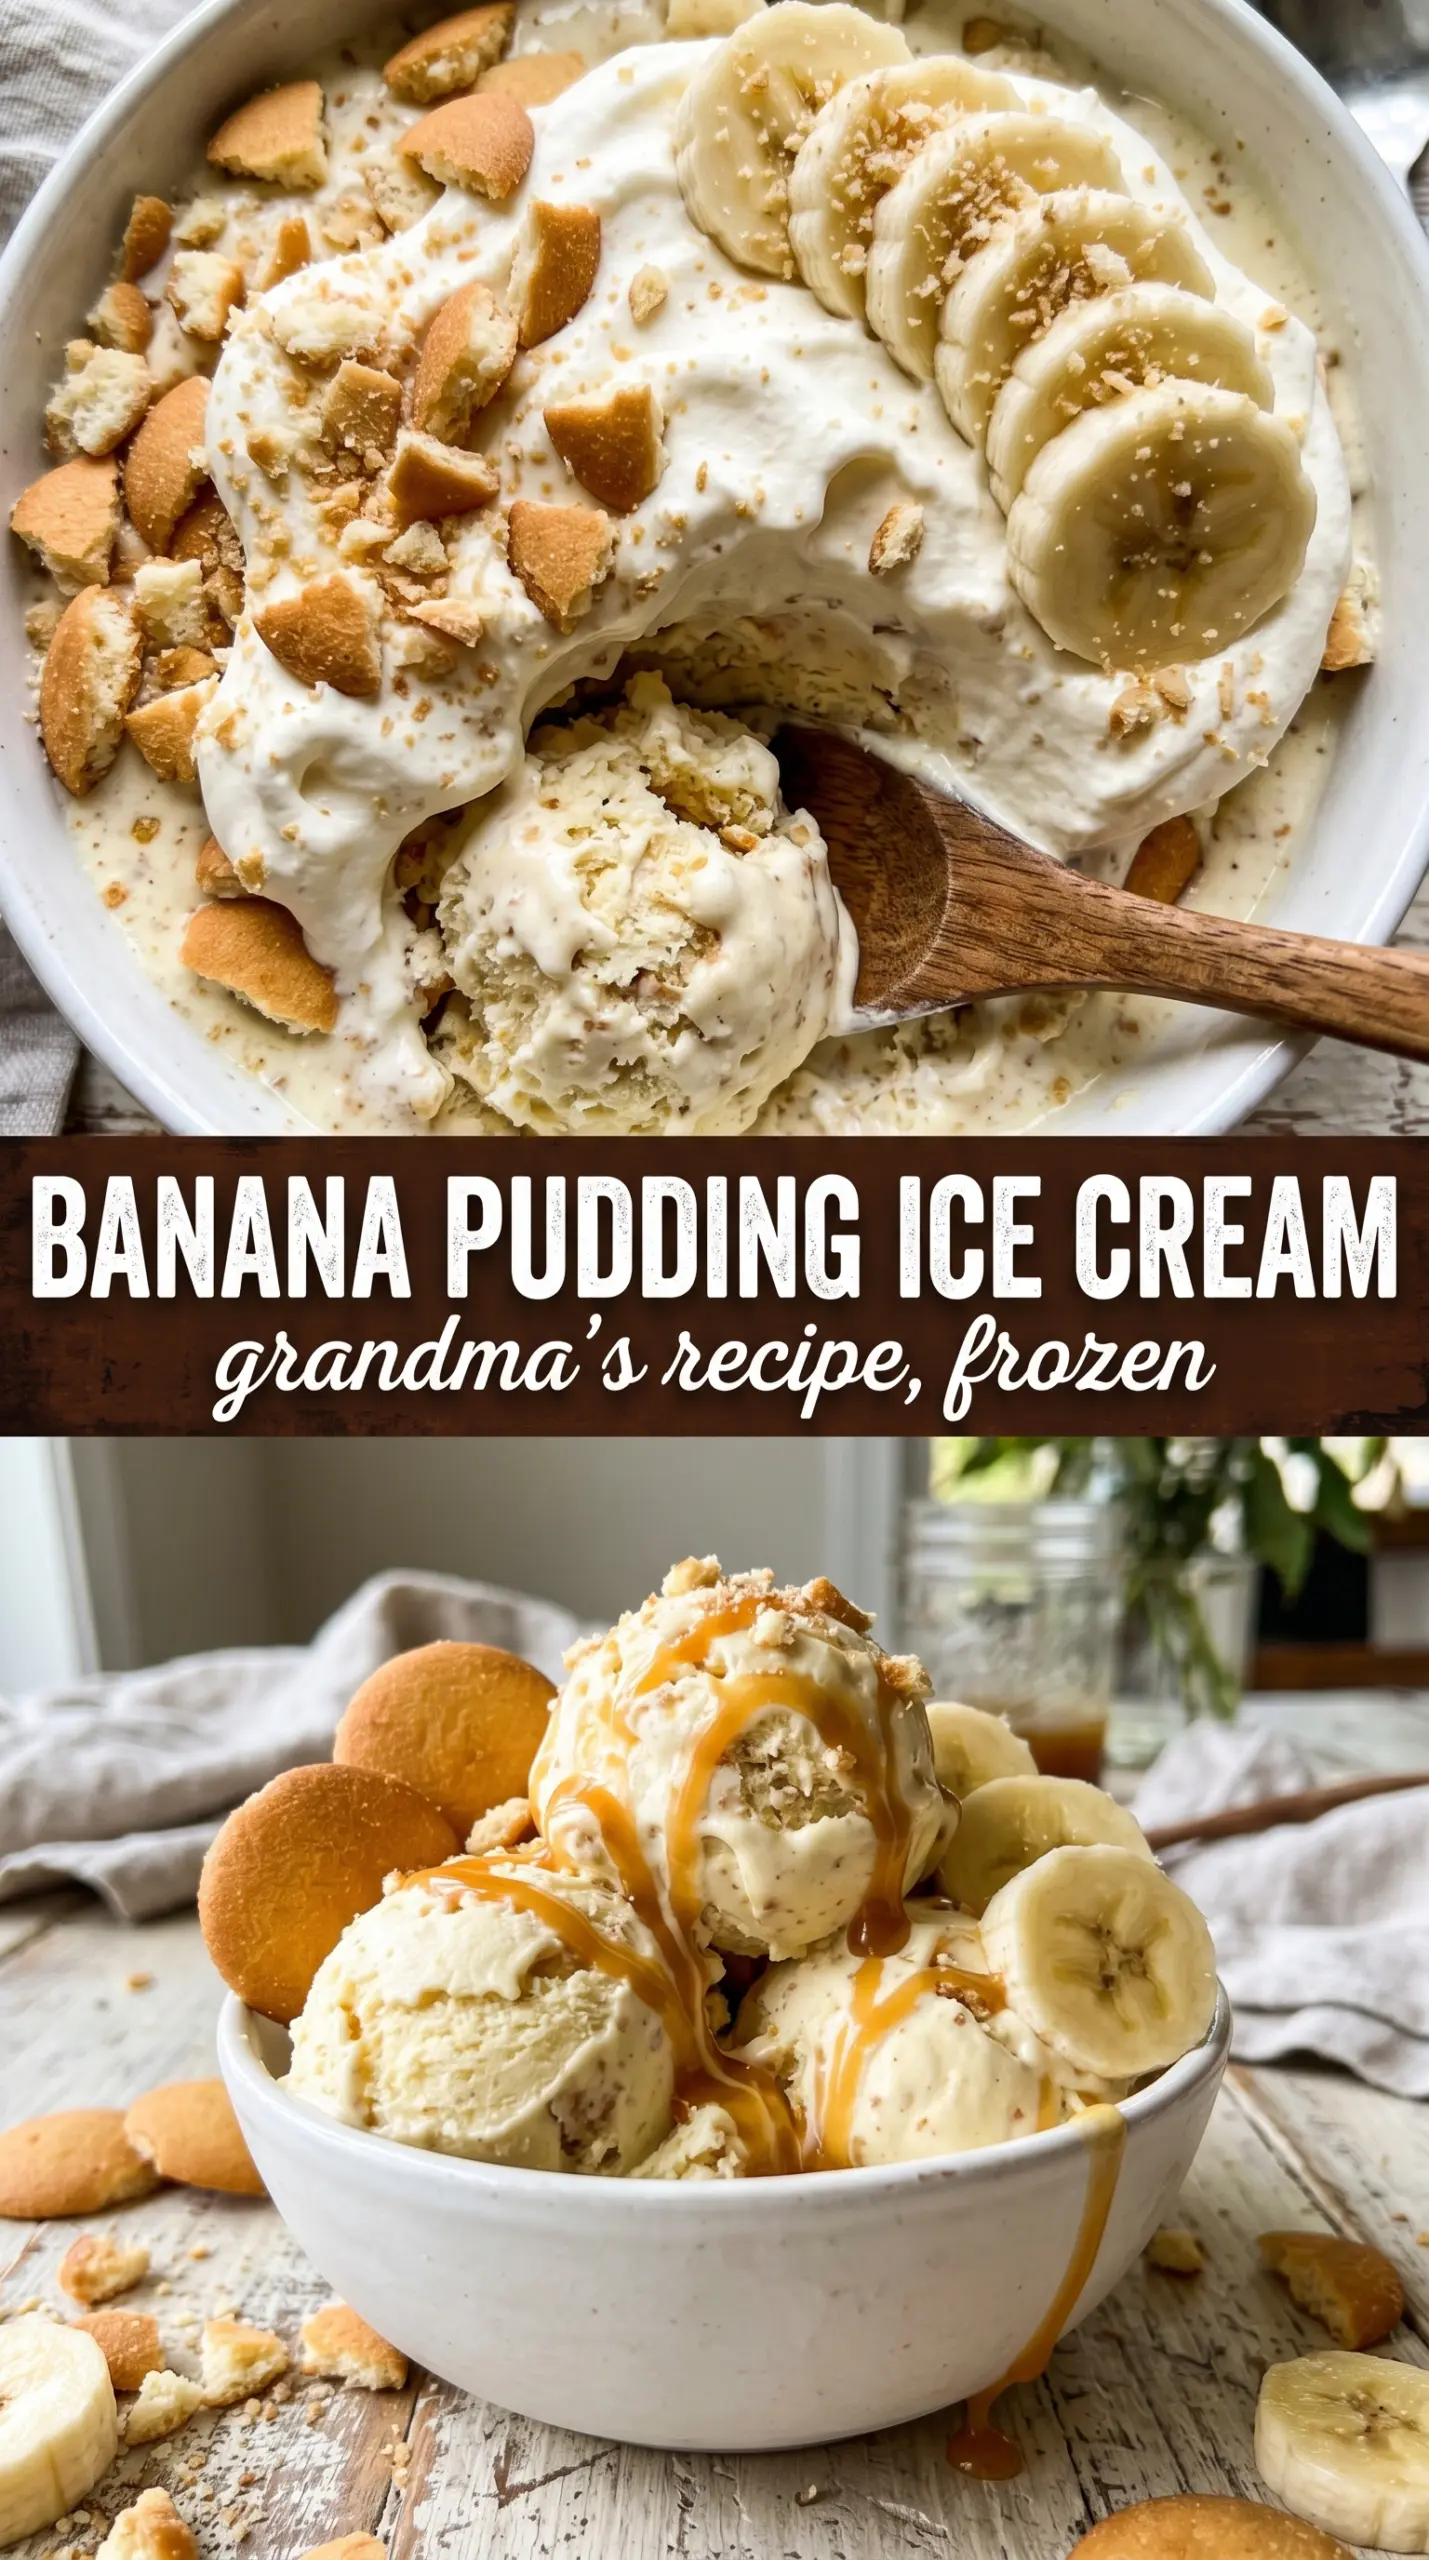
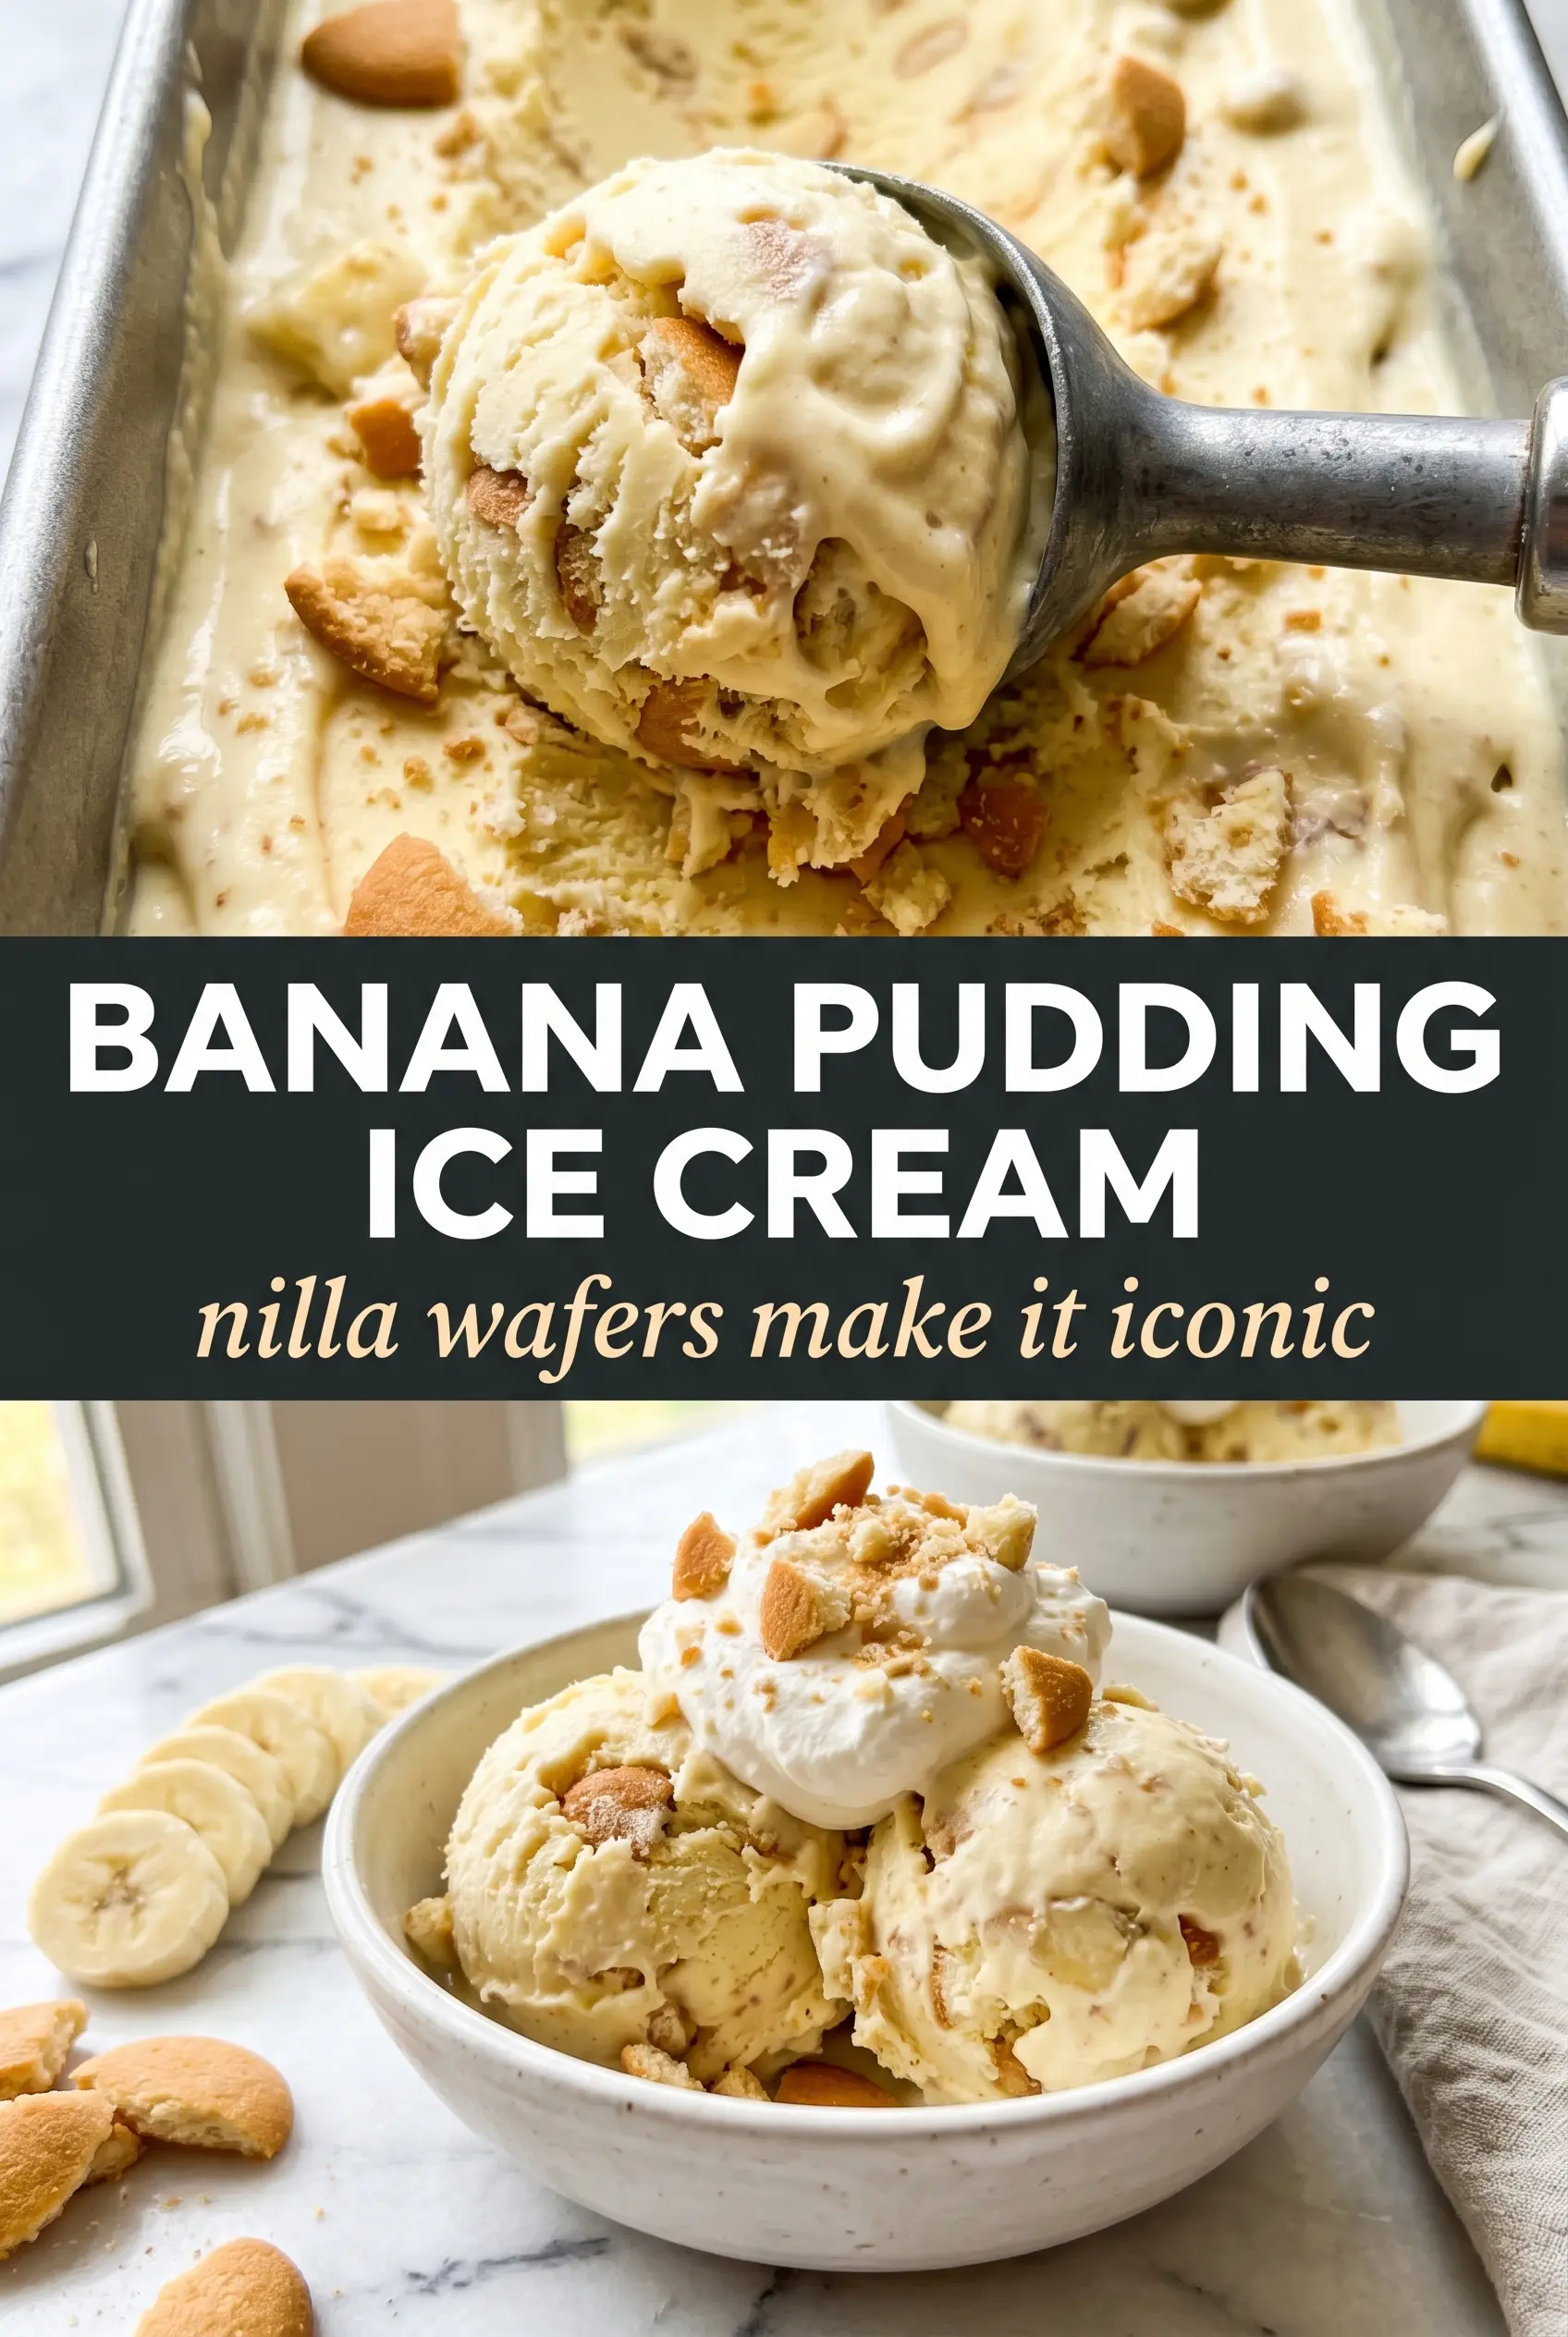
Creamy banana pudding ice cream hits the sweet spot between old-fashioned banana pudding and a proper homemade custard. The banana flavor runs all the way through the base instead of sitting on top, and the Nilla wafers stay in distinct little pockets of crunch instead of melting into mush. Every scoop tastes like frozen banana pudding with a cleaner finish and a softer, silkier texture than the boxed-dessert version ever manages.
The trick is starting with very ripe bananas and blending them until completely smooth before they ever meet the custard. That keeps the fruit flavor even and gives the ice cream a full banana taste without icy bits. Heating the dairy gently, then cooking the custard only to 175F, keeps the yolks from scrambling and gives you a base that freezes creamy instead of grainy. The wafers go in at the very end so they keep their texture, and the frozen banana slices add little cold, chewy pockets that make the whole thing taste layered instead of one-note.
If you’ve ever had banana pudding ice cream turn out bland, icy, or heavy, the notes below will help you avoid all three. The custard method matters here, but so does when you add the cookies and fruit.
The custard came out smooth, and the banana flavor stayed bright even after freezing. I loved that the Nilla wafers still had a little crunch in every scoop instead of dissolving.
Save this banana pudding ice cream for the nights when you want frozen custard, Nilla wafer crunch, and real banana flavor in every scoop.
The Custard Temperature That Keeps Banana Ice Cream Creamy
The biggest mistake with homemade banana ice cream is rushing the custard. If the yolks get too hot, they curdle and the base turns grainy. If the custard never gets hot enough, the ice cream stays thin and freezes with a weak body that melts fast in the bowl. Hitting 175F is the sweet spot: hot enough to thicken the custard, low enough to keep it smooth.
Banana puddings and banana creams often lose their flavor in the freezer because the fruit gets diluted by too much dairy. Here, the bananas are blended into a puree and stirred in after the custard is cooked, so the fruit stays front and center. That also helps the mixture feel fuller and more pudding-like once it’s churned and frozen.
What Each Ingredient Is Actually Doing In This Banana Pudding Ice Cream
- Very ripe bananas — These carry the banana flavor. Speckled bananas work best because they’re sweeter and blend smoother, which matters a lot more here than in baked banana recipes. If your bananas are only yellow, the ice cream will taste flatter and a little starchy.
- Heavy cream and whole milk — The cream gives richness, while the whole milk keeps the base from tasting too heavy. Skimping on fat here usually means icier ice cream, because fat helps the custard freeze softer.
- Egg yolks — They thicken the custard and give this its pudding-like texture. There isn’t a great substitute if you want the same body, though a cornstarch base will work in a pinch if you need an egg-free version.
- Nilla wafers — They bring the banana pudding part of the flavor. Crush them roughly, not into fine crumbs, so you still get little cookie pieces instead of sandy spots. Add them at the end or they’ll lose all texture.
- Frozen banana slices — These add little frozen bites of banana and reinforce the fruit flavor after churning. Fresh banana slices turn soft and brown too quickly in the ice cream, so freezing them first gives a cleaner result.
Building the Base Without Scrambling the Yolks
Blend the Bananas First
Blend the ripe bananas until completely smooth before you start the custard. That gives you an even puree that disappears into the base instead of leaving stringy bits or pockets of strong banana. If the puree sits too long, it can darken a little, but that doesn’t hurt the flavor. The important part is getting it silky.
Warm the Dairy Gradually
Heat the cream and milk just until steaming, not boiling. Pouring hot dairy straight into the yolks is what causes scrambled bits, so whisk slowly and steadily while you temper the eggs. The mixture should feel warm and loose, not curdled or lumpy.
Cook to 175F, Not Farther
Return the custard to the pan and stir over medium-low heat until it reaches 175F. It should coat the back of a spoon and leave a clean line when you drag a finger through it. If you take it much higher, the yolks can break and the texture starts to turn chalky instead of creamy.
Fold in the Banana Flavor Off Heat
Strain the custard, then stir in the vanilla, salt, and banana puree. Straining catches any tiny cooked egg bits, which is the difference between smooth ice cream and one that feels slightly gritty. Cool the base completely before churning or the machine has to work too hard and the finished ice cream freezes harder than it should.
Make It More Banana-Cream Than Banana Pudding
Leave the wafers out of the churn and sprinkle them over the top when serving. The result is smoother and more ice-cream-forward, with a lighter crunch instead of cookie pieces throughout. This version keeps the banana custard front and center.
Dairy-Free Version
Use full-fat coconut milk in place of the cream and whole milk, then thicken the base with a cornstarch slurry instead of egg yolks. You’ll get a softer set and a faint coconut note, but the banana flavor still comes through strongly. Use a dairy-free vanilla cookie if you want to keep the pudding vibe.
Gluten-Free Swap
Replace the Nilla wafers with your favorite gluten-free vanilla wafer cookie. The texture will still be crunchy, but some gluten-free cookies soften a little faster in ice cream, so fold them in right before freezing and serve sooner for the best bite.
Storage and Reheating
- Refrigerator: The base can sit covered in the fridge for up to 2 days before churning. The banana flavor stays good, though it may darken slightly.
- Freezer: Finished ice cream keeps well for about 2 weeks in a tight container. Press parchment directly on the surface to limit ice crystals.
- Reheating: Let it sit at room temperature for 5 to 10 minutes before scooping. If it feels rock hard, it was probably frozen too long or churned before the base was fully chilled.
Questions I Get Asked About This Recipe
Banana Pudding Ice Cream
Ingredients
Equipment
Method
- Blend very ripe bananas until completely smooth, then set aside.
- Add heavy cream and whole milk to a saucepan and heat until steaming.
- In a bowl, whisk egg yolks with granulated sugar until smooth.
- Slowly whisk the steaming cream mixture into the egg yolk mixture to temper.
- Cook over medium-low heat, stirring constantly, until the custard reaches 175F.
- Strain the custard and stir in vanilla extract, salt, and the banana puree until fully combined.
- Cool the custard completely, then refrigerate for 4 hours.
- Churn in an ice cream maker until thickened.
- In the last 2 minutes of churning, fold in crushed Nilla wafers and frozen banana slices.
- Freeze until scoopable, stirring/loosening only if needed after hardening.