Baked Caesar chicken comes out with a crackly, golden Parmesan crust and juicy chicken underneath, and that contrast is exactly why it earns a repeat spot. The Caesar dressing does more than season the meat; it carries salt, tang, and a little richness straight into the chicken while the panko-Parmesan topping bakes into a savory crust that tastes like the best part of a Caesar salad turned into dinner.
The small details matter here. A short marinade gives the chicken time to pick up the dressing without turning mushy, and freshly grated Parmesan melts and browns in a way the pre-shredded stuff just can’t match. The lemon zest keeps the coating from tasting heavy, and pressing the breadcrumb mixture onto the top helps it bake into a real crust instead of sliding off the chicken in the oven.
Below, I’ve added the timing and texture cues that keep the chicken juicy, plus a few smart swaps if you want to make it gluten-free or change up the serving style without losing that Caesar flavor.
The crust turned out crisp and golden instead of soggy, and the chicken stayed juicy all the way through. I served it with romaine and croutons like you suggested, and it tasted like a full Caesar salad dinner.
Save this Baked Caesar Chicken for a golden Parmesan crust that stays crisp and juicy.
The Part That Keeps the Chicken Juicy Under the Crust
The biggest risk in a baked chicken recipe like this is a crust that looks done before the chicken is cooked through. That usually happens when the oven is too hot, the breasts are uneven in thickness, or the topping goes on too early and steams instead of browning. Here, the short Caesar marinade helps season the meat, but the real protection is in the bake: a moderate oven, evenly sized chicken breasts, and a crust that sits on top where the heat can dry and crisp it.
Caesar dressing already brings fat and salt, so there’s no need to drown the chicken in extra seasoning. The Parmesan in the marinade gives you a savory base, while the panko-Parmesan layer on top is what creates the crackly finish. If your chicken breasts are thick on one end, pound them lightly so they cook at the same pace. That keeps the top from overbrowning while the center catches up.
What the Caesar Dressing, Parmesan, and Panko Are Each Doing

- Caesar dressing — This is the shortcut that makes the chicken taste seasoned all the way through without a long marinade. Use a dressing you actually like, because its anchovy, garlic, and lemon notes concentrate as it bakes. A thick dressing clings better than a thin one, so if yours is loose, it helps to let the chicken sit in it for the full 20 minutes.
- Freshly grated Parmesan — This matters more than almost anything else in the dish. Fresh Parmesan melts into the dressing and browns into the crust; pre-grated cheese often stays sandy and dry. If all you have is the shelf-stable kind, the chicken will still cook, but the topping won’t get the same clean, crisp finish.
- Panko breadcrumbs — Panko gives the crust its crunch. Regular breadcrumbs work in a pinch, but they bake up denser and softer. If you need this gluten-free, use gluten-free panko and press it on firmly so it sticks.
- Lemon zest — The zest keeps the whole dish from tasting heavy. It doesn’t make the chicken lemony; it just brightens the cheese and dressing so the crust tastes balanced instead of blunt.
Pressing the Crust On So It Actually Stays There
Mix the marinade first
Stir the Caesar dressing, half of the Parmesan, garlic powder, and lemon zest into a smooth coating before adding the chicken. You want the mixture thick enough to cling, not run off the meat like salad dressing. If it looks loose, the cheese hasn’t been fully incorporated yet, so give it another good stir before the chicken goes in. Let the chicken sit for 20 minutes and no longer; that’s enough time for flavor without changing the texture.
Set up the baking dish
Grease the dish so the creamy coating doesn’t glue itself to the pan. Lay the chicken in a single layer with a little space around each piece so the heat can circulate and the crust can dry out. If the breasts touch, the sides stay pale and the topping won’t crisp evenly. This is also the point where you can tuck in thinner ends under the breast slightly so everything bakes at one rate.
Build and bake the crust
Mix the remaining Parmesan with the panko, then press that mixture onto the top of each breast with your fingertips. Don’t scatter it loosely; pressing gives you the browned, crackled top instead of a patchy one. Bake at 400°F until the coating is deeply golden and the center of the chicken reaches 165°F, usually 22 to 25 minutes. If the top is browning too fast, lay a loose piece of foil over the dish for the last few minutes, but don’t cover it tightly or you’ll lose the crust.
Finish with the salad-style toppings
Let the chicken rest for a few minutes before topping it with romaine, croutons, a drizzle of extra Caesar dressing, and shaved Parmesan. Resting matters here because the juices settle back into the meat instead of running onto the plate the second you cut into it. Add the romaine at the end so it stays crisp against the warm chicken. The contrast is half the point of serving it this way.
How to Adapt This Chicken Without Losing the Caesar Character
Gluten-Free With the Same Crunch
Swap in gluten-free panko and keep everything else the same. The coating still bakes up crisp because the Parmesan does most of the browning work, but you’ll want to press the topping on firmly so it doesn’t break apart when the chicken hits the oven.
Dairy-Light Version
Use a Caesar dressing that’s lighter on cheese and skip the extra shaved Parmesan at serving. You’ll lose some of the sharp, salty finish, but the garlic and lemon still carry the dish. This works best with a dressing that already tastes bold on its own.
Chicken Thighs Instead of Breasts
Boneless thighs work well if you want a richer, more forgiving result. They’ll need a few extra minutes in the oven, and the crust may not sit as neatly on the more curved shape, but the meat stays especially juicy. Use the same topping and cook until the thickest part reaches 165°F.
Storage and Reheating
- Refrigerator: Store leftovers in an airtight container for up to 3 days. The crust softens a bit, but the flavor holds well.
- Freezer: You can freeze the baked chicken, but the topping loses some crunch after thawing. Wrap pieces tightly and freeze for up to 2 months.
- Reheating: Reheat in a 350°F oven until warmed through, about 10 to 15 minutes. The microwave works in a pinch, but it turns the crust soft fast, so use the oven if you want any texture left.
Questions I Get Asked About This Recipe
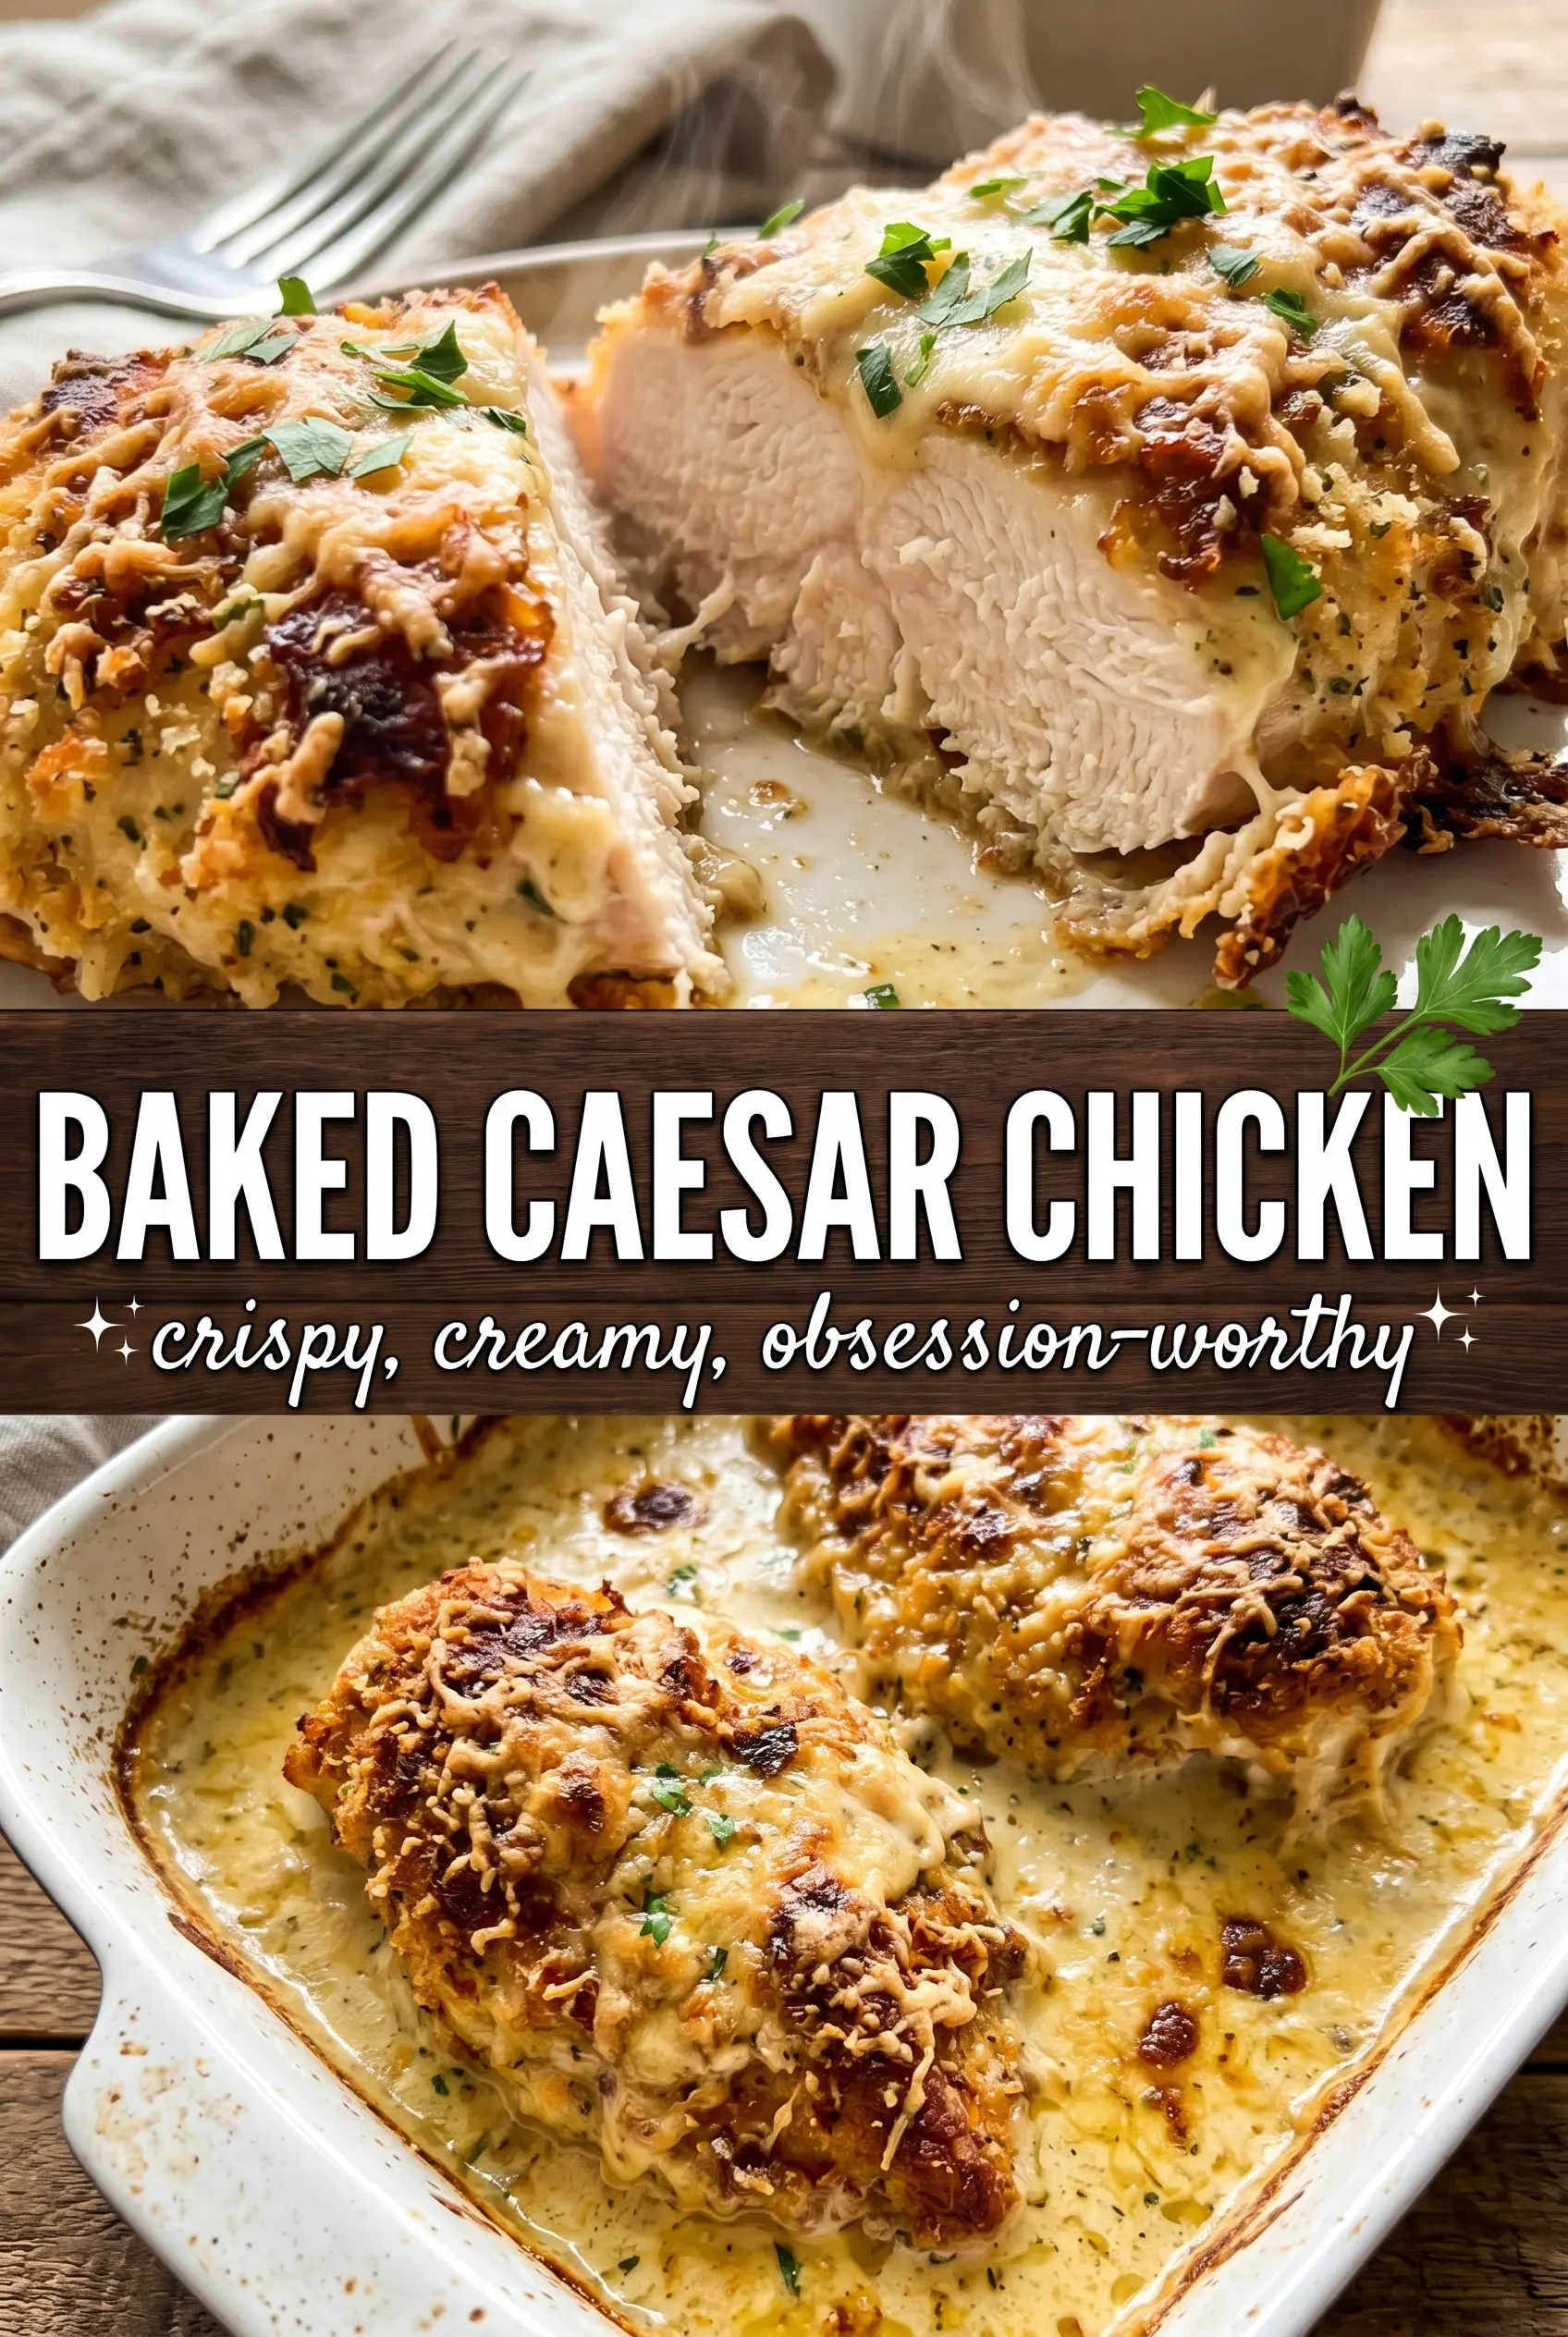
Baked Caesar Chicken
Ingredients
Equipment
Method
- Mix Caesar dressing with 1/2 cup Parmesan, garlic powder, and lemon zest until combined. Marinate the chicken in the mixture for 20 minutes, making sure each breast is coated.
- Preheat the oven to 400°F and grease a baking dish. Lay the marinated chicken in the dish in a single layer.
- Combine the remaining 1/4 cup Parmesan with the panko breadcrumbs. Press the panko-Parmesan mixture over the top of each breast so it adheres.
- Bake at 400°F for 22-25 minutes, until the crust is golden and crackled with a fragrant Parmesan aroma. Check for doneness: the internal temperature should reach 165°F.
- Serve the chicken topped with chopped romaine and croutons, with an extra drizzle of Caesar dressing. Finish each serving with shaved Parmesan for a final burst of savory flavor.