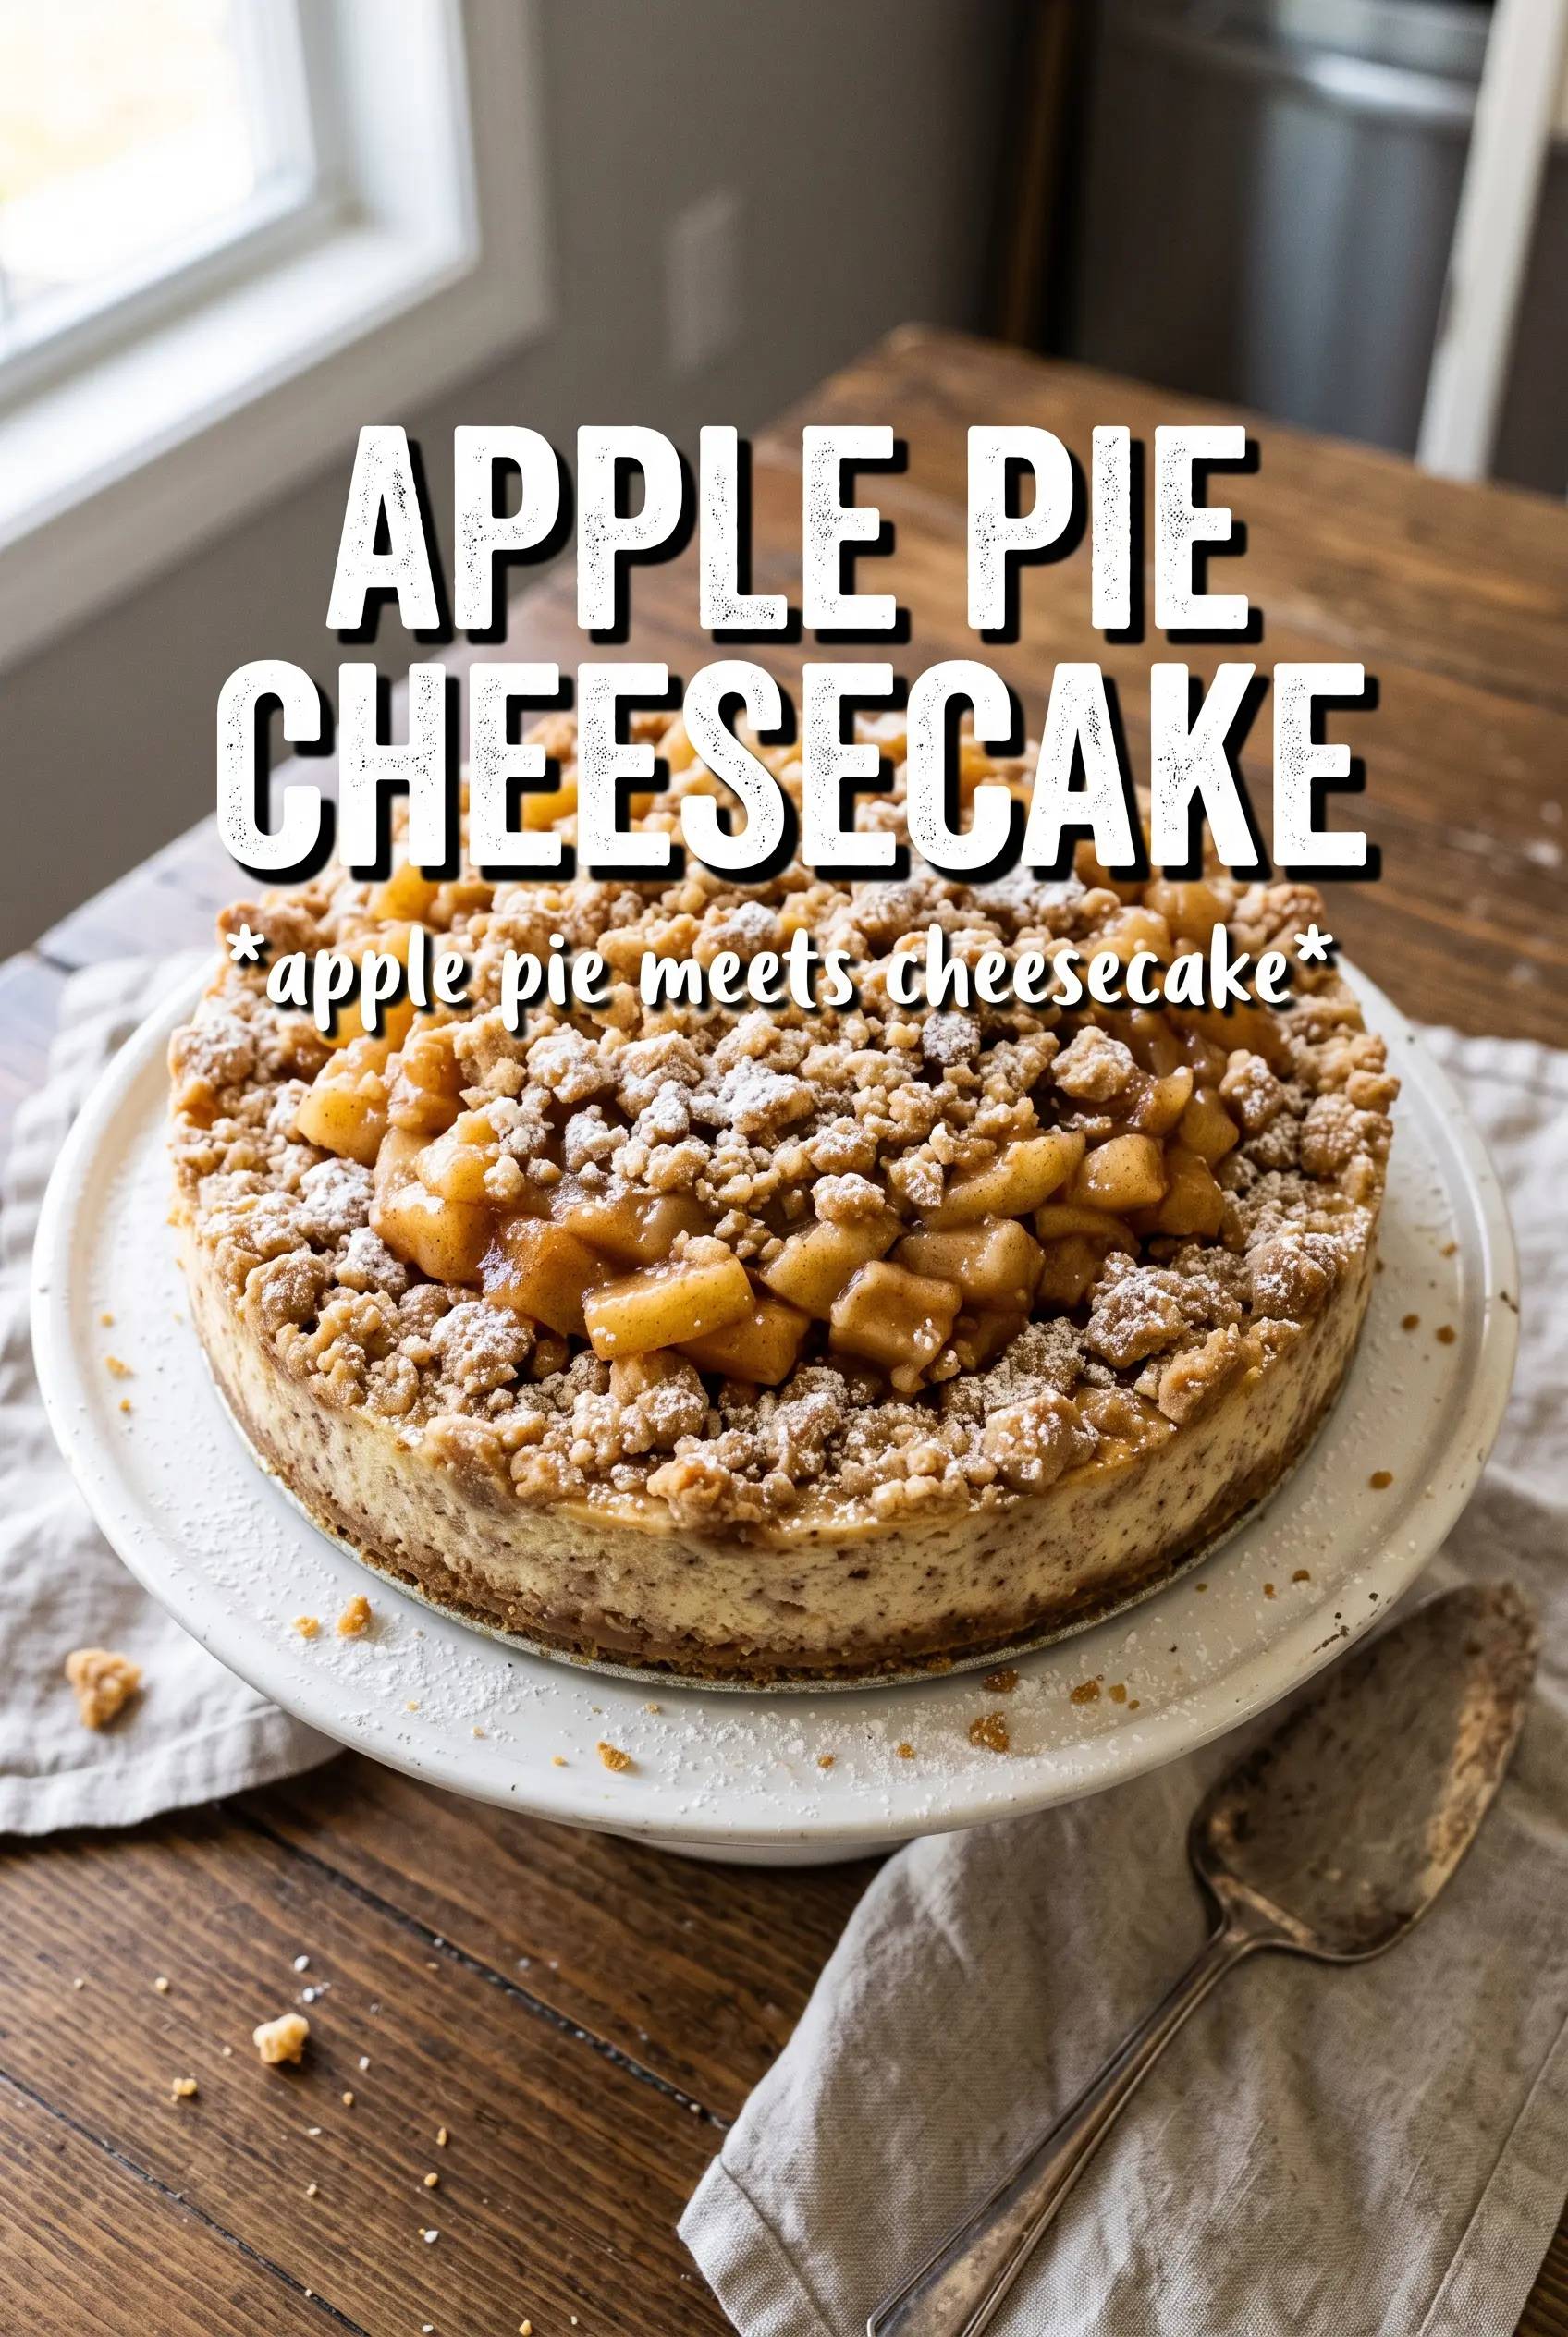
Apple pie cheesecake gives you the best parts of two desserts in one tall, clean slice: a cinnamon-graham crust, a smooth cheesecake layer, tender spiced apples, and a buttery streusel that stays crisp enough to give every bite some contrast. The caramel on top isn’t just decoration. It ties the whole thing together and makes the apple layer taste even more like the filling of a good pie.
The trick is keeping each layer distinct. The apple mixture needs to be cooked first so it doesn’t leak water into the cheesecake, and the cheesecake itself should be mixed just until smooth so it bakes up dense and creamy instead of airy and fragile. The water bath matters here too. It keeps the custard-style filling from cracking while the center finishes setting.
Below, I’ve added the parts that matter most: how to keep the crust from going sandy, how to know the cheesecake is done before it overbakes, and what to change if you need a gluten-free version or want to make it ahead.
The apple layer stayed neatly on top and the streusel baked up crisp instead of sinking. I chilled it overnight and the slices came out clean with that perfect cheesecake texture.
Save this Apple Pie Cheesecake for the dessert table when you want crisp streusel, creamy filling, and spiced apples in one slice.
The part that keeps the layers from turning muddy
The biggest mistake with apple pie cheesecake is letting the apples act like pie filling instead of a cooked layer. Raw apples release juice in the oven, and that juice sinks straight into the cheesecake and softens the crust. Cooking the apples with brown sugar, cinnamon, nutmeg, butter, and cornstarch gives you a thick filling that sits neatly on top and bakes into the cheesecake instead of leaking through it.
The second thing that matters is texture in the cheesecake batter. Beat the cream cheese until it’s smooth before adding the eggs, then stop mixing as soon as the batter looks uniform. Too much air gives you a puffed top that can fall or crack as it cools. A gentle bake in a water bath keeps the sides from setting too fast while the center finishes at the same pace.
- Press the crust firmly. A loose crust crumbles when you slice the cheesecake. Pack it into the pan with the bottom of a measuring cup so it bakes into a sturdy base.
- Cook the apples until glossy and thick. If the filling looks watery in the pan, it will stay watery in the cake. You want the juices to coat the apples, not pool underneath them.
- Cool the apple layer before adding it. Hot filling can soften the cheesecake batter and throw off the bake.
- Use the water bath. That steady moisture is what gives you a creamy center instead of a dry edge with a raw middle.
What each layer is doing in the pan
- Cinnamon graham cracker crumbs. These bring the warm, pie-like base without the extra work of making pastry. Regular graham crackers work too, but cinnamon crumbs give you more of that apple-pie feel right away.
- Cream cheese. Use full-fat blocks, not tub spread. The block-style cream cheese is denser and sets properly; softer packaged versions can turn the filling loose.
- Sour cream. This adds tang and keeps the cheesecake from tasting flat. It also softens the texture so the slice feels creamy instead of heavy.
- Apples. Firm apples matter here. Honeycrisp, Granny Smith, or a mix of both hold their shape better than soft cooking apples, which can collapse into sauce.
- Oats in the streusel. They give the topping a nubby, crisp texture that cuts through the richness. If you need a gluten-free version, use certified gluten-free oats and a cup-for-cup gluten-free flour blend.
How to build the cheesecake so it bakes cleanly
Start with the crust
Mix the cinnamon graham crumbs, sugar, and melted butter until every crumb looks evenly damp, then press the mixture into the bottom of a 9-inch springform pan. Bake it for 10 minutes so it sets before the filling goes in. If you skip this step, the crust can turn sandy and separate when the cheesecake cools.
Cook the apples until the juices thicken
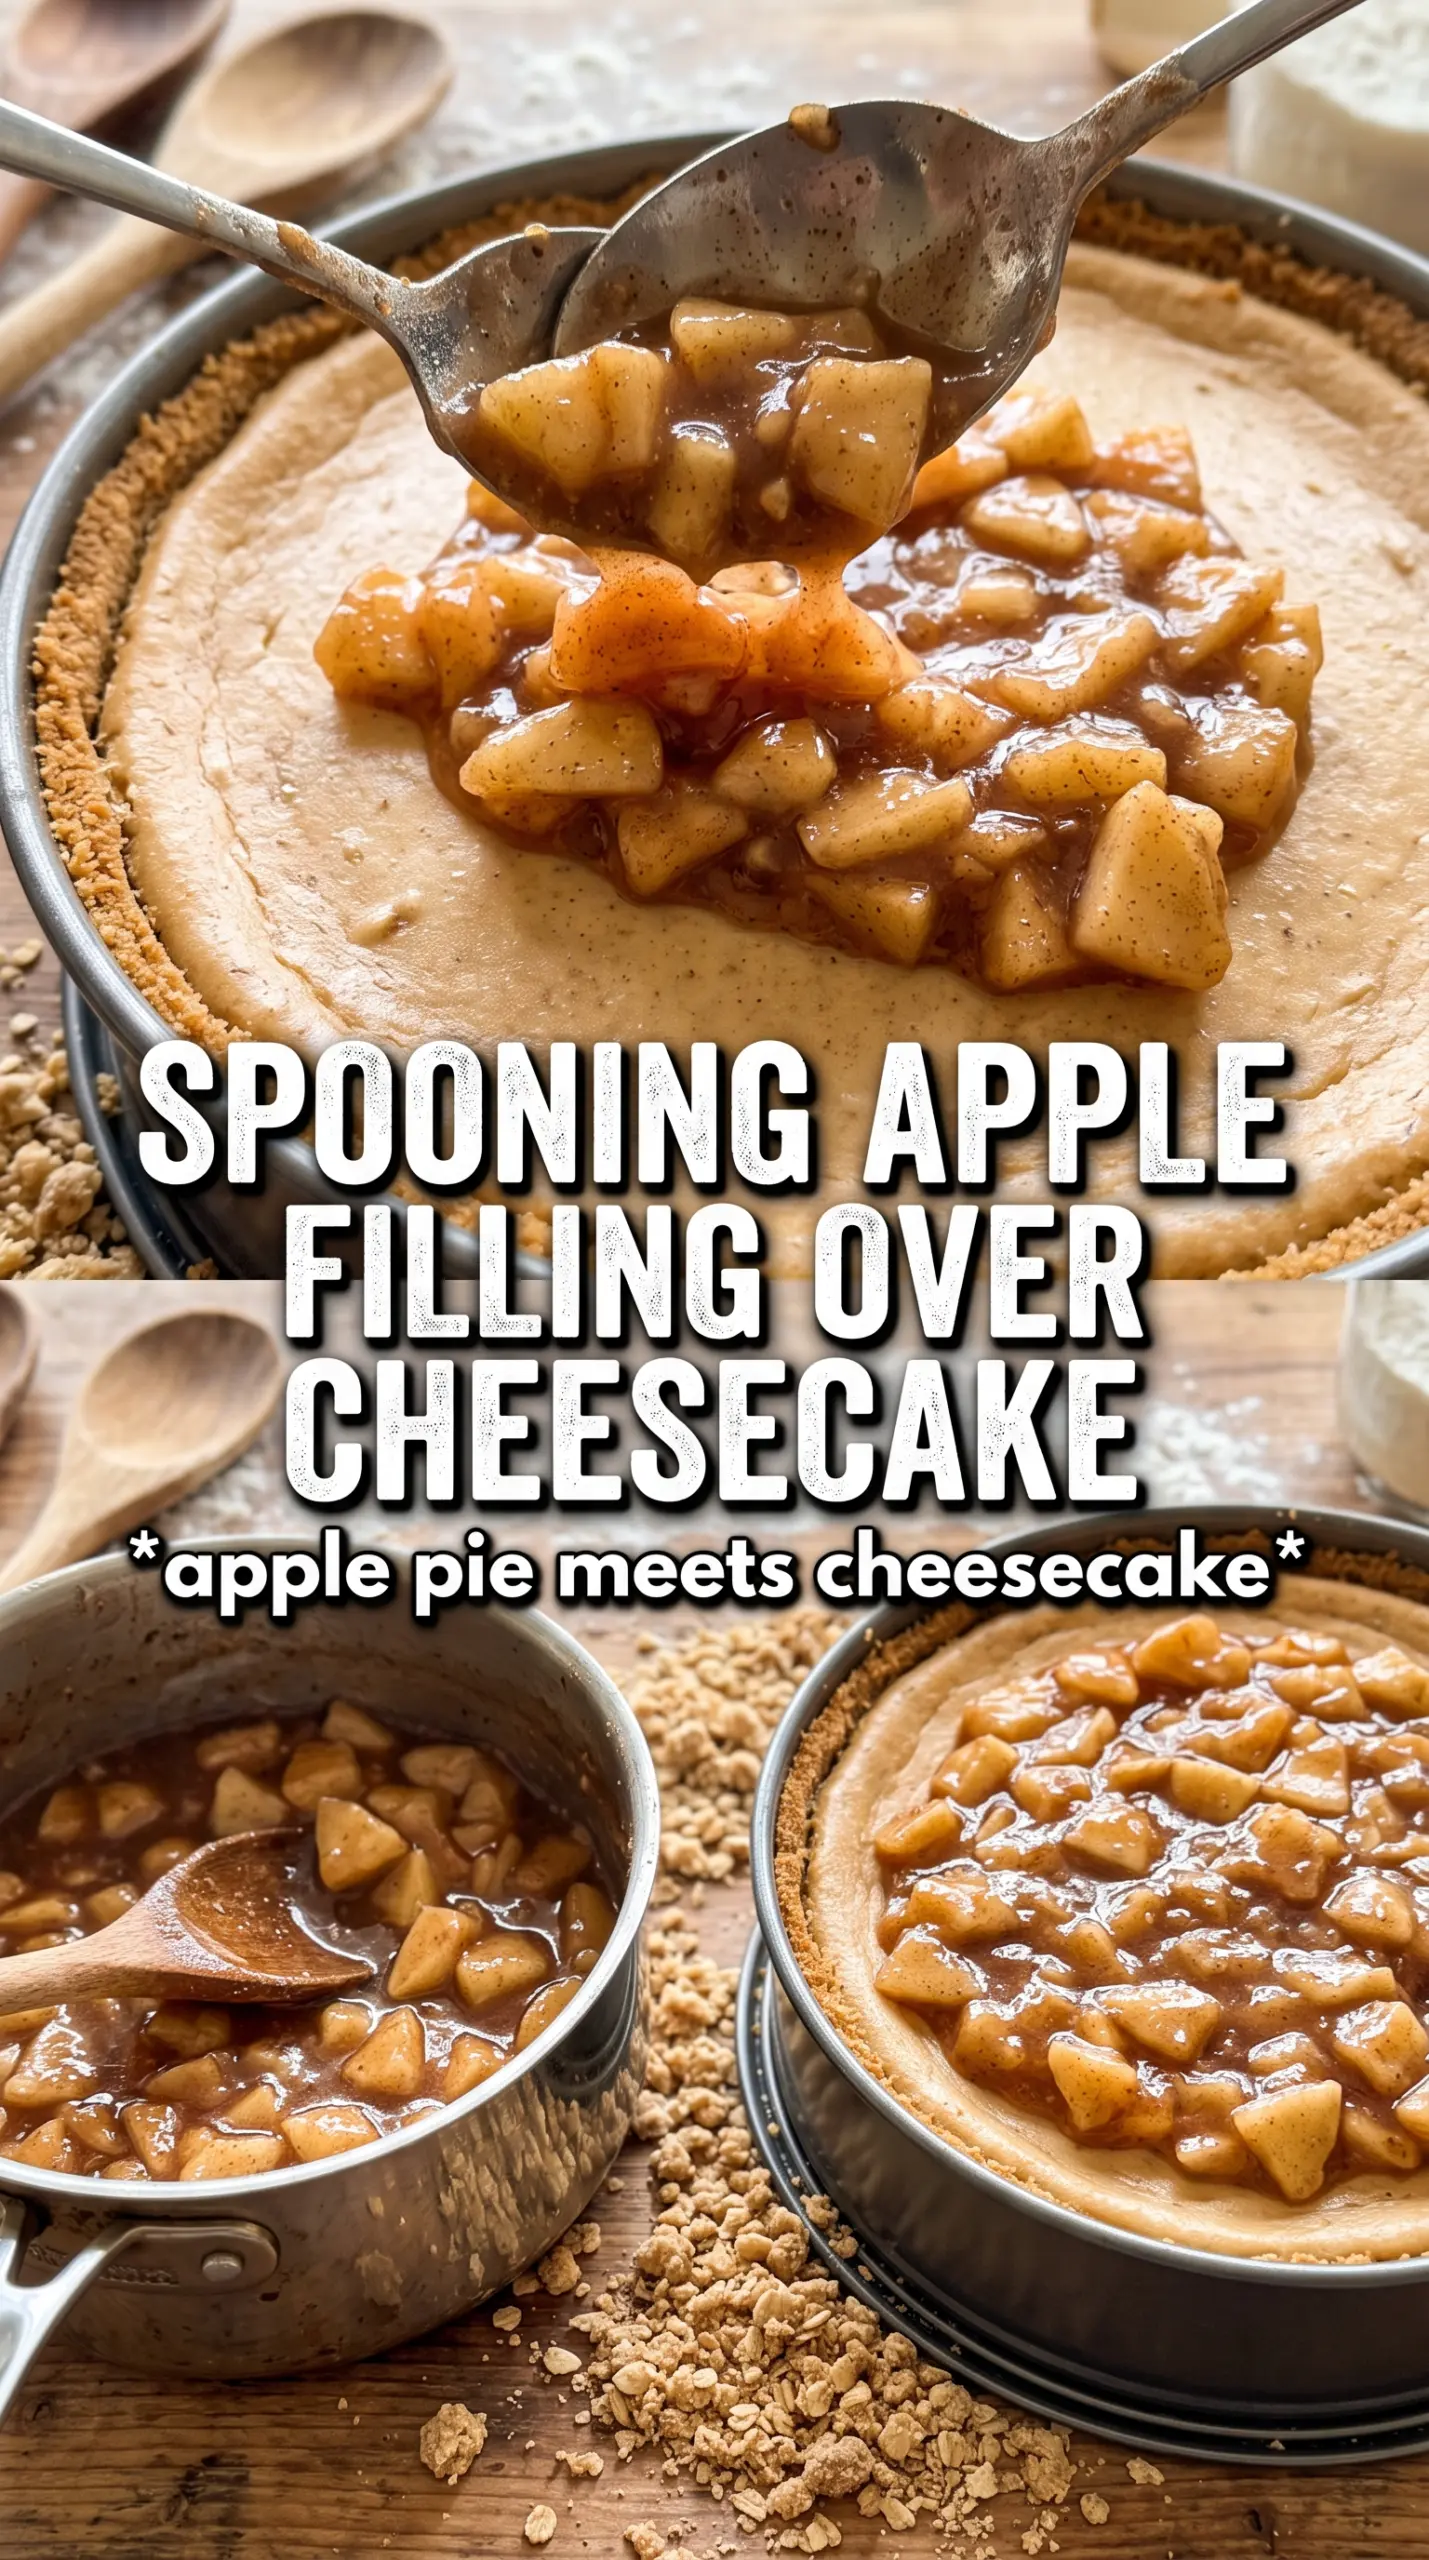
Combine the diced apples, brown sugar, cinnamon, nutmeg, cornstarch, and butter in a skillet and cook just until the apples start to soften and the liquid turns glossy and thick. You don’t want apples that fall apart. You want tender cubes suspended in a spoonable filling. Let this cool completely so it doesn’t melt the cheesecake batter on contact.
Mix the filling gently
Beat the cream cheese and sugar until smooth before adding the eggs one at a time, then stir in the sour cream, vanilla, and cinnamon. Scrape the bowl well so there aren’t hidden lumps at the bottom. Overbeating at this stage is what traps too much air and leads to cracks later.
Layer and bake without rushing the set
Spread the cheesecake batter over the crust, spoon the cooled apple mixture over the top, and scatter the streusel over everything. Bake in a water bath at 325°F until the edges are set and the center still has a slight wobble when you nudge the pan. It should not look liquid in the middle, but it shouldn’t be fully firm either. The carryover heat finishes the job as it cools.
Cool before you slice
Let the cheesecake cool at room temperature, then chill it for at least 6 hours before serving. That rest time is what gives you clean slices and fully developed texture. If you cut it while it’s still warm, the layers slide and the filling smears no matter how pretty it looked coming out of the oven.
How to adjust it without losing the good parts
Make it gluten-free with a few careful swaps
Use gluten-free graham crackers for the crust and a certified gluten-free oat plus flour blend for the streusel. The texture stays close to the original, but the topping may bake a touch looser, so keep an eye on it during the last 10 minutes.
Swap the apples for pears
Firm pears can replace the apples if you want a softer, slightly floral filling. Cook them a little less than the apples because they break down faster, and keep the nutmeg in place since it still gives the dessert that warm bakery note.
Make the streusel extra crisp
If you like a crunchier top, chill the streusel for 10 minutes before scattering it over the apples. That keeps the butter colder in the oven, which gives you bigger crumbs and a more distinct crumble instead of a soft sandy layer.
Storage and Reheating
- Refrigerator: Store covered for up to 5 days. The streusel softens a little, but the cheesecake itself stays creamy.
- Freezer: Freeze whole or in slices, wrapped tightly, for up to 2 months. Thaw overnight in the refrigerator for the cleanest texture.
- Reheating: Serve chilled or let a slice sit at room temperature for 20 to 30 minutes. If you warm it, use only a few seconds in the microwave; too much heat makes the cheesecake loose and can melt the apple layer.