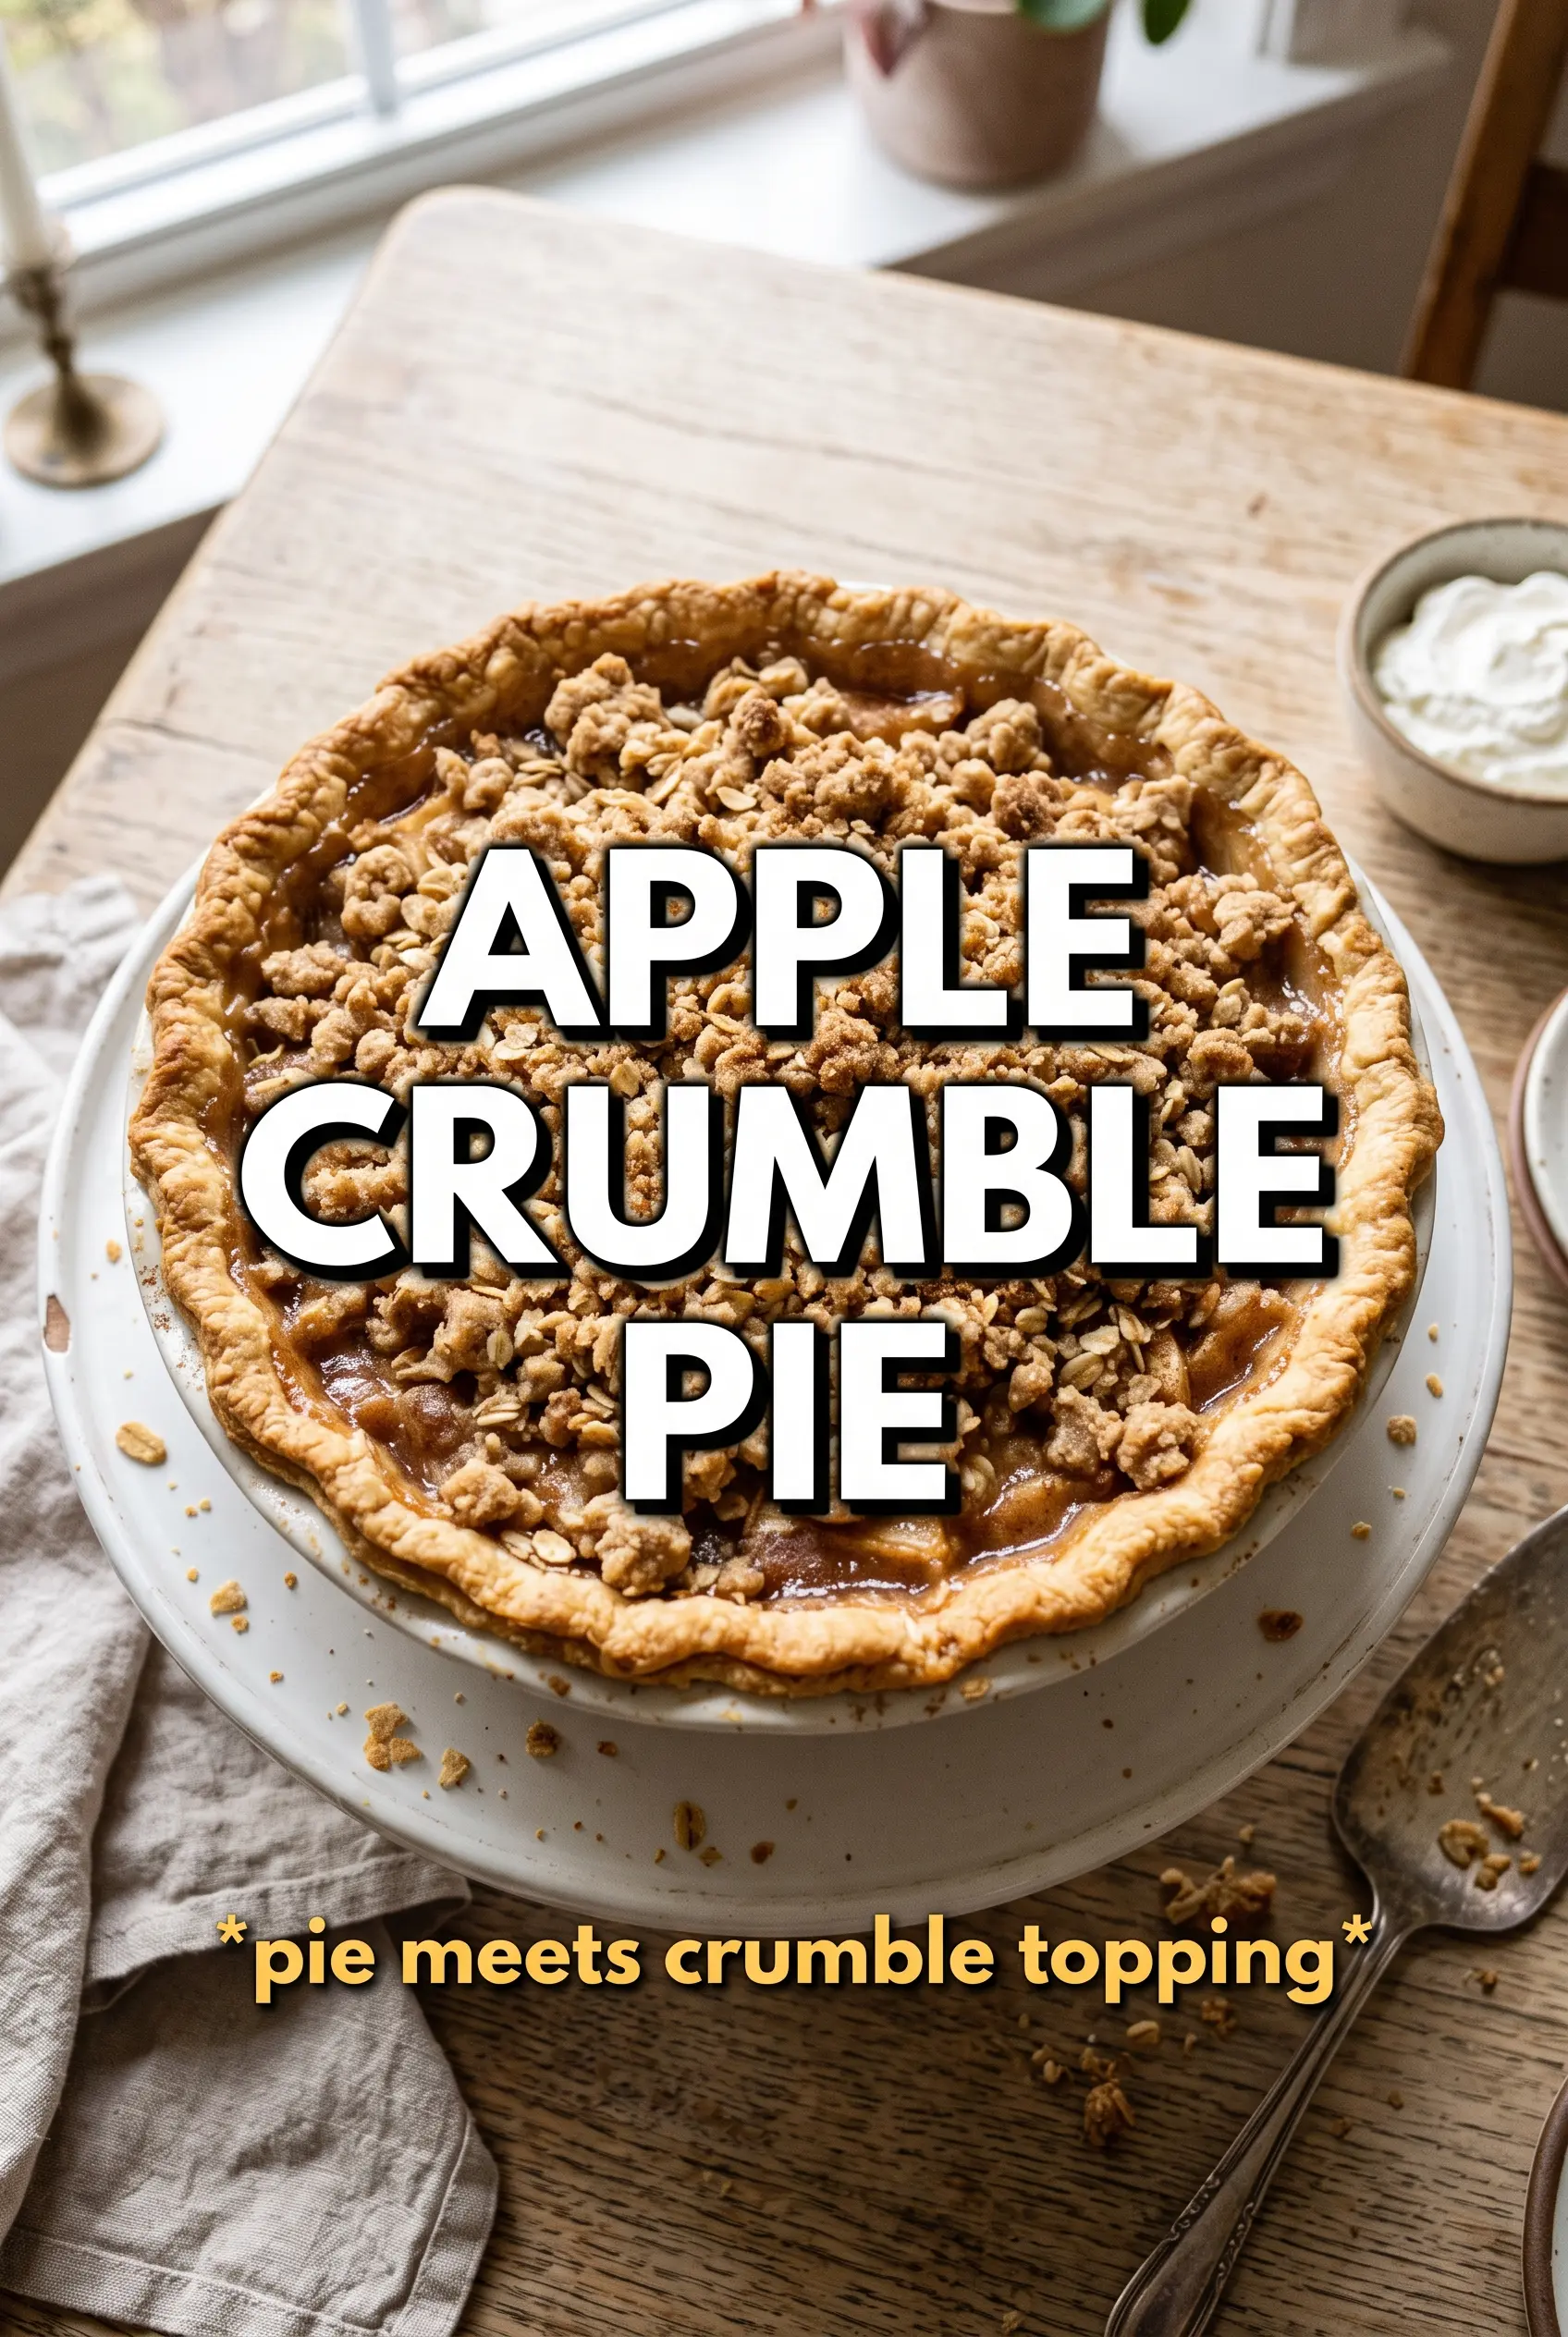
Apple crumble pie brings together the best parts of a classic fruit pie and a good crumb topping: tender spiced apples underneath, buttery oat streusel on top, and a crust that stays sturdy enough to hold a generous slice. What makes it worth making again is the contrast. You get soft filling, crunchy crumble, and just enough thickened juices at the edge to remind you this is a pie, not a pan of baked apples.
The key here is balance. The apples are tossed with cornstarch before they go in the shell, so the filling sets instead of running all over the plate. The topping stays cold until it hits the oven, which is what gives you those chunky, golden clumps instead of a sandy layer. Bake it until the filling bubbles through the crumble, not just until the top looks done.
Below, I’m breaking down the details that matter most: which apples hold their shape, how to keep the topping crisp, and what to do if your pie browns before the center is finished.
The crumble stayed crisp on top even after the pie cooled, and the apple filling thickened up nicely instead of sliding out when I cut it. I used Honeycrisp and Granny Smith together, and the flavor was spot on.
Save this apple crumble pie for the dessert nights when you want bubbling spiced apples and a thick oat topping with a crisp finish.
The Part That Keeps the Filling from Going Runny
The most common problem with apple crumble pie is a filling that looks perfect in the oven and then pours out the second you slice it. That usually happens when the apples release their juice faster than the thickener can catch it, or when the pie comes out too early because the topping looked done before the center finished bubbling. The cure is simple: use enough cornstarch, and bake until you see active bubbling at the edges and through the crumble. That bubbling is the sign the starch has done its job.
Mounding the apples slightly also matters. They shrink as they bake, and a flat pie often ends up with a sunken middle and a crust that looks underfilled. A little height gives you a better slice and helps keep the topping from collapsing into the fruit.
What Each Ingredient Is Actually Doing in This Pie
- Apples — Use firm baking apples that hold their shape. A mix of tart and sweet apples gives the best flavor, but if you only have one kind, choose something that doesn’t turn to mush in the oven. Softer apples bake down too fast and can leave you with a pie that feels more like jam.
- Cornstarch — This is what turns loose apple juices into a sliceable filling. Flour won’t thicken as cleanly here, and the pie can end up cloudy or pasty. Toss it evenly with the apples before filling the shell so it hydrates in the fruit juices, not in one dry pocket.
- Rolled oats — They give the topping its nubby, crisp texture. Quick oats work in a pinch, but the crumble comes out finer and less substantial. Old-fashioned oats hold their shape better and bake into those crunchy clusters people actually want.
- Cold butter — This is what makes the topping clump instead of melting into a paste. Cube it cold and cut it in until you still see plenty of uneven bits. Those bits melt in the oven and create the craggy, browned top.
- Brown sugar — It adds moisture and a deeper caramel note that plain white sugar can’t match. Packed brown sugar also helps the crumble bind. If you swap in white sugar, the topping will be drier and more brittle.
Building the Crumble So It Stays Crisp
Mixing the Apple Filling
Start by tossing the sliced apples with sugar, cinnamon, nutmeg, cornstarch, and lemon juice until every piece looks lightly coated. The cornstarch should disappear into the fruit, not sit in white streaks at the bottom of the bowl. If you see a lot of liquid right away, that’s normal; the sugar is drawing it out, and the oven will take care of the rest. Pile the apples into the crust and press them in just enough to remove big air gaps.
Cutting in the Butter
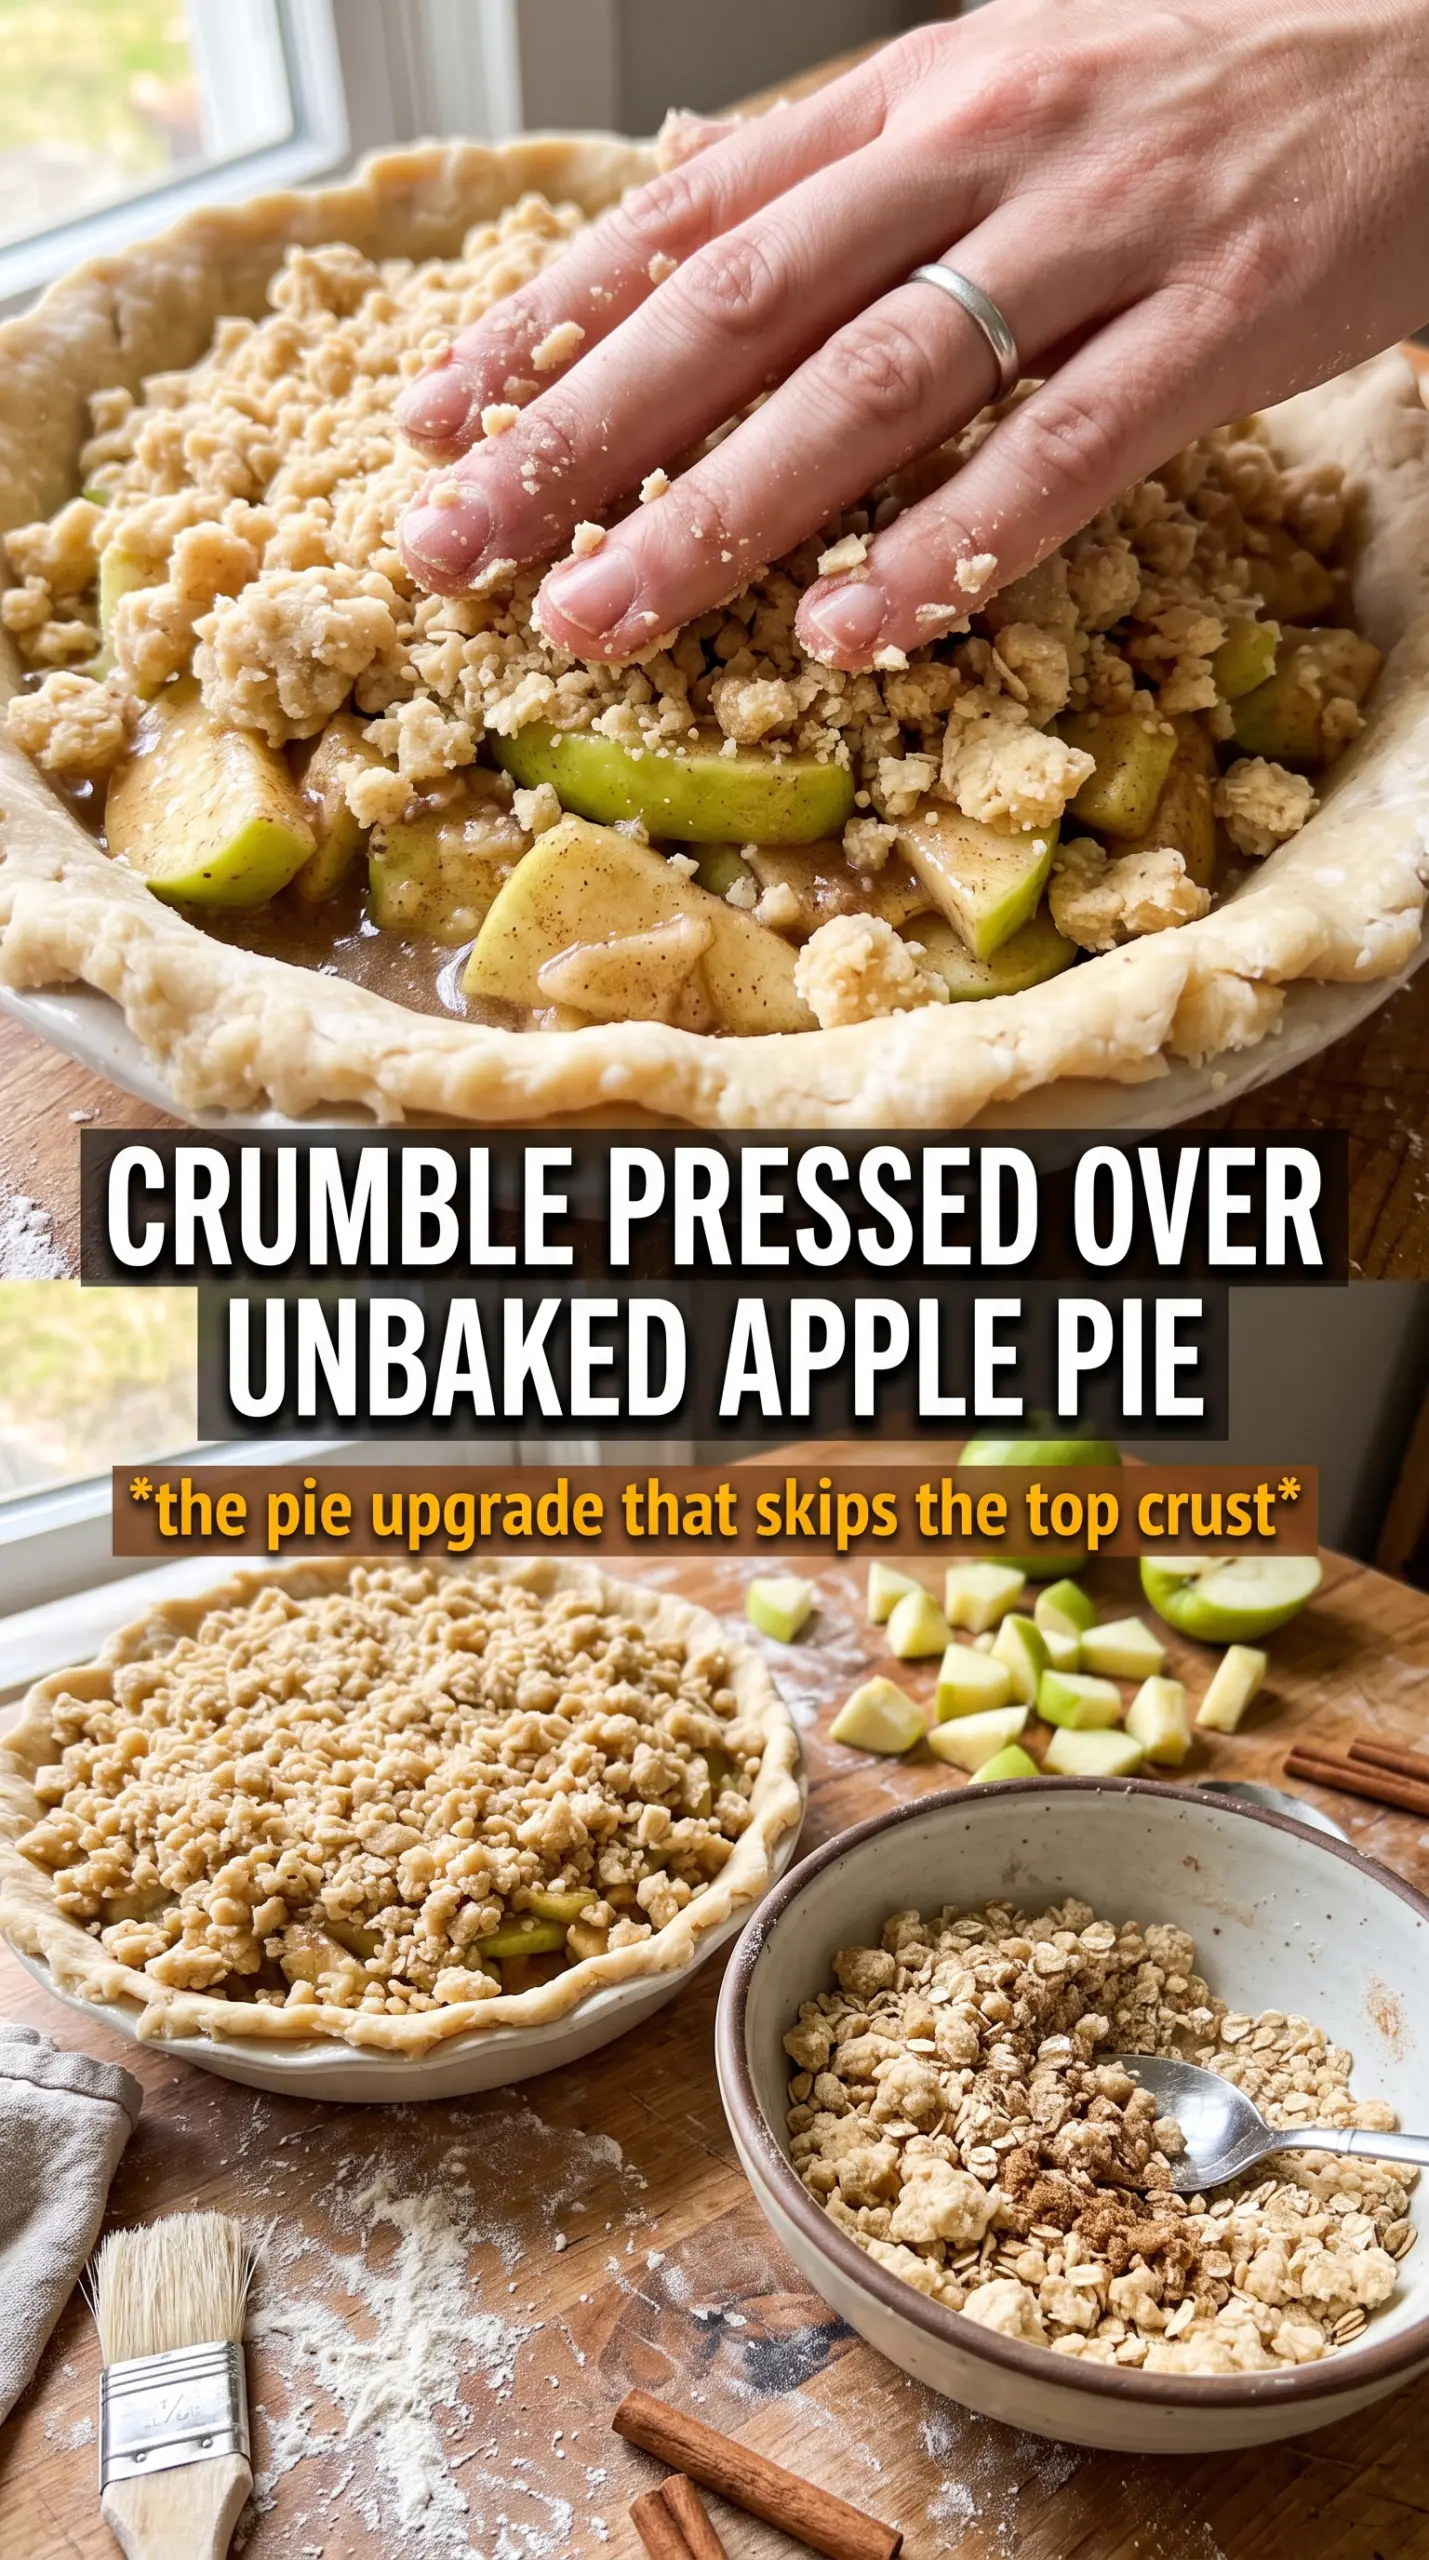
Combine the oats, flour, brown sugar, cinnamon, and salt first, then work in the cold butter until the mixture forms chunky clumps. Stop before it turns sandy. You want a mix of fine crumbs and bigger pieces because that gives the pie a topping with both crunch and those satisfying craggy bits. If the butter starts warming and smearing, the topping will bake up dense instead of crisp, so chill it for a few minutes if needed.
Baking Until the Fruit Bubbles Through
Scatter the crumble over the apples generously, covering the fruit all the way to the edges. Bake at 375°F until the topping is deeply golden and the filling bubbles at the sides and in small spots across the top, usually 55 to 65 minutes. If the crumble starts browning too fast, tent it loosely with foil after about 35 minutes. Don’t pull it early just because the top looks finished; the filling needs that bubbling time to thicken properly.
Cooling Before the First Slice
Let the pie cool for at least an hour before cutting into it. This is where the filling firms up, and rushing this step is how you end up with a spoonable mess instead of a clean wedge. The pie will still be warm, but the juices need time to settle. If you want especially neat slices, give it a little longer.
How to Adapt It When You Need a Different Version
Gluten-Free Crumble Pie
Use a gluten-free pie shell and replace the all-purpose flour in the topping with a 1:1 gluten-free flour blend. The oats stay the same, but check that they’re certified gluten-free if cross-contact matters. The topping will still brown and crisp, though it may be a touch more delicate when scooped.
Dairy-Free Version
Swap the butter for a firm plant-based butter that behaves well in baking. You still want it cold and cubed so the topping forms clumps. Some vegan butters soften faster, so if the mixture gets greasy in your hands, chill it before topping the pie.
Using Only Sweet Apples
If your apples are all very sweet, keep the lemon juice in the filling and don’t cut the sugar much unless you like a sharper pie. The lemon keeps the flavor from going flat, and the sugar helps the juices thicken into syrup. Without a tart apple in the mix, the pie can taste one-note, so the cinnamon becomes more important.
Making It Ahead
You can assemble the pie a few hours ahead and keep it refrigerated before baking. For the best crumble texture, don’t let the topped pie sit overnight unbaked, because the butter will soften and the topping won’t stay as chunky. If you need to work ahead by a day, prep the filling and crumble separately and assemble right before baking.
Storage and Reheating
- Refrigerator: Store covered for up to 4 days. The crumble will soften a bit, but the flavor stays good.
- Freezer: Baked pie freezes well. Cool completely, wrap tightly, and freeze for up to 2 months. Thaw in the fridge overnight before reheating.
- Reheating: Warm slices in a 300°F oven until heated through. The oven brings back the topping much better than the microwave, which makes the crumble soggy.
Answers to the Questions Worth Asking
Apple Crumble Pie
Ingredients
Equipment
Method
- Preheat the oven to 375F. Fit the unbaked 9-inch pie shell into a 9-inch pie dish and crimp the edges for a sealed rim.
- Toss the sliced large apples with granulated sugar, cinnamon, nutmeg, cornstarch, and lemon juice until evenly coated. Pile the apple mixture into the unbaked shell, mounding slightly so it bakes up higher.
- Combine the rolled oats, all-purpose flour, brown sugar, cinnamon, and salt. Cut in the cold unsalted butter until chunky clumps form, then scatter the crumble evenly over the apple filling.
- Bake the pie for 55-65 minutes at 375F until the crumble is deeply golden and the filling bubbles through. Place on a sheet pan to catch any drips and keep the crust from getting soggy.
- Check at 35 minutes and tent loosely with foil if the topping browns too quickly. Return to the oven and continue baking until the total time reaches 55-65 minutes.
- Cool the pie at least 1 hour before slicing so the filling sets. Use the visually firm slice line and steam release as cues that it’s ready to serve.