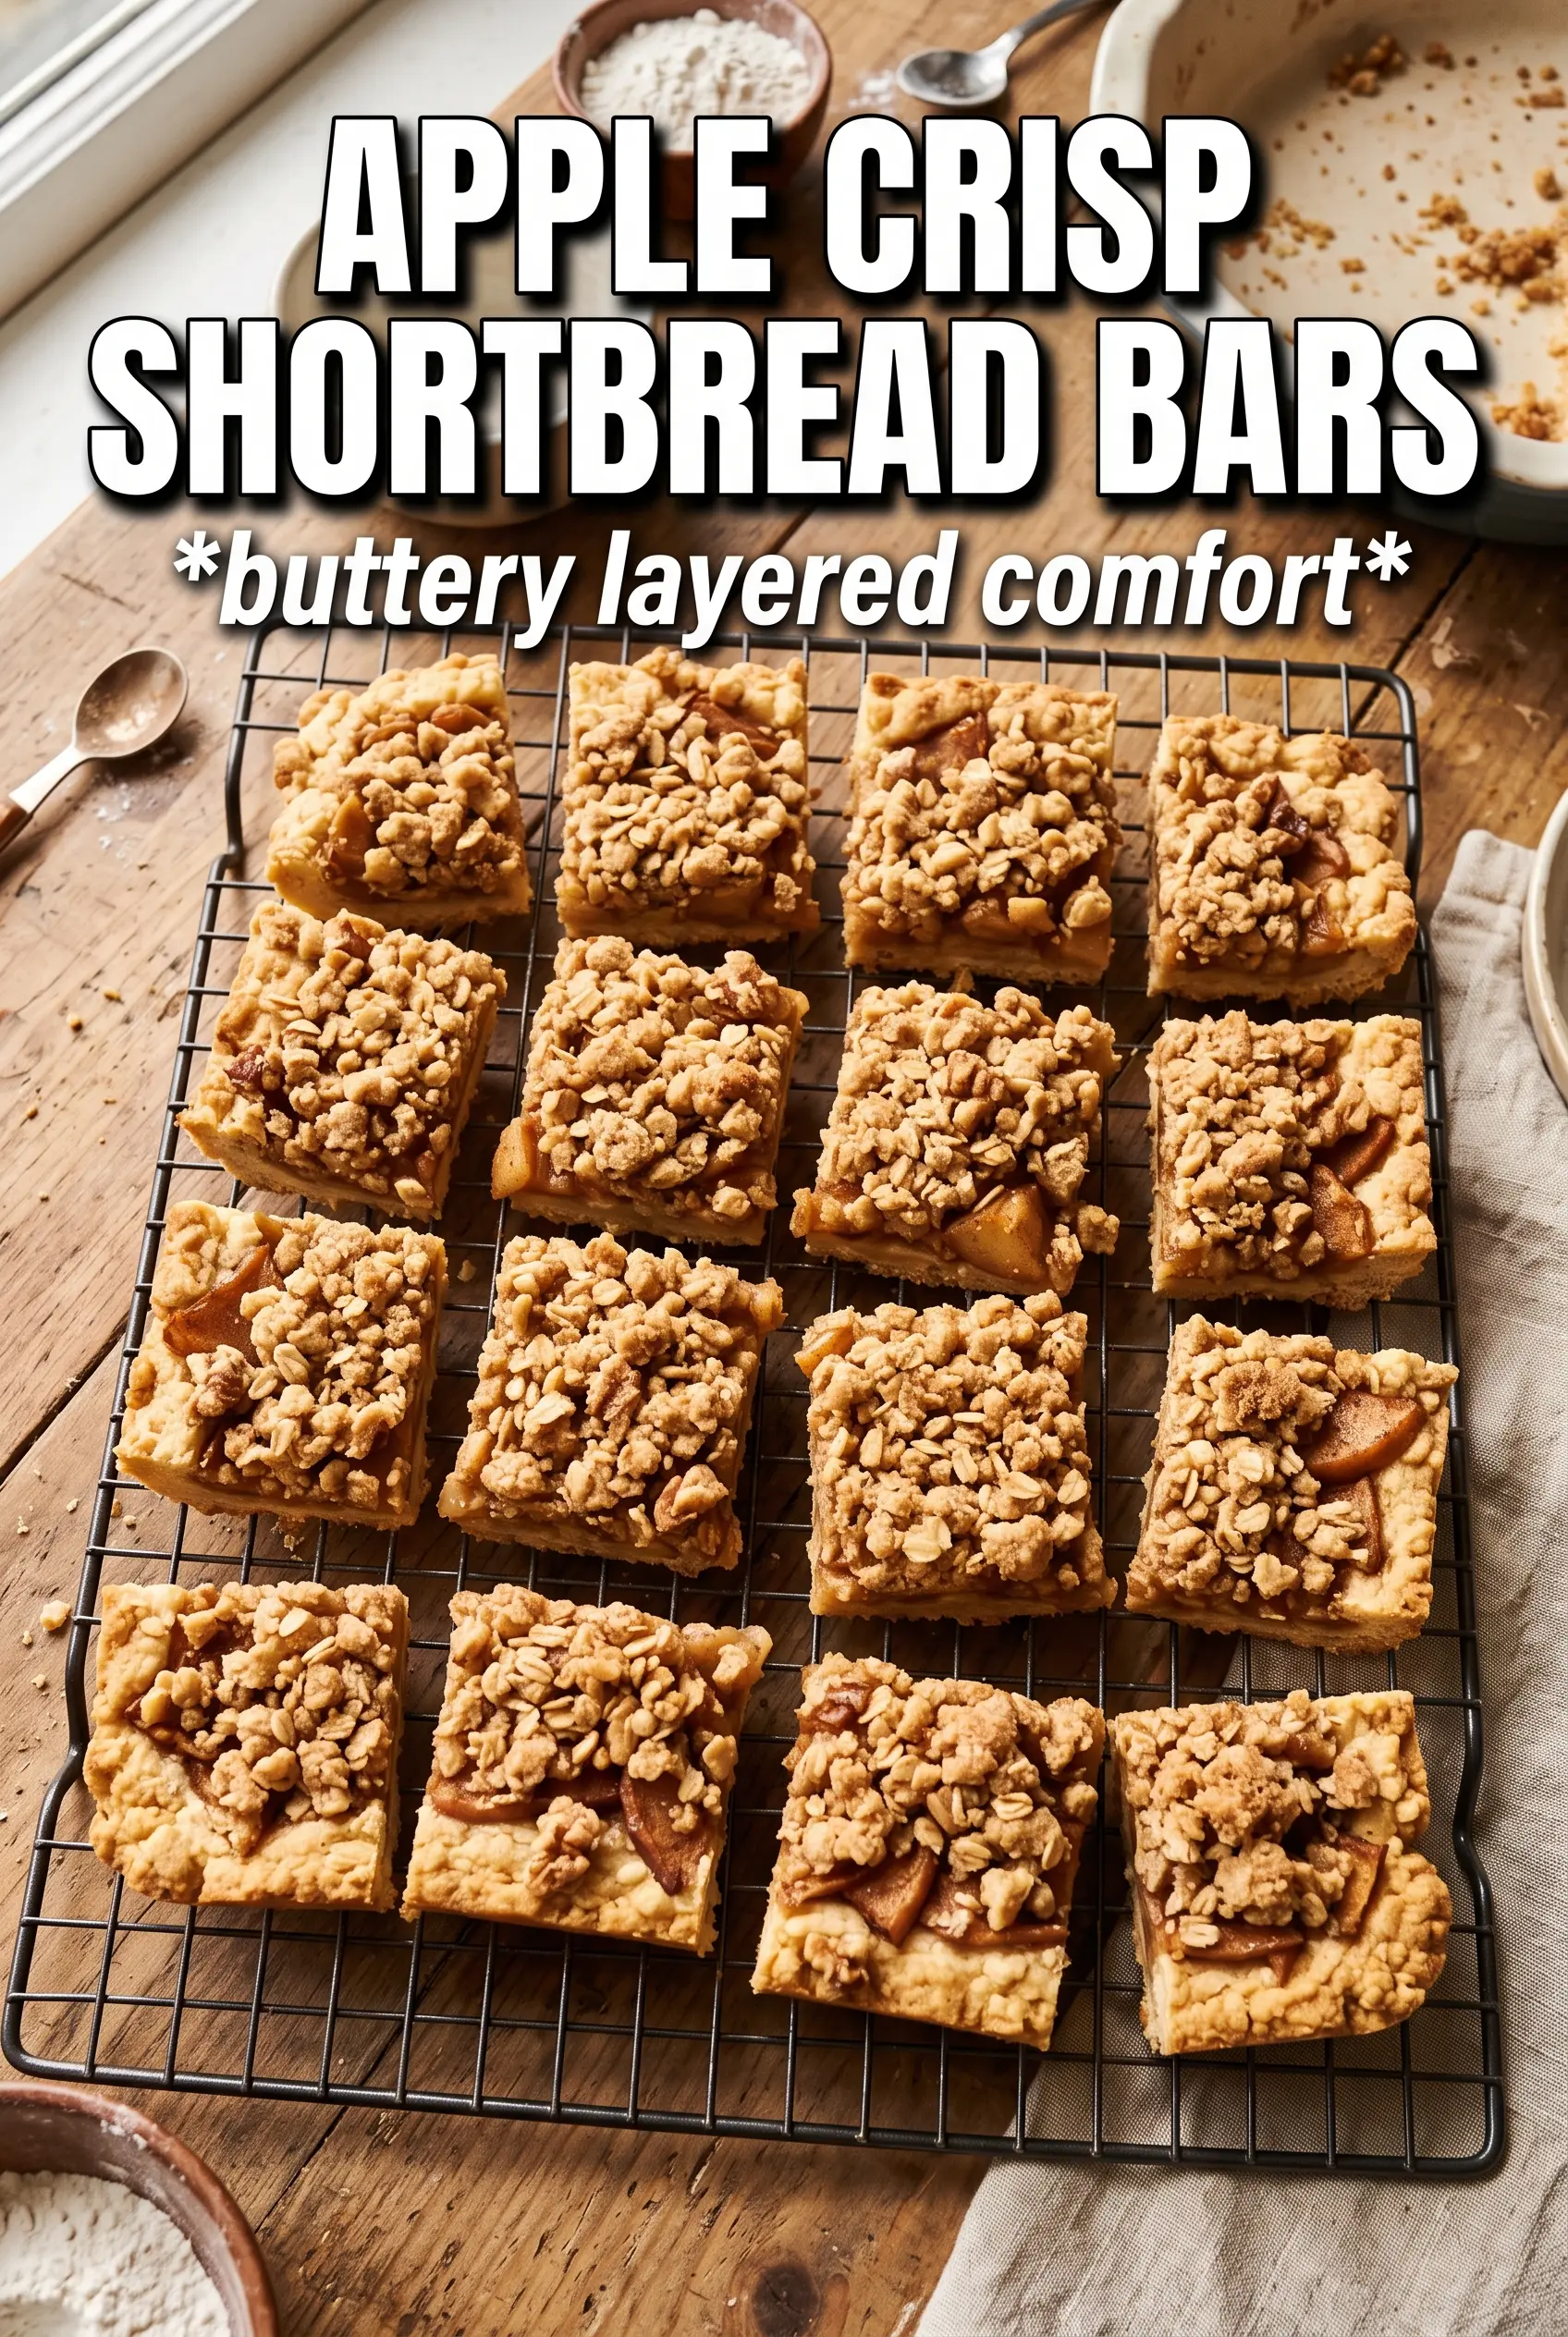
Apple crisp shortbread bars bake into tidy little squares with a buttery base, a soft spiced apple layer, and a crumbly oat topping that stays tender instead of sandy. The shortbread holds its shape cleanly once cooled, so you get all the best parts of apple crisp without the mess of a spoon dessert. A drizzle of caramel on top finishes the whole thing in the way a good apple dessert should: rich, sticky, and impossible to stop at one bite.
What makes these work is the double-duty crust and crumble. The same mixture builds the base and the topping, which means the texture stays consistent from edge to edge and you’re not juggling two separate components. Cold butter is the key here. If it starts melting before the bars go into the oven, the topping turns pasty instead of crumbly, and the base loses that firm, shortbread-like bite.
Below, I’ve included the one cooling step that matters more than it looks, plus a few swaps for different apples and make-ahead baking.
The shortbread layer baked up firm and buttery, and the apples stayed tender without turning watery. I chilled the bars before slicing and got clean squares that held together perfectly.
Like the buttery crust, spiced apple filling, and caramel finish? Save these Apple Crisp Shortbread Bars for the next time you want an easy dessert that slices cleanly.
The Trick to Keeping the Layers Separate
The biggest mistake with bars like these is letting the filling sink into the base. A hot, partially baked crust gives you the structure you need before the apples go on, and pressing that first layer firmly keeps the finished bars from crumbling when you cut them. The apples also need a little cornstarch help. Without it, the juices run loose and soak straight into the shortbread.
Baking the base first does more than set it. It gives the butter and sugar a head start on browning, which is what keeps the bottom from tasting soft or doughy after the fruit goes on top. You’ll know the base is ready when the surface looks matte and just barely set at the edges, not fully browned.
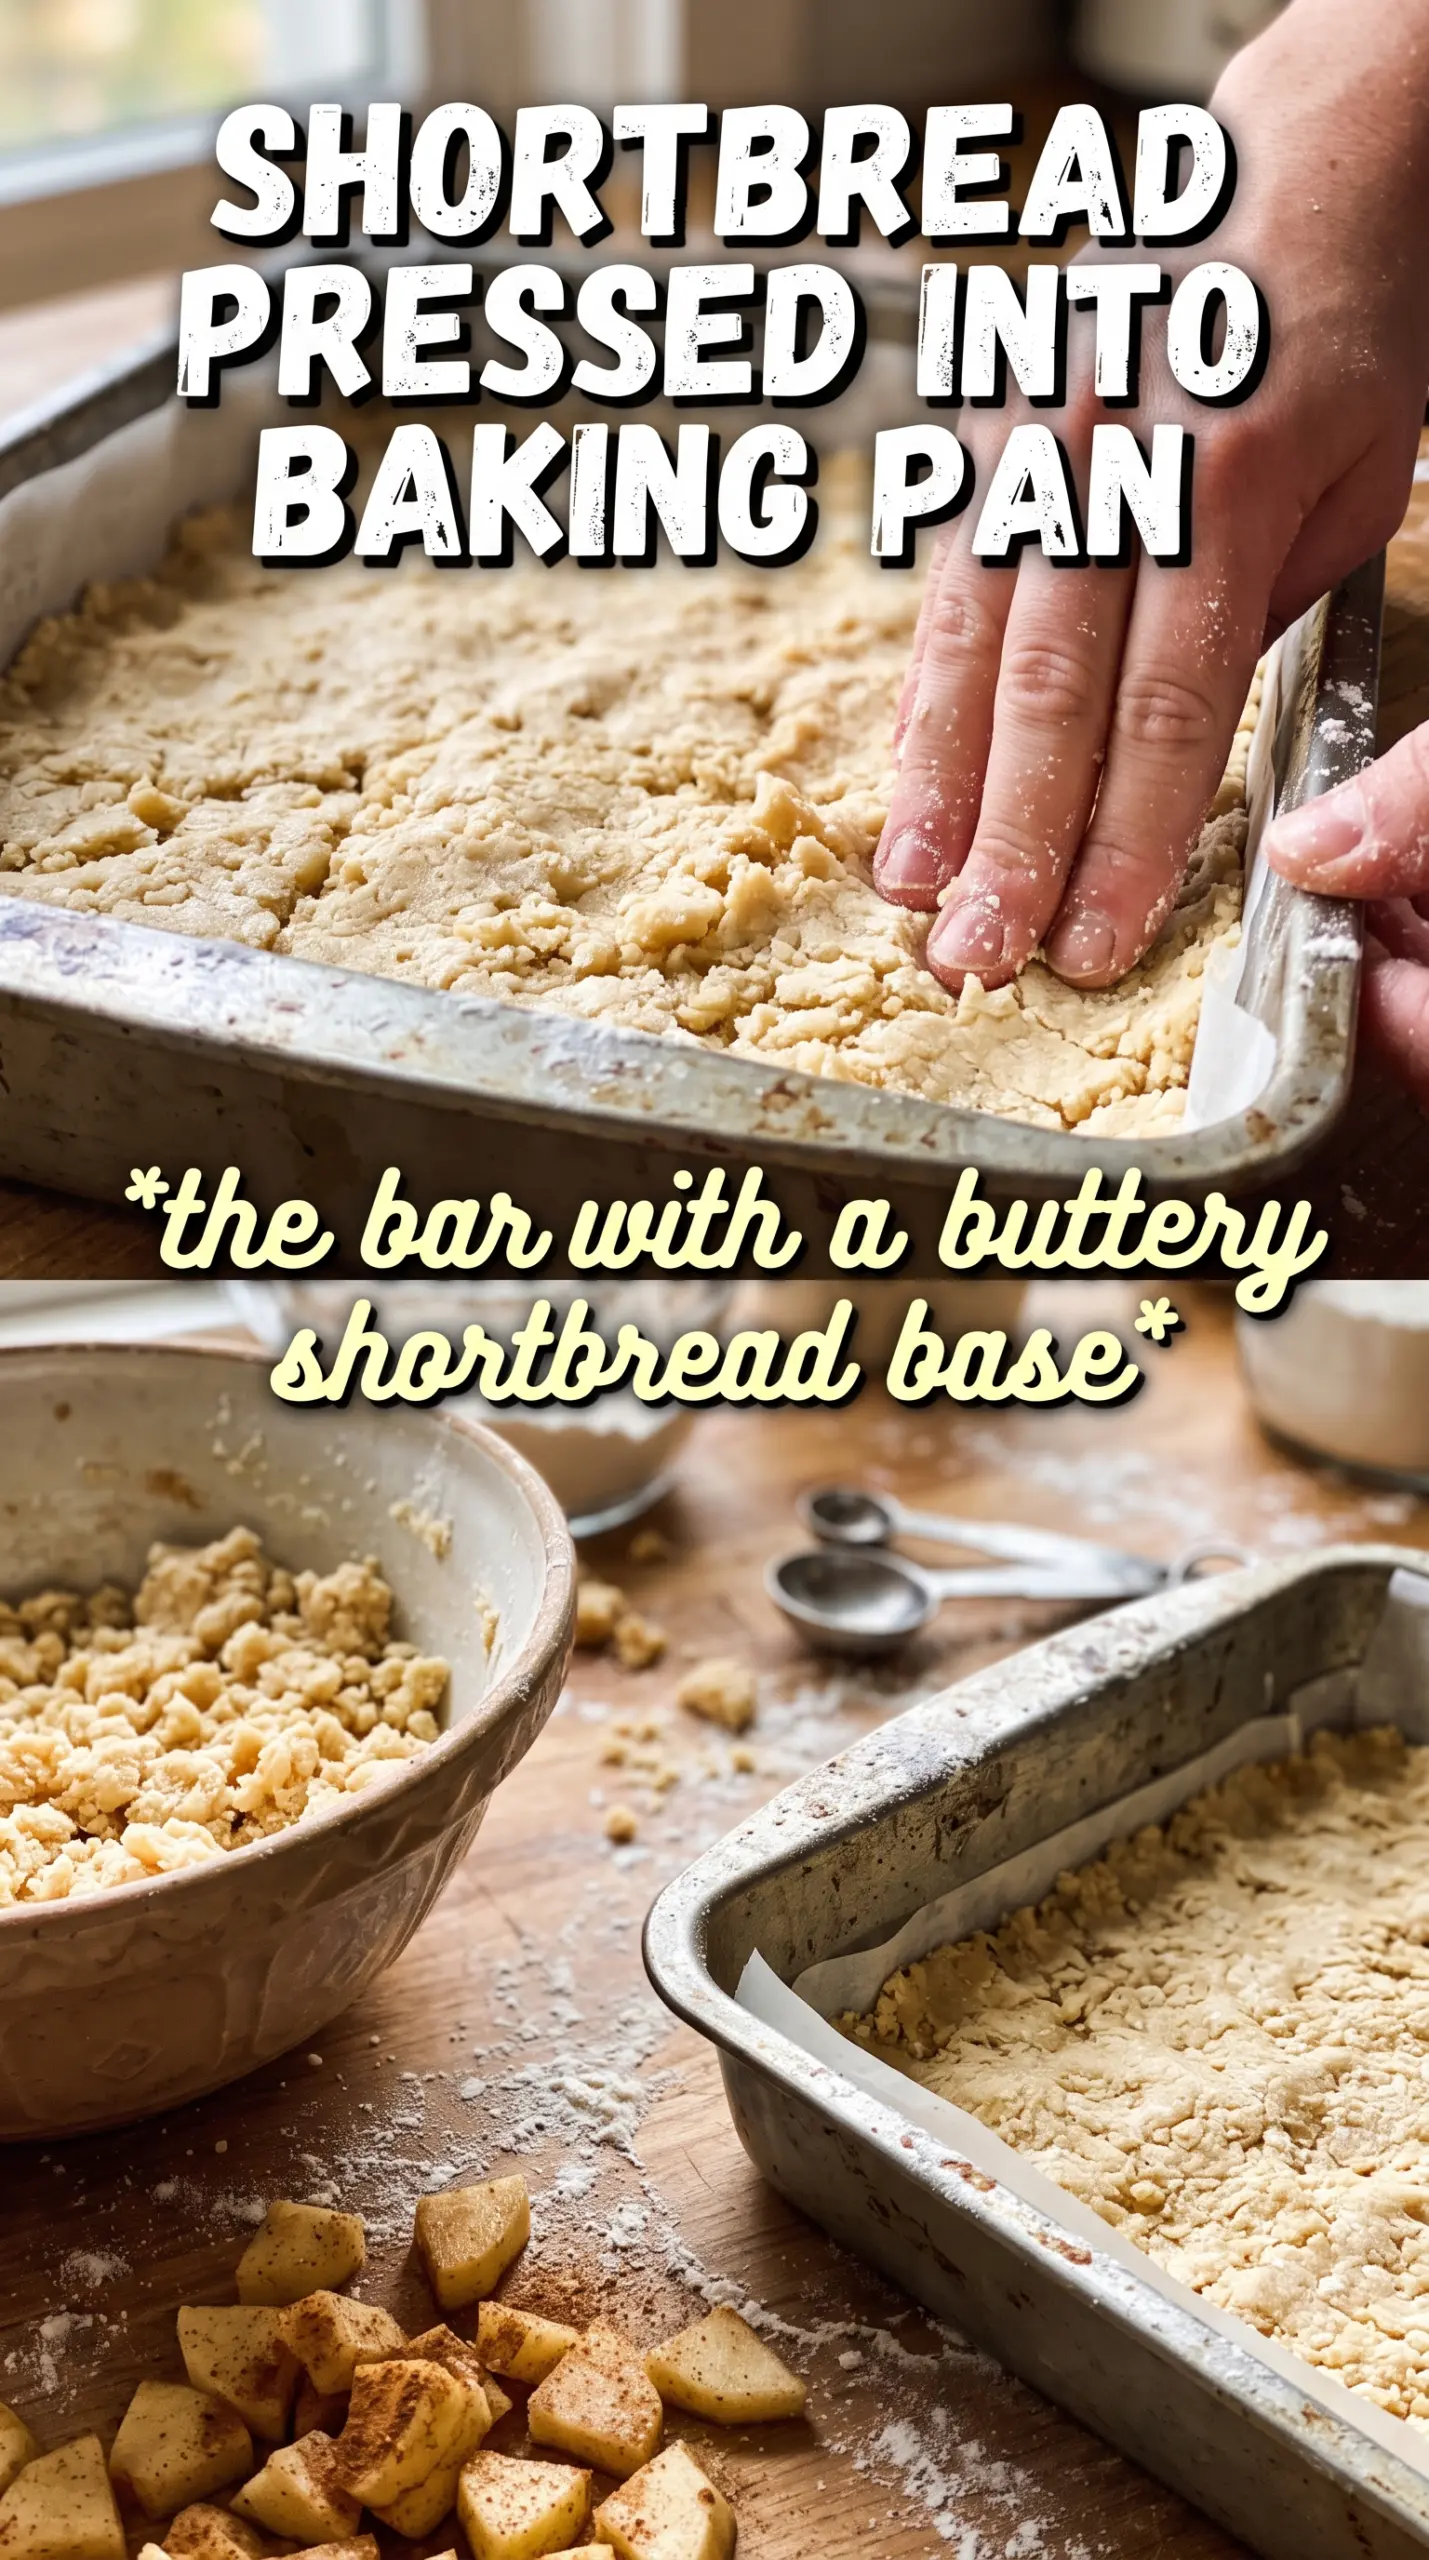
- Firm packing matters. Use the bottom of a measuring cup to press the crust into an even layer so it bakes into a sliceable base instead of a loose crumble.
- Don’t skip the pre-bake. Twelve minutes is enough to set the crust without drying it out. That short head start is what keeps the bars from going soggy.
- Cornstarch keeps the filling neat. It thickens the apple juices as they bake, so the center stays jammy instead of running across the pan.
- Cool completely before cutting. The bars finish setting as they cool, and warm bars will collapse into messy squares no matter how sharp your knife is.
What the Crust, Apples, and Crumble Each Bring to the Pan
- All-purpose flour gives the shortbread structure. A swap to a gluten-free blend works if it’s one built for cup-for-cup baking, but the texture will be a little more delicate.
- Rolled oats bring the crisp topping texture and keep the crumble from tasting like plain sweet pastry. Quick oats will work in a pinch, but the topping comes out finer and less rustic.
- Cold unsalted butter is the ingredient that makes the whole bar taste rich and layered. Salted butter can work, but reduce the added salt a little so the filling doesn’t taste harsh.
- Apples matter more than people think. Firm baking apples hold their shape, while softer apples turn mushy fast. If you use a mix, combine one tart apple with one sweet apple for better depth.
- Cornstarch is what turns the apple juices into a glossy filling instead of a watery one. Flour can thicken too, but it makes the filling look cloudy and a little heavier.
- Lemon juice wakes up the apples and keeps the slices from tasting flat. It also helps the filling stay bright after baking.
Building the Bars So the Bottom Stays Crisp
Mixing the Crumble Base
Stir the flour, oats, brown sugar, cinnamon, and salt together first so the spices spread evenly through the dough. Cut in the cold butter until the mixture looks like damp, clumpy sand with some pea-size bits still visible. Those little butter pieces are what bake into a crisp, tender crumble, so don’t work the mixture until it turns paste-like.
Pressing and Pre-Baking the Crust
Hold back about a cup of the mixture for the topping, then press the rest into the parchment-lined pan in an even layer. Use firm pressure so the crust doesn’t fall apart after baking. Once it goes into the oven, pull it when it’s just starting to set; if you wait until it looks deeply browned, the finished bars can turn dry around the edges.
Layering the Apples
Toss the sliced apples with sugar, cinnamon, nutmeg, cornstarch, and lemon juice until every slice looks lightly coated. Spread them over the hot crust in an even layer so the filling bakes evenly, not in patches. If you pile the apples too high in the middle, the center will stay underbaked while the edges cook through.
Finishing With the Crumble
Scatter the reserved mixture over the apples without pressing it down. You want open pockets where steam can escape and the topping can crisp. Bake until the topping is golden and the filling is bubbling at the edges, which tells you the cornstarch has done its job and the apples are tender underneath.
How to Change These Bars Without Losing the Texture
Make Them Gluten-Free
Use a cup-for-cup gluten-free flour blend in place of the all-purpose flour. The bars will still hold together, though the shortbread layer may be a little more delicate when warm, so cooling them completely matters even more.
Use Pears for a Softer Filling
Replace half or all of the apples with firm pears if you want a sweeter, softer center. Pears release more juice than apples, so the cornstarch becomes more important here; keep the same amount and don’t slice the fruit too thin.
Cut the Sugar a Little
If your apples are naturally sweet, reduce the granulated sugar in the filling by a couple of tablespoons. Don’t cut the brown sugar in the crust, though — that’s there for texture and caramel depth, not just sweetness.
Storage and Reheating
- Refrigerator: Store covered for up to 5 days. The crust softens slightly in the fridge, but the bars still slice well when chilled.
- Freezer: These freeze well. Wrap individual bars tightly and freeze for up to 2 months, then thaw in the fridge before serving.
- Reheating: Warm a bar in a 300F oven for about 8 minutes if you want the topping to perk back up. The common mistake is microwaving too long, which makes the base soft and the filling loose.
Questions I Get Asked About This Recipe
Apple Crisp Shortbread Bars
Ingredients
Equipment
Method
- Preheat oven to 375F and line a 9x13 pan with parchment for easy lifting.
- Mix all-purpose flour, rolled oats, brown sugar (packed), cinnamon, and salt, then cut in the cold butter until the mixture looks crumbly.
- Reserve 1 cup of the crumbly mixture for the topping.
- Press the remaining mixture firmly into the lined pan to form a base, then bake for 12 minutes.
- Let the hot base sit briefly while you prepare the apples so the topping stays evenly scattered.
- Toss the apple slices with granulated sugar, cinnamon, nutmeg, cornstarch, and lemon juice until evenly coated.
- Layer the spiced apples over the hot base in an even thickness.
- Scatter the reserved crumble over the apples so the top is covered but not fully packed.
- Bake for 30-35 minutes at 375F until the topping is golden and the apples are bubbling.
- Cool the bars completely before slicing to help the layers set.
- Drizzle caramel sauce over the cooled bars to serve.