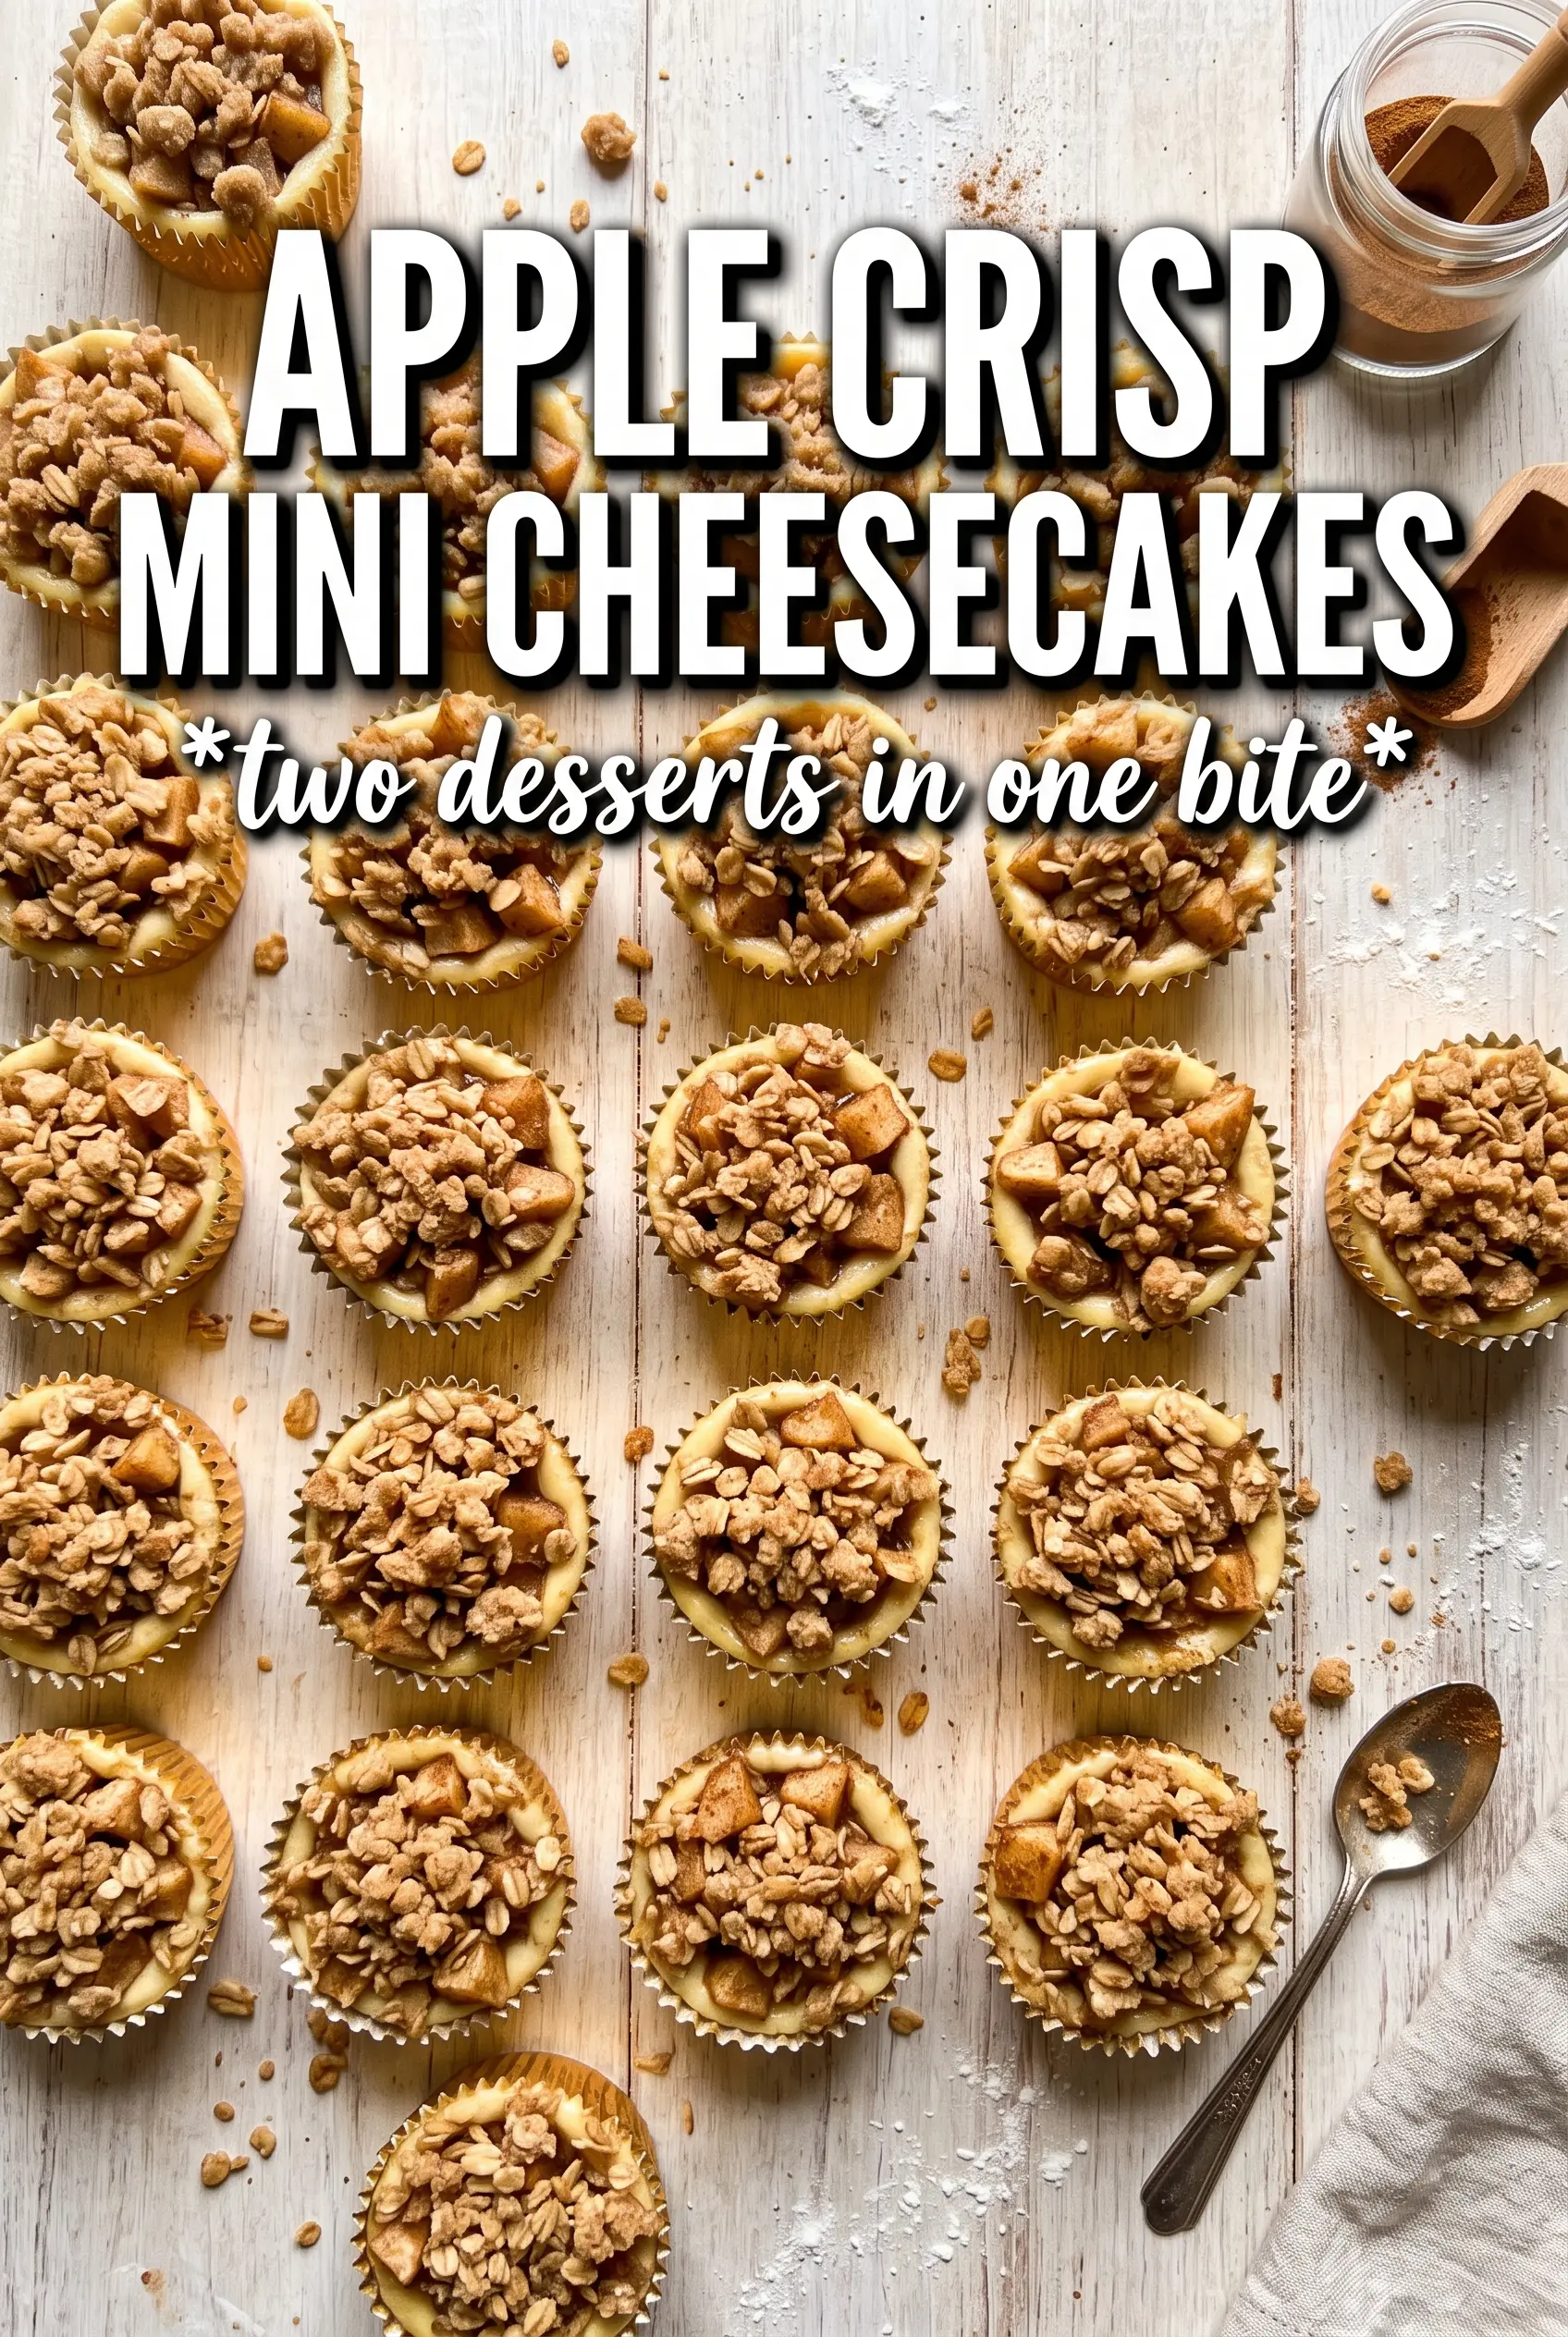
Apple crisp mini cheesecakes hit that sweet spot between creamy dessert and old-school bakery comfort. You get a buttery graham crust, a smooth cinnamon cheesecake layer, soft apples cooked just enough to taste like pie filling, and a golden oat crumble on top that stays crisp instead of sinking into the filling. Each bite has contrast, and that’s what makes these disappear fast.
The part that makes this version work is the order of the layers. The crust gets a quick bake first so it sets before the filling goes in, and the apples are cooked briefly before topping the cheesecakes so they soften without turning watery in the oven. The oat crisp is chilled before baking, which helps it hold those little clumps that give you the real crisp texture instead of sandy crumbs.
Below, I’ll walk through the parts that matter most: keeping the cheesecake smooth, avoiding a soggy topping, and getting clean, bakery-style mini cheesecakes out of a muffin tin without a fight.
The cheesecake stayed creamy, the apple layer wasn’t watery, and the oat topping kept its crunch even after chilling overnight.
Save these apple crisp mini cheesecakes for the dessert nights when you want creamy filling, cinnamon apples, and a crisp oat topping in one neat little bite.
The Key to Mini Cheesecakes That Set Without Overbaking
The biggest mistake with mini cheesecakes is baking them until they look fully firm in the oven. That’s how you end up with dry edges and a center that turns chalky once it chills. These should come out when the edges are set and the middle still has a little wobble, because the residual heat finishes the job as they cool.
The other thing that matters here is the muffin tin setup. Liner-lined cups make it easier to lift the cheesecakes out cleanly, but the filling still needs to be smooth and well mixed before it goes in. Overbeating adds too much air, and that air expands in the oven, then collapses on the way out. Keep the batter smooth, not fluffy.
- Cream cheese — Use full-fat cream cheese at room temperature. Cold cream cheese leaves tiny lumps that never fully disappear, and low-fat versions don’t bake up with the same clean, rich texture.
- Sour cream — This loosens the batter just enough and gives the filling a little tang. Plain Greek yogurt works in a pinch, but it bakes a touch thicker and slightly less silky.
- Cinnamon — There’s cinnamon in the filling, the apples, and the crumble, and that layering matters. It keeps the dessert tasting like apple crisp instead of plain cheesecake with apples on top.
- Apples — Dice them small so they soften quickly and sit neatly on each mini cheesecake. Firmer apples like Granny Smith or Honeycrisp hold up best; soft apples can collapse into sauce.
What Each Ingredient Is Actually Doing in This Recipe
- Primary ingredient (the star) — Quality matters most. Choose the best you can find.
- Cooking medium (oil, butter, or broth) — This carries flavors and prevents dryness.
- Seasonings (salt, pepper, spices, herbs) — Layer flavors so nothing overpowers. Build depth gradually.
- Aromatics (garlic, onion, herbs) — Cook with fat to bloom flavors. Become the foundation.
- Supporting ingredients — Complement the main ingredient without overpowering it.
- Sauce or liquid (if applicable) — Brings flavors together. Balance richness with acid.
- Acid (lemon, vinegar, wine, or other) — Brightens and prevents flat-tasting results.
- Final finish (garnish, glaze, or sauce) — Prevents one-dimensional taste and adds visual appeal.
How the Layers Stay Separate and Crisp
These mini cheesecakes work because each layer is handled on its own timeline. The crust bakes first, the apples are pre-cooked so they release some moisture before they ever hit the oven again, and the oat topping is chilled so it bakes into crunchy nuggets instead of melting into a flat blanket. That order keeps the dessert from turning soggy.
The graham crust needs just enough butter to hold together when pressed, but not so much that it turns greasy. The apple mixture only needs a few minutes on the stove until the pieces start to soften and the sugar melts around them. If the apples still look raw when you top the cheesecakes, they’ll stay too firm after baking and the texture won’t match the creamy filling beneath them.
Pressing and Pre-Baking the Crust
Mix the graham crumbs, melted butter, and sugar until every crumb looks damp, then press the mixture firmly into the liners. A flat-bottomed glass or measuring cup helps you pack the crust evenly without overworking it. That quick 5-minute bake is what keeps the base from crumbling when you peel off the liner later.
Cooking the Apples Until Just Soft
Cook the diced apples with brown sugar, cinnamon, and butter until they start to soften and the pan smells like pie filling. You’re not looking for applesauce; you want pieces that still hold their shape. If the pan looks dry before the apples are tender, add a teaspoon of water, not more butter, or the topping can turn slick.
Building the Filling and Topping in Order
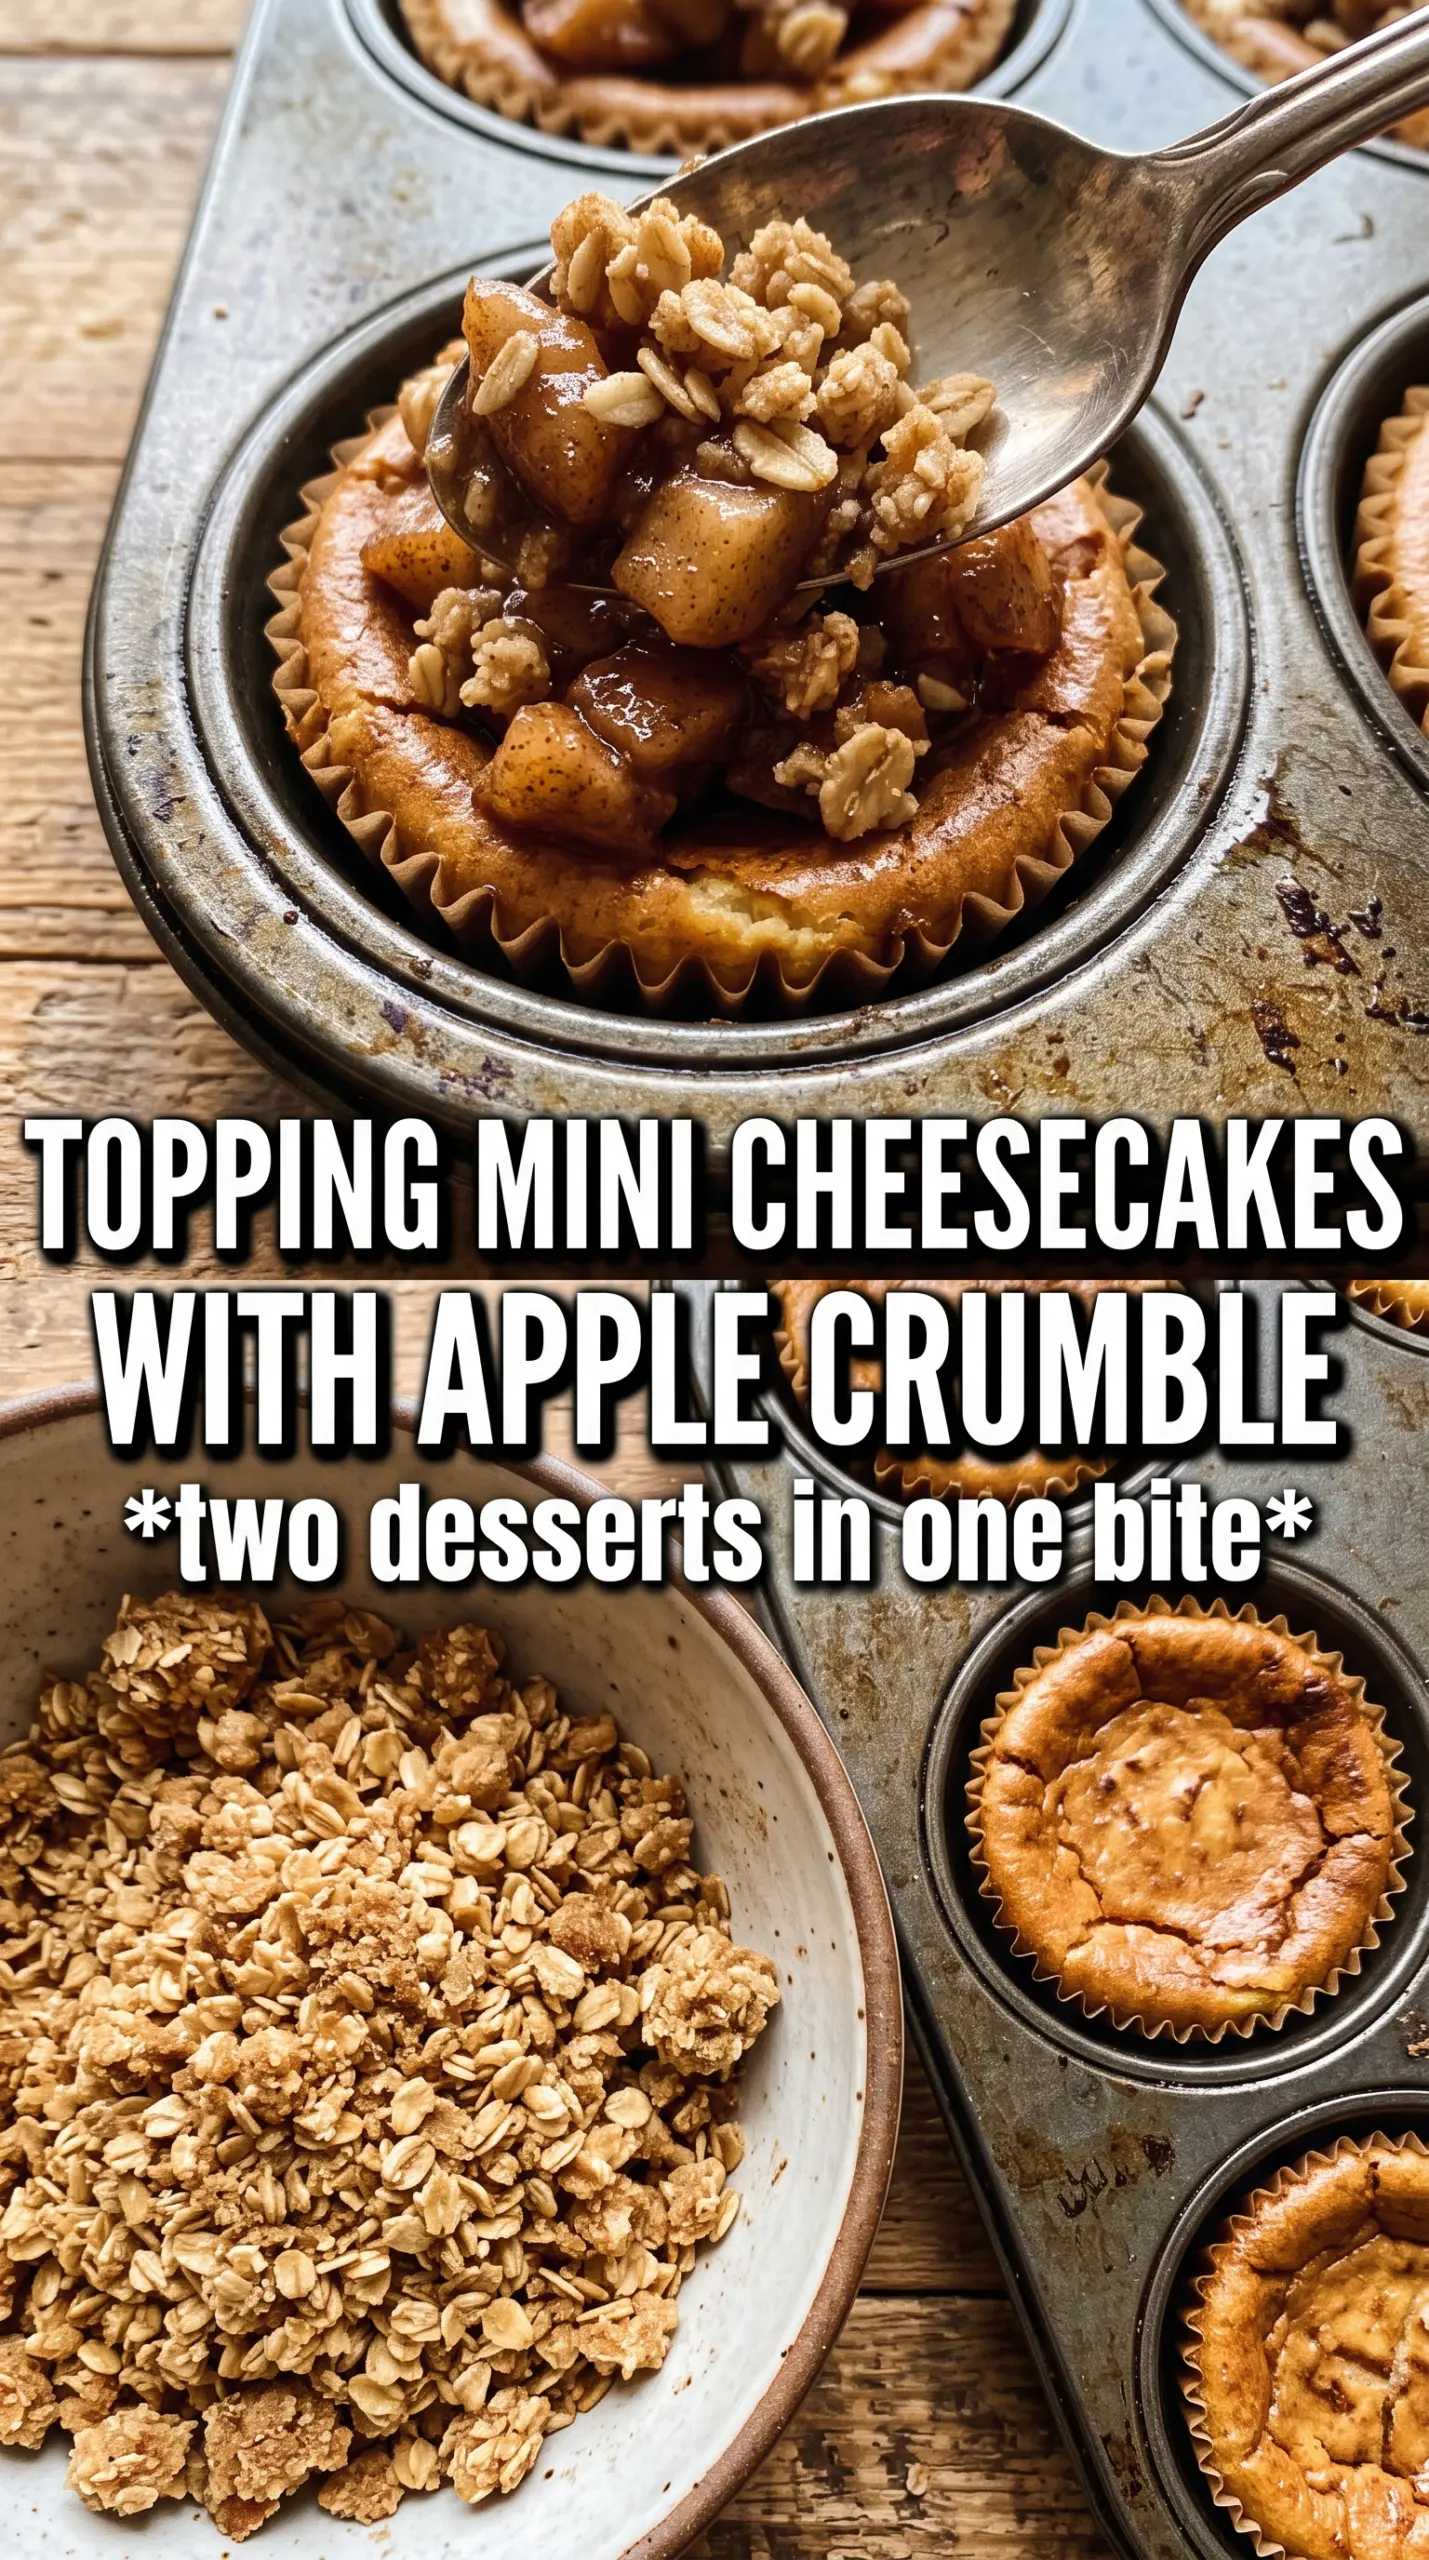
Beat the cheesecake batter only until it’s smooth and the eggs disappear. Divide it evenly so the cheesecakes bake at the same rate, then spoon the apples over the top and finish with the chilled oat crisp. The topping should sit in rough crumbles, not a paste, because those little uneven bits are what toast into a real crisp finish.
Make It Gluten-Free With a Simple Crust Swap
Use gluten-free graham-style crumbs for the crust and swap the flour in the oat topping for a 1:1 gluten-free baking blend. The texture stays close to the original, though the crumble may be a little more delicate once chilled.
Dairy-Free Version That Still Tastes Rich
Use dairy-free cream cheese, plant-based butter, and a thick unsweetened dairy-free yogurt in place of sour cream. The filling won’t be quite as tangy as the original, but it still sets well if the dairy-free cream cheese you choose is firm enough to bake.
Swap the Apples for Pears
Pears work well if you want a softer, floral finish. Cook them a minute less than apples, since they break down faster, and keep the cinnamon in place so the topping still tastes grounded and warm.
Storage and Reheating
- Refrigerator: Store covered for up to 4 days. The topping softens a little, but the flavor stays great.
- Freezer: Freeze fully chilled mini cheesecakes on a tray, then wrap and store for up to 1 month. The crumble loses some crunch after thawing, so freeze only if you’re okay with a softer top.
- Reheating: Serve cold or let them sit at room temperature for 15 to 20 minutes. Don’t microwave them, or the filling turns loose and the topping goes limp.