Apple crisp mini cheesecakes hit that sweet spot between creamy and crunchy, with enough cinnamon to taste like fall without turning heavy. The graham crust stays sturdy, the cheesecake bakes up smooth, and the apple-oat topping adds the kind of texture that keeps you going back for “just one more.” These are the kind of little desserts that disappear fast because they look special and eat even better than they look.
What makes this version work is that each layer gets handled on its own before everything bakes together. The apples are cooked first so they soften and concentrate instead of leaking juice into the filling, and the crumble gets made with cold butter so it bakes into real clusters instead of sandy crumbs. A short bake keeps the centers creamy, then the chill time finishes the job and gives the cheesecakes enough structure to come cleanly out of the liners.
Below, I’ve included the parts that matter most: how to keep the cheesecake filling smooth, how to keep the topping from sinking, and what to change if you need a different crust or a dairy-free version.
The crust held together perfectly and the apple layer stayed tucked on top instead of sinking into the cheesecake. I chilled them overnight, and the texture was spot on the next day.
Save these apple crisp mini cheesecakes for the dessert table nights when you want creamy cheesecake, cinnamon apples, and a buttery oat crumble in one bite.
The Trick to Keeping the Cheesecake Layer Smooth Under the Apple Topping
The biggest mistake with mini cheesecakes is overmixing once the eggs go in. That adds air, and air turns into puffing, cracking, and a filling that can sink as it cools. Beat the cream cheese and sugar until the mixture looks completely smooth first, then add the eggs just until they disappear.
Another thing that matters here is thickness. The apple layer should be cooked until the juices reduce and the fruit loses some of its raw edge, or it will bleed into the cheesecake batter and soften the crust. You want the apples tender, not mushy, and cool enough that they don’t start melting the filling before the pan goes into the oven.
- Softened cream cheese — Cold cream cheese leaves little lumps that never fully smooth out. Let it sit at room temperature until it gives easily when pressed.
- Cooked apples — Raw diced apples release too much moisture in the oven. A quick stovetop cook keeps the topping concentrated and gives you a cleaner finish.
- Cold butter for the crumble — Warm butter makes a paste. Cold butter cut into the dry ingredients creates the sandy, craggy topping that bakes into crisp bits.
What Each Layer Is Doing in These Mini Cheesecakes
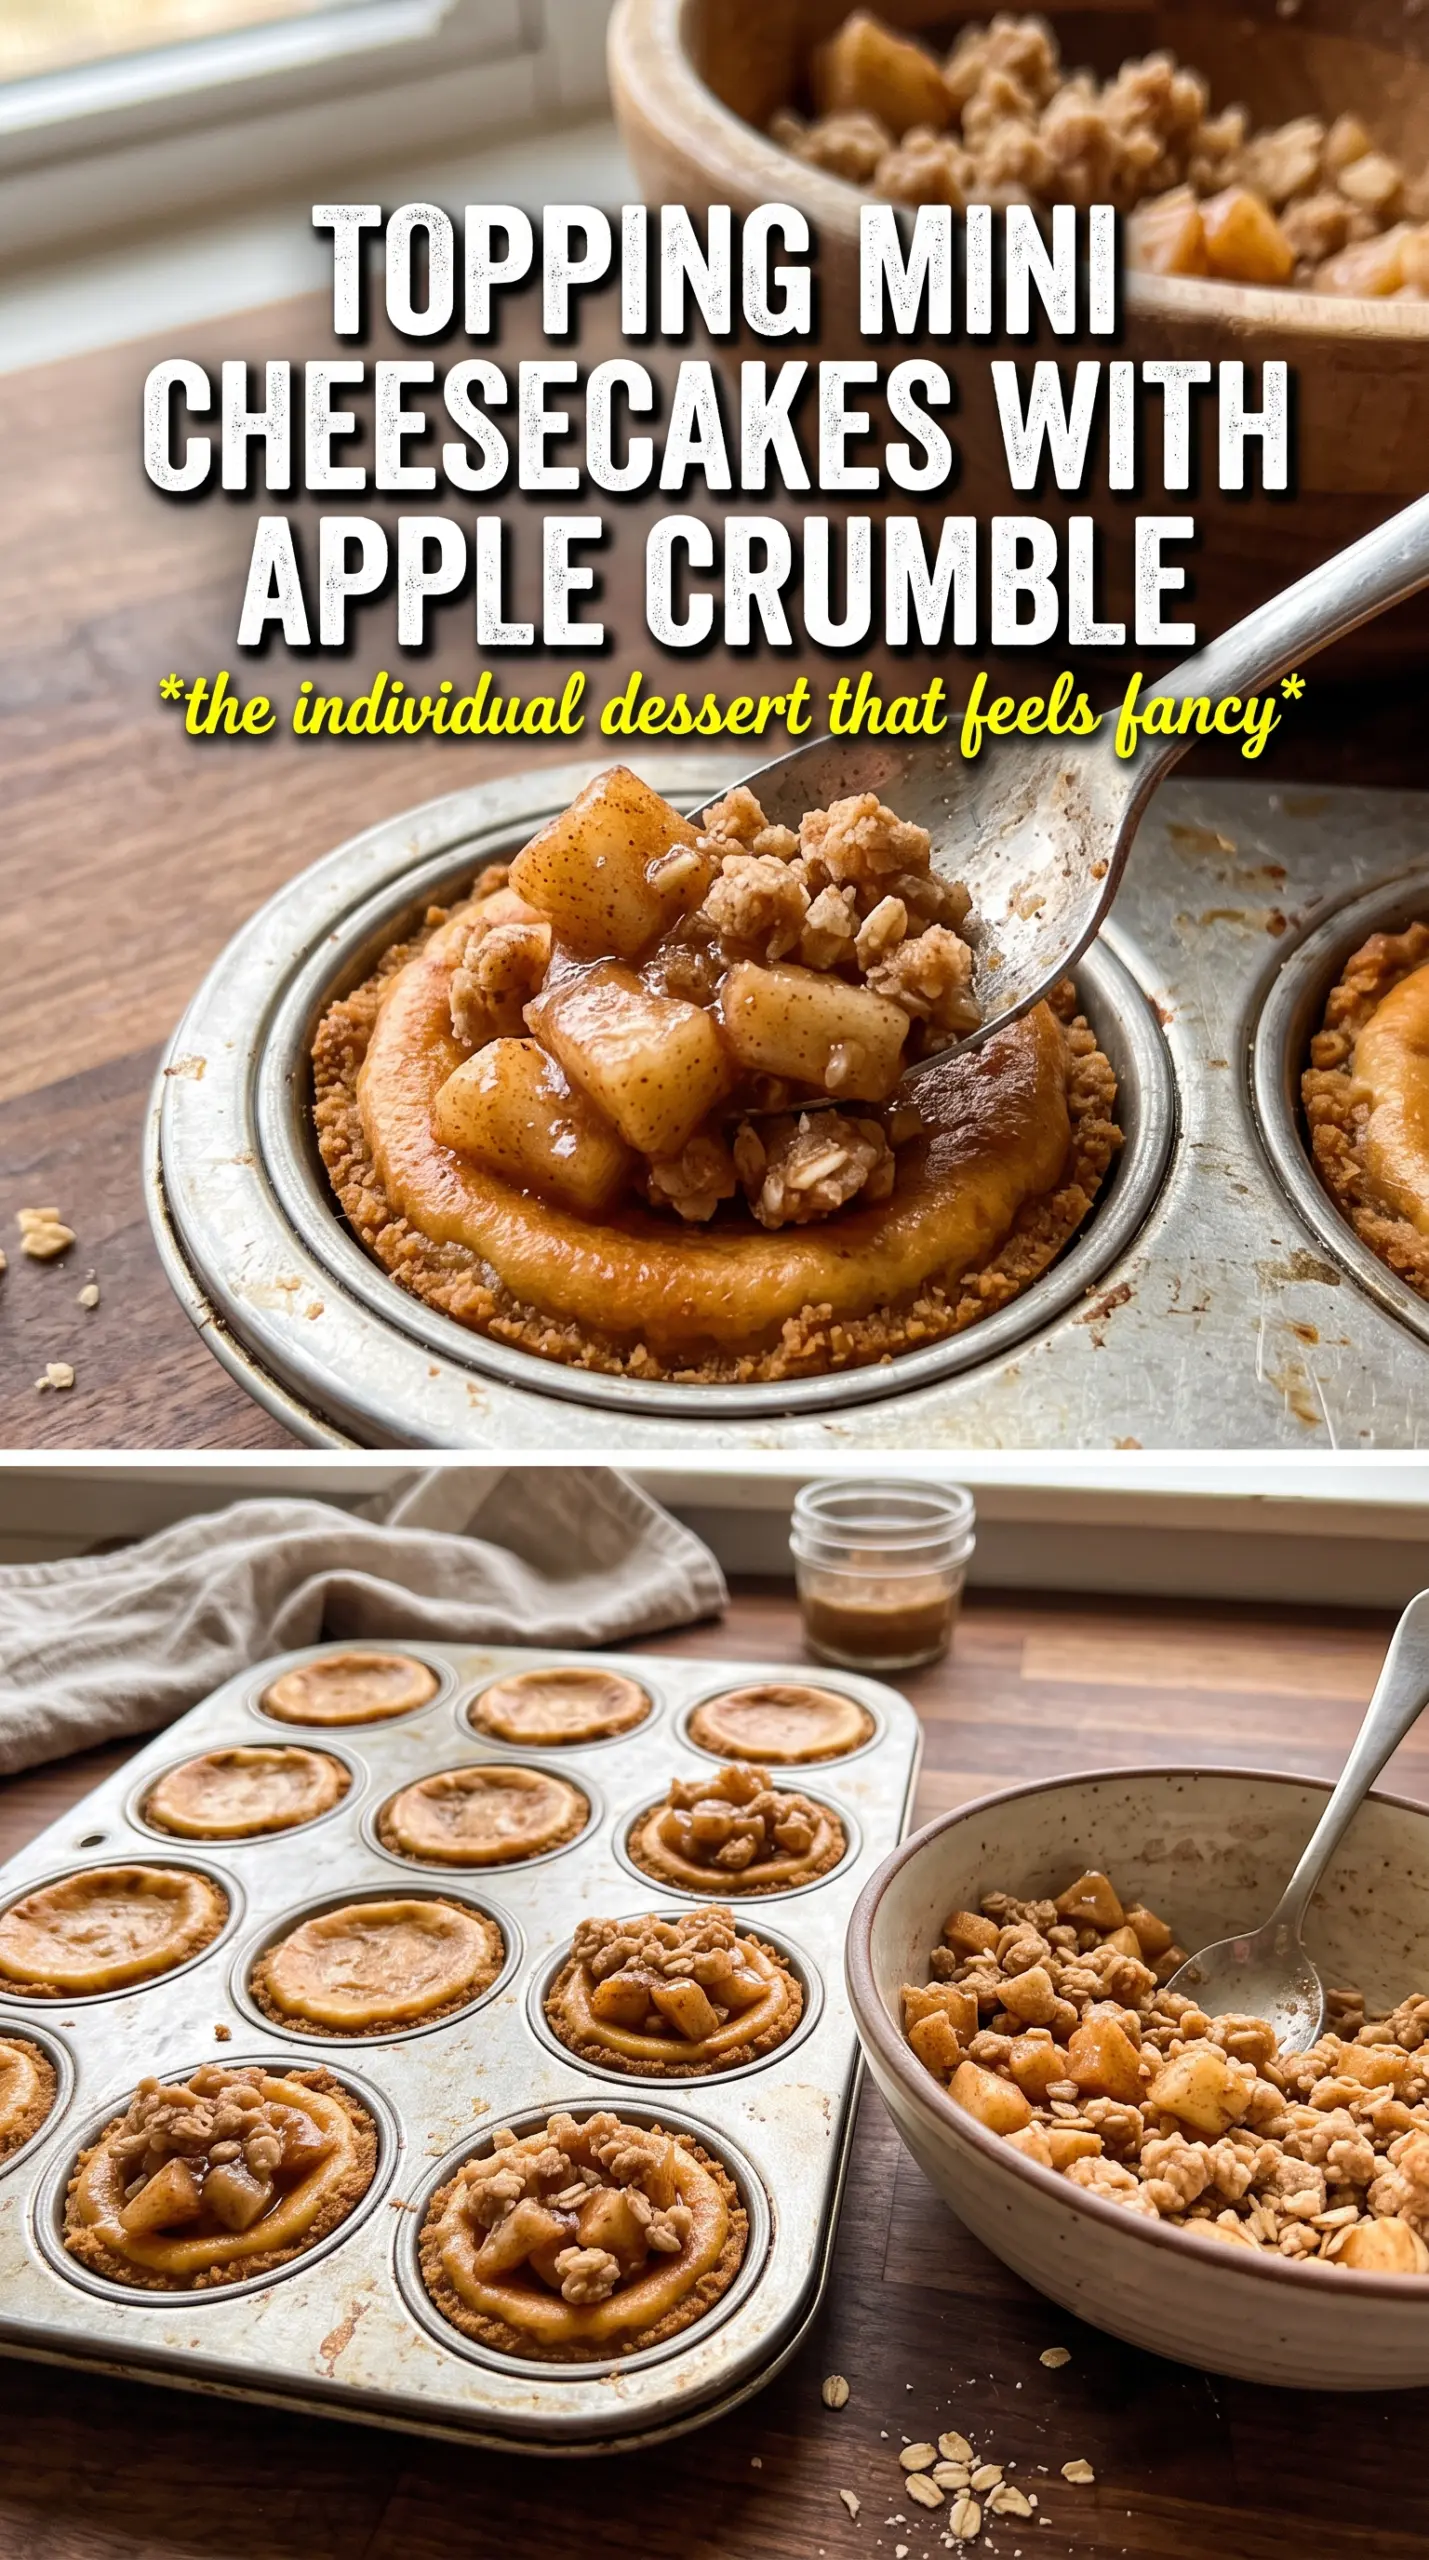
- Graham cracker crumbs — They give you a sweet, sturdy base that stands up to the creamy filling. Fine crumbs pack better than coarse ones, so pulse or crush them until they feel like wet sand once mixed.
- Sour cream — This keeps the filling tangy and soft without thinning it out. Full-fat sour cream gives the best texture, but plain Greek yogurt will work in a pinch with a slightly firmer finish.
- Cinnamon — It ties the apple layer and cheesecake together so the dessert tastes unified instead of stacked. Use fresh cinnamon if you can; older spice fades fast in a dessert like this.
- Oats — They give the topping that true crisp texture. Quick oats work, but old-fashioned oats hold more shape and bake into a better crumb if you have them.
Building the Cups So the Topping Stays Crisp
Pressing and Par-Baking the Crust
Mix the graham crumbs, melted butter, and sugar until every crumb looks evenly moistened, then press the mixture firmly into the liners. A flat-bottomed measuring cup makes this easier and keeps the base even from cup to cup. Bake the crusts for 5 minutes so they set before the filling goes in; if you skip that short bake, the bottoms can turn soggy once the cheesecake mixture hits them.
Cooking the Apples First
Cook the diced apples with butter, brown sugar, and cinnamon until the pieces soften and the pan looks glossy, not watery. The fruit should still hold its shape. If there’s a puddle of liquid left in the pan, keep cooking for another minute or two, because that extra moisture is what makes the topping slide around and the crust soften.
Filling, Topping, and Baking to the Right Set
Fill each crust nearly to the top, then spoon the apples over the cheesecake mixture before adding the crumble. The cups will look very full, but they bake down slightly and settle as they cool. Pull them from the oven when the centers still have a slight jiggle in the middle; if you wait for them to look fully firm, they’ll end up dry after chilling.
Make Them Gluten-Free
Swap the graham crackers for certified gluten-free graham-style crumbs or gluten-free vanilla cookie crumbs. Replace the flour in the crumble with a 1:1 gluten-free baking blend so the topping still clumps instead of turning dusty.
Dairy-Free Version
Use dairy-free cream cheese, plant-based butter, and coconut or almond milk yogurt in place of the sour cream. The texture will be a little softer and the tang will change slightly, but the mini cheesecakes still bake up neatly if you chill them fully.
Turn the Apples Into Pears
Pear pieces work well if you want a softer, more floral filling. Use firm pears and cook them the same way you would the apples, but shorten the stovetop time a little so they don’t collapse into jam.
Storage and Reheating
- Refrigerator: Store in an airtight container for up to 4 days. The crumble softens a little, but the flavor stays great.
- Freezer: Freeze after chilling, uncovered until firm, then wrap individually and store for up to 1 month. Thaw overnight in the fridge for the best texture.
- Reheating: These are best served cold or lightly cool, not warm. If you want to take the chill off, let them sit at room temperature for 15 to 20 minutes; microwaving will soften the crust and collapse the topping.
Answers to the Questions Worth Asking
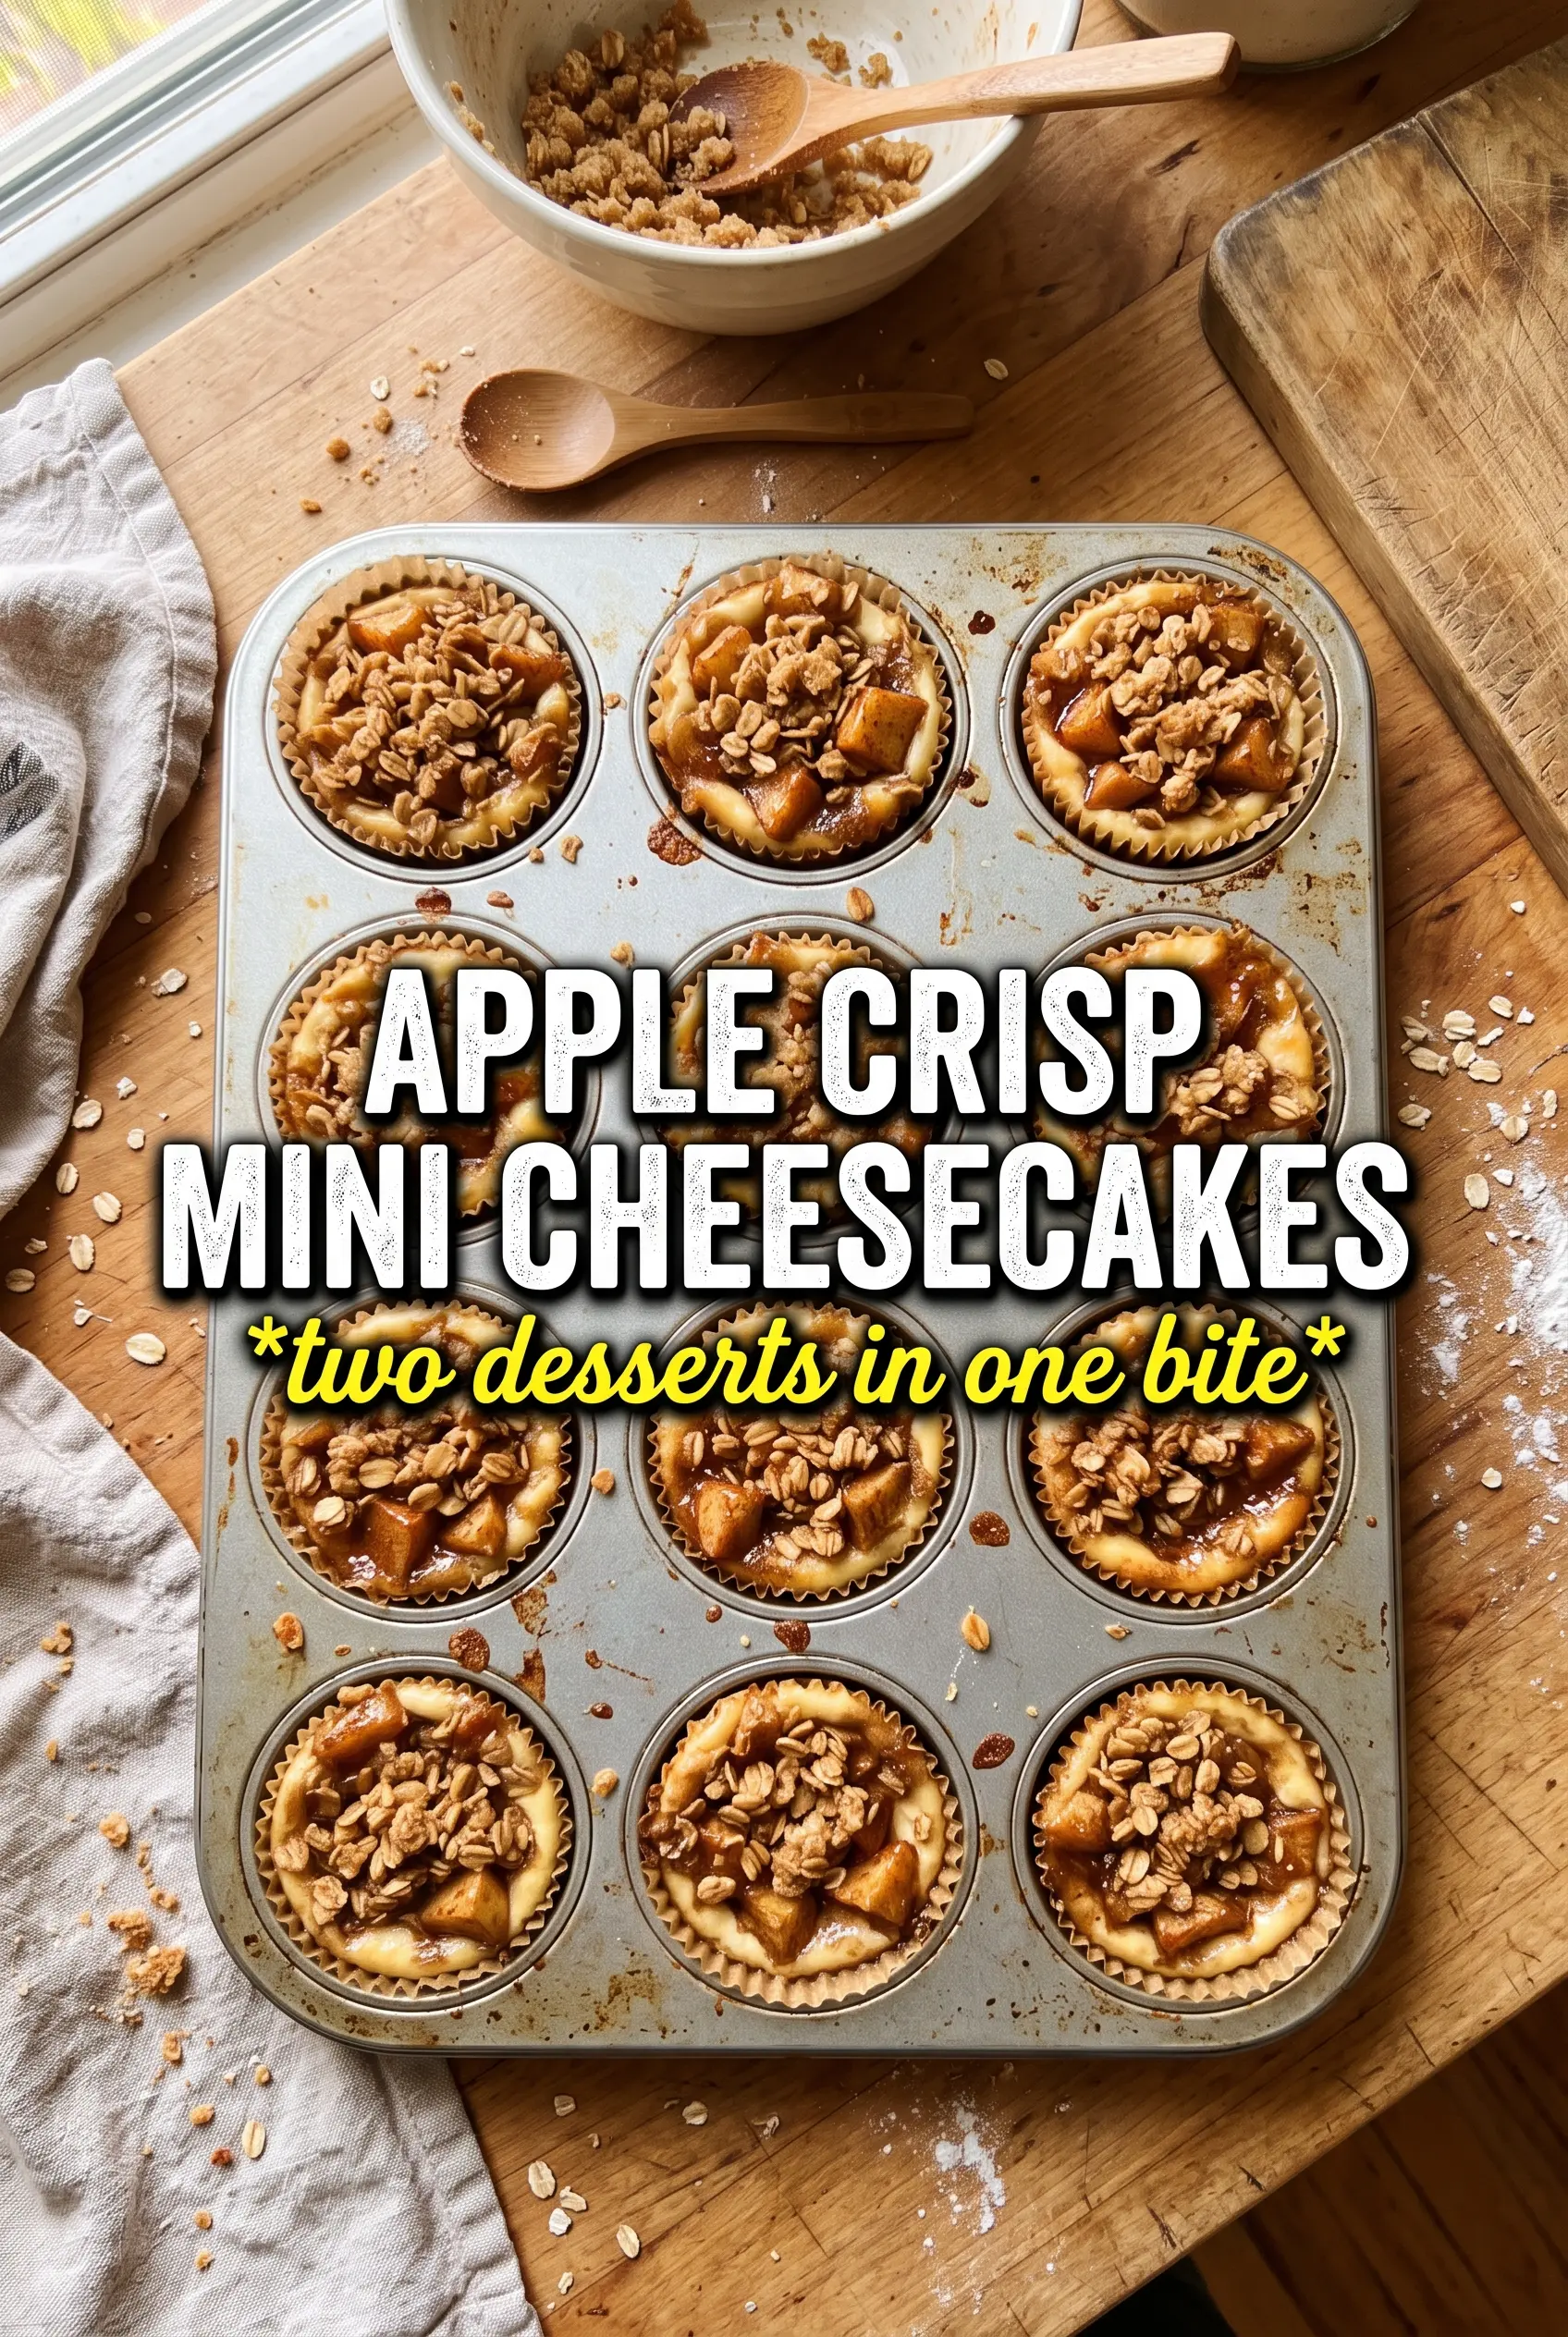
Apple Crisp Mini Cheesecakes
Ingredients
Equipment
Method
- Preheat the oven to 325F and line a 12-cup muffin tin with cupcake liners. Set the tin on a sheet pan to make it easier to move in and out of the oven.
- Combine graham cracker crumbs, melted unsalted butter, and sugar, then press firmly into each liner. The crust should look packed and even on the bottom of each cup.
- Bake the crusts for 5 minutes at 325F. Look for a lightly set, fragrant crust before removing.
- Cook the diced apples with butter, brown sugar, and cinnamon for 5 minutes. Stir until the apples are softened and glossy, then cool completely.
- Beat softened cream cheese and granulated sugar until smooth. The mixture should be creamy with no visible lumps.
- Add the eggs, sour cream, vanilla, and cinnamon to the cream cheese mixture, then beat until fully combined. Scrape the sides as needed for an even batter.
- Fill each baked crust with cheesecake mixture and top with the cooked apples. Keep apple pieces centered so they don’t sink too far into the filling.
- Make mini crumble by mixing oats, flour, brown sugar, cinnamon, and cold butter until it forms uneven sandy clumps. Scatter the crumble over each cheesecake with a gentle hand.
- Bake for 20 to 22 minutes at 325F until the centers are just set. You should see a slight jiggle in the middle when the pan is tapped.
- Refrigerate for 3 hours to chill completely before serving. The tops will look firm and the filling will slice cleanly.