Apple crisp cheesecake gives you the best parts of two desserts in one clean slice: a buttery graham crust, a silky cinnamon cheesecake layer, tender spiced apples, and a crumbly oat topping that bakes into golden little clusters. The contrast is what makes it worth the extra step. You get creamy, crisp, soft, and crunchy all in the same bite.
The key is treating each layer like it has a job. The apples are cooked just enough to soften and release some juice before they ever go into the oven, which keeps them from tasting raw later. The cheesecake batter stays simple and smooth, and the water bath keeps the filling from drying out or cracking while the crisp topping turns deeply golden.
Below, I’ve included the parts that matter most: how to keep the crust from getting soggy, how to tell when the center is set without overbaking it, and how to slice it cleanly after chilling.
The cheesecake stayed perfectly creamy, and the oat topping stayed crisp even after chilling overnight. I liked that the apples weren’t watery at all.
Save this Apple Crisp Cheesecake for the dessert nights when you want a creamy center, cinnamon apples, and a buttery oat crumble in one slice.
The Water Bath Is What Keeps the Center Creamy, Not Grainy
Cheesecake cracks when the edges race ahead of the center. The water bath slows that down, which is why this dessert sets with a smooth middle instead of a dry ring around the pan. It also helps the apple crisp topping bake without blasting the filling with direct heat from the oven.
The other mistake is overbaking. This cheesecake should still have a slight wobble in the center when you pull it out. If the whole pan looks firm, it’s already gone too far. The residual heat finishes the job during cooling.
What Each Layer Is Doing in This Dessert
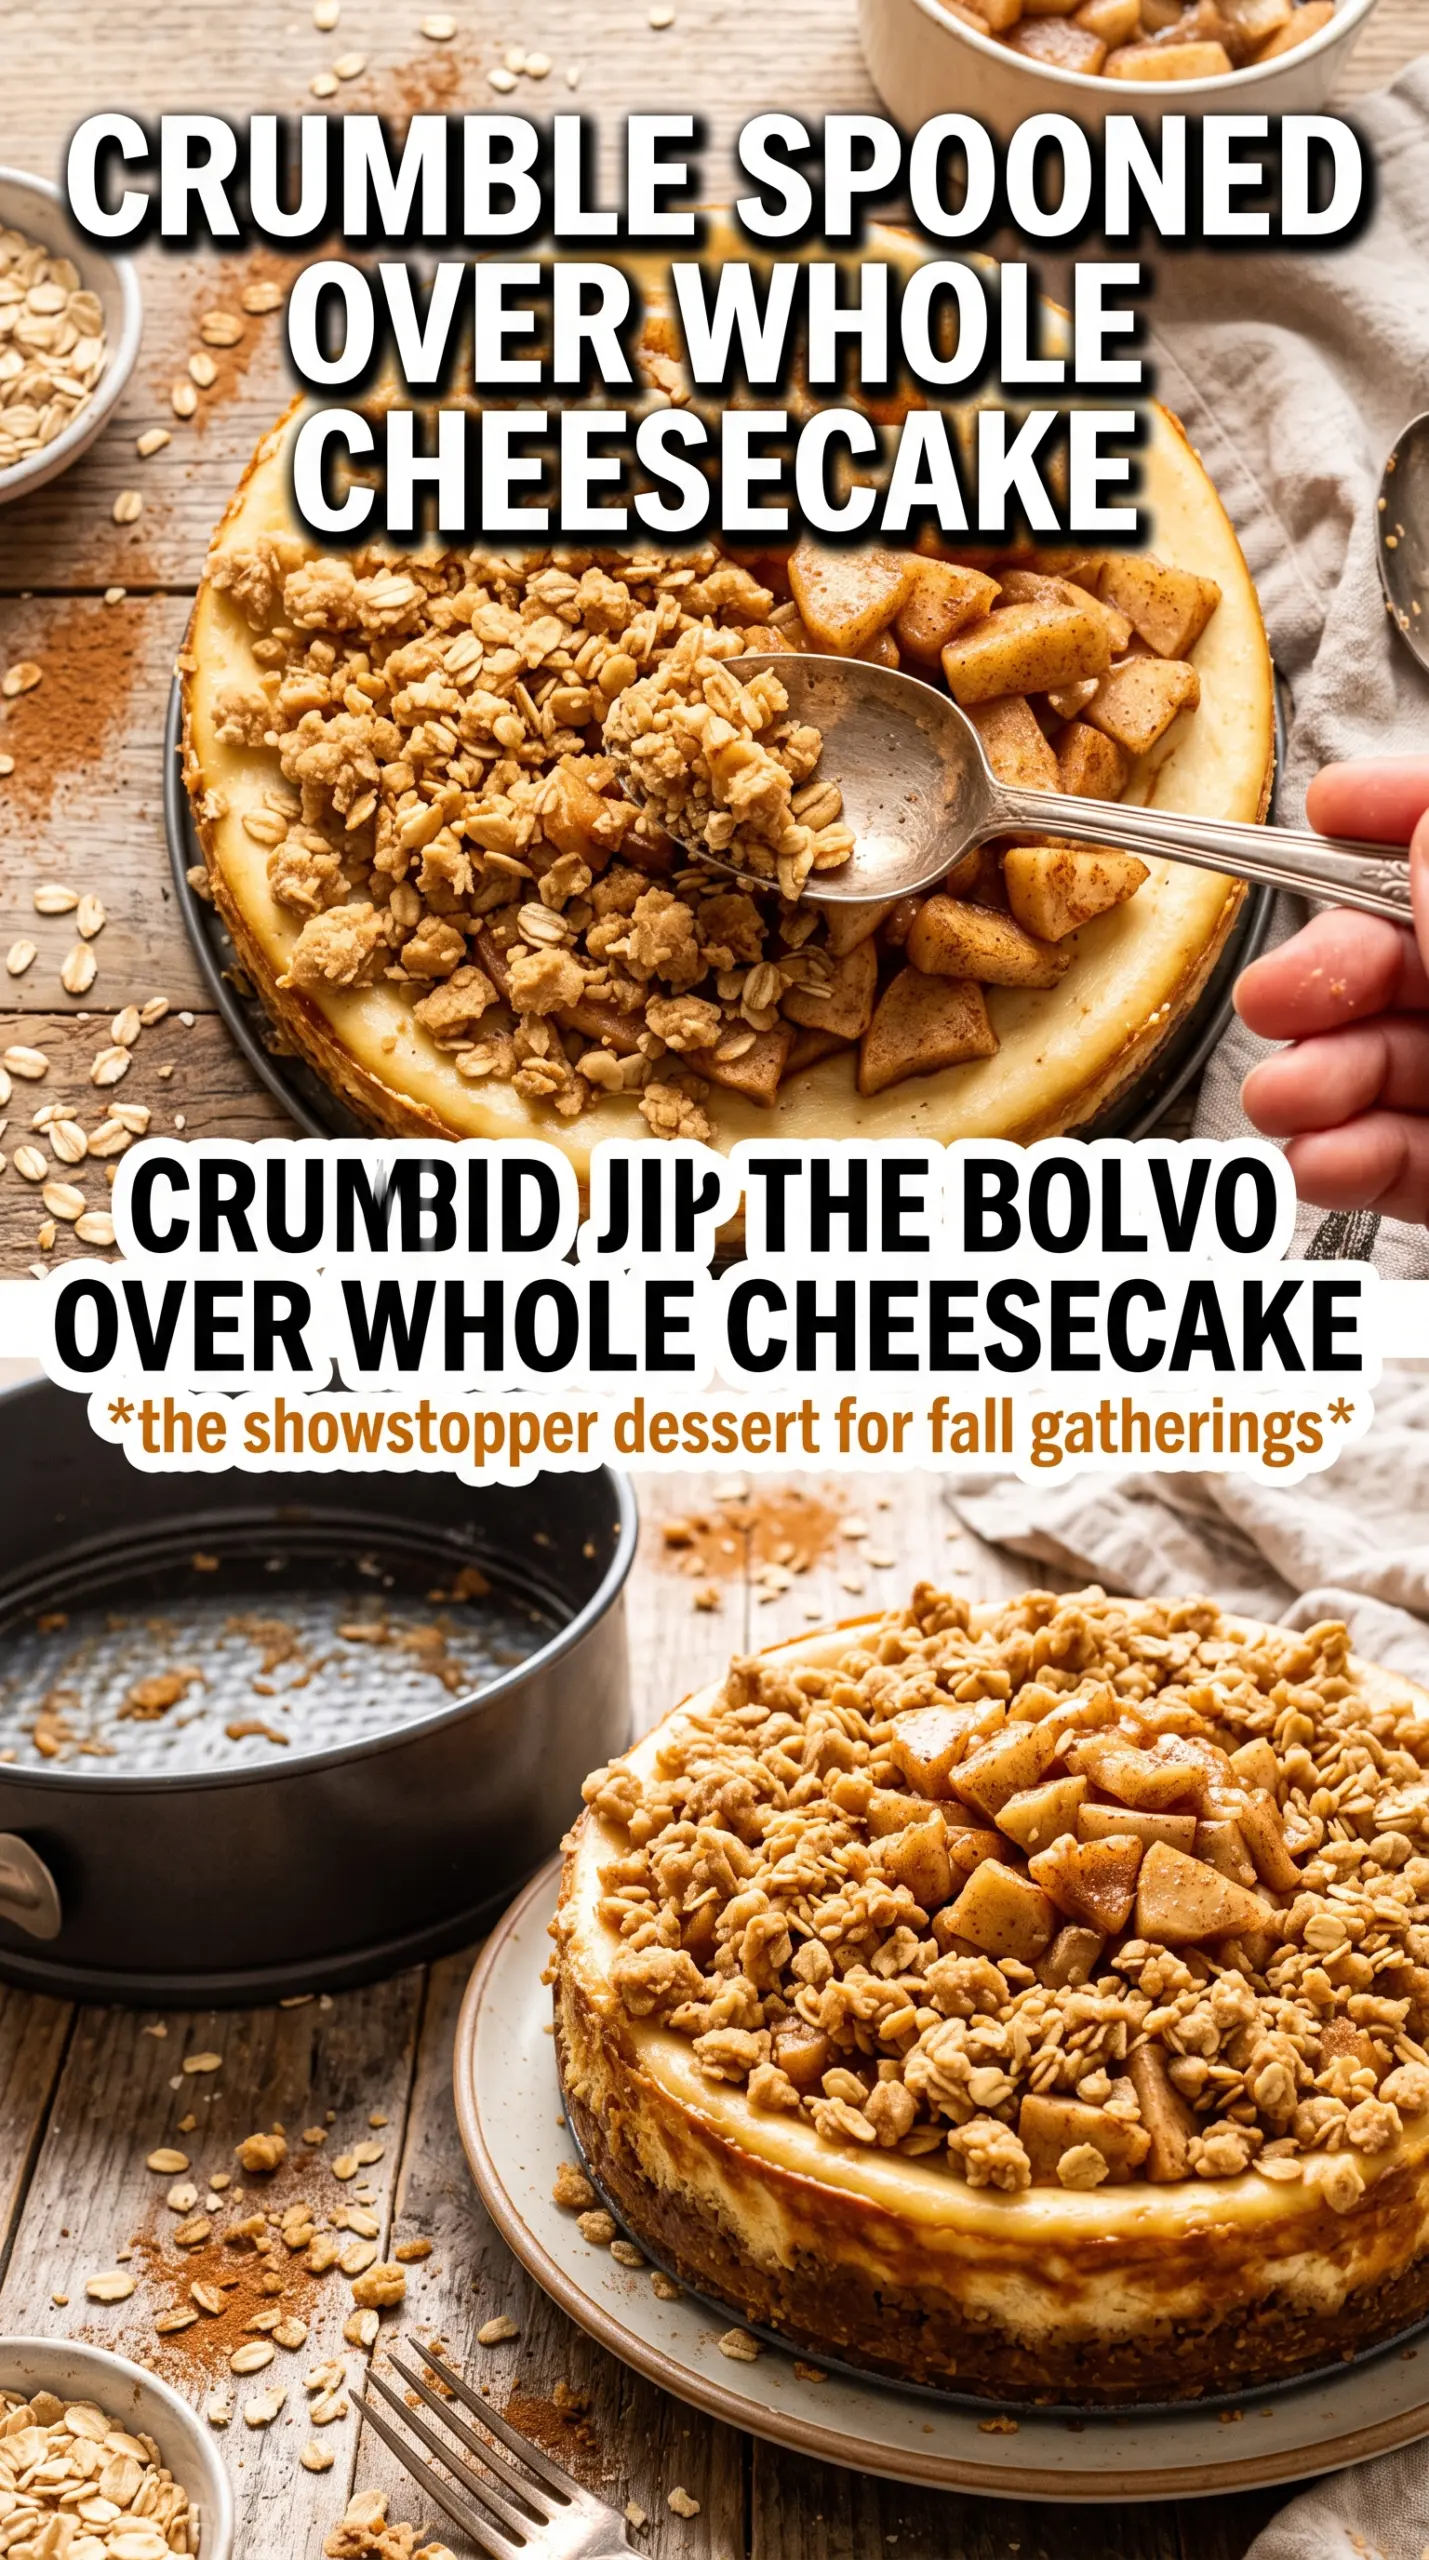
- Graham cracker crumbs — These give you a sturdy, sweet base that stands up to the creamy filling. A fine crumb packs best, so pulse or crush them until they look like wet sand.
- Cream cheese — Full-fat cream cheese is nonnegotiable here. Low-fat versions carry more water and can bake up soft or loose.
- Sour cream — This adds tang and a softer texture to the filling. Plain Greek yogurt works in a pinch, but it will taste a little sharper.
- Apples — A firmer baking apple holds its shape after the quick stovetop cook. If your apples are very juicy, cook them a minute longer so the filling doesn’t get watery.
- Rolled oats — Old-fashioned oats give the topping its crisp, nubby texture. Quick oats will work, but the crumble will read finer and less rustic.
- Cold butter — This is what makes the topping clump instead of melting into dust. Cube it cold and cut it in until you have uneven crumbs with a few larger pieces.
Building the Layers Without Letting Them Bleed Together
Pressing and Baking the Crust
Mix the graham crumbs, sugar, and melted butter until every crumb looks damp, then press it firmly into the springform pan. A flat-bottomed measuring cup helps you pack the edges and bottom evenly. Bake it for 8 minutes just to set it; if you skip that step, the crust can turn sandy once the cheesecake filling goes in.
Softening the Apples First
Cook the diced apples with butter, brown sugar, and cinnamon until they’ve just lost their raw edge and the pan smells like pie filling. You’re not trying to make applesauce. Let them cool before layering, because hot apples can start melting the cheesecake batter around them and make the top uneven.
Mixing a Smooth Cheesecake Filling
Beat the cream cheese and sugar until the mixture is completely smooth before adding anything else. Scrape the bowl well, then add the eggs one at a time on low speed. If you whip in too much air, the cheesecake can puff in the oven and sink as it cools.
Finishing With the Oat Crumble
Use your fingers or a pastry cutter to work the cold butter into the oats, flour, brown sugar, and cinnamon until the mixture forms clumps. Scatter it over the apples in loose handfuls so it bakes into craggy pieces instead of one solid lid. That uneven topping is what gives each bite its crunch.
Make It Gluten-Free With a Simple Crust and Crumble Swap
Use gluten-free graham-style crumbs for the crust and a 1:1 gluten-free flour blend in the oat topping. The texture stays close to the original, though the crumble may bake a little more delicately, so don’t overwork the butter into a paste.
Dairy-Free Version That Still Holds Its Shape
Use dairy-free cream cheese, plant-based butter, and a thick dairy-free yogurt in place of sour cream. The filling won’t taste exactly the same, but it still bakes into a sliceable cheesecake if the replacement cream cheese is firm and not overly soft.
A Sweeter, More Pie-Like Apple Layer
If you want the apples to taste more like classic apple crisp, add a pinch of nutmeg and a small squeeze of lemon juice while they cook. The lemon keeps the sweetness from flattening out, and the nutmeg gives the filling a warmer bakery-style finish.
Storage and Reheating
- Refrigerator: Store covered for up to 5 days. The topping softens a little, but the flavor stays great.
- Freezer: Freeze whole or in slices, wrapped tightly, for up to 2 months. Thaw overnight in the refrigerator for the cleanest texture.
- Reheating: Eat it chilled or let slices sit at room temperature for 20 to 30 minutes. Don’t microwave it if you want the topping to stay crisp; the heat turns the crumble soft fast.
Answers to the Questions Worth Asking
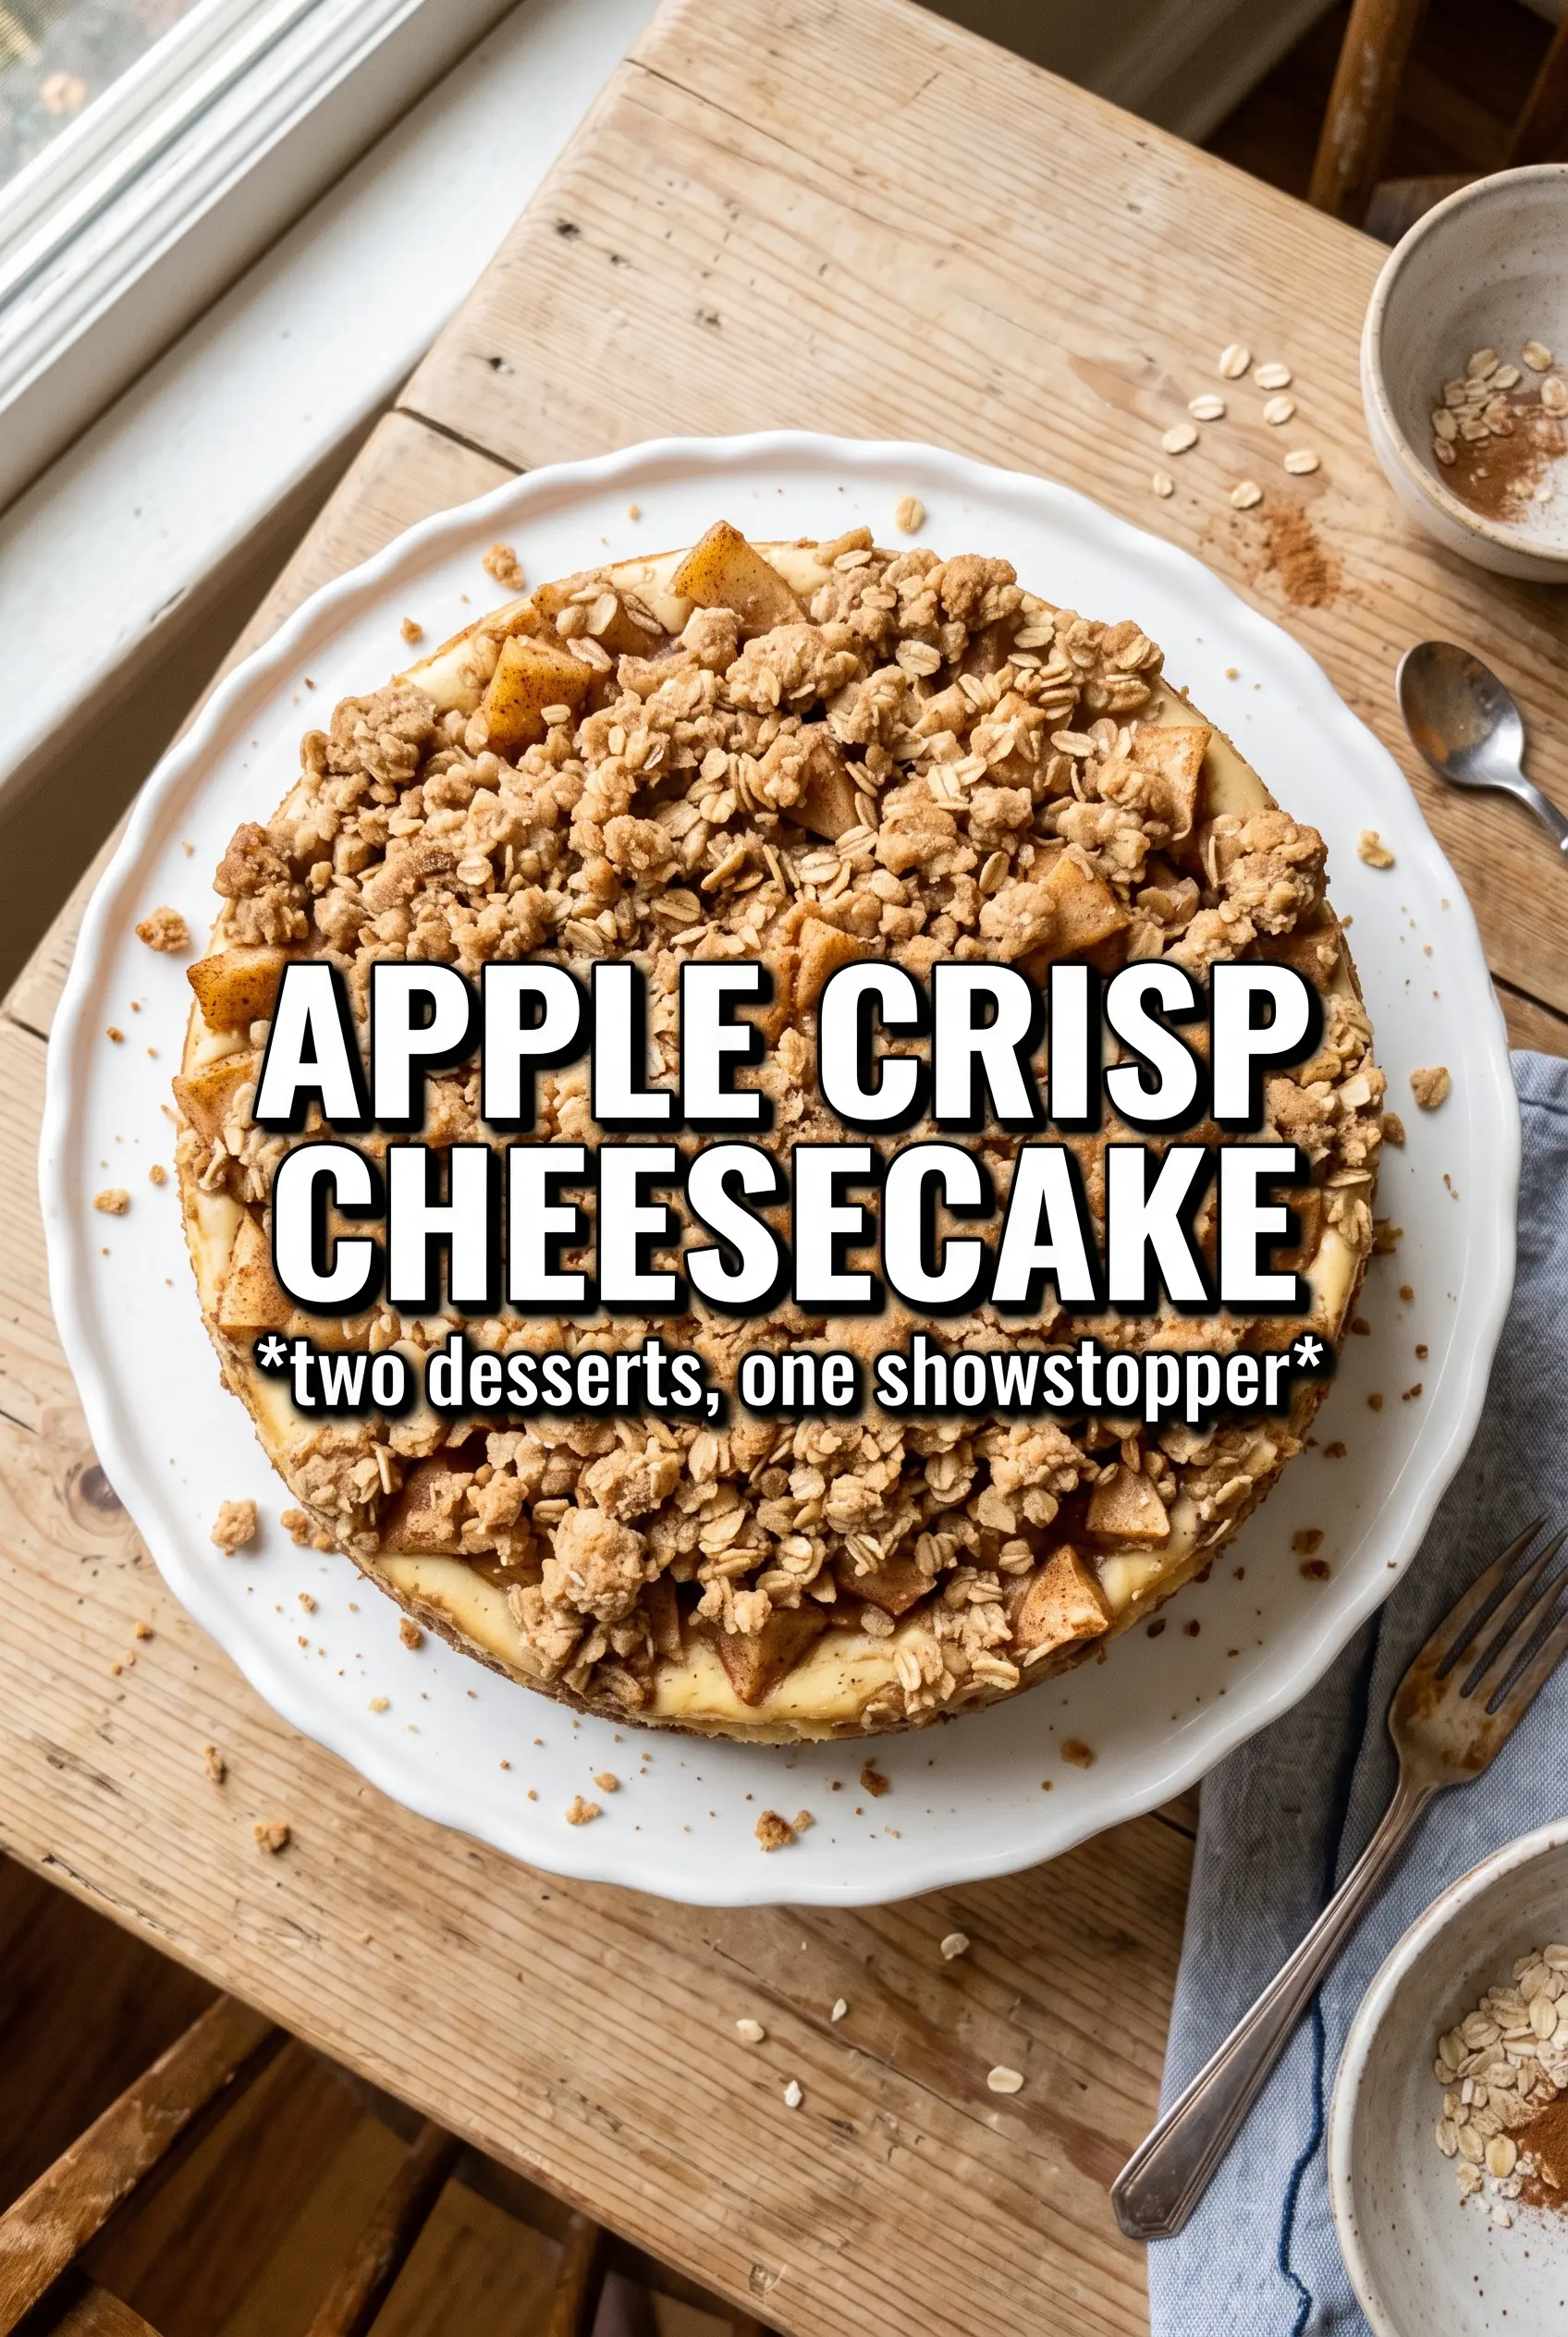
Apple Crisp Cheesecake
Ingredients
Equipment
Method
- Preheat oven to 325F. Press graham cracker crumbs mixture with sugar and melted unsalted butter into a 9-inch springform pan, then bake for 8 minutes for a set crust.
- Cook diced apples with butter, brown sugar, and cinnamon for 5 minutes, until softened. Cool the apple mixture completely so it doesn’t loosen the cheesecake batter.
- Beat cream cheese and granulated sugar until smooth. Add eggs one at a time, then mix in sour cream, vanilla, and cinnamon until fully combined and creamy.
- Pour the cheesecake filling over the baked crust. Top with the cooked apples in an even layer.
- Combine rolled oats, flour, brown sugar, and cinnamon, then cut in cold butter until clumpy. Scatter the oat crisp topping over the apples so the surface is covered.
- Place the springform pan in a water bath setup on a sheet pan and bake for 60-65 minutes at 325F, until the center is just set. Look for a slight jiggle in the middle while the edges look firm.
- Cool the cheesecake completely at room temperature until no longer warm in the center. Refrigerate for 6 hours before releasing from the springform pan and slicing for clean cuts.