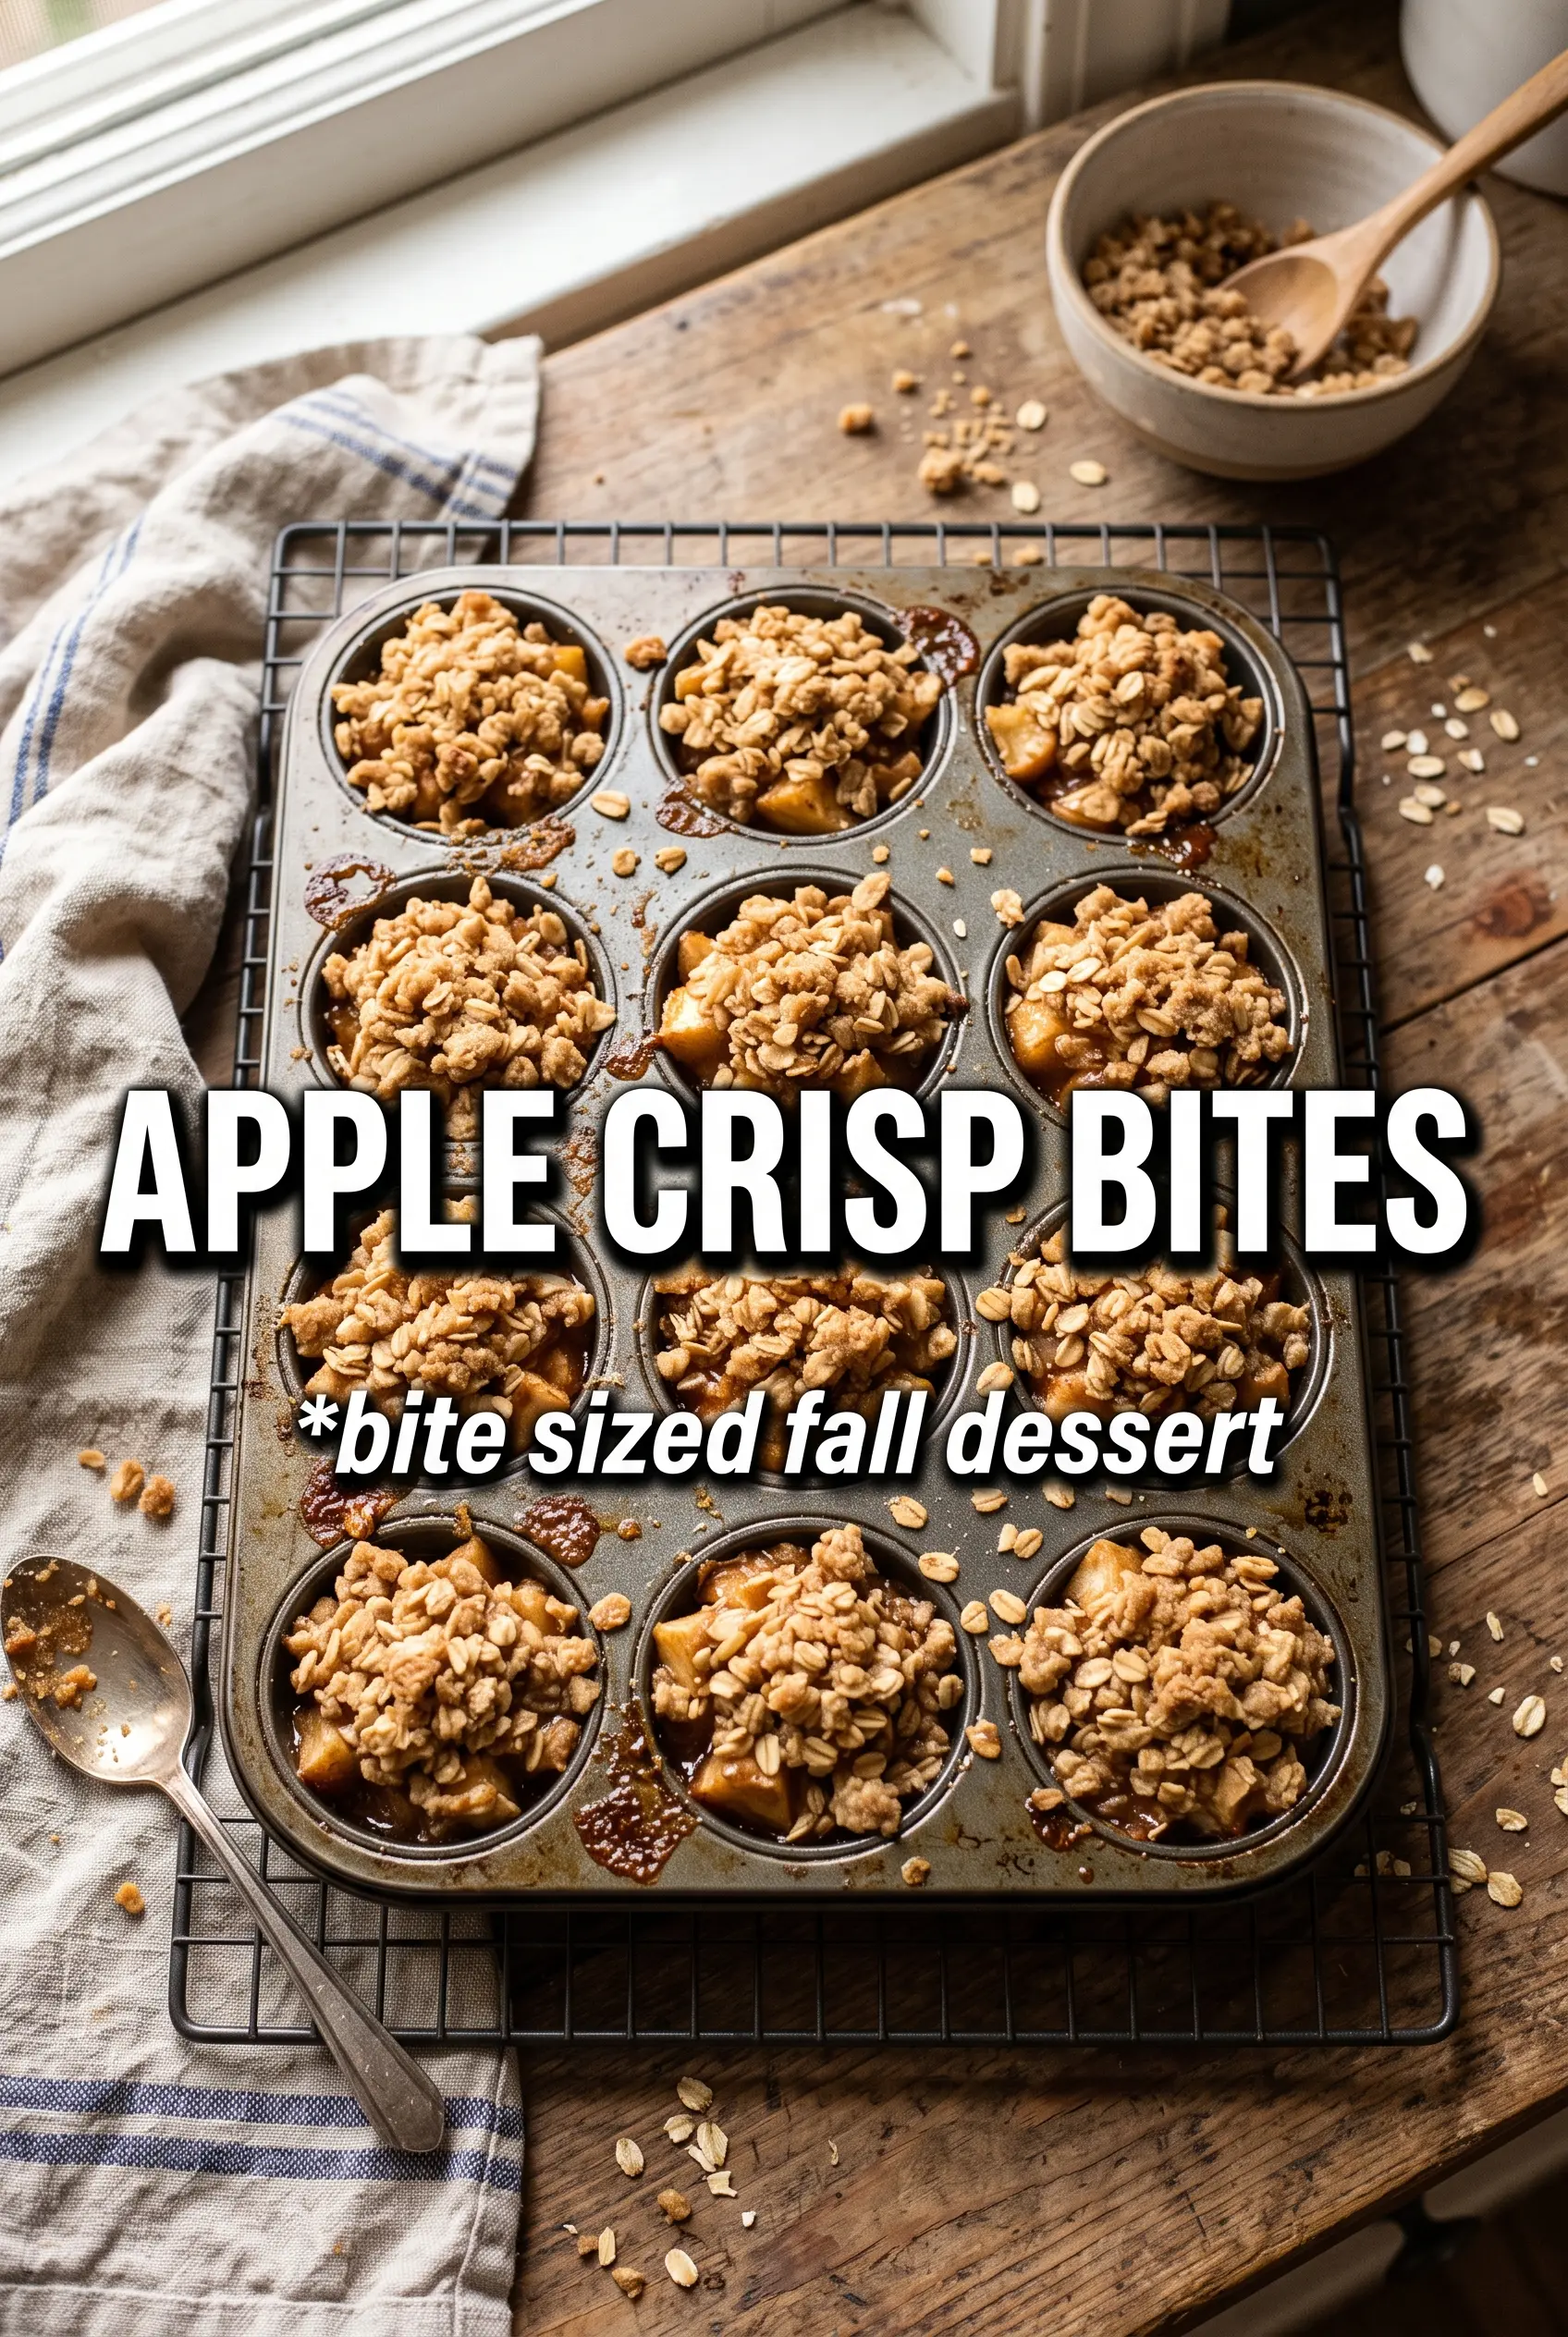
Apple Crisp Bites bake up like the best parts of apple pie and crumbly crisp in one neat little two-bite dessert. The shortbread shell turns tender and buttery, the apple filling cooks down into a thick, cinnamon-scented center, and the oat topping stays crisp enough to give each bite a real contrast. They’re the kind of dessert that disappears fast because they taste like you worked harder than you did.
What makes these work is the layering. The apples are cooked before they go into the cups, which keeps the filling from turning watery in the oven. The shortbread base gets pressed in cold and thin, so it bakes through without becoming tough, and the oat crumble uses cold butter for those little nubby bits that brown instead of melting flat. A drizzle of caramel at the end ties everything together without drowning the texture.
Below, you’ll find the trick for getting the mini tart shells out of the pan cleanly, plus a few swaps if you want to use different apples or make them ahead for a party tray.
The apple filling thickened up perfectly, and the oat topping stayed crisp even after they cooled. I brought them to a potluck and the mini muffin tin was scraped clean in minutes.
Love the crisp oat topping and buttery shortbread cups? Save these Apple Crisp Bites for the next time you want a mini dessert that looks fancy and bakes cleanly in a muffin tin.
The Trick to Keeping Mini Crisp Bites from Going Soggy
The filling has to be cooked before it ever touches the crust. Raw diced apples release juice in the oven, and in a tiny cup that extra liquid has nowhere to go. A quick stovetop cook with cornstarch thickens the juices before baking, so the center stays jammy instead of wet.
The other part that matters is the shell. Cold butter gives the shortbread structure, and pressing it into the cups while it’s still crumbly keeps the crust tender instead of dense. If the dough feels sticky, it usually means the butter warmed up too much; chill it for a few minutes before filling the tin.
- Cook the apples until the spoon leaves a trail in the pan. That’s your sign the cornstarch has started to do its job.
- Pack the shortbread thinly and evenly. Thick shells bake up tough before the centers finish.
- Let the filling cool a bit before spooning it in. Hot filling softens the crust and makes the bites harder to remove cleanly.
What Each Layer Is Doing in These Apple Crisp Bites
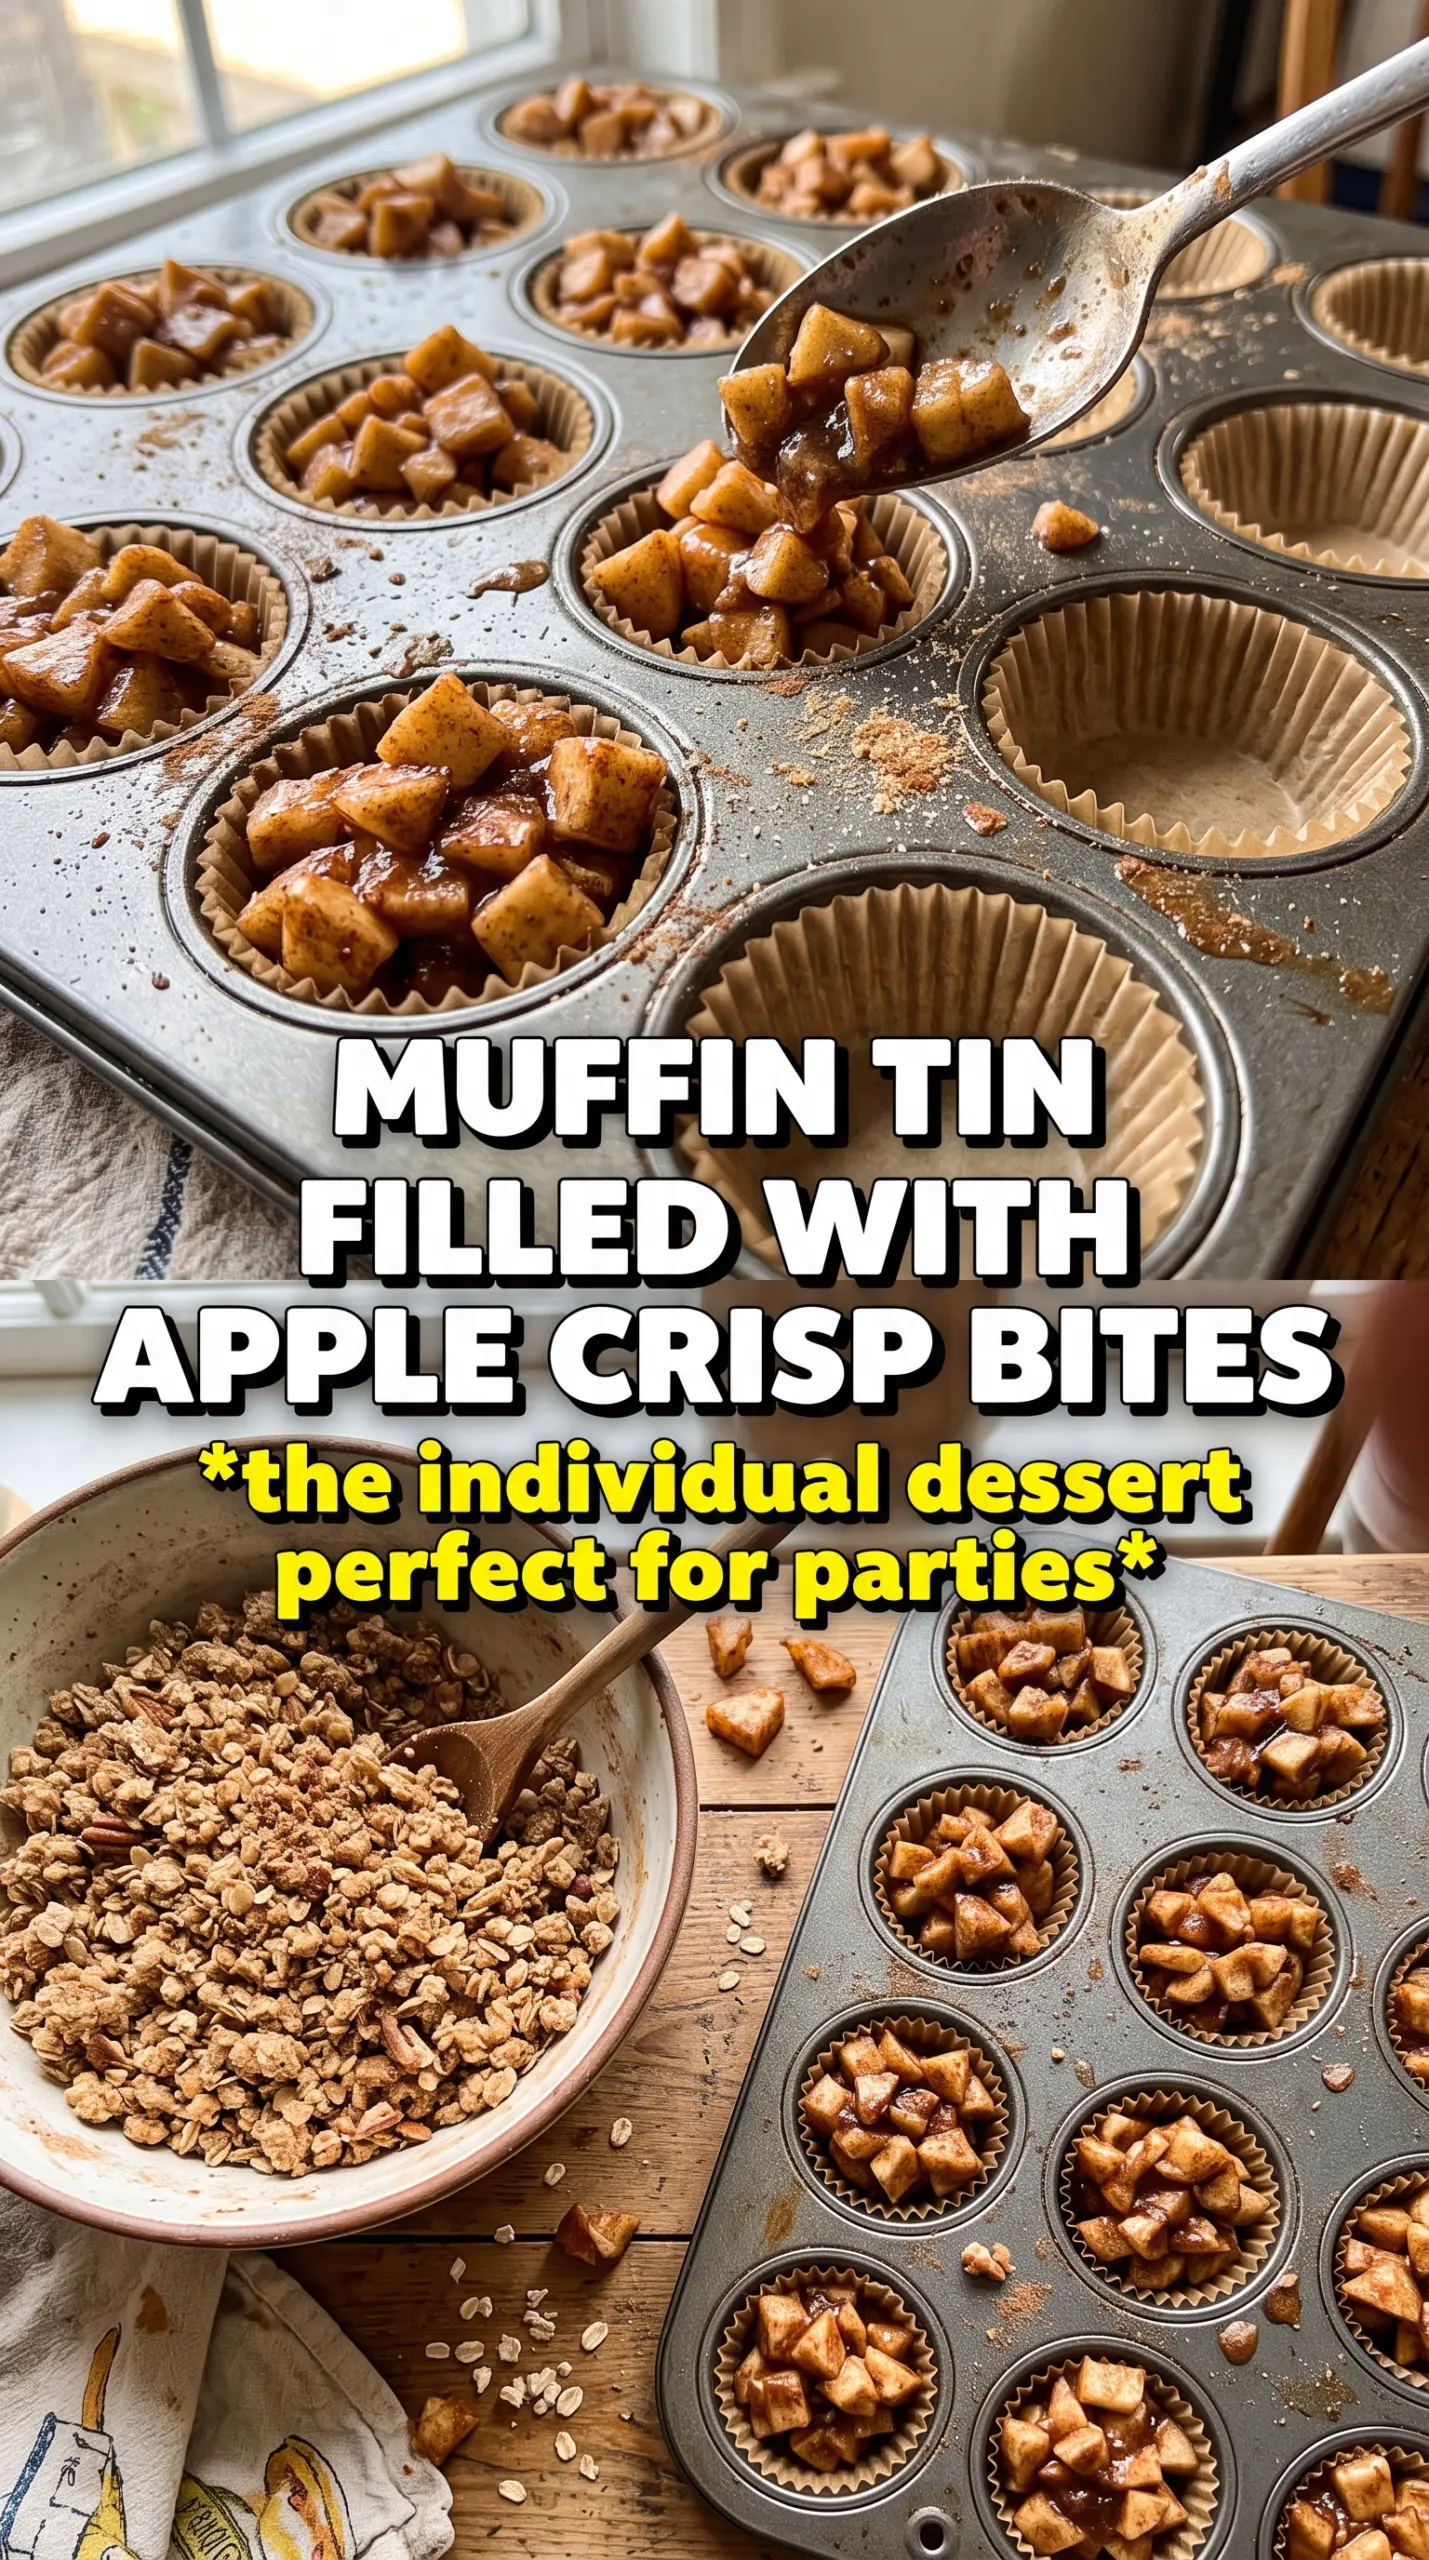
- All-purpose flour — This builds both the shortbread cups and the oat topping. It gives structure without making either layer heavy, and it’s one place where standard pantry flour works perfectly.
- Powdered sugar — In the crust, it melts smoothly and keeps the shortbread tender. Granulated sugar makes the shell a little more sandy and less delicate.
- Cold butter — This is what makes both the crust and topping crisp and layered. Use it cold, cubed, and cut in just until the mixture looks like coarse crumbs with some pea-size bits left.
- Apples — A firmer baking apple holds its shape best, but any apple with some tartness works. Dice them finely so they cook through fast and fit neatly into the mini cups.
- Cornstarch — It thickens the apple juices before they soak into the crust. Flour can work in a pinch, but it doesn’t give the same clean, glossy finish.
- Rolled oats — These give the topping its crisp, nubby texture. Quick oats turn softer and pastier, so stick with old-fashioned oats if you want that classic crumble bite.
How to Build the Layers So They Bake Cleanly
Pressing the Shortbread Shells
Stir the flour, powdered sugar, and salt together first, then cut in the cold butter until the mixture looks sandy with a few bigger bits left. Add the ice water a little at a time, just until the dough holds together when pressed. Spoon it into the mini muffin tin and press it up the sides with your fingers or the back of a small spoon. If the dough feels sticky or greasy, the butter has warmed too much, and the shells will slump while baking.
Cooking the Apple Center
Cook the diced apples with butter, brown sugar, cinnamon, nutmeg, and cornstarch over medium heat until the fruit softens and the juices turn glossy and thick. You want the apples tender but not collapsing into applesauce. Pull the pan off the heat as soon as the filling looks thick enough to mound on a spoon, because it will tighten a little more as it cools. If the filling still looks loose in the pan, it will leak into the crust later.
Making the Oat Crumble
Mix the oats, flour, brown sugar, and cinnamon, then cut in the cold butter until the mixture forms clumps that hold together when squeezed. Those clumps are what bake into crunchy little ridges. If you work the butter in until the topping looks like fine sand, it will bake up flat and dry instead of crisp and nubbly. Keep the pieces uneven for the best texture.
Baking and Finishing
Fill each shell with the cooled apple mixture, then pile the crumble on top without packing it down. Bake until the topping is deeply golden and the edges of the crust look set and lightly browned. Let the bites sit in the pan for a few minutes before lifting them out, or the bottoms can break while they’re still soft. A thin drizzle of caramel works best after they’ve cooled slightly, so it stays on top instead of sliding off.
How to Change These for Different Kitchens and Different Crowds
Make Them Gluten-Free
Swap a 1:1 gluten-free flour blend into both the crust and the topping. You’ll still get a good shortbread-style base, though the shells may be a little more delicate when you lift them out of the pan. Let them cool a few extra minutes before removing them so they hold together better.
Use Pears Instead of Apples
Firm pears work beautifully, but they soften faster than apples, so cut the stovetop cook time back a minute or two. The flavor lands a little sweeter and more floral, and a squeeze of lemon in the filling helps keep it from tasting flat.
Make Them Ahead for a Party Tray
Bake the bites without the caramel, cool them completely, and store them covered. Add the caramel just before serving so the topping stays crisp and the tops still look neat. This is the best move if you’re serving a crowd and want them to taste fresh out of the oven without last-minute work.
Storage and Reheating
- Refrigerator: Store in an airtight container for up to 4 days. The topping softens a little, but the flavor holds up well.
- Freezer: They freeze well after baking. Freeze in a single layer, then move to a container with parchment between layers for up to 2 months.
- Reheating: Warm in a 325F oven for 8-10 minutes straight from the fridge, or 12-15 minutes from frozen. The oven brings the crumble back to life; the microwave will make the crust soft.