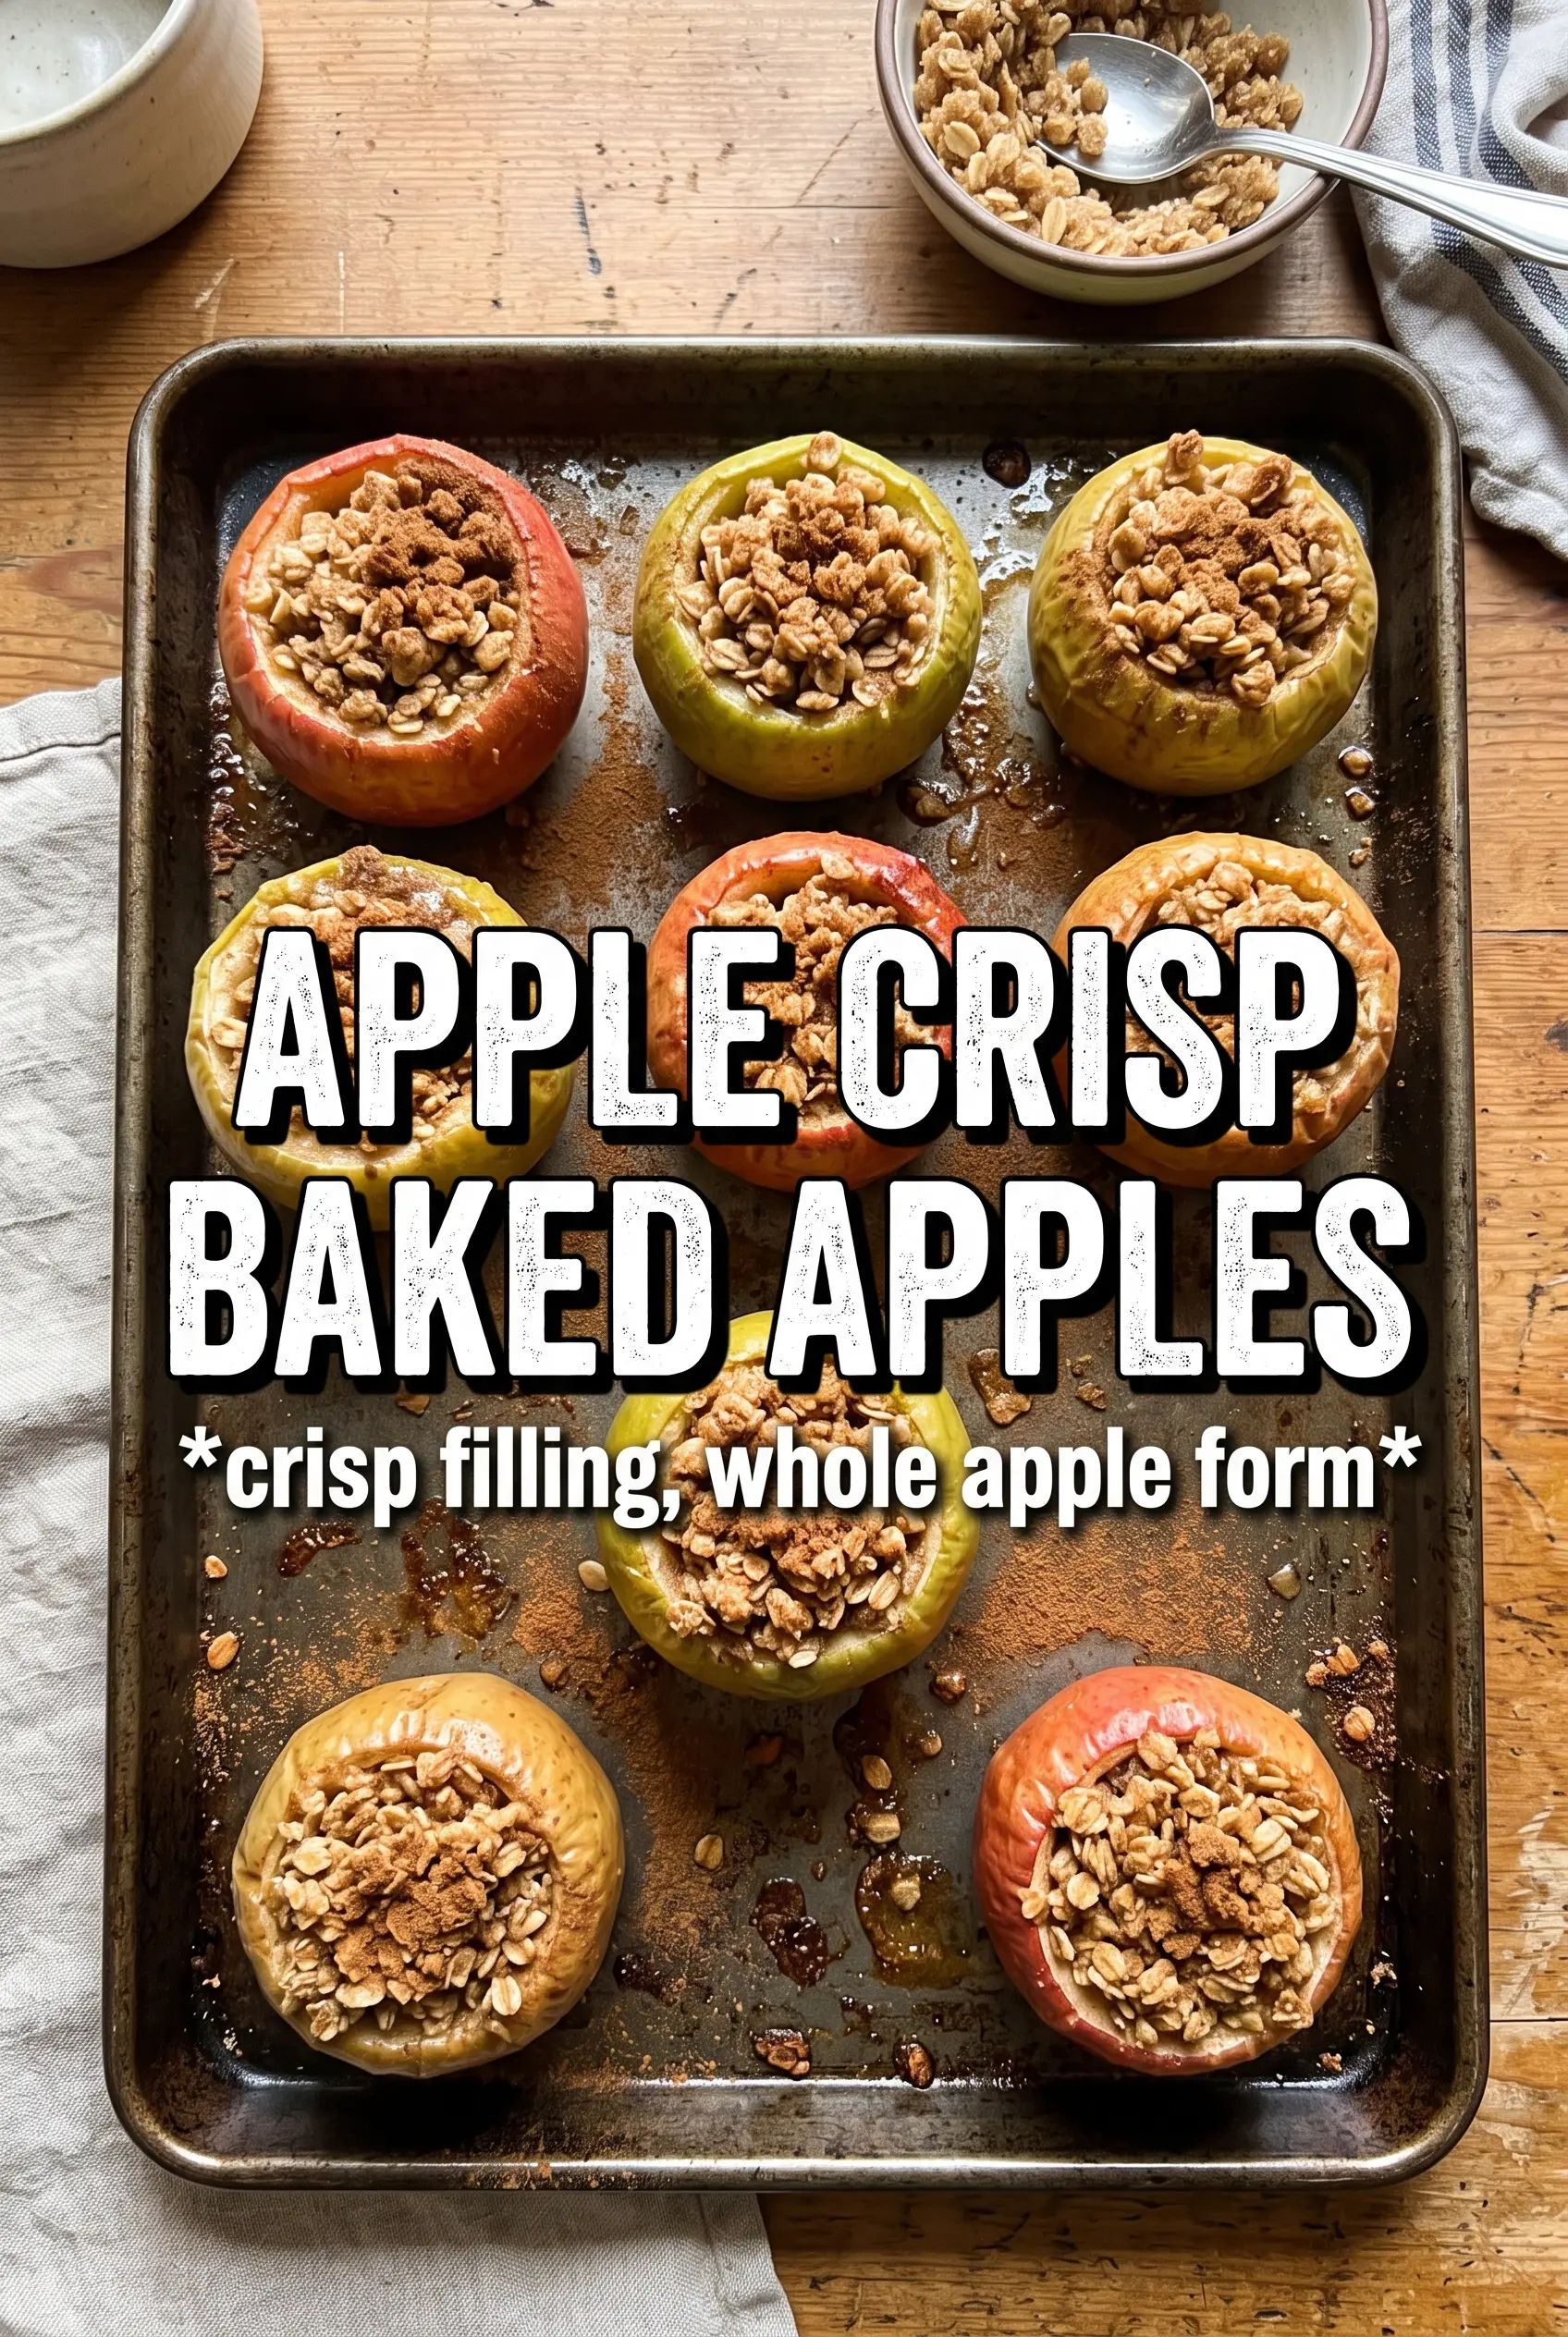
Apple crisp baked apples hit that sweet spot between a warm baked dessert and a classic crisp. The apples turn tender enough to cut with a spoon, but they still hold their shape, and the oat topping bakes into a crunchy, buttery lid that cracks just a little when you scoop in. With a little vanilla ice cream on top, you get soft apple, brown sugar syrup, and toasted crumble in one bite.
The trick is keeping the apples intact while giving them enough room for the filling. Cored from the top with the bottom left sealed, they hold the cinnamon-sugar butter in the center instead of leaking it into the pan. A splash of apple cider in the baking dish adds steam and keeps the bottoms from drying out, while the cold butter in the crumble stays in little pockets long enough to brown into those crisp nubs everyone reaches for first.
Below, I’ve included the step that keeps the topping from turning sandy, plus a few smart swaps if you only have a different apple on hand. The details matter here, but the method stays simple.
The apples held their shape perfectly and the oat topping got crisp instead of soggy. I served it with caramel ice cream and my husband asked if we could make it again the next night.
Save these apple crisp baked apples for the nights when you want a warm dessert with a crunchy oat topping and tender baked fruit.
The Part Most Apple Desserts Get Wrong: Keeping the Apple Intact
Once an apple is fully cored, it turns into a bowl of softened fruit and the filling sinks straight through. That’s not what you want here. Leave the bottom of each apple uncut so the brown sugar, cinnamon, and butter melt inside the fruit instead of disappearing into the pan. The result is a built-in caramel center that tastes like the best part of apple crisp, only concentrated.
Honeycrisp and Braeburn both hold up well because they soften without collapsing. Softer apples can work, but they need a little more attention in the oven and they’re more likely to slump before the topping finishes browning. If your apples are smaller than average, shave a few minutes off the bake time so the crumble doesn’t overcook before the fruit is tender.
What the Apples, Oats, and Butter Are Doing Here
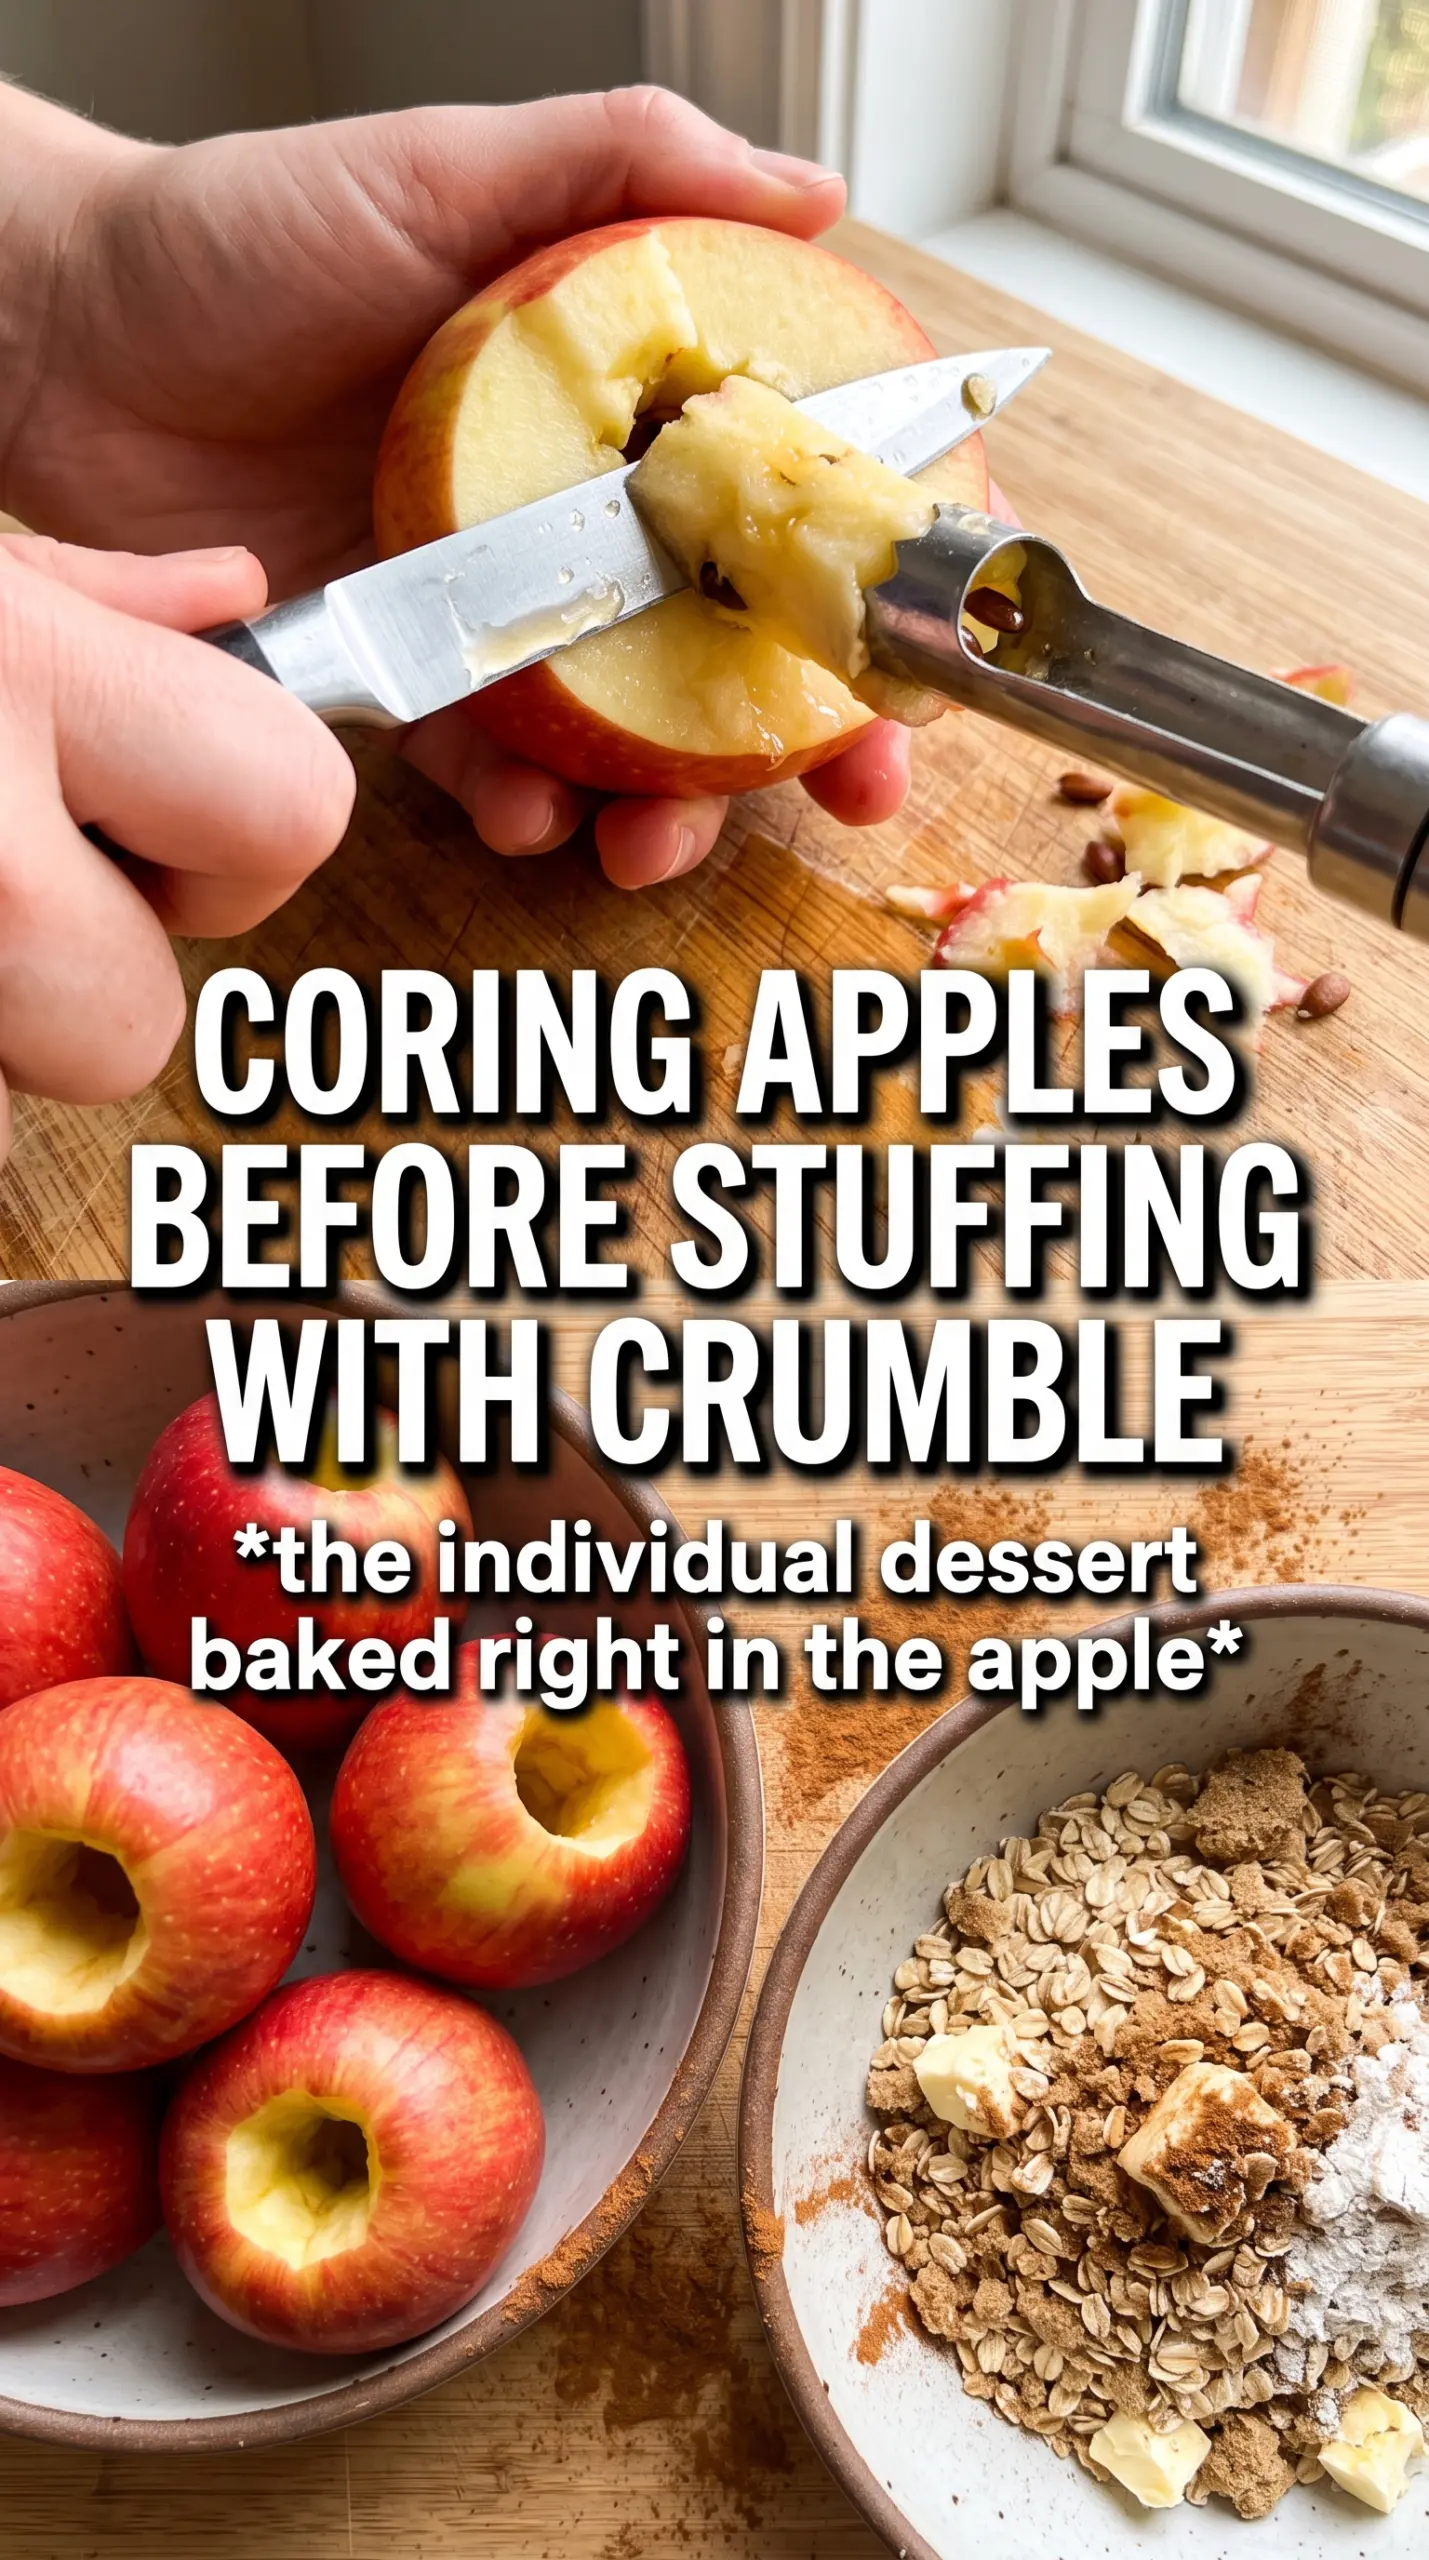
- Honeycrisp or Braeburn apples — These give you structure and a clean, sweet-tart flavor. Use a firm baking apple that can handle 35 to 40 minutes in the oven without turning mealy. If you only have Gala or Fuji, the texture will be softer and the apples may collapse sooner.
- Rolled oats — Old-fashioned oats give the crumble its chew and that classic crisp texture. Quick oats will work in a pinch, but the topping turns denser and loses some of its craggy bite.
- Cold butter — This is what makes the topping crisp instead of pasty. Cut it in cold and stop when the mixture looks like clumps and pebbles, not wet dough. Warm butter blends in too evenly and bakes up sandy.
- Apple cider or water — The small amount in the baking dish keeps the bottoms from scorching and creates a little steam while the apples soften. Cider adds more flavor, but water still does the job if that’s what you’ve got.
- Brown sugar in the cavities — This melts with the butter inside each apple and creates the saucy center. White sugar won’t give you the same depth or that syrupy finish.
Building the Crisp Topping Before the Apples Get Too Soft
Mix the Filling First
Stir the oats, flour, brown sugar, cinnamon, nutmeg, and salt together before you touch the butter. That keeps the spices evenly distributed, so every bite tastes balanced instead of having one bland patch and one overly sweet one. When you add the cold butter, work it in with a pastry cutter or your fingertips until you see clumps the size of peas and coarse crumbs. If the mixture looks like sand, it will bake up dry; if it turns pasty, the butter got too warm.
Fill the Apples from the Top
Set the cored apples upright in the dish, then spoon a little of the brown sugar-cinnamon mix into each cavity and tuck in a piece of butter. Pile the crumble into the opening and mound the rest over the top so some of it falls down the sides. That gives you the best contrast of textures, with some topping tucked inside the apple and some exposed to the heat so it browns deeply.
Bake Until the Fruit Slumps Slightly
The apples are done when a knife slides in with little resistance and the topping looks golden at the edges and drier on top. Don’t pull them the second the crumble turns brown, or the centers will still be firm. If the topping is browning before the apples soften, lay a loose piece of foil over the dish for the last 10 minutes and let the fruit finish cooking underneath.
Serve While the Contrast Is Strong
These are best right out of the oven, when the topping still has crunch and the filling is hot enough to melt vanilla ice cream into the pan juices. Spoon a little caramel sauce over the top if you want it richer, but keep the portion modest so the apple flavor still comes through. Once they sit too long, the crumble softens from the steam, so serve them as soon as they’ve had a minute to settle.
Three Ways to Adjust These Baked Apples Without Losing the Crunch
Dairy-Free Version
Swap the butter for a solid plant-based butter stick, not a soft tub spread. You’ll still get a crisp topping, but the flavor will be slightly less rich and the crumble may brown a touch faster, so start checking near the 30-minute mark.
Gluten-Free Swap
Use a cup-for-cup gluten-free flour blend in place of the all-purpose flour. The texture stays close to the original, but the crumble may be a little more delicate, so don’t overmix once the butter goes in.
Making It Ahead
You can core the apples and mix the dry topping a few hours ahead, but keep the butter separate until just before baking. If the butter sits in the topping too long, it melts and the crumble turns dense instead of crisp.
Storage and Reheating
- Refrigerator: Store leftovers covered for up to 3 days. The topping softens in the fridge, but the flavor stays good.
- Freezer: I don’t recommend freezing these baked apples. The fruit turns soft and watery after thawing, and the crumble loses its crisp edge.
- Reheating: Warm them in a 325F oven until heated through, about 15 minutes. The oven brings back some texture; the microwave makes the topping soggy and pushes the apples past their best texture.