Homemade apple cider tastes like the whole kitchen softened into something golden, spiced, and comforting. It’s not thin or sharply sweet the way store-bought cider can be. This version has body from the apples themselves, a deep cinnamon note, and just enough citrus and clove to keep it from tasting flat.
The trick is letting the apples simmer long enough for the flavors to concentrate before you strain anything. I leave the skins and cores on purpose because they lend color, pectin, and a fuller apple taste. The mash-and-simmer step after the apples are tender is what gives this cider that rich, almost velvety finish instead of a watery fruit tea.
Below, I’ll show you how to keep the spices balanced, when to sweeten it, and how to adjust the flavor if your apples lean extra tart or extra sweet.
The cider came out so full-bodied, and straining after the long simmer gave it this smooth, spiced finish that tasted like it had been simmering all afternoon.
Save this homemade apple cider for the days when you want a warm, spiced drink with real apple depth and a fragrant cinnamon finish.
The Part Most Cider Recipes Rush Past: Letting the Apples Give Up Their Body
The biggest mistake with homemade cider is straining too early. If the apples haven’t broken down enough, you get flavored water instead of cider with real presence. The long simmer does more than soften the fruit; it pulls out pectin from the peels and cores, which gives the finished drink a rounder mouthfeel.
Uncovered simmering matters here. It lets the liquid reduce slowly, concentrating the apple flavor instead of diluting it. If the pot is covered the whole time, you trap too much moisture and the cider can taste thin, even if you used good fruit.
- Apples — A mix of sweet and tart apples gives the best balance. Honeycrisp and Fuji bring sweetness, while Granny Smith adds brightness so the cider doesn’t taste one-note.
- Cinnamon sticks — Whole sticks infuse gently over the long simmer. Ground cinnamon turns muddy in cider and can make the liquid gritty, so whole sticks are the right choice.
- Cloves and star anise — These should support the apples, not dominate them. If you’ve had cider that tasted like potpourri, it was over-spiced. Four star anise is enough for a strong but balanced aroma.
- Orange slices — The peel adds lift and keeps the cider from tasting heavy. Slice the orange thin so the oils release without turning the drink bitter.
- Brown sugar or maple syrup — Add this at the end, not at the start. Apples vary a lot in sweetness, and late sweetening lets you stop exactly where the flavor tastes full instead of sugary.
What Each Ingredient Is Actually Doing in This Recipe

- Primary ingredient (the star) — Quality matters most. Choose the best you can find.
- Cooking medium (oil, butter, or broth) — This carries flavors and prevents dryness.
- Seasonings (salt, pepper, spices, herbs) — Layer flavors so nothing overpowers. Build depth gradually.
- Aromatics (garlic, onion, herbs) — Cook with fat to bloom flavors. Become the foundation.
- Supporting ingredients — Complement the main ingredient without overpowering it.
- Sauce or liquid (if applicable) — Brings flavors together. Balance richness with acid.
- Acid (lemon, vinegar, wine, or other) — Brightens and prevents flat-tasting results.
- Final finish (garnish, glaze, or sauce) — Prevents one-dimensional taste and adds visual appeal.
How to Build Full Flavor Without Turning the Spices Harsh
Starting the Pot Cold
Put the apples, spices, and orange slices into the pot before adding water. As the liquid heats gradually, the fruit and spices infuse the water more evenly. If you dump everything into already-boiling water, the outside of the apples can overcook before the center has had time to contribute flavor.
Keeping the Simmer Gentle
Once it boils, drop it to a steady simmer. You want occasional bubbles and soft movement, not a hard boil that bangs the apples around and clouds the cider with bitterness from the spice peels. After about 2 hours, the apples should be collapsing and the liquid should smell deeply of apple and cinnamon.
Mashing Before Straining
Use a potato masher right in the pot and break the apples down as much as you can. This is the step that squeezes out the last bit of flavor, which is why the cider tastes richer after mashing than it does before. If you skip it, you leave a lot of good liquid trapped in the fruit.
Sweetening at the End
Strain the cider through a fine mesh sieve, pressing on the pulp to get every last drop. Then stir in the brown sugar or maple syrup and the vanilla, taste, and adjust. This is where the cider becomes yours; if the apples were very sweet, you may only need a small amount, and if they were tart, a little extra sweetener smooths everything out.
How to Adjust This Cider for Different Apples and Different Needs
If Your Apples Are Very Tart
Use the full amount of sweetener, then taste again after it’s strained and warm. Tart apples like Granny Smith give the cider brightness, but they need a little more balancing sugar or maple syrup so the drink tastes round instead of sharp.
Maple-Sweetened Cider
Swap the brown sugar for maple syrup if you want a deeper, woodsy sweetness. It changes the finish a little and makes the cider feel softer and more autumnal without adding extra spice.
Lighter Spice Flavor
Cut the cloves and star anise back slightly if you want the apple flavor to stay front and center. The cider will still taste warmly spiced, but it won’t read as heavily aromatic.
Make-Ahead Batch
This cider holds well in the fridge and reheats beautifully. If you’re serving a crowd, make it a day ahead so the flavors settle; the spices taste a little smoother after resting overnight.
Storage and Reheating
- Refrigerator: Store in a covered container for up to 5 days. The flavor actually deepens a little, and a natural sediment at the bottom is normal.
- Freezer: Freeze for up to 3 months in freezer-safe containers, leaving headspace for expansion. Thaw overnight in the fridge before reheating.
- Reheating: Warm gently on the stove over low heat until steaming. Don’t boil it hard or the spice flavor can turn aggressive and the aroma will flatten out.
Answers to the Questions Worth Asking
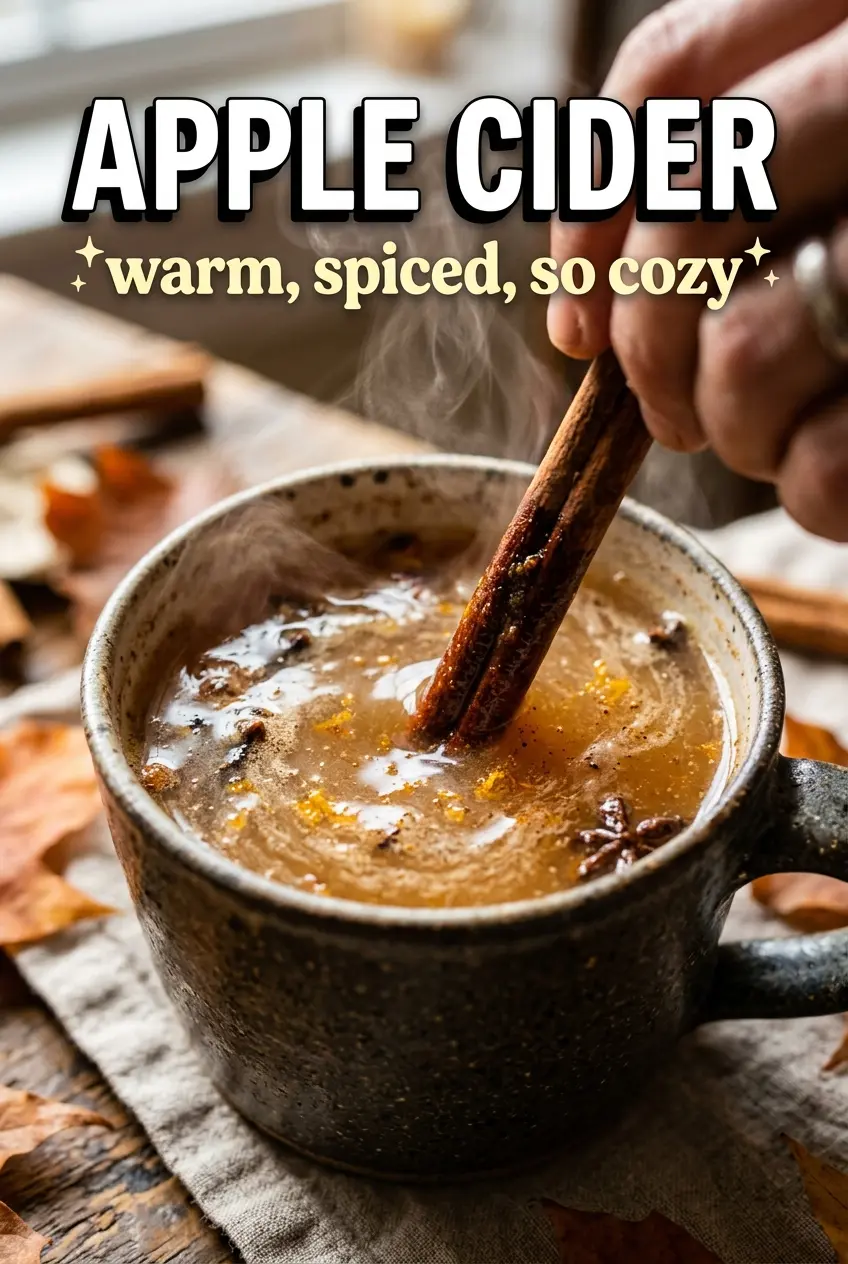
Apple Cider
Ingredients
Equipment
Method
- Place the quartered unpeeled apples, cinnamon sticks, whole cloves, star anise, and sliced orange in a large pot.
- Add enough water to cover the apples, then bring the pot to a boil.
- Reduce to a low simmer and simmer uncovered for 2 hours, until the apples are very soft and the liquid tastes flavorful.
- Mash the apples thoroughly with a potato masher while keeping the cider at a low simmer.
- Simmer for 30 more minutes to deepen the flavor.
- Strain the cider through a fine-mesh sieve, pressing the pulp firmly to extract all the liquid.
- Stir in the brown sugar or maple syrup and the vanilla extract, then taste and adjust sweetness.
- Serve warm with additional cinnamon sticks and orange slices.