Apple cider cheesecake lands in that sweet spot between cozy and polished: a smooth, tangy filling, a cinnamon-kissed graham crust, and a glossy cider drizzle that tastes like fall without turning the whole dessert heavy. The cider gets cooked down first, which keeps the flavor concentrated instead of watery, and that one step makes the cheesecake taste layered instead of flat.
The texture depends on a few small choices. Softened cream cheese beats out any lumps, reduced cider keeps the batter from loosening, and a water bath helps the custard bake evenly so the center stays creamy instead of grainy. The topping is kept separate from the batter, which gives you a clean apple-cider finish on top of every slice.
Below, you’ll find the detail that matters most for getting a smooth set and a topping that actually clings to the cheesecake instead of running off the plate.
The cider flavor came through beautifully, and the center set up with that silky cheesecake texture instead of cracking. I chilled it overnight and the syrup on top stayed glossy and poured over each slice perfectly.
Like this apple cider cheesecake? Save it to Pinterest for the crisp, silky version with that spiced cider drizzle on top.
The Step That Keeps Apple Cider Cheesecake Creamy Instead of Dense
The mistake that ruins a lot of cheesecake is pushing the batter too hard once the eggs go in. That whips in air, and air turns into cracks and a puffy center that falls as it cools. Mix the cream cheese and sugar until smooth first, then add the eggs one at a time and stop as soon as the batter looks uniform.
Reducing the cider before it goes into the filling matters just as much. If you pour in raw cider, you add too much liquid and the cheesecake bakes up looser than you want. Reduced cider gives you the flavor of apple without watering down the custard, and the result is a slice that holds clean edges when you cut it.
What Each Ingredient Is Actually Doing in This Dessert
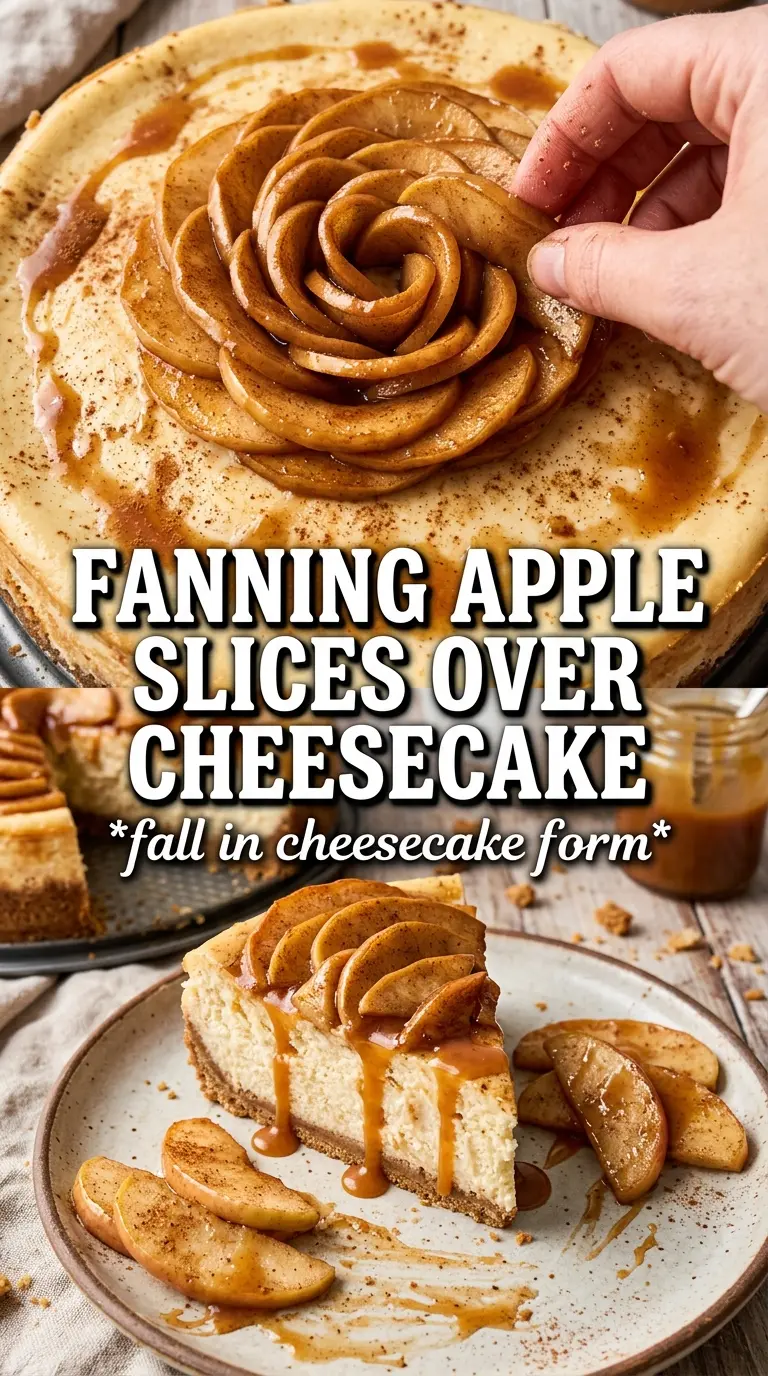
- Cream cheese — This is the base of the texture, so use full-fat blocks and let them soften fully. Cold cream cheese leaves little lumps that never quite disappear, even after baking.
- Apple cider — Reduce it until it measures 1/4 cup before adding it to the batter. That concentrates the apple flavor and keeps the filling from getting loose.
- Brown sugar — This adds a deeper, molasses note that works better here than plain white sugar. It also softens the tang of the cream cheese in a way that tastes richer.
- Sour cream — This keeps the filling creamy and gives the cheesecake a little extra tang. If you need a substitute, plain full-fat Greek yogurt works, but the finish will be a touch less plush.
- Graham cracker crumbs — Pre-crushed crumbs are fine here, but a finer crumb packs more evenly and slices cleaner. Cinnamon in the crust ties the base to the spiced filling so the dessert tastes finished from the first bite.
Building the Batter and Baking It Without Cracks
Pressing and Pre-Baking the Crust
Mix the crumbs, sugar, cinnamon, and melted butter until the texture looks like damp sand. Press it firmly into the bottom of the springform pan so it holds together when sliced, then bake it just long enough to smell toasted at the edges. If the crust is underbaked, it stays crumbly; if it browns too much, it starts tasting bitter against the cheesecake.
Mixing the Filling the Right Way
Beat the cream cheese and brown sugar until the mixture looks smooth before you add anything else. Once the reduced cider, sour cream, spices, and vanilla go in, keep the mixer on low and add the eggs one at a time. The batter should look thick, glossy, and uniform, not foamy; if it gets airy, the cheesecake is more likely to puff and crack.
Baking Until Just Set
Set the pan in a water bath and bake until the edges are firm but the center still has a slight wobble, like set gelatin. That wobble is the cue to pull it, because cheesecake keeps cooking as it cools. If you wait until the center looks fully solid in the oven, it usually ends up dry after chilling.
Cooling and Finishing with Cider Syrup
Let the cheesecake cool completely before it goes into the fridge, or condensation will collect on the surface and soften the top. Chill it for the full time so the filling can firm up cleanly. Simmer the topping until it turns syrupy and glossy, then spoon it over each slice right before serving so the flavor stays bright and the presentation stays neat.
How to Adapt Apple Cider Cheesecake for Different Kitchens and Diets
Gluten-Free Crust Swap
Use gluten-free graham-style crumbs or finely crushed gluten-free cookies in the same amount. The crust will taste a little different depending on the cookie you choose, but the method stays the same and the texture still holds up well.
Dairy-Free Version
Swap in dairy-free cream cheese and a thick dairy-free sour cream alternative, then chill a little longer because the filling usually sets more softly. The flavor stays close, but the texture is slightly less rich than the original.
Extra-Spiced Apple Version
Add a pinch of cloves or allspice to the filling, or stir a little into the cider syrup. This pushes the dessert deeper into warm-spice territory, but keep a light hand or the apple cider gets buried.
Making It Ahead for a Crowd
Bake the cheesecake a full day ahead and add the syrup just before serving. The extra time makes slicing cleaner, and the flavor gets even better after an overnight chill.
Storage and Reheating
- Refrigerator: Store covered for up to 5 days. The texture stays creamy, and the crust softens a little after the first day.
- Freezer: Cheesecake freezes well. Chill it first, wrap slices tightly, and freeze without the cider syrup if you want the best texture.
- Reheating: Serve chilled or let slices sit at room temperature for 20 to 30 minutes. Don’t microwave it; that turns the filling soft and greasy instead of creamy.
Questions I Get Asked About This Recipe
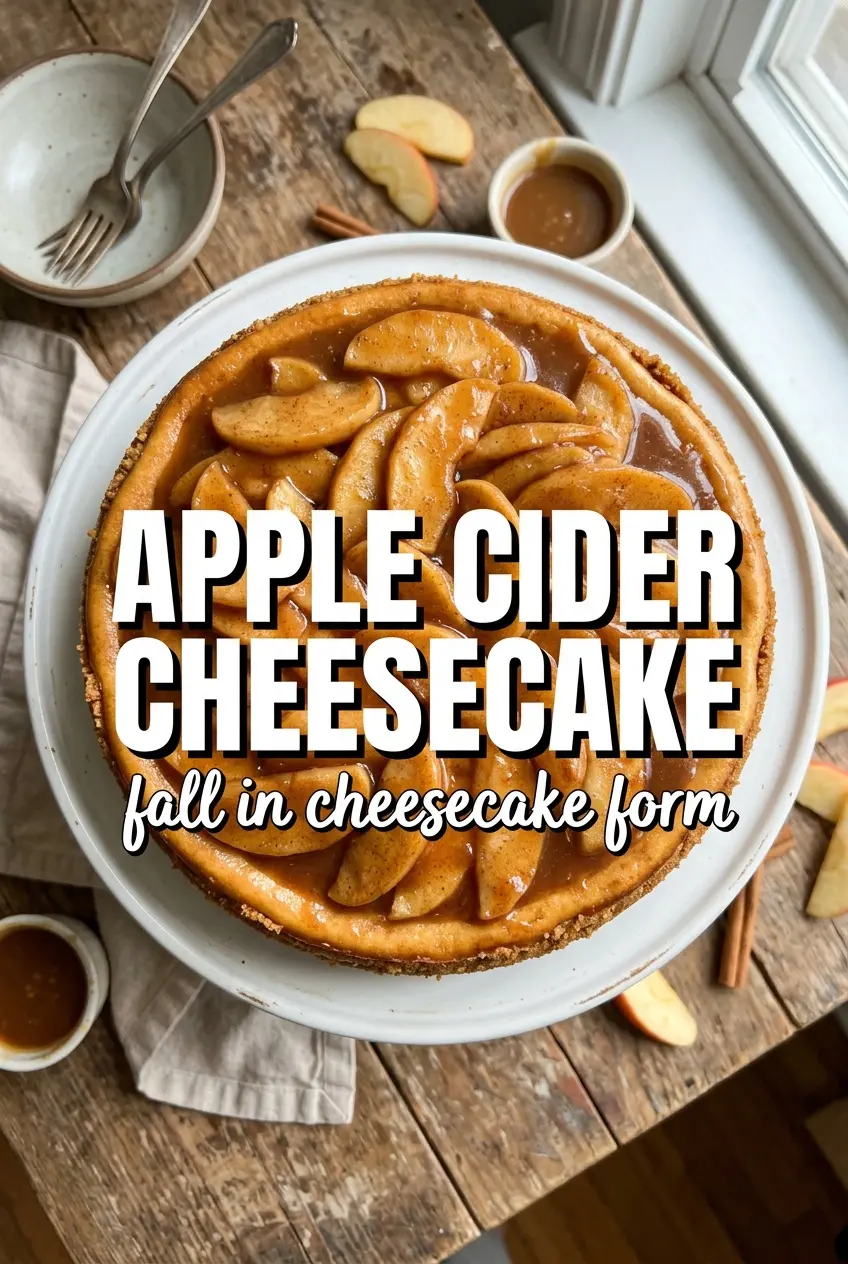
Apple Cider Cheesecake
Ingredients
Equipment
Method
- Reduce 1/2 cup apple cider until syrupy, then cool completely. Visual cue: it should look thicker and coat the back of a spoon.
- Preheat the oven to 325°F. Visual cue: set your rack so the springform sits centered.
- Press the graham cracker crumbs, sugar, cinnamon, and melted butter into a 9-inch springform pan. Visual cue: the crust should look evenly packed across the bottom.
- Bake the crust for 10 minutes at 325°F, then set aside to cool slightly. Visual cue: the edges should be lightly fragrant and set.
- Beat the softened cream cheese and brown sugar until smooth. Visual cue: the mixture should be glossy and free of lumps.
- Add the cooled reduced apple cider, then mix until combined. Visual cue: the batter should turn a light caramel-beige color.
- Add eggs one at a time and mix just until incorporated. Visual cue: the batter should look smooth and thick.
- Mix in the sour cream, cinnamon, nutmeg, and vanilla until uniform. Visual cue: the spices should be fully blended with no streaks.
- Pour the filling over the baked crust. Visual cue: fill should reach close to the top of the pan without overflowing.
- Bake the cheesecake in a water bath at 325°F for 55–60 minutes until just set. Visual cue: the center should have a slight wobble when gently shaken.
- Cool the cheesecake completely at room temperature. Visual cue: the surface should stop looking glossy and settle evenly.
- Refrigerate the cheesecake for 6 hours to chill. Visual cue: the filling should slice cleanly with a firm, creamy texture.
- Simmer 1 cup apple cider with brown sugar and cinnamon until reduced by half to a syrup. Visual cue: it should coat a spoon and look shiny.
- Drizzle the cider syrup over each slice just before serving. Visual cue: the topping should pool lightly and look glossy on the pale filling.