Golden on top and tender underneath, apple Betty is the kind of old-fashioned dessert that earns repeat status fast. The breadcrumb layers turn crisp and buttery in the oven, while the apples collapse into a spiced filling that tastes like a cross between apple pie and bread pudding, only simpler to assemble and easier to serve. What makes it special is the contrast: a caramelized crust on top, soft apples in the middle, and just enough structure from the breadcrumbs to hold the whole thing together.
This version works because the breadcrumbs are tossed with melted butter before they ever hit the dish, so they toast instead of drying out. The apples get coated with brown sugar, cinnamon, nutmeg, allspice, and a little lemon, which keeps the filling bright instead of flat. A small pour of cider or water in each layer gives the apples enough steam to soften without turning the topping soggy.
If you’ve only ever had fruit crisps, the layering here is worth paying attention to. Below you’ll find the detail that keeps the top crunchy, the ingredient notes that matter most, and a few practical swaps if you’re working with what’s already in the kitchen.
The topping came out crisp all the way across, and the apples softened into that perfect jammy layer without getting watery. I used Granny Smith and Honeycrisp together, and the flavor was spot on.
Love the buttery crumb topping and spiced apple layers? Save this Apple Betty for the next time you want an easy old-fashioned dessert that bakes up crisp on top and soft underneath.
The Layering Trick That Keeps Apple Betty Crisp on Top
The biggest mistake with apple Betty is treating it like a dump-and-bake crumble. If the breadcrumbs sit in one thick layer, they can steam into a soft lid before the apples finish cooking. The fix is to build it in thin layers so the buttered crumbs toast from the edges inward while the fruit underneath softens and releases just enough juice to bind everything together.
The cider matters less for flavor than for moisture control. It gives the apples a small amount of liquid to help them tenderize, but not so much that the bottom goes soupy. If your apples are especially juicy, use the smaller amount of cider and slice them evenly so they cook at the same pace.
- Butter — melted butter coats every breadcrumb and is what turns the topping from dry and sandy into crisp and rich. Don’t swap in oil here; you’ll lose the toasted flavor that makes the crust worth eating.
- Day-old bread crumbs — fresh breadcrumbs from sturdy bread hold their shape and brown well. Soft sandwich bread works if that’s what you have, but a rustic loaf gives a better texture.
- Apples — firm baking apples keep their shape long enough to give you distinct layers. A mix of tart and sweet apples is best because the dessert needs both structure and balance.
What Each Ingredient Is Doing in the Pan
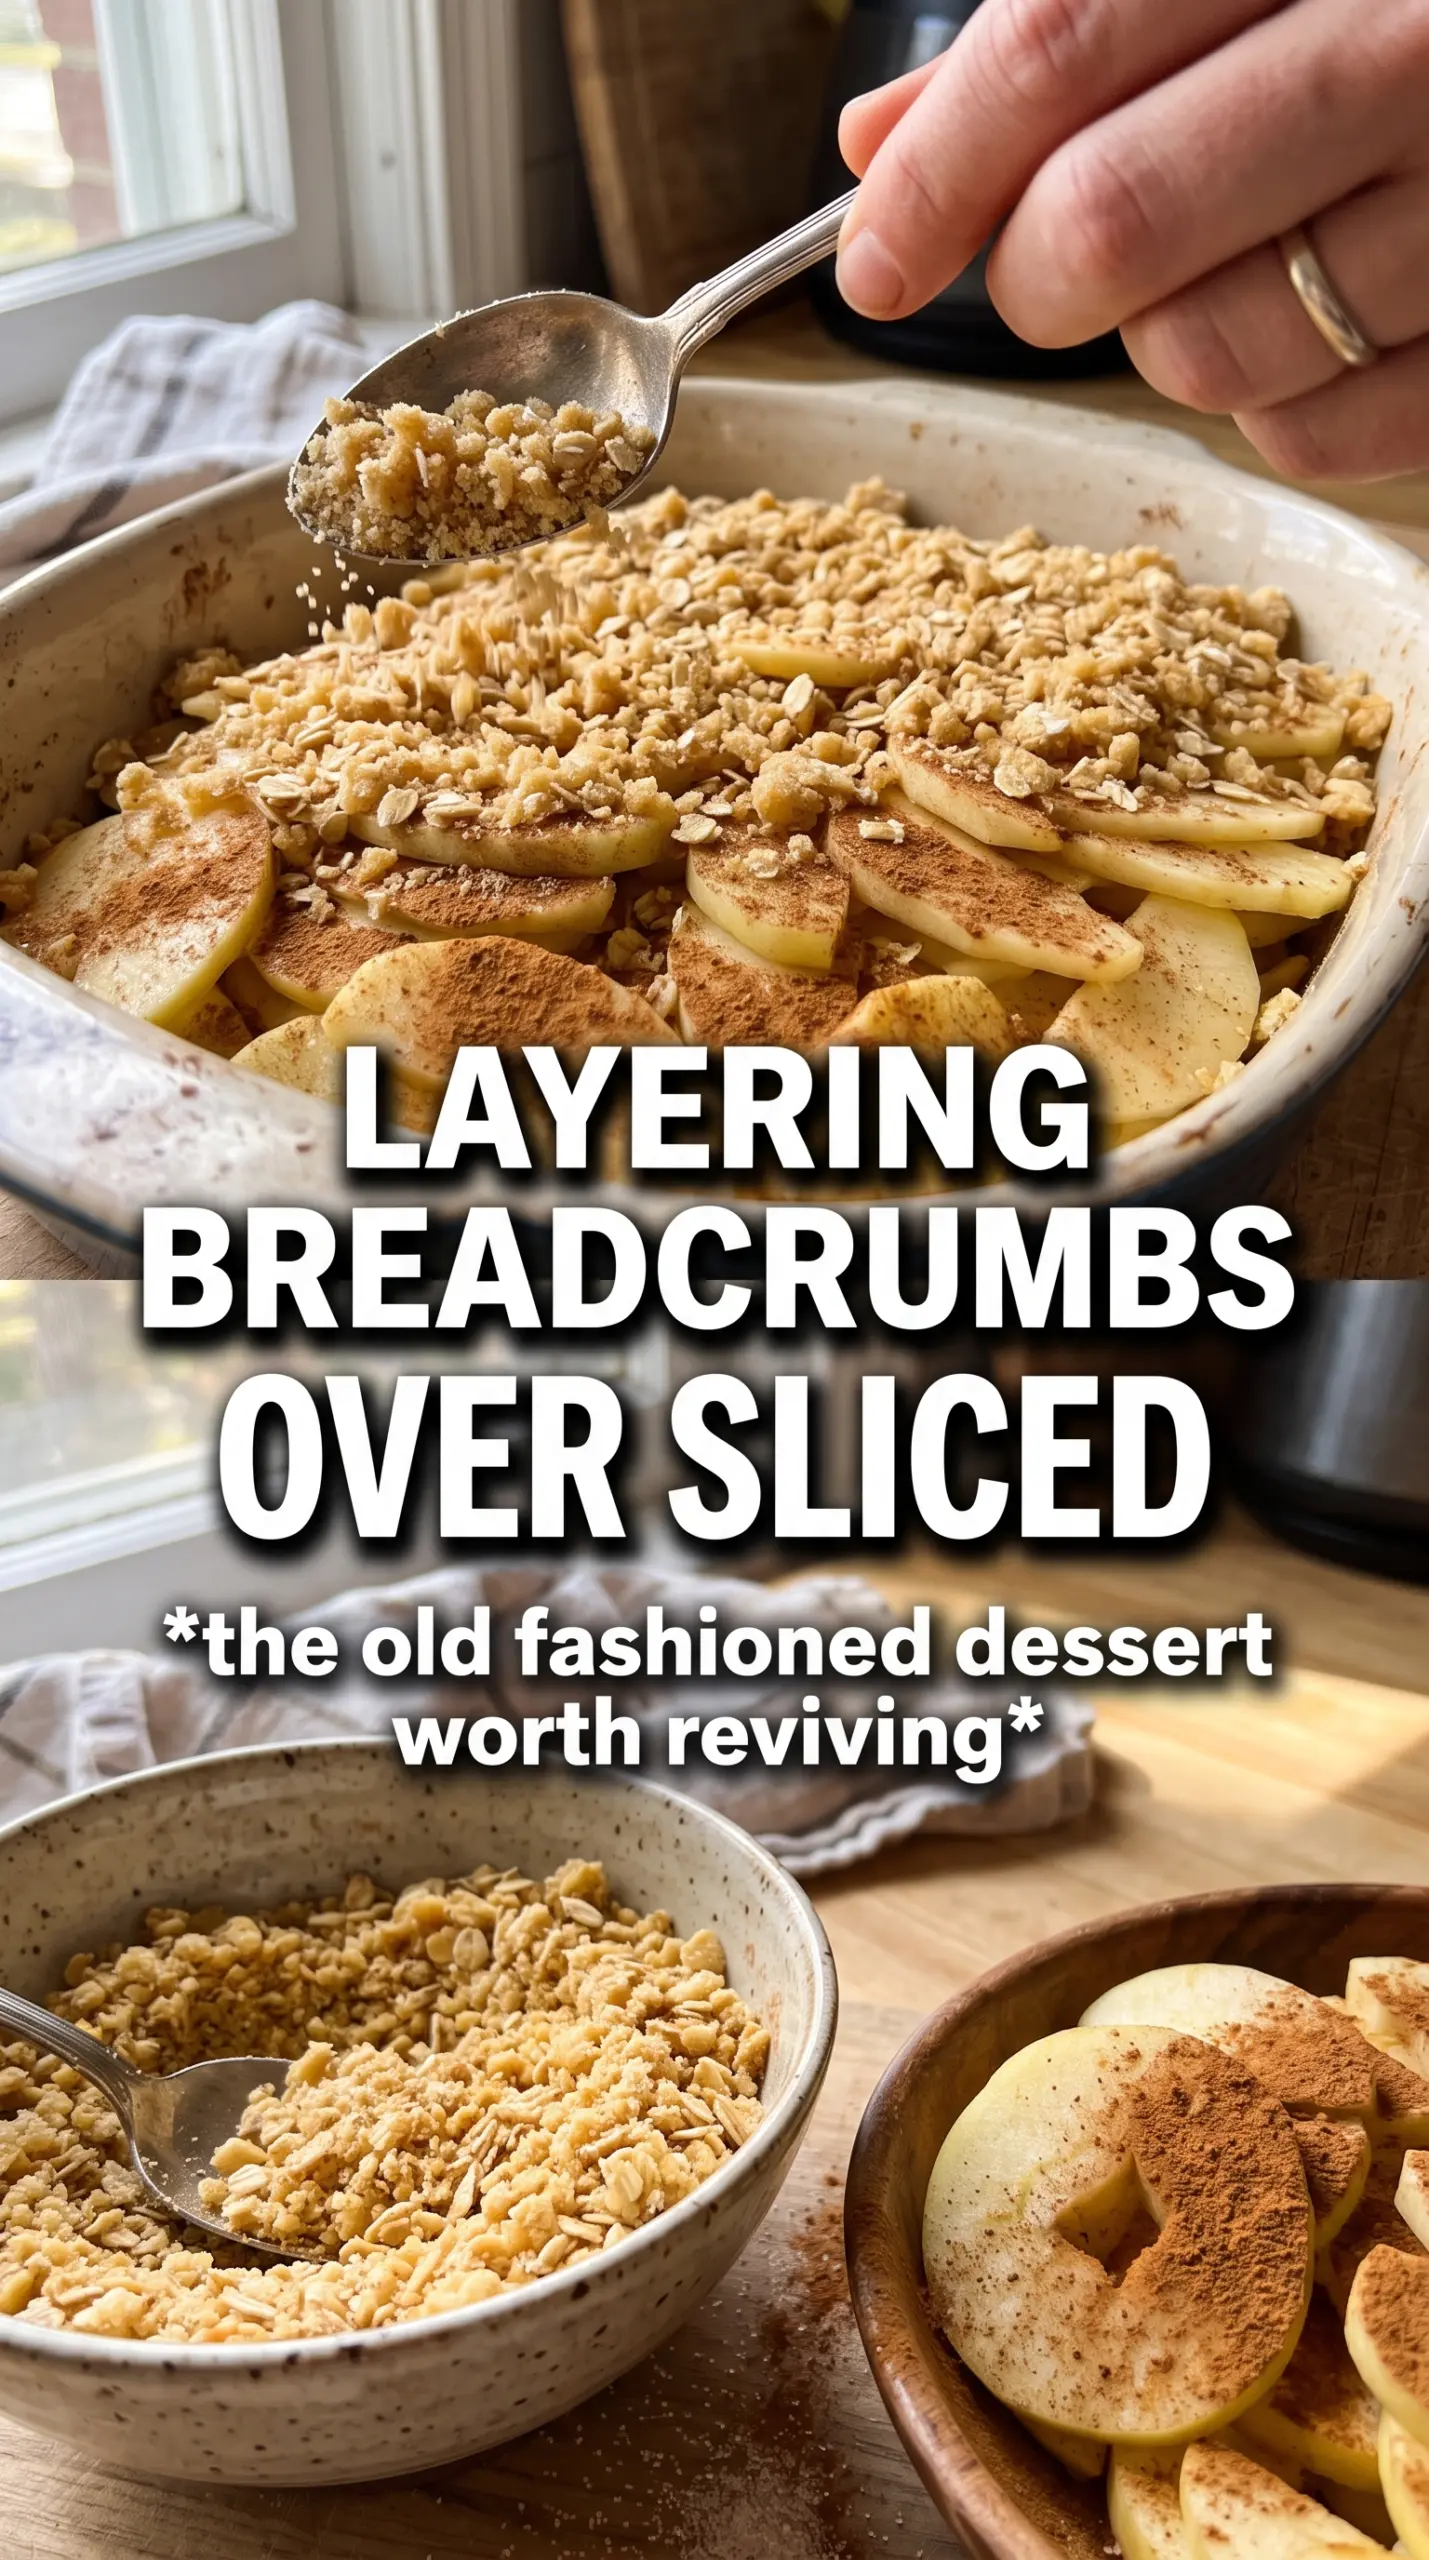
The brown sugar draws moisture from the apples and melts into the spice mixture, which is what gives the filling its syrupy edges. Cinnamon, nutmeg, and allspice are a classic trio here; the cinnamon leads, while the nutmeg and allspice add depth without making the dessert taste like pumpkin pie.
Lemon juice and zest keep the apples from tasting one-note. The juice brightens the filling and slows browning while you assemble the dish, and the zest leaves behind a fresh aroma that survives the oven. If you don’t have cider, water works, but cider gives a rounder finish and a little more apple flavor in the bottom of the pan.
Building the Dessert So the Crust and Filling Finish Together
Coating the crumbs first
Toss the breadcrumbs with the melted butter until every bit looks evenly moistened, not streaky. Dry patches will bake up pale and dusty, while well-coated crumbs toast into a deep golden crust. If the butter pools at the bottom of the bowl, the crumbs aren’t mixed enough yet.
Seasoning the apples thoroughly
Mix the sliced apples with the sugar, spices, lemon juice, and zest until the fruit glistens and the bowl starts to smell warm and fragrant. The apples should be coated, not submerged. If you leave clumps of sugar behind, they’ll melt unevenly and create hard pockets in the finished dessert.
Layering for even baking
Spread one-third of the crumbs in the dish, then half the apples, then half the cider, and repeat. The final layer of crumbs belongs on top so it can brown without sitting in liquid. Press the layers down only lightly; packing them tight can block steam and leave the apples undercooked in the center.
Baking until the top sets
Bake until the top is deeply golden and crisp and the apples are tender when pierced with a knife. If the top is browning too quickly before the fruit softens, lay a loose piece of foil over the dish for the last stretch. Let it sit for about 10 minutes before serving so the juices settle instead of running all over the plate.
How to Adapt Apple Betty for Different Kitchens and Crowds
Make it dairy-free
Swap the butter for a good-quality plant-based butter with a similar fat content. You’ll still get a crisp topping, though the flavor will be a little less rich and more neutral. Avoid soft tub spreads; they can stay greasy instead of baking into a proper crumb.
Use gluten-free breadcrumbs
Gluten-free breadcrumbs work well as long as they’re fairly dry and coarse. The texture will be a little more delicate, but the buttery layers still bake up crisp. If they’re very fine, mix in a handful of crushed gluten-free oats for more structure.
Change the apples for the season you have
A mix of Granny Smith and Honeycrisp gives you the best balance of tartness and sweetness, but any firm baking apple will work. Softer apples turn mushy fast, which is fine if you like a jammy filling, but you lose some of the layered texture that makes this dessert special.
Storage and Reheating
- Refrigerator: Store covered for up to 4 days. The topping softens a bit, but the flavor stays good.
- Freezer: Freeze tightly wrapped portions for up to 2 months. The crust won’t stay as crisp, but the dessert reheats well if you’re not chasing that fresh-from-the-oven texture.
- Reheating: Warm in a 325F oven until heated through and the top crisps back up, about 15 to 20 minutes for a smaller portion. The microwave will heat the filling but leaves the topping soft.
Questions I Get Asked About This Recipe
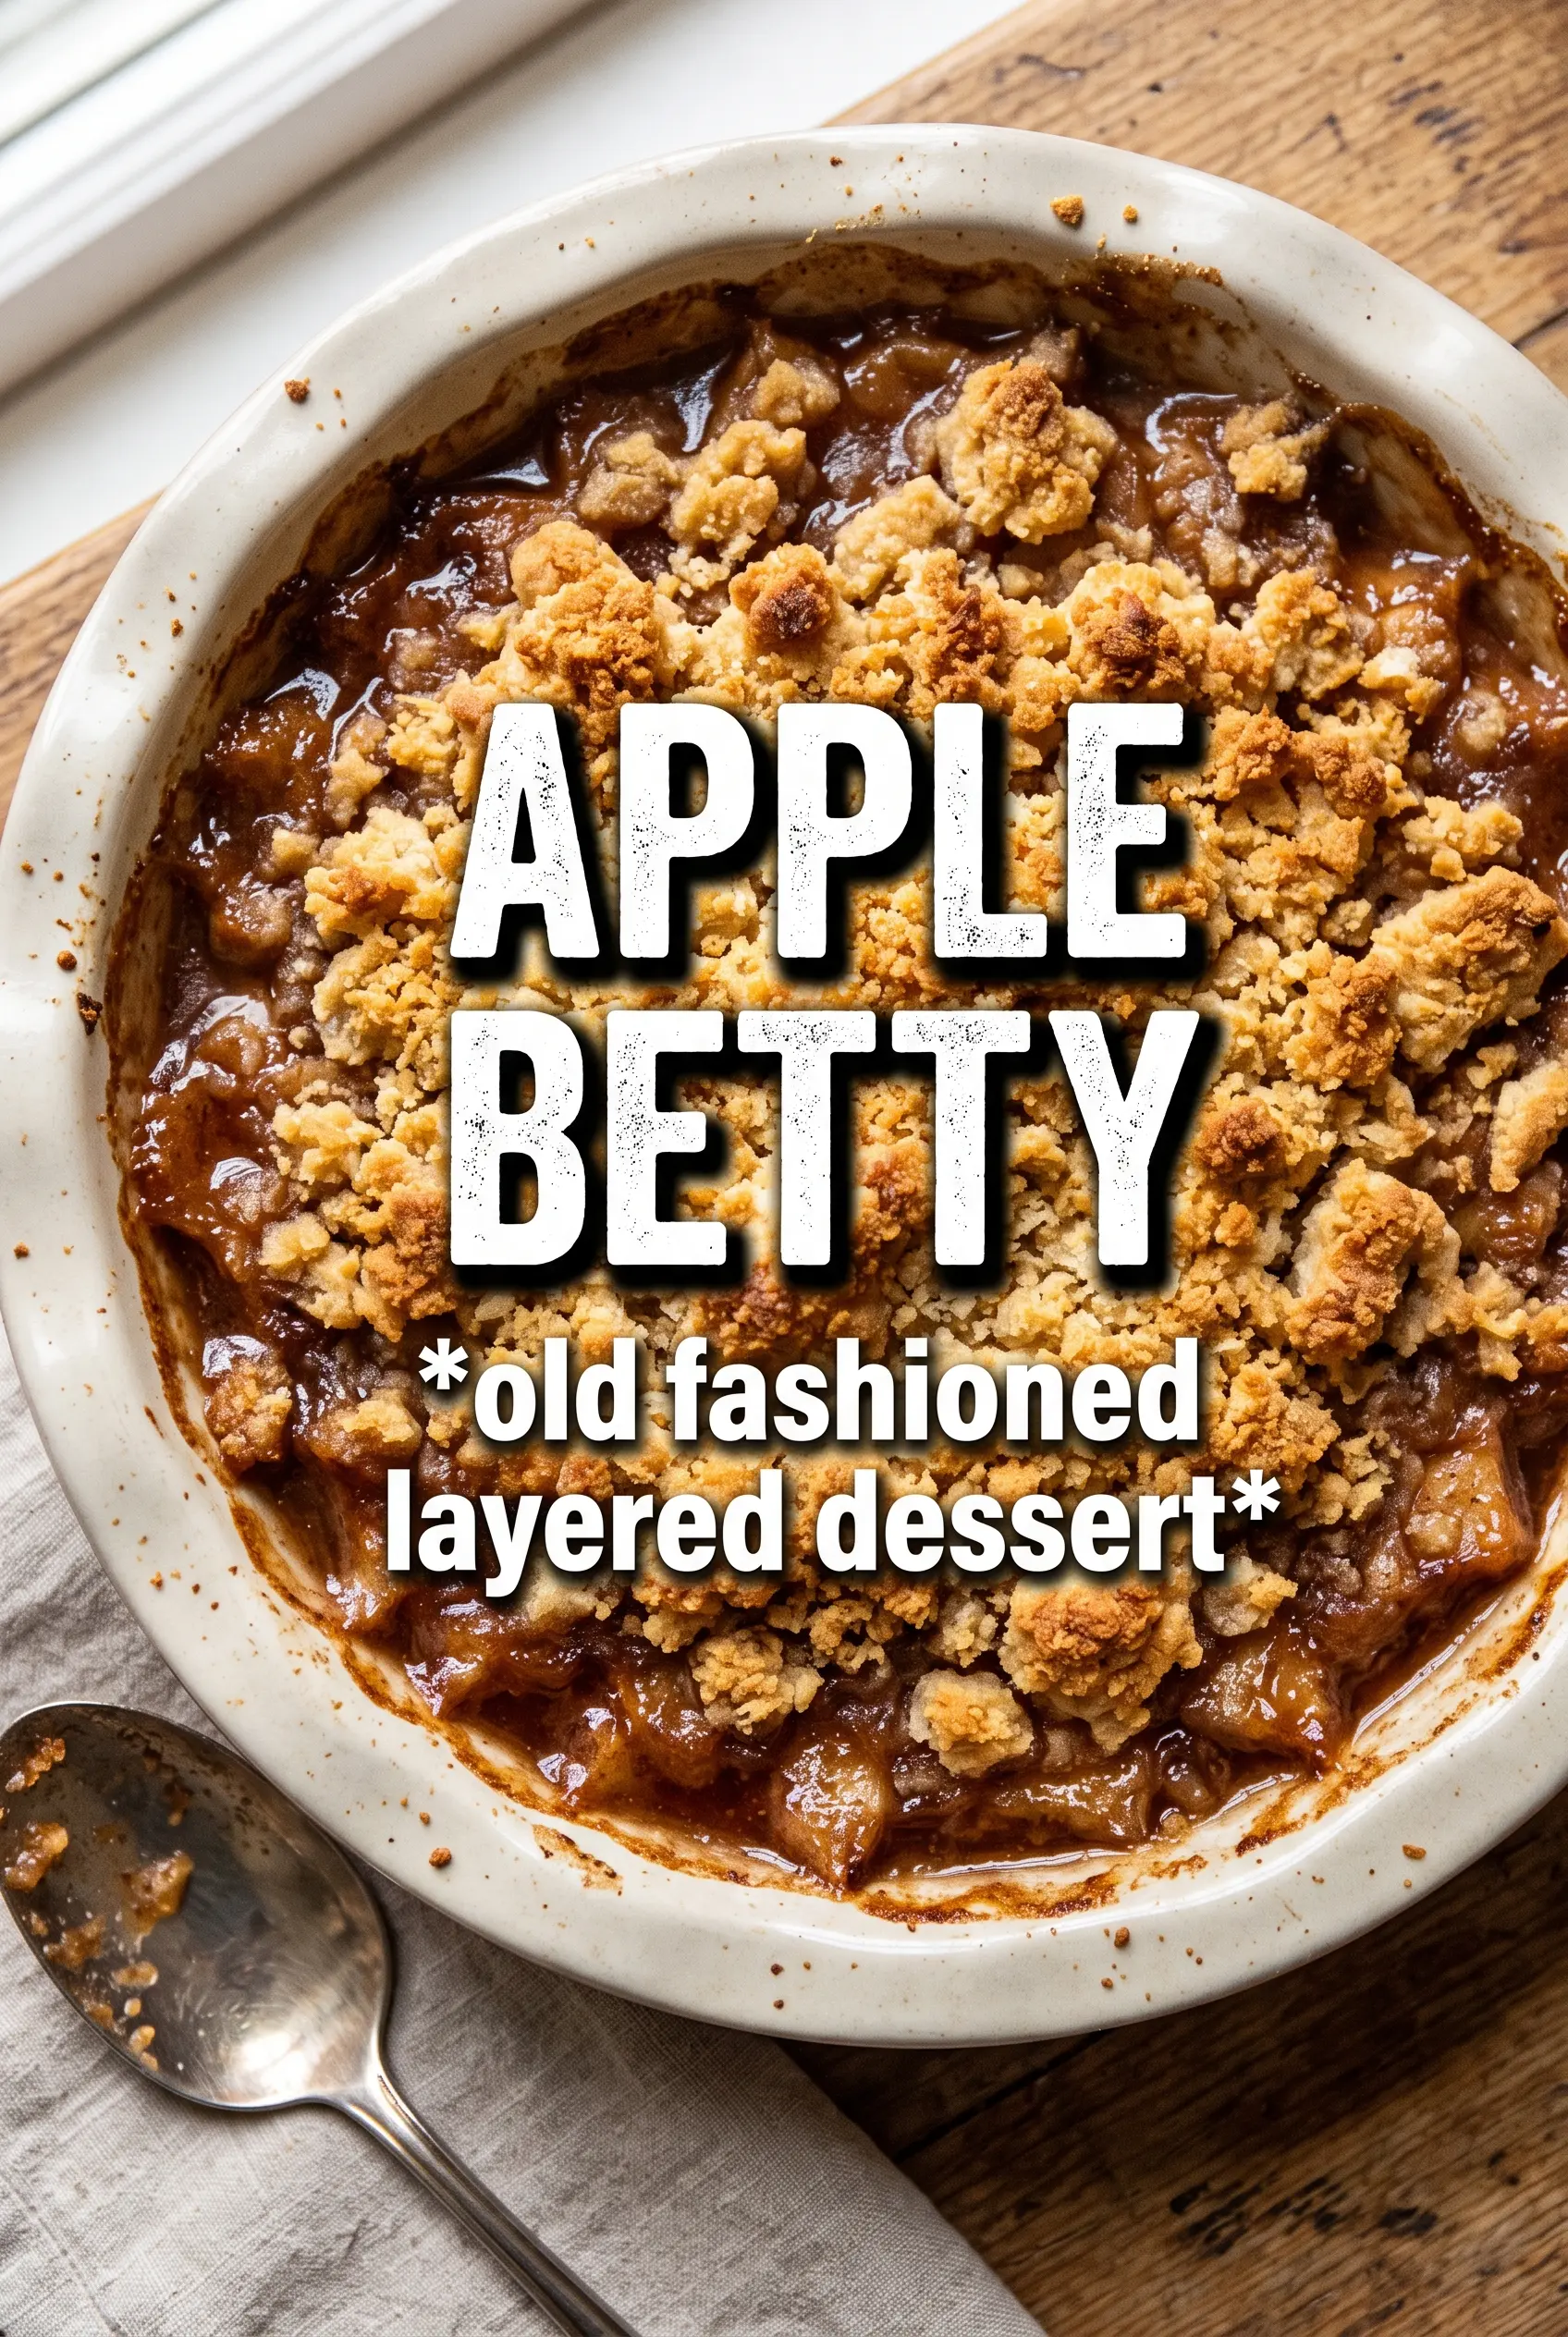
Apple Betty
Ingredients
Equipment
Method
- Preheat the oven to 375°F and grease a 9x13 baking dish, so the sides are lightly coated and nothing sticks.
- Toss the fresh breadcrumbs with the melted unsalted butter until evenly coated, and look for crumbs that clump slightly when pressed.
- Mix the apple slices with the brown sugar, cinnamon, nutmeg, allspice, lemon juice, and lemon zest until the apples look glossy and evenly spiced.
- Spread 1/3 of the buttered breadcrumbs in the bottom of the dish, forming a thin, even base.
- Layer half the apple mixture over the breadcrumbs and drizzle with half the apple cider, distributing liquid so it reaches the edges.
- Repeat with another layer of breadcrumbs, remaining apples, and the remaining cider, finishing with the final layer of breadcrumbs on top.
- Bake for 40-45 minutes at 375°F until the top is deeply golden and crispy and the apples are tender, with bubbling juices around the edges.
- Let the Apple Betty stand briefly, then serve warm with vanilla ice cream or heavy cream.