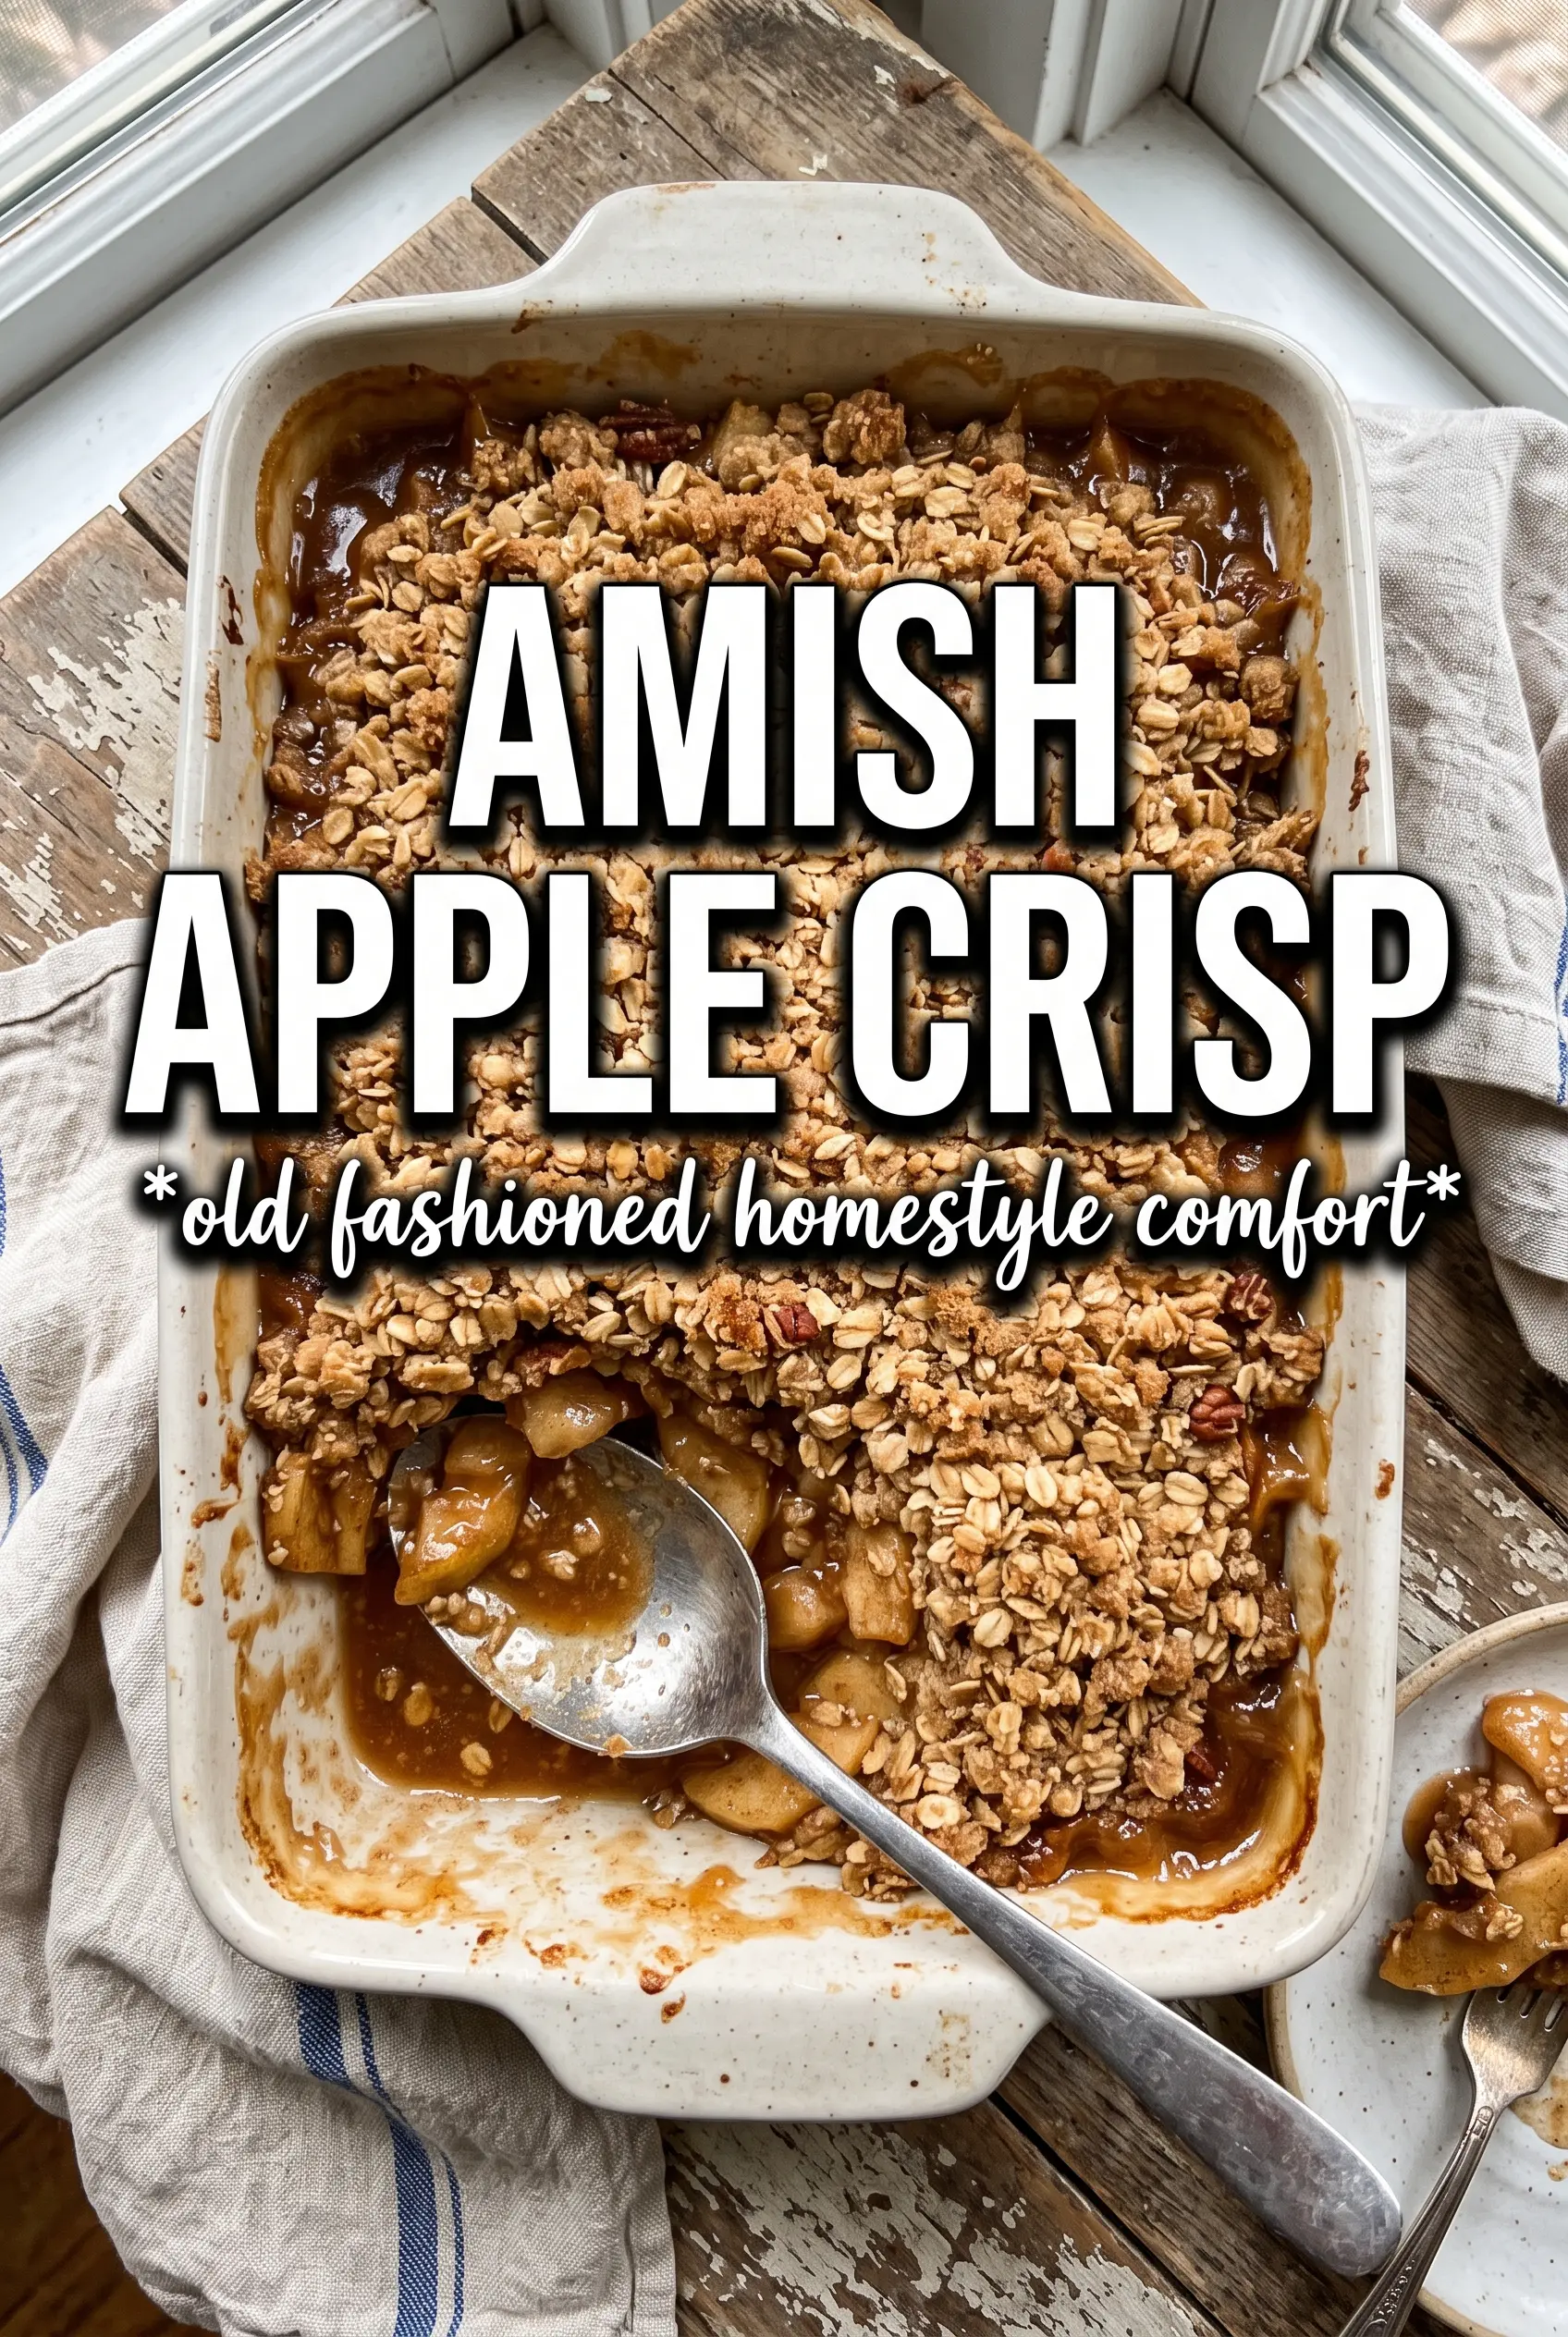
Amish apple crisp bakes into that rare kind of dessert that disappears fast but still feels worth slowing down for. The topping turns thick and craggy, with buttery oat clusters that stay crisp at the edges and soften just enough where they meet the bubbling apples underneath. Every spoonful gives you tart fruit, warm spice, and a brown sugar crust that tastes homemade in the best possible way.
What sets this version apart is the balance in the filling and the heavy-handed crumble on top. The apples are lightly coated with flour so the juices thicken instead of running loose in the pan, and the combination of oats, butter, and a little lard gives the topping a rustic texture that holds its shape. Don’t skip the rest after baking; that short pause lets the filling settle so it serves in neat, spoonable layers instead of collapsing into a puddle.
Below, I’ve included the details that matter most: which apples bake best, how to get those big crumble clumps, and what to do if you want to make it without lard or serve it a little differently.
The crumble baked up with those big buttery clumps I never seem to get from other apple crisps, and the filling thickened just enough after a short rest. I served it with vanilla ice cream and the whole pan was gone by the next morning.
Love the thick oat crumble and caramelized apple filling? Save Amish Apple Crisp to Pinterest for the nights when you want a rustic dessert with big golden clusters.
The Part That Keeps the Topping Crisp Instead of Soggy
The biggest mistake with apple crisp is treating the topping and filling like they need to be mixed together. They don’t. The apples need their own seasoning and a little flour to catch the juices, while the crumble needs to stay cold and clumpy so it can brown instead of melting into the fruit. If you stir the topping too finely, you lose the rough little mounds that bake into those crunchy, buttery patches everyone goes after first.
Another thing that matters here is pan shape. A deep 10×15 roasting pan or roomy 9×13 dish gives the filling enough surface area to bubble and the topping enough room to dry out and brown. If the dish is too small, the apples steam under their own juices and the top turns heavy before it has a chance to crisp.
- Apples — Use a firm baking apple that holds its shape. A mix of tart and sweet apples works best because the filling tastes fuller and doesn’t lean one-note. Very soft apples collapse too fast and turn the crisp mushy.
- Flour in the filling — This is what keeps the juices from running all over the pan. Cornstarch can work in a pinch, but flour gives the filling a more old-fashioned, gently thickened texture.
- Cold butter and lard — Cold fat is what creates the rough, craggy topping. Lard gives a more traditional, bakery-style crumb, but all butter still works and gives a richer flavor. Warm fat is the enemy here.
- Rolled oats — Use old-fashioned oats, not quick oats. Quick oats soak up moisture too fast and make the topping dense instead of crisp.
What Each Ingredient Is Actually Doing in This Recipe
- Primary ingredient (the star) — Quality matters most. Choose the best you can find.
- Cooking medium (oil, butter, or broth) — This carries flavors and prevents dryness.
- Seasonings (salt, pepper, spices, herbs) — Layer flavors so nothing overpowers. Build depth gradually.
- Aromatics (garlic, onion, herbs) — Cook with fat to bloom flavors. Become the foundation.
- Supporting ingredients — Complement the main ingredient without overpowering it.
- Sauce or liquid (if applicable) — Brings flavors together. Balance richness with acid.
- Acid (lemon, vinegar, wine, or other) — Brightens and prevents flat-tasting results.
- Final finish (garnish, glaze, or sauce) — Prevents one-dimensional taste and adds visual appeal.
Building the Crumble in Big, Buttery Clumps
Seasoning the Apples First
Toss the sliced apples with the sugars, spices, flour, and lemon juice until every piece looks lightly coated. The lemon keeps the flavor bright and helps slow browning while you work, but the flour is what earns its place later by thickening the juices in the oven. Spread the apples in an even layer and don’t press them down hard; the filling needs a little air around it so it can bubble properly.
Mixing the Topping Without Overworking It
Combine the flour, oats, sugars, cinnamon, and salt, then cut in the cold butter and lard until the mixture looks shaggy and starts to hold together in uneven clumps. Those clumps are the goal. If you keep rubbing until it looks sandy, the topping bakes up flat and dry instead of rough and crisp. Stop as soon as you can squeeze a handful and have it stay in loose chunks.
Baking Until the Edges Bubble
Spread the crumble over the apples in a thick layer and press it down only gently so some of the fruit still peeks through. Bake until the top is a deep golden brown and you can see the filling bubbling around the edges and through the cracks in the topping. If the top browns before the fruit bubbles, it needs more time, not more heat; the bubbles are the sign that the flour in the filling has thickened properly.
Letting It Set Before Serving
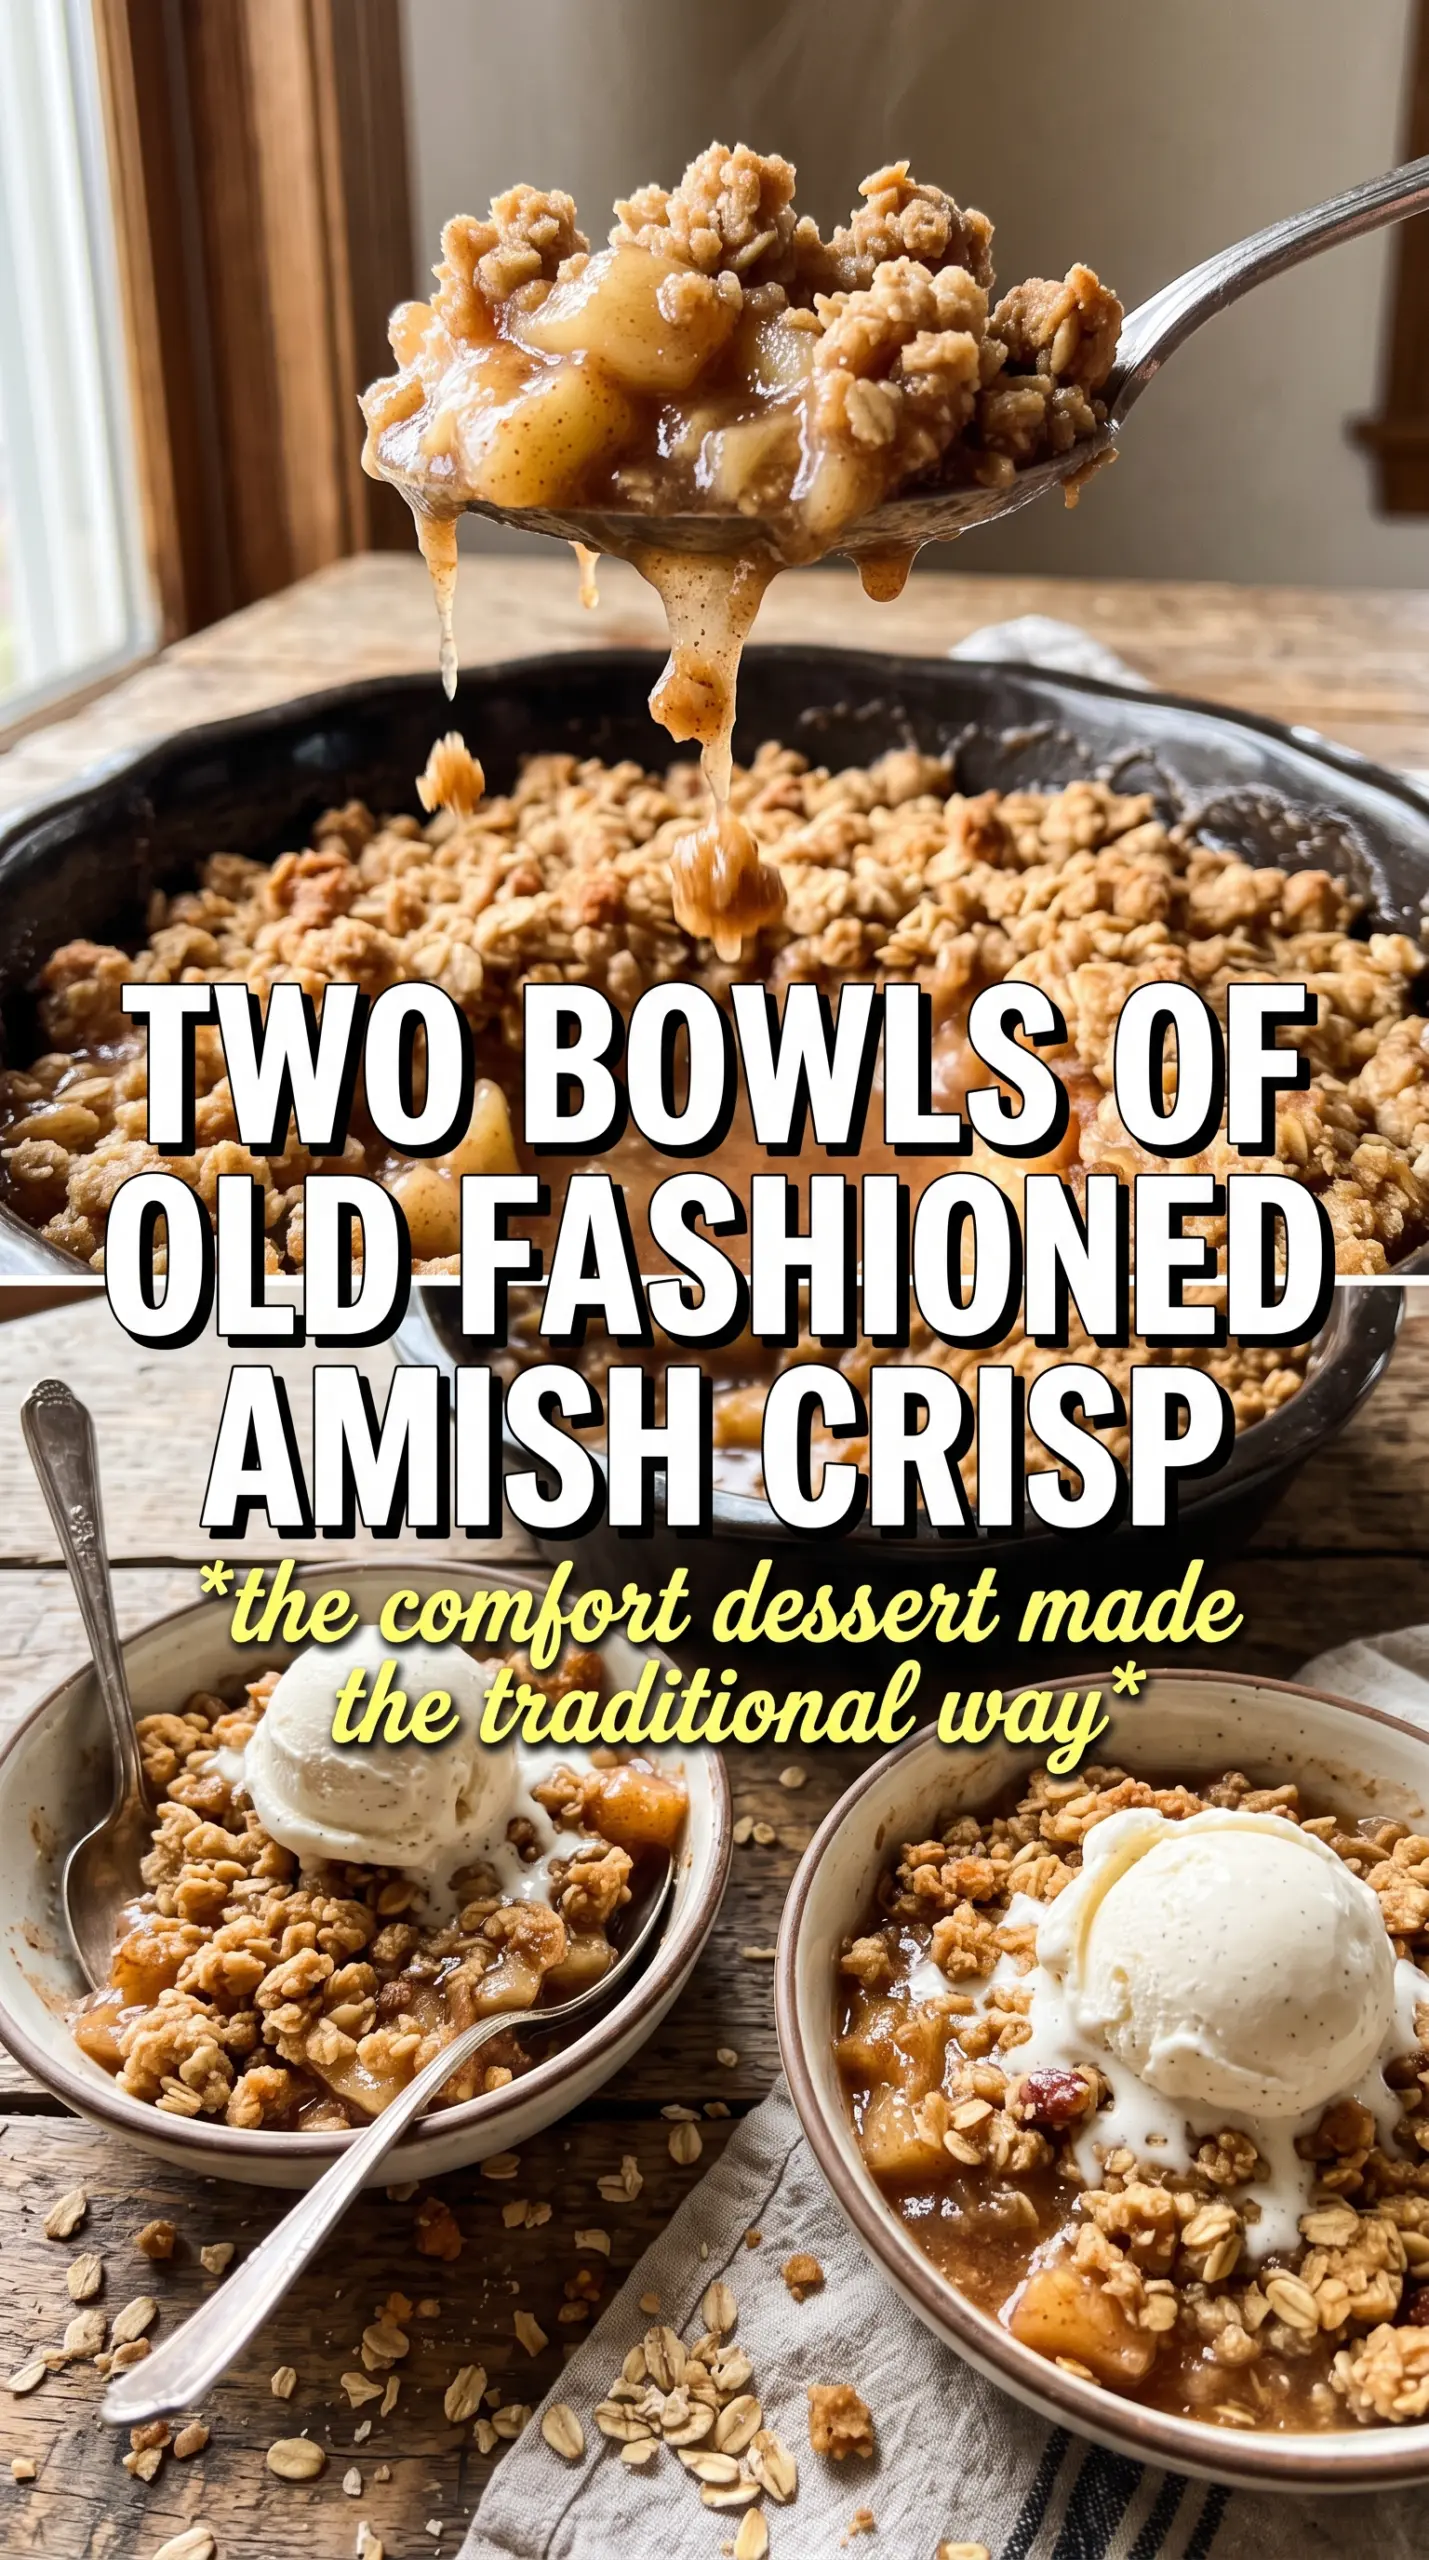
Give the crisp at least 15 minutes after it comes out of the oven. The filling is still moving at first, and that resting time lets it settle into a spoonable layer instead of flooding the plate. It’ll still be warm, the topping will stay crisp around the edges, and the ice cream will melt into the cracks just the way it should.
How to Adapt Amish Apple Crisp Without Losing the Texture
All-Butter Version
Skip the lard and use an extra 1/2 cup butter instead. The topping will taste a little richer and less rustic, but it still bakes into good clumps if the butter stays cold. Cut it in quickly so it doesn’t melt before it hits the oven.
Gluten-Free Crisp
Use a 1:1 gluten-free flour blend in both the filling and topping, and check that your oats are certified gluten-free. The texture stays close to the original, though the topping may be a little more delicate when you scoop it.
Less Sweet Apple Filling
If your apples are already sweet, cut the granulated sugar in the filling by 1/4 cup. Keep the brown sugar in place if you want that caramel note, because it deepens the flavor without making the filling taste sharply sweet.
Storage and Reheating
- Refrigerator: Keep covered for up to 4 days. The topping softens a bit, but the flavor holds up well.
- Freezer: Freeze baked crisp in a tightly wrapped dish for up to 2 months. Thaw overnight in the fridge before reheating, or freeze unbaked and bake straight from frozen with extra time.
- Reheating: Warm in a 325F oven until the center is hot and the topping crisps back up. The microwave softens the crumble, so use it only if you don’t care about the texture.