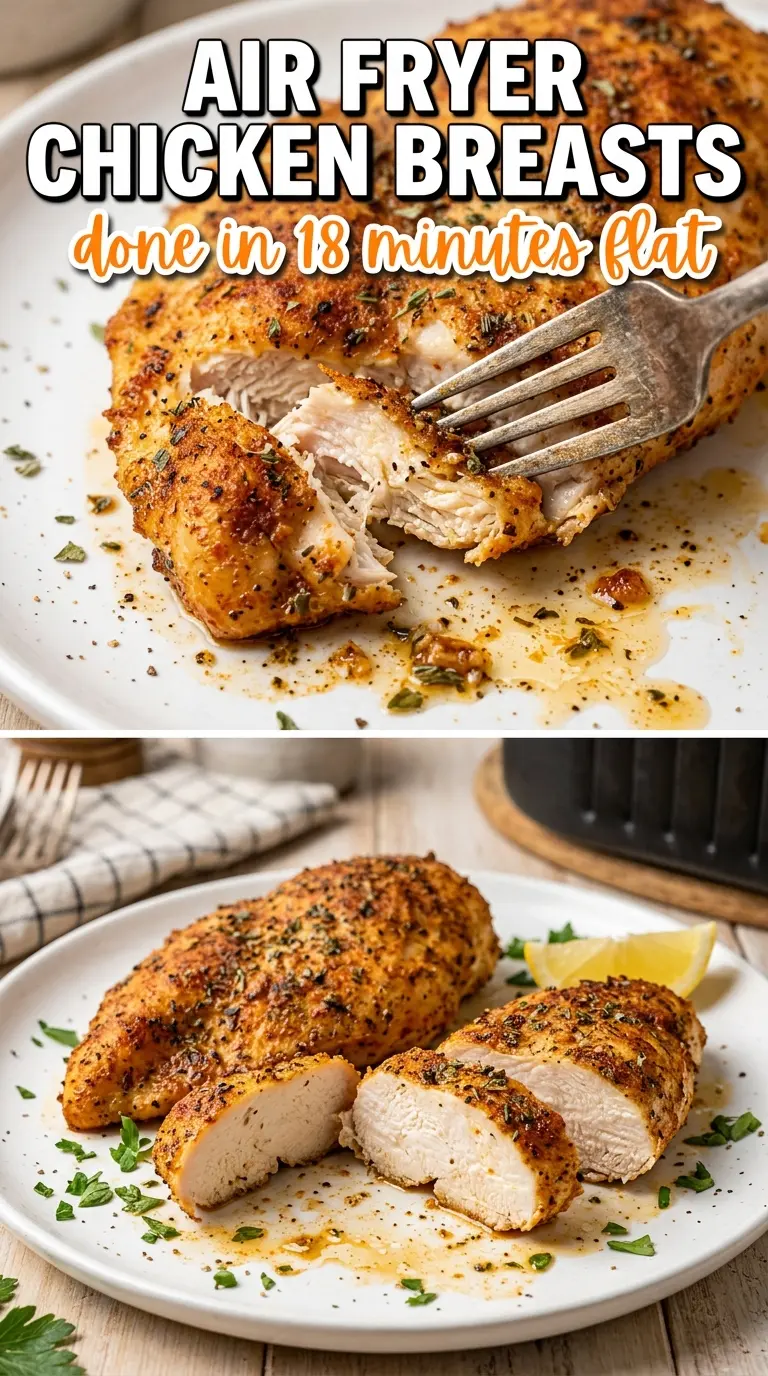
Air fryer chicken breasts can be the fastest path to a dinner that actually tastes cooked with care, not rushed. When the outside turns deeply seasoned and lightly crisp while the inside stays juicy enough to slice cleanly, you get the kind of main dish that works with anything on the plate. The best versions don’t dry out at the edges or taste like plain chicken with spice dusted on top. They come out bronzed, fragrant, and tender all the way through.
The trick is even thickness and a hot enough air fryer to set the outside before the meat has time to toughen. Pounding the breasts to the same thickness keeps the thinner ends from overcooking while the thick center finishes. A little oil helps the seasonings cling and encourages that golden crust, while smoked paprika and Italian seasoning give the chicken enough character that you don’t need a sauce to rescue it.
Below, I’ve laid out the small details that matter most here, including what to do if your chicken breasts are extra large, how to keep the coating from tasting dusty, and the best way to slice them so all that juice stays where it belongs.
The chicken came out with a golden crust and stayed juicy in the middle, and pounding it to even thickness made the timing spot on. I sliced it for salads the next day and it reheated without turning stringy.
Like this juicy air fryer chicken? Save it to Pinterest for an easy dinner that finishes with a golden crust in under 20 minutes.
The Thin Ends Overcook Before the Center Catches Up
Chicken breasts fail in the air fryer for the same reason they fail in the oven: the shape works against you. One end is thin, the center is thick, and by the time the middle reaches 165°F, the edges are already dry. Pounding them to an even 3/4-inch thickness isn’t busywork. It’s the thing that keeps the whole piece cooking at the same pace.
The second piece that matters is heat. At 390°F, the outside has enough force to brown before the meat loses too much moisture. If you cook at a lower temperature to “play it safe,” the chicken spends more time drying out without ever developing that browned crust people want from air fryer chicken breasts.
- Even thickness keeps the cooking time predictable and prevents the tapered ends from turning chalky.
- Oil helps the spices bloom on the surface and gives the crust a more even, bronzed finish.
- A flipped halfway cook helps both sides brown instead of leaving the underside pale and soft.
- A thermometer takes the guesswork out; pull the chicken when it hits 165°F in the thickest part.
What Each Seasoning Is Actually Doing Here
Chicken breasts need to be boneless and skinless for this timing, but the size matters more than the label. Very large breasts can take longer than 18 minutes, and very small ones can dry out fast. If yours are huge, split them horizontally or pound them thinner so they cook like the rest of the batch.
Olive oil is enough here because you’re not deep-frying or bathing the chicken in fat. Its job is to help the spices stick and encourage browning. Any neutral oil works in a pinch, but olive oil brings better flavor against the paprika and herbs.
Smoked paprika, garlic powder, onion powder, and Italian seasoning give you a savory crust that tastes layered, not flat. Fresh garlic isn’t a good swap here because it can scorch in the air fryer. If you want to change the herb mix, keep the garlic and onion powder and swap the Italian seasoning for ranch seasoning, Cajun seasoning, or a simple dried thyme-and-oregano blend.
The 18 Minutes That Make the Difference
Getting the Air Fryer Hot First
Preheat the air fryer to 390°F before the chicken goes in. A hot basket starts browning immediately, which is part of why the coating tastes roasted instead of steamed. If you skip the preheat, the chicken sits in a cooler chamber at first and the surface has less chance to set before the meat starts releasing moisture.
Seasoning the Surface Evenly
Brush both sides with oil, then rub the seasoning mix over every part of the chicken. You want a thin, even coat, not a thick pile of spice in patches. If the chicken looks dusty, it needs a little more oil; dry seasoning tends to land bitter and uneven after air frying.
Cooking Until the Center Just Reaches 165°F
Arrange the breasts in a single layer with a little space between them so the hot air can move around each piece. Flip halfway through to keep the underside from staying pale. Start checking early if your breasts are small, and trust the thermometer over the clock. If the surface is browned but the center is still short of temperature, give it a few more minutes rather than cranking the heat higher, which can toughen the outside before the middle is done.
Resting Before You Slice
Let the chicken rest for 5 minutes after it comes out. That pause lets the juices settle back into the meat instead of running onto the cutting board. Slice against the grain for the most tender bite, especially if you’re serving it over rice, salad, or vegetables.
How to Change the Seasoning Without Ruining the Texture
Make it dairy-free and gluten-free without changing the method
This recipe is naturally dairy-free and gluten-free as written, which is part of why it works so well on a weeknight. Just check that your Italian seasoning blend doesn’t contain hidden fillers if you’re cooking for someone with a sensitive gluten issue. The cooking time and texture stay the same.
Turn it into a lemon-herb version
Add lemon zest to the seasoning mix and finish with a squeeze of juice after cooking. The zest gives you bright flavor without adding extra moisture that would soften the crust. Don’t add the juice before air frying or the surface will steam instead of brown.
Use chicken tenders when you need it even faster
Chicken tenders cook faster and stay tender, but they brown a little less deeply than whole breasts. Start checking around 9 to 11 minutes, depending on size, and flip once halfway through. They’re great when you want the same seasoning with less slicing and no pounding.
Storage and Reheating
- Refrigerator: Store in an airtight container for up to 4 days. The crust softens a bit, but the chicken stays useful for salads, wraps, and meal prep.
- Freezer: It freezes well if you cool it completely first and wrap the pieces tightly. Freeze sliced or whole; either way, thaw overnight in the fridge so the texture doesn’t turn watery.
- Reheating: Reheat in the air fryer at 350°F for 3 to 5 minutes, just until warmed through. The mistake is blasting it on high heat, which dries out the edges before the center is hot.
Questions I Get Asked About This Recipe

Air Fryer Chicken Breasts
Ingredients
Equipment
Method
- Preheat your air fryer to 390°F.
- Pound the chicken breasts to an even 3/4-inch thickness if needed for uniform cooking.
- Brush both sides of the chicken with olive oil.
- Mix garlic powder, onion powder, smoked paprika, Italian seasoning, salt, and cracked black pepper, then rub evenly over both sides of the chicken.
- Air fry the chicken for 16-18 minutes, flipping halfway through for even browning.
- Cook until the internal temperature reaches 165°F and the outside looks golden-brown.
- Rest the chicken for 5 minutes before slicing so the juices settle.
- Garnish with fresh parsley and serve with lemon wedges.