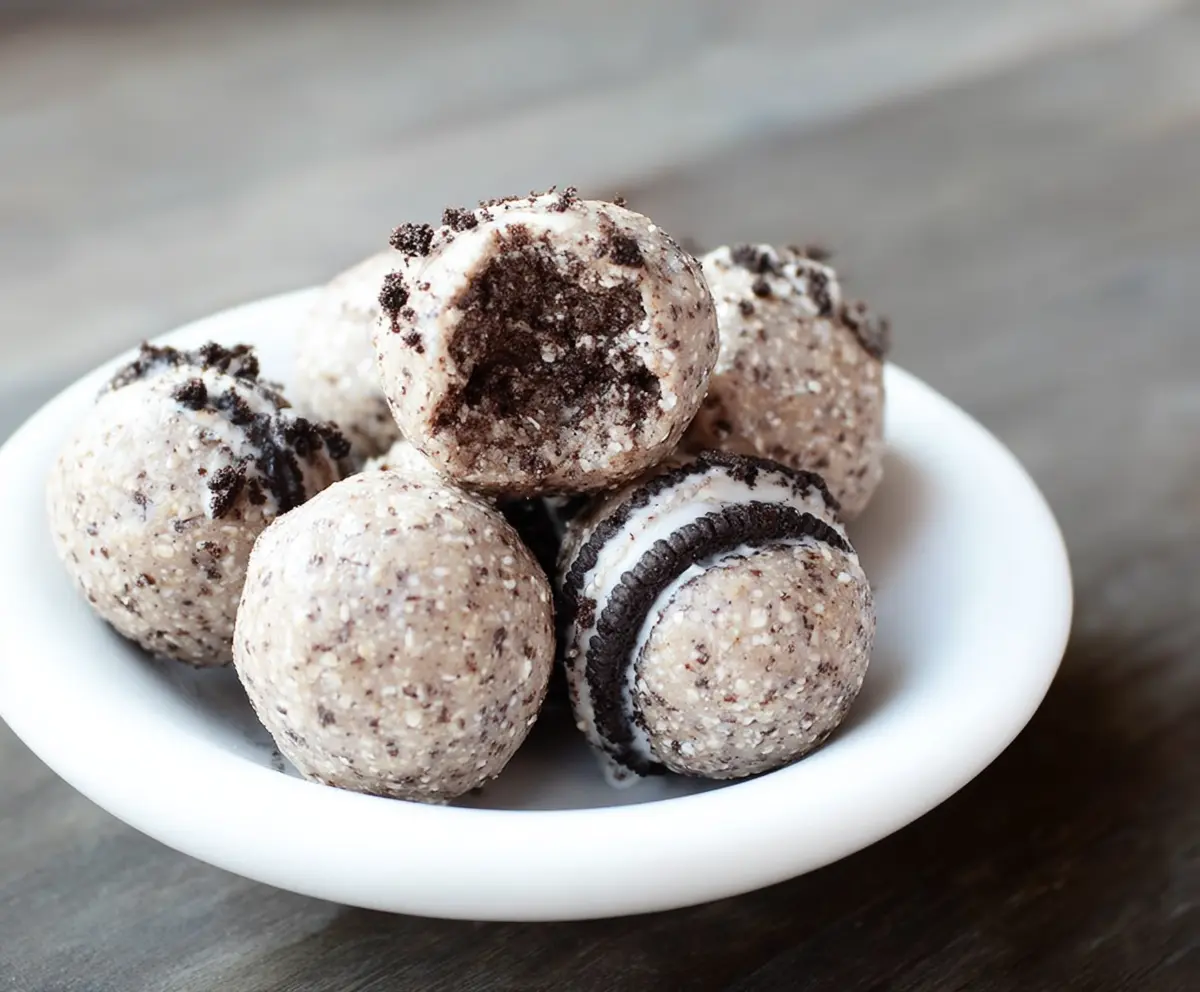
Nutritious Oreo Protein Balls are a fun and tasty snack that brings together the classic Oreo flavor with a healthy twist. They’re packed with protein and a little bit of crunch, making them perfect for anyone who loves a sweet treat but wants to stay energized. These little bites are creamy, chocolatey, and just the right size to grab on the go.
I love making these protein balls when I need a quick snack between workouts or during a busy afternoon. They’re super easy to whip up, and I always enjoy how the familiar Oreo taste shows up without all the extra sugar. Plus, I can sneak in some good nutrition without feeling like I’m missing out on dessert!
My favorite way to enjoy these is chilled from the fridge, especially on a warm day when I want something refreshing. They’re great to pack in lunchboxes or take on hikes, and somehow, everyone I share them with always asks for the recipe. These Oreo Protein Balls have become a little family favorite, and I think once you try them, they’ll be yours too!
Key Ingredients & Substitutions
Rolled oats: Oats give body and texture. I like using old-fashioned rolled oats for their chewiness. If you want a smoother bite, you can pulse them a bit longer or try quick oats.
Protein powder: Vanilla or chocolate both work well here. I use whey but plant-based powders like pea or rice protein can swap in easily depending on your preference.
Nuts: Raw almonds or cashews add healthy fats and crunch. You can also use walnuts or pecans. Just make sure to pulse them finely for the best consistency.
Nut butter: Almond or peanut butter helps bind the ingredients and adds creaminess. If you have allergies, sunflower seed butter is a great alternative.
Oreo cookies: Regular Oreos give the classic flavor, but you can swap for reduced-sugar or dairy-free versions if you want a healthier twist.
How Can I Get the Right Texture for Rolling Protein Balls?
Making sure your mixture isn’t too dry or too wet is key to shaping perfect protein balls. Here’s what helps:
- Pulse nuts and oats finely for an even texture but avoid turning everything into powder.
- Add nut butter and sweetener slowly, mixing well after each addition to see if the dough comes together.
- If the mixture feels crumbly, add a splash of almond milk a little at a time to moisten it.
- Conversely, if too sticky, add a small amount of oats to balance moisture.
- Once ready, use your hands to firmly press and roll into balls for tight shapes that hold together well.
Equipment You’ll Need
- Food processor – I use mine to finely chop oats and nuts quickly and easily.
- Mixing bowl – perfect for stirring ingredients together without making a mess.
- Measuring cups and spoons – keep everything precise and consistent for best results.
- Baking sheet or plate – line it with parchment paper to hold the protein balls while they set.
- Refrigerator – necessary to chill the balls so they firm up and hold their shape.
Flavor Variations & Add-Ins
- Use peanut butter instead of almond for a richer, classic taste.
- Add mini chocolate chips or chopped nuts for extra texture and flavor.
- Mix in dried fruit like cranberries or raisins for a chewy, fruity surprise.
- Replace Oreo cookies with graham cracker crumbs or crushed pretzels for different flavor twists.
Nutritious Oreo Protein Balls
Ingredients You’ll Need:
- 1 cup rolled oats
- ½ cup vanilla or chocolate protein powder
- 1 cup raw almonds or cashews
- ¼ cup almond butter or peanut butter
- ¼ cup honey or maple syrup
- ¼ cup unsweetened almond milk (adjust as needed)
- 10-12 Oreo cookies, crushed (use regular or a healthier alternative)
- 1 tsp vanilla extract
- Pinch of salt
Time Needed
This recipe takes about 10 minutes to prepare and an additional 30 minutes to chill in the fridge. In just under 45 minutes, you’ll have delicious, protein-packed Oreo balls ready to enjoy!
Step-by-Step Instructions:
1. Prepare the Base Mix
Start by pulsing the rolled oats and raw almonds or cashews in a food processor until they form a fine crumb. Then, add the protein powder, most of the crushed Oreo cookies (save a bit for rolling), and a pinch of salt. Pulse again to combine everything evenly.
2. Make the Dough
Transfer your crumbly mixture into a mixing bowl. Stir in the almond butter, honey or maple syrup, vanilla extract, and almond milk. Mix the ingredients well until you get a sticky dough. If the dough is too dry, add a little more almond milk. If it’s too wet, sprinkle in more oats.
3. Shape and Chill
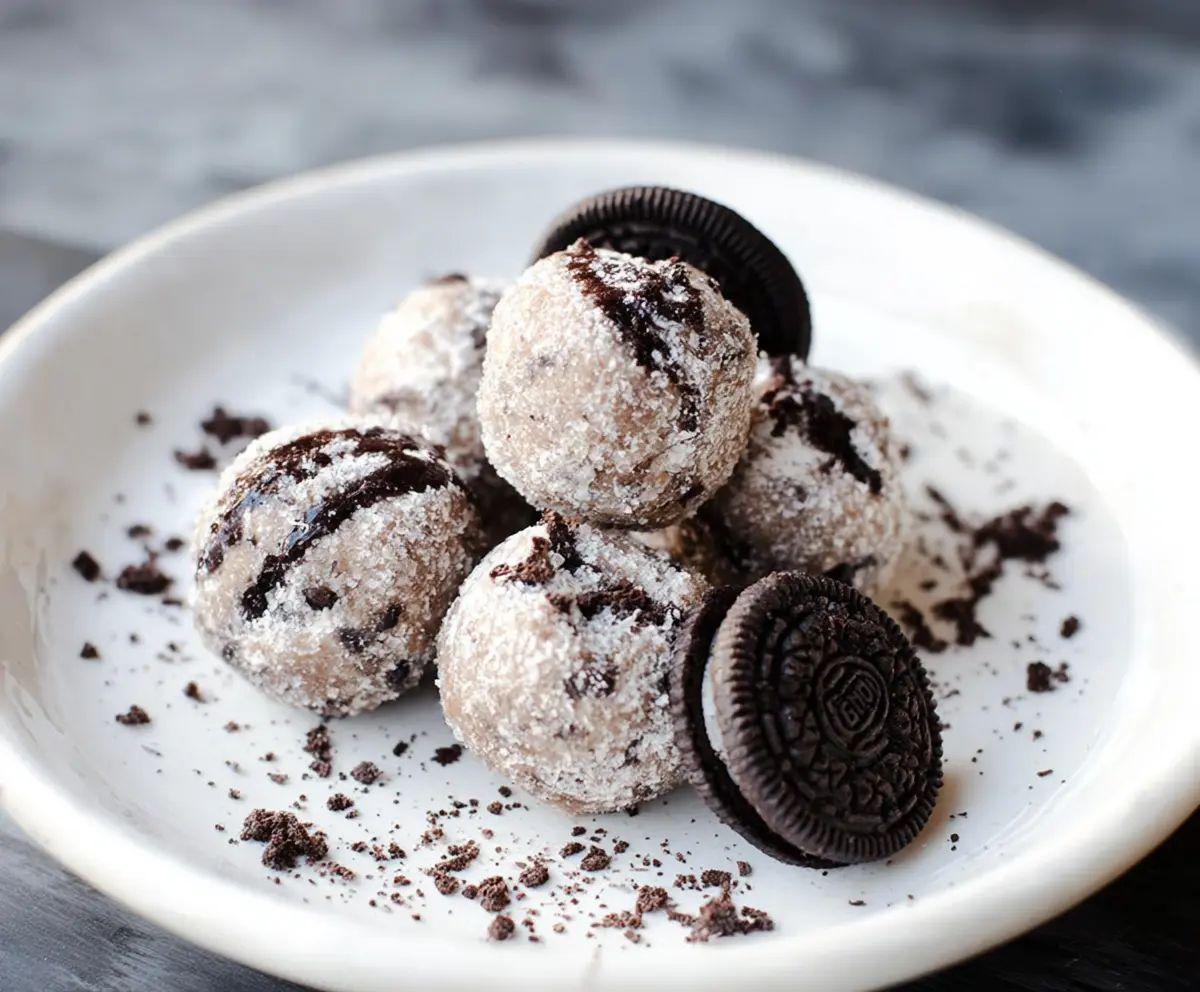
Using your hands, roll the dough into small 1-inch balls. For an extra Oreo crunch, gently roll each ball in the reserved crushed Oreos. Place the balls on a parchment-lined plate or tray and refrigerate them for at least 30 minutes so they firm up nicely.
4. Store and Enjoy
Keep your delicious Oreo Protein Balls in an airtight container in the fridge. They stay fresh for up to one week, making them a perfect grab-and-go snack anytime you need a tasty energy boost!
Can I Use Different Nuts in This Recipe?
Absolutely! Feel free to swap almonds or cashews for walnuts, pecans, or even sunflower seeds if you have nut allergies. Just pulse them finely for the best texture.
How Should I Store These Protein Balls?
Store them in an airtight container in the refrigerator for up to a week. For longer storage, you can freeze them for up to 2 months—just thaw in the fridge before eating.
Can I Make These Protein Balls Vegan?
Yes! Use a plant-based protein powder, maple syrup instead of honey, and make sure to pick dairy-free Oreo alternatives to keep the recipe vegan-friendly.
What If I Don’t Have a Food Processor?
You can finely chop the oats and nuts by hand with a knife or use a blender in short bursts. Just be careful not to overblend into powder—the mixture should stay a bit coarse for texture.