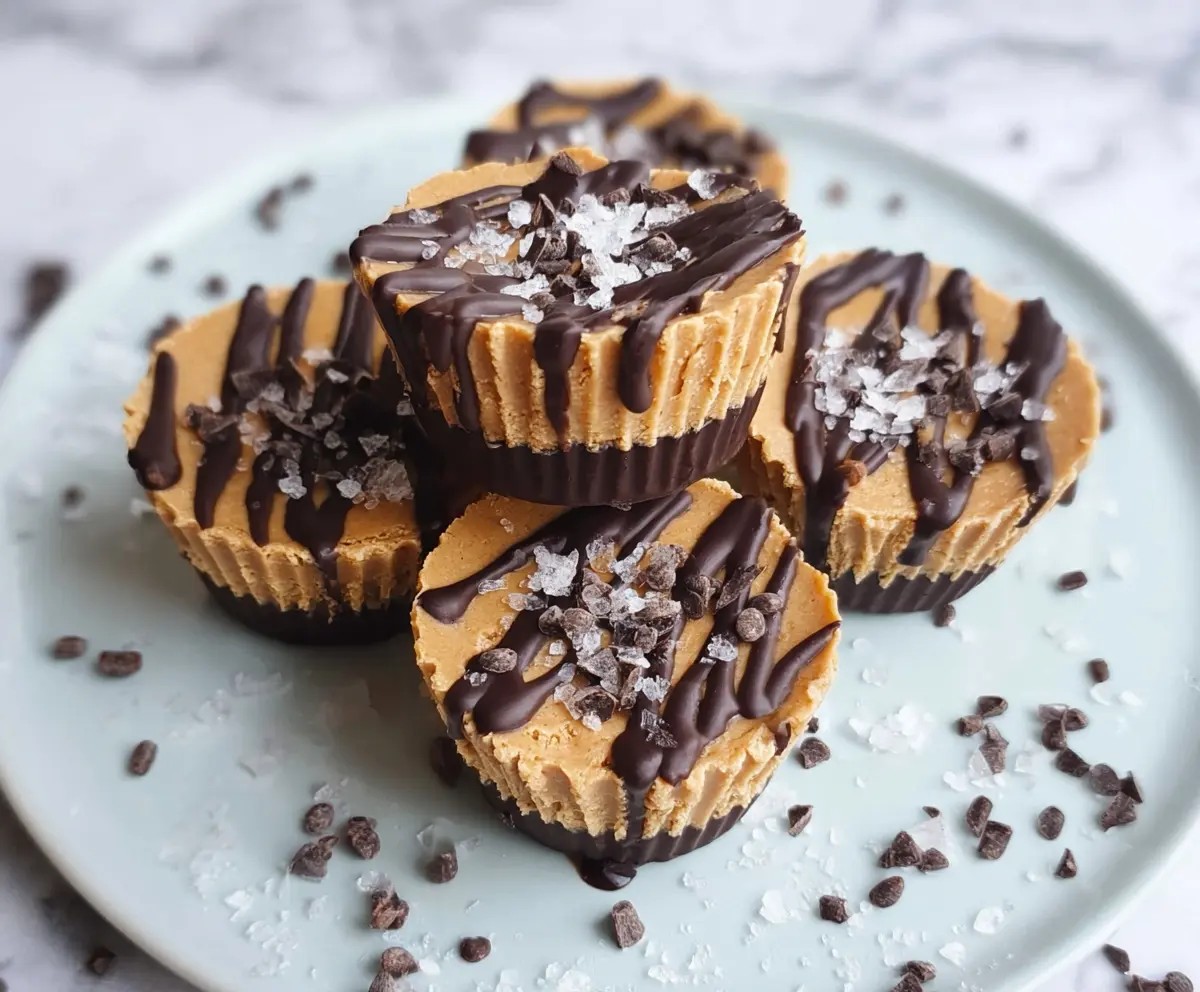
Healthy 3-Ingredient Peanut Butter Cups are a simple and tasty treat that combines creamy peanut butter, rich chocolate, and just a hint of sweetness. With only three ingredients, these little cups are super easy to make and perfect for satisfying a chocolate and peanut butter craving without any fuss.
I love making these because they come together so quickly, and I always feel good about what I’m eating. Using natural peanut butter and dark chocolate keeps things on the healthier side, but the taste still feels indulgent. I usually whip up a batch when I want a quick snack that feels special but doesn’t need a lot of time or ingredients.
My favorite way to enjoy these peanut butter cups is chilled right out of the fridge, especially on a warm day when chocolate treats like this are extra refreshing. They’re great for packing in lunches or sharing with friends, and they never stick around long once people try them!
Key Ingredients & Substitutions
Natural Peanut Butter: Choose natural peanut butter with no added sugar or oils for the healthiest option. You can use smooth or crunchy, depending on your preference. Almond or cashew butter work well as substitutes if you want to switch up the flavor or avoid peanuts.
Coconut Oil: This helps the chocolate set firm and adds a smooth texture. If you don’t have coconut oil, you can try butter or another neutral oil, but coconut oil provides the best results for firm cups.
Maple Syrup or Honey: These natural sweeteners keep the cups just right without refined sugar. Use whichever you like or have on hand. For a vegan option, stick with maple syrup.
Dark Chocolate Chips: Dark chocolate with at least 70% cocoa is great for flavor and health benefits. You can use regular chocolate chips or cacao nibs for a crunchier texture on top.
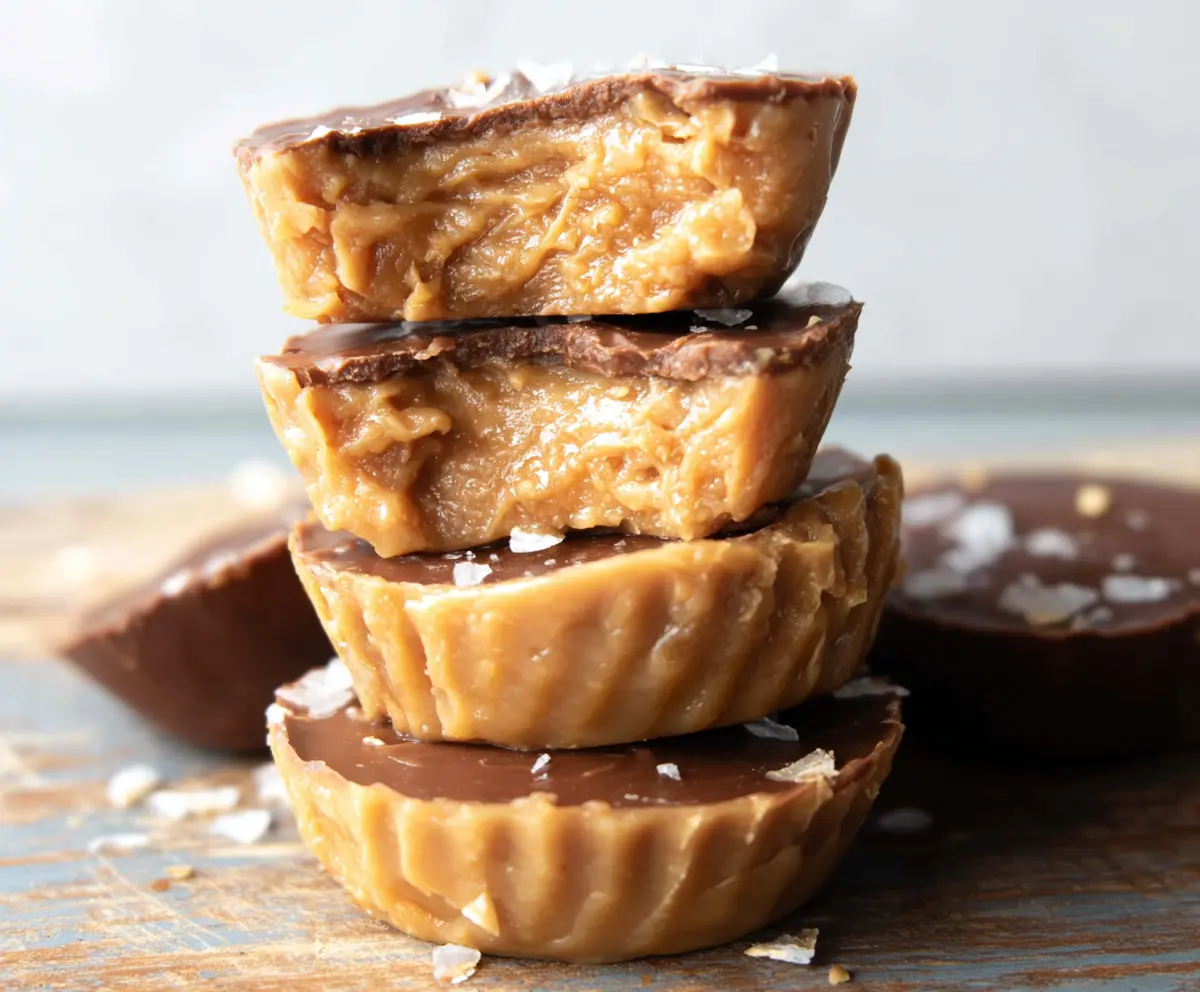
How Do I Get the Perfect Chocolate Layer and Peanuty Filling?
The key is layering and chilling. First, melt your chocolate and coconut oil together smoothly so it spreads easily. Pour a thin chocolate base in your liners and freeze until solid—this keeps the layers distinct.
- Mix your peanut butter and sweetener until creamy and smooth to avoid clumps.
- Spread the peanut butter layer evenly over the hardened chocolate base.
- Drizzle melted chocolate on top to seal the peanut butter and give a nice finish.
- Freeze again until completely firm before removing, so your cups hold their shape well.
Taking your time with chilling layers helps the cups stay neat and prevents the flavors from blending together too much. Plus, the cold storage makes them wonderfully refreshing to eat!
Equipment You’ll Need
- Silicone cupcake liners or paper muffin cups – I like silicone because they make removing the cups easier and prevent sticking.
- Small saucepan or microwave-safe bowl – perfect for melting the chocolate and coconut oil smoothly.
- Mixing bowls – handy for combining the peanut butter and sweetener without making a mess.
- Spatula or spoon – for spreading and drizzling the chocolate and peanut butter layers.
- Freezer – essential for setting the chocolate and peanut butter layers quickly and nicely.
Flavor Variations & Add-Ins
- Swirl in a spoonful of raspberry jam or mashed berries before freezing for fruity flavor.
- Add a sprinkle of chopped nuts or cacao nibs on top for extra crunch.
- Use almond or cashew butter instead of peanut butter to change the nutty taste.
- Mix in a pinch of cinnamon or vanilla extract into the peanut butter layer for more flavor depth.
Healthy 3-Ingredient Peanut Butter Cups
Ingredients You’ll Need:
Main Ingredients:
- 1 cup natural peanut butter (smooth or crunchy, unsweetened)
- 1/4 cup coconut oil
- 1/4 cup maple syrup or honey (natural sweetener)
- 1/2 cup dark chocolate chips (for drizzling and base)
- Flaky sea salt or cacao nibs (optional, for garnish)
How Much Time Will You Need?
This recipe takes about 15 minutes to prepare and an additional 40 minutes to chill in the freezer. The chilling helps the peanut butter cups set perfectly firm and ready to enjoy.
Step-by-Step Instructions:
1. Prepare the Muffin Tin:
Line a muffin tin with silicone cupcake liners or regular paper liners. This will make it easy to remove the peanut butter cups once they’re ready.
2. Melt the Chocolate and Coconut Oil:
In a small saucepan over low heat, gently melt the coconut oil and dark chocolate chips together, stirring constantly until smooth. Alternatively, melt them in a microwave-safe bowl in 20-second intervals, stirring in between to avoid burning.
3. Make the Chocolate Base:
Spoon about 1–2 teaspoons of the melted chocolate mixture into the bottom of each lined muffin cup. Tilt the tin slightly so the chocolate spreads into an even layer. Place the tin in the freezer for about 10 minutes until the chocolate is firm.
4. Prepare the Peanut Butter Filling:
While the chocolate sets, mix the natural peanut butter and maple syrup (or honey) together in a bowl until smooth and well combined.
5. Add the Peanut Butter Layer:
Once the chocolate bases are firm, spoon an even layer of the peanut butter mixture over the chocolate in each cup.
6. Drizzle with Remaining Chocolate:
Reheat any leftover melted chocolate if needed, and drizzle it over the peanut butter layer to seal in the filling and add a pretty top.
7. Garnish and Chill:
Sprinkle flaky sea salt or cacao nibs on top if you like a little extra flavor and crunch. Return the muffin tin to the freezer and chill for at least 30 minutes or until fully set.
8. Serve and Store:
Once firm, carefully remove the peanut butter cups from the liners. Store them in an airtight container in the refrigerator until you’re ready to enjoy.
Can I Use Frozen Peanut Butter for This Recipe?
It’s best to use peanut butter at room temperature for easy mixing. If your peanut butter is frozen, thaw it in the fridge overnight and stir well before using.
Can I Substitute the Coconut Oil?
You can try using butter or a neutral oil, but coconut oil is ideal because it solidifies and helps the cups hold their shape. Without it, the texture might be softer.
How Should I Store Leftover Peanut Butter Cups?
Store them in an airtight container in the refrigerator for up to one week. Freezing is also great for longer storage—just thaw a few minutes at room temperature before enjoying.
Can I Make These Ahead of Time?
Absolutely! These peanut butter cups keep well in the fridge or freezer, so you can make a batch ahead for quick snacks or to share with friends anytime.