
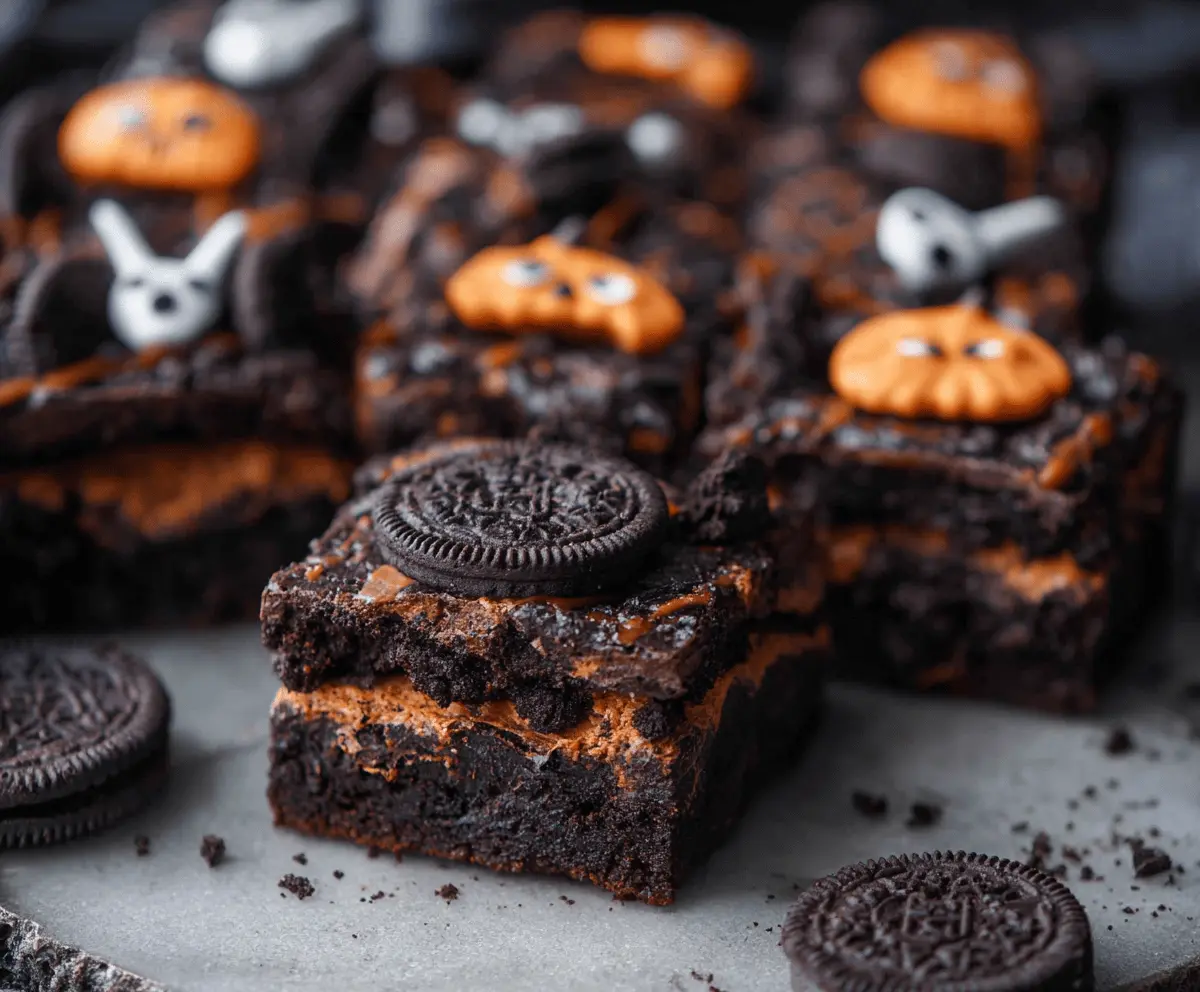
Halloween Oreo Brownies are a fun and festive treat that brings together rich, fudgy brownies and crunchy Oreo cookies, all dressed up with spooky Halloween decorations. The chewy texture of the brownies combined with the classic Oreo crunch makes every bite a delightful surprise. It’s a perfect sweet snack for celebrating the spooky season with a little extra chocolatey goodness.
I love making these around Halloween because they’re not just tasty but also really fun to decorate. Sometimes I add candy eyes or drizzle orange and black icing on top to give them that extra spooky vibe. It’s a great way to get into the Halloween spirit, and everyone always asks for the recipe because they’re just so easy to make and enjoy.
These brownies are perfect for parties, school treats, or just a cozy night in watching scary movies. I like to cut them into little squares and share them with friends and family – it’s a guaranteed crowd-pleaser! Plus, the Oreos add a little crunch that makes the brownies feel extra special. If you want a simple way to impress during the Halloween season, these are definitely the way to go.
Key Ingredients & Substitutions
Unsalted butter: Using unsalted butter gives you control over the salt level. If you only have salted butter, reduce or skip added salt. Melted butter keeps the brownies moist and fudgy.
Oreo cookies: Classic Oreos add crunch and flavor. You can use any Oreo variety like golden Oreos or flavored ones for a twist. Crushing them finely helps blend better into the filling.
Cream cheese: This makes the filling creamy and tangy. Softened cream cheese blends best, so take it out before mixing. For a dairy-free version, try plant-based cream cheese alternatives.
Orange food coloring: This adds the fun Halloween color. Gel or paste food coloring works better than liquid to avoid thinning the filling.
How Do You Get the Perfect Layered Brownie and Cream Filling?
Layering is key to the look and flavor combo of these brownies. Here’s how to nail it:
- Bake the first brownie layer just until it’s set but still soft on top. This helps the cream layer stick and prevents mixing.
- Cool slightly before spreading the cream filling so it doesn’t melt into the brownie.
- Spread the cream filling evenly but gently to keep it smooth and thick.
- Add the remaining brownie batter carefully on top to cover the filling without mixing the layers.
- Bake again until a toothpick shows moist crumbs, so the top brown layer stays soft without drying out.
- Chilling the finished brownies helps the layers set nicely for clean cutting and neat presentation.
Taking time with these steps gives a clear, attractive layered effect and a texture balance between fudgy brownies and creamy filling.
Equipment You’ll Need
- 8×8 inch (20×20 cm) baking pan – I like it because it’s the perfect size for layered brownies and easy to cut.
- Mixing bowls – for blending the brownie batter and cream filling, making everything easier and organized.
- Whisk or electric mixer – helps get the cream cheese and butter really smooth and fluffy.
- Rubber spatula – great for spreading the batter and filling evenly without mess.
- Parchment paper – lines the pan for easy removal and clean cuts.
- Small bowls or condiment cups – useful for mixing and decorating with frosting or chocolate drizzles.
Flavor Variations & Add-Ins
- Use different cookies like golden Oreos or gluten-free cookies for variety or dietary needs.
- Stir in mini chocolate chips or Halloween candies (like M&Ms or candy corn) into the filling for extra fun.
- Add a dash of pumpkin spice or cinnamon to the brownie batter for a seasonal twist.
- Top with spooky decorations like candy eyes, sprinkles, or drizzle with colored melted chocolate for extra creepiness.
Halloween Oreo Brownies
Ingredients You’ll Need:
For the Brownie Base:
- 1/2 cup (115g) unsalted butter, melted
- 1 cup (200g) granulated sugar
- 2 large eggs
- 1 teaspoon vanilla extract
- 1/3 cup (40g) unsweetened cocoa powder
- 1/2 cup (65g) all-purpose flour
- 1/4 teaspoon salt
- 1/4 teaspoon baking powder
For the Orange Oreo Cream Filling:
- 8 oz (225g) cream cheese, softened
- 1/4 cup (60g) unsalted butter, softened
- 1 1/2 cups (190g) powdered sugar
- 1 teaspoon vanilla extract
- Orange food coloring
- 10-12 crushed Oreo cookies (standard black and white Oreo cookies)
For Decorations:
- Whole Oreo cookies (for topping)
- Orange and black colored frosting or melted chocolate for drizzling
- Halloween sprinkles or candy eyes (optional)
How Much Time Will You Need?
This recipe takes about 20 minutes of prep time. Baking happens in two stages — around 12-15 minutes for the first brownie layer, then 18-22 minutes for the top layer. Don’t forget to chill the brownies for at least 1 hour before serving, so the layers set perfectly. Altogether, plan for about 2 hours from start to ready-to-eat.
Step-by-Step Instructions:
1. Preheat and Prepare the Pan:
Set your oven to 350°F (175°C). Grease or line an 8×8 inch (20×20 cm) baking pan with parchment paper for easy removal later.
2. Make the Brownie Batter:
In a medium bowl, mix together melted butter, sugar, eggs, and vanilla extract until smooth. Sift in cocoa powder, flour, salt, and baking powder, then gently fold everything together until combined. Avoid overmixing to keep the brownies moist.
3. Bake the First Brownie Layer:
Pour half the batter evenly into the pan. Bake for 12-15 minutes, just until the surface is set but not fully baked through. Remove and let it cool slightly.
4. Prepare the Orange Oreo Cream Filling:
Using a mixer, beat softened cream cheese and butter until smooth and creamy. Gradually add powdered sugar and vanilla extract, beating until light and fluffy. Mix in orange food coloring to get a bright, festive color. Finally, gently fold in the crushed Oreo cookies.
5. Layer the Filling and Top Brownie Batter:
Spread the orange Oreo cream filling evenly over the cooled brownie base. Carefully pour the remaining brownie batter on top and spread gently to cover the filling completely.
6. Bake the Final Layer:
Bake again for 18-22 minutes. Use a toothpick to check doneness — it should come out with a few moist crumbs but no wet batter. Avoid overbaking to keep the middle soft and creamy.
7. Cool and Decorate:
Let the brownies cool completely in the pan on a wire rack. Once cooled, decorate with whole Oreo cookies halves, drizzle with orange or black frosting or melted chocolate, and add Halloween sprinkles or candy eyes if you’d like.
8. Chill and Serve:
Refrigerate for at least 1 hour to allow the layers to set perfectly. Cut into squares and enjoy your fun, festive Halloween Oreo Brownies!
Can I Use Frozen Cream Cheese for the Filling?
It’s best to use softened cream cheese for a smooth, creamy filling. If your cream cheese is frozen, thaw it in the fridge overnight or at room temperature for about an hour before using.
How Should I Store Leftover Halloween Oreo Brownies?
Store brownies in an airtight container in the refrigerator for up to 4 days. Chilling helps keep the cream filling firm. You can also freeze them for up to a month—just thaw in the fridge before serving.
Can I Substitute the Oreos with Other Cookies?
Absolutely! You can use any crunchy sandwich cookies or even chopped chocolate chip cookies. Just keep in mind that different cookies may change the texture and flavor slightly.
Is There a Way to Make These Brownies Gluten-Free?
Yes! Swap the all-purpose flour for a gluten-free flour blend that measures cup-for-cup. Make sure your Oreos and other ingredients are gluten-free as well.