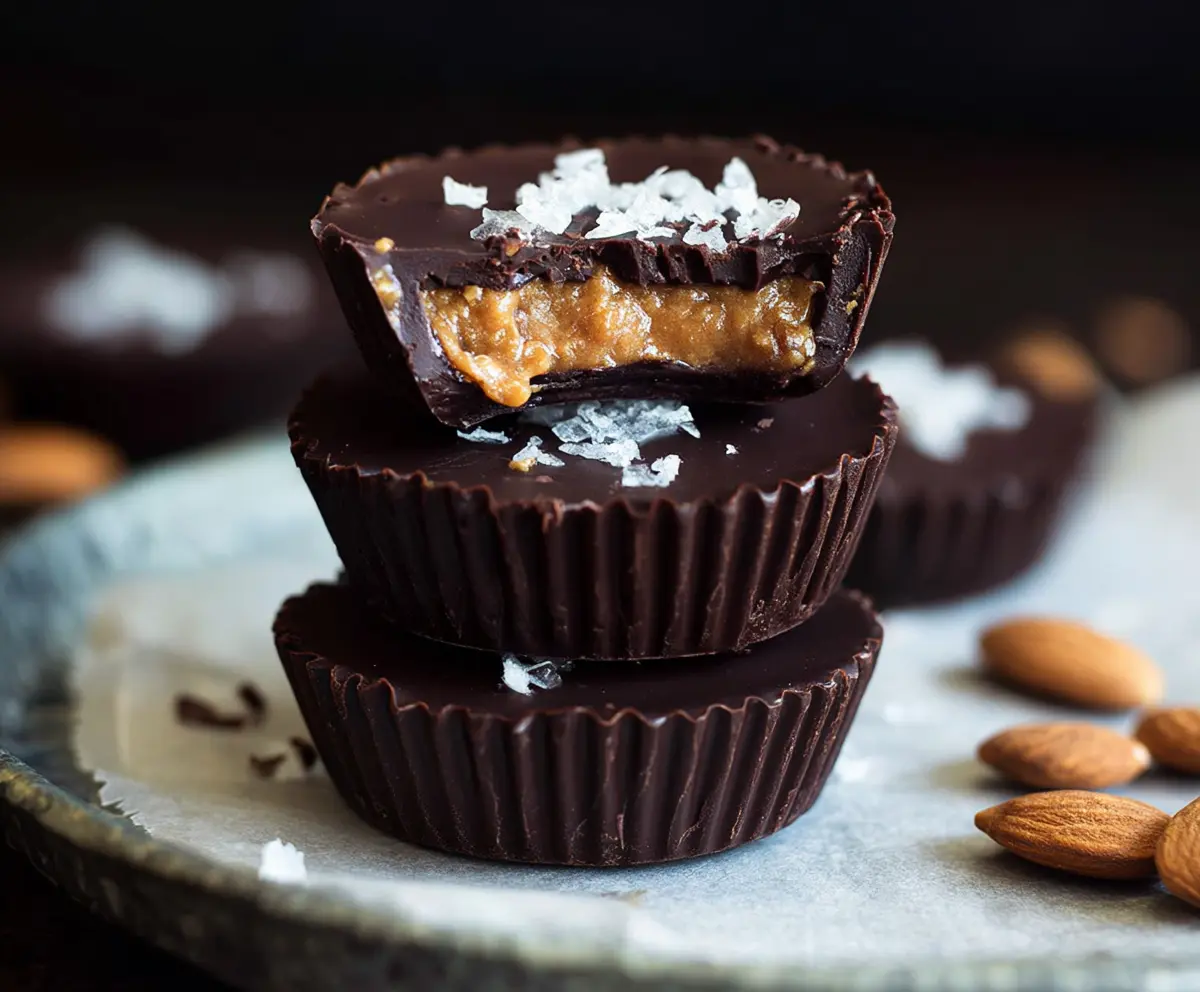
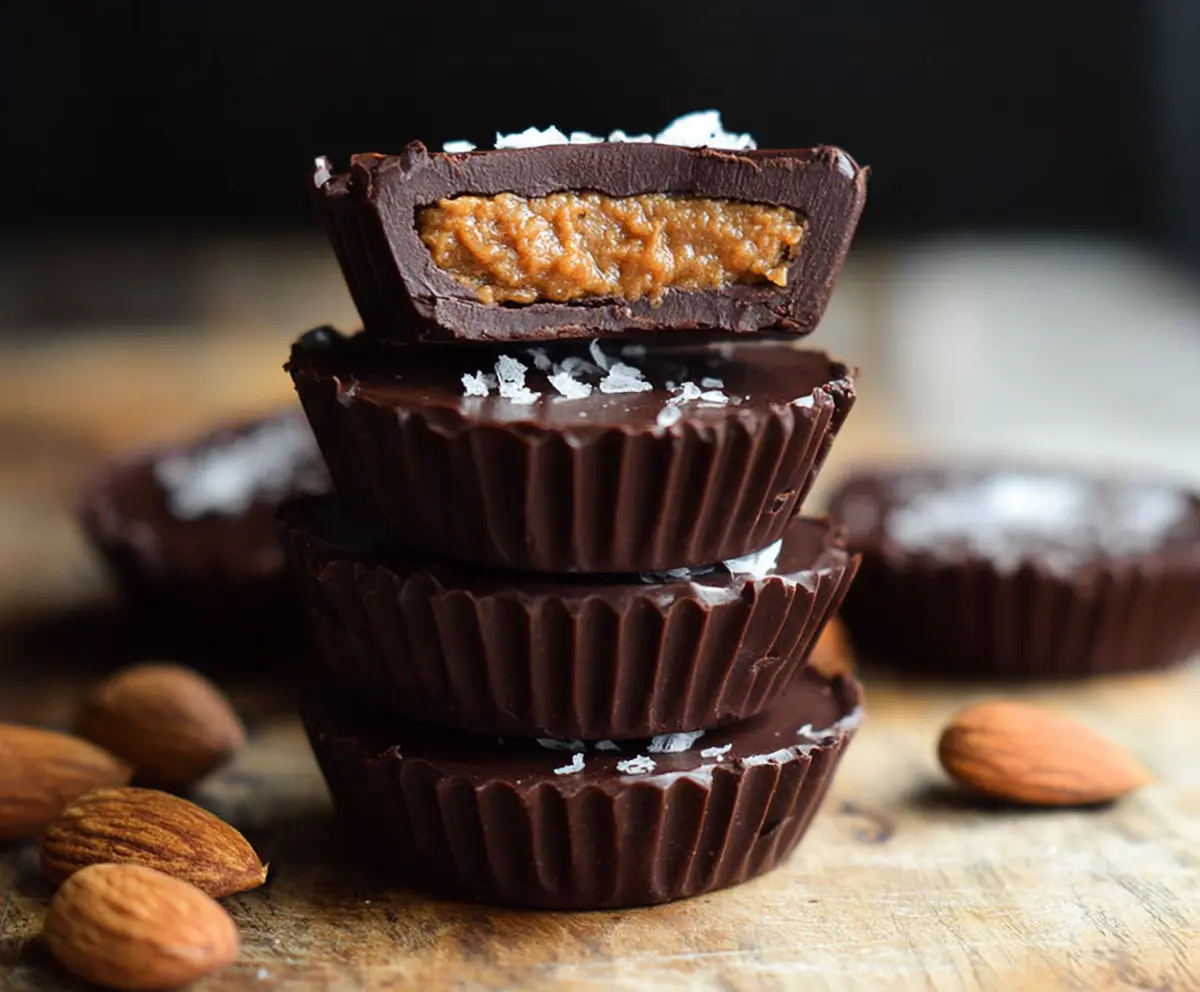
Dark Chocolate Almond Butter Cups are the perfect little treat that combines rich, slightly bitter dark chocolate with the creamy, nutty flavor of almond butter. These cups have a wonderful balance of smooth chocolate coating and a soft, luscious almond butter center that just melts in your mouth. They’re bite-sized, making them easy to share or enjoy whenever you need a sweet pick-me-up.
I love making these at home because they feel special but are actually super simple to prepare. One of my favorite things is that they’re easy to customize—you can add a pinch of sea salt on top for a salty twist or mix in a bit of honey or maple syrup to sweeten the almond butter filling just how you like it. Plus, they make a great homemade gift that friends and family always appreciate.
Whenever I serve these, I like to keep them chilled so the chocolate stays nice and firm. They’re perfect for dessert after dinner or as a little snack with afternoon coffee or tea. I’ve found that these dark chocolate almond butter cups always disappear quickly, which just means I need to keep making more!
Key Ingredients & Substitutions
Dark Chocolate: Using chocolate with 70% cocoa or higher adds a rich taste without being too sweet. If you prefer milder chocolate, you can go down to 60%. For a dairy-free option, pick vegan or dairy-free dark chocolate chips.
Almond Butter: Smooth almond butter works best for easy spreading and creamy filling. If you like a little crunch, try chunky almond butter. You can swap almond butter for peanut butter or sunflower seed butter if there are allergies or preferences.
Sweeteners: Powdered sugar lightly sweetens the almond butter, but you can also use maple syrup or honey for natural sweetness. Adjust amounts based on how sweet you want the filling.
Flaky Sea Salt: This adds a lovely contrast to the sweet and rich flavors. If you don’t have flaky sea salt, just use a pinch of regular salt instead. It really brings out the chocolate’s depth!
How Can I Make Smooth and Even Chocolate Layers?
The key to smooth chocolate shells is melting and spreading carefully. Here are some tips:
- Melt the chocolate gently over low heat or short microwave bursts to avoid burning.
- When spooning chocolate into cups, tilt and rotate the mold to evenly coat sides and bottom.
- Freeze after spreading the first layer to set it firmly before adding almond butter filling.
- Seal the filling fully with a chocolate layer so it doesn’t peek out or spill.
Taking your time with these steps helps you get neat, professional-looking cups that feel satisfying to bite into.
Equipment You’ll Need
- Mini cupcake or muffin tin – I use this because it shapes the cups evenly and makes clean removal easy.
- Paper liners – help keep the cups neat and prevent sticking; I prefer the silicone ones for reuse.
- Double boiler or microwave-safe bowl – for melting the chocolate gently without burning.
- Spatula or spoon – to stir and spread the melted chocolate smoothly.
- Small spoon or teaspoon – for scooping the peanut butter filling carefully into the cups.
Flavor Variations & Add-Ins
- Use peanut butter instead of almond for a classic peanut butter cup, or try sunflower seed butter for nut allergies.
- Add a few mini marshmallows or chopped pretzels into the filling for extra texture.
- Swirl in a bit of caramel or peanut butter on top of the filling before adding the top chocolate layer for a surprise flavor.
- Mix in a pinch of cinnamon or chili powder into the chocolate for a spicy kick that pairs well with dark chocolate.
Dark Chocolate Almond Butter Cups
Ingredients You’ll Need:
- 1 cup dark chocolate chips or chopped dark chocolate (70% cocoa or higher)
- 1/2 cup almond butter (smooth or slightly chunky based on preference)
- 2 tablespoons powdered sugar or maple syrup (optional, for sweetness)
- 1/2 teaspoon vanilla extract
- Pinch of salt
- Flaky sea salt for topping
How Much Time Will You Need?
This recipe takes about 15 minutes to prepare, plus 30 to 40 minutes of chilling time for the chocolate cups to set properly in the freezer. The chilling time helps the chocolate harden so your cups hold their shape perfectly.
Step-by-Step Instructions:
1. Prepare the Chocolate Cup Shells:
Line a muffin tin or mini cupcake molds with paper liners and set aside. Melt the dark chocolate gently using a double boiler or in the microwave in 20-second bursts, stirring well between each to avoid burning. Spoon about one tablespoon of melted chocolate into each paper liner. Tilt and rotate the liner to evenly coat the bottom and sides with chocolate. Place the tin in the freezer for around 10 minutes to let the chocolate firm up.
2. Make the Almond Butter Filling:
While the chocolate is chilling, combine the almond butter, powdered sugar or maple syrup if you’re using it, vanilla extract, and a pinch of salt in a bowl. Stir until everything is well mixed and smooth.
3. Assemble the Cups:
Take the chocolate-lined molds out of the freezer. Add about a teaspoon of the almond butter mixture into the center of each chocolate shell, leaving a little space around the edges. Then, cover the almond butter with another tablespoon of melted chocolate, sealing it all in carefully. Sprinkle a pinch of flaky sea salt on top while the chocolate is still soft.
4. Chill to Set:
Return the assembled cups to the freezer and let them chill for 20 to 30 minutes, or until completely firm. When ready, remove the cups from the molds. Store them in an airtight container in the fridge or freezer until you’re ready to enjoy.
Can I Use Peanut Butter Instead of Almond Butter?
Yes! Peanut butter works great as a substitute and gives you a classic peanut butter cup flavor. Just make sure it’s smooth so it spreads easily in the cups.
How Should I Store These Almond Butter Cups?
Store them in an airtight container in the refrigerator for up to one week. You can also freeze them for longer storage—just thaw briefly before eating for the best texture.
Can I Make These Ahead of Time?
Absolutely! These cups can be made a day or two in advance and kept chilled until serving. Just keep them refrigerated or frozen to maintain their shape and freshness.
What If I Don’t Have Flaky Sea Salt?
No worries! Use a small pinch of regular salt instead to enhance the flavor. It won’t have the same texture but will still balance the sweetness nicely.