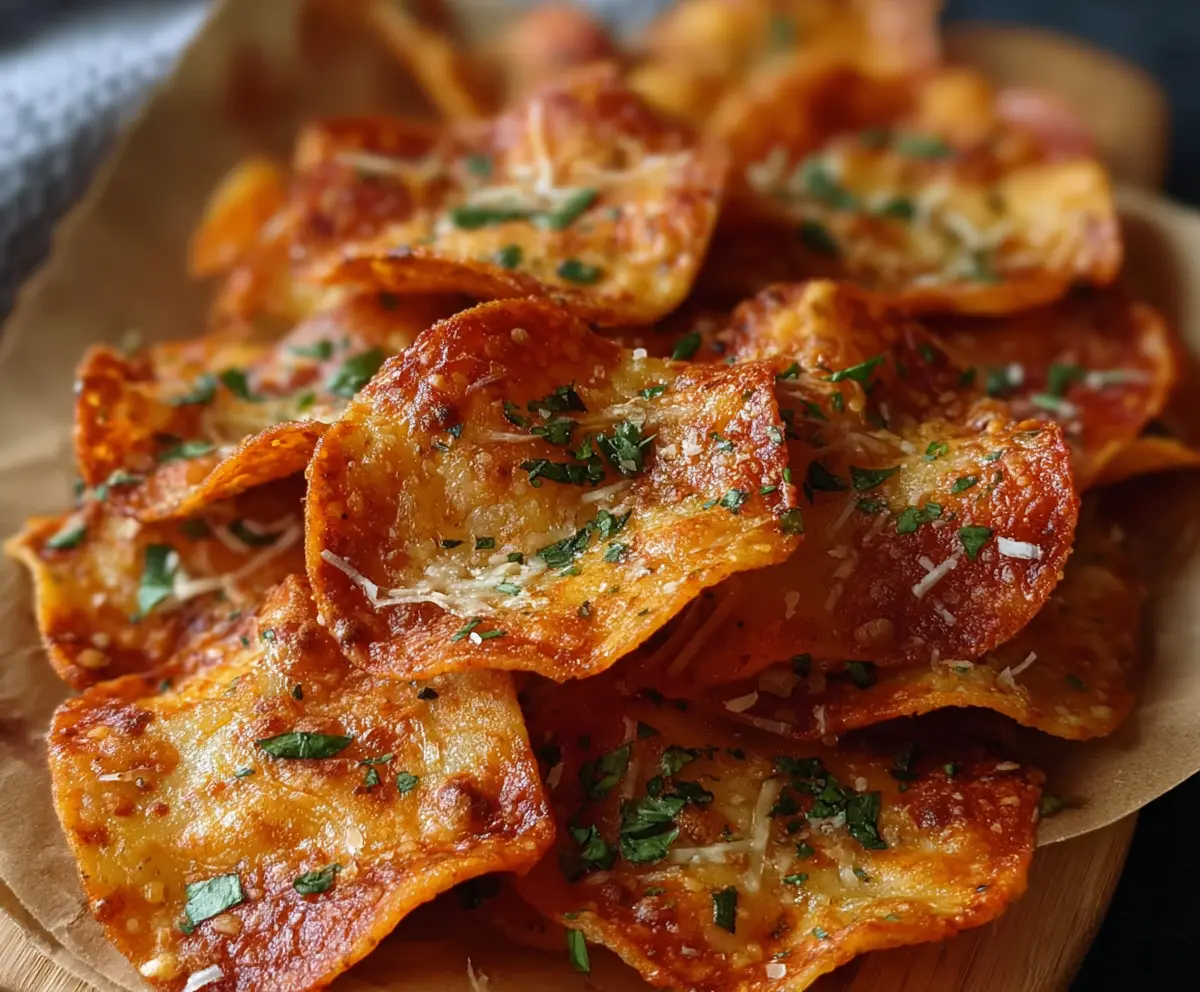
Crispy Pizza Chips are a fun and tasty snack that combine the best parts of pizza with a crunchy chip twist. These little bites are packed with the flavors of tomato sauce, melted cheese, and your favorite pizza toppings, all crisped up to perfection. They’re perfect for anyone who loves pizza but wants something easy to grab and munch on.
I love making these when I want a quick snack that still feels special. They come together really fast, and the crispy edges make every bite satisfying. My favorite tip is to sprinkle a little extra Italian seasoning or chili flakes on top before baking for an extra pop of flavor. Plus, they’re great for sharing at parties or as a fun appetizer.
One thing I always enjoy is serving these pizza chips with some cool ranch or garlic dip on the side. It makes the crispy pizza flavor even better and adds a creamy contrast that everyone appreciates. Whenever I bring these out, they disappear almost instantly — it’s like a little pizza party in every bite!
Key Ingredients & Substitutions
Pepperoni slices: These give the base for your pizza chips and a great punch of flavor. If you’re not a fan of pork or want a vegetarian option, try using sliced olives or sautéed mushrooms instead.
Cheeses: A mix of mozzarella and Parmesan works well for melt and crispiness. For dairy-free or lighter options, shredded vegan cheese or a sprinkle of nutritional yeast can be tasty substitutes.
Pizza sauce: Use your favorite store-bought sauce or homemade marinara. In a pinch, tomato paste mixed with a pinch of Italian herbs works too.
Italian seasoning & garlic powder: These add extra flavor depth and a bit of garlic punch. Fresh herbs like oregano or basil can be added after baking too for more brightness.
How Do You Get the Perfect Crispy Texture on Pizza Chips?
Achieving crispiness is all about baking time and spacing. Here’s what works for me:
- Arrange pepperoni slices with enough space so cheese can melt evenly without sticking.
- Bake at a high temperature (around 400°F) so the cheese melts quickly but crisps before it browns too much.
- Watch carefully toward the end of baking – cheese can go from crispy to burnt fast.
- Let chips cool on the pan a few minutes after baking; this helps them set and crisp further.
A tip I love is to use parchment paper or a silicone mat—they keep the cheese from sticking and make clean-up easy!

Equipment You’ll Need
- Baking sheet – I like using a rimmed one so everything stays inside, and it bakes evenly.
- Parchment paper or silicone baking mat – makes cleanup simple and prevents sticking.
- Measuring spoons – for portioning the pizza sauce and seasonings accurately.
- Oven – essential for crisping up the chips quickly and evenly.
Flavor Variations & Add-Ins
- Use turkey or chicken sausage slices instead of pepperoni for a leaner option.
- Sprinkle red pepper flakes or a dash of hot sauce before baking for extra heat.
- Top with cooked veggies like bell peppers, sliced olives, or mushrooms for more variety.
- Finish with a drizzle of balsamic glaze or sprinkle with crushed red pepper after baking for extra flavor.
Crispy Pizza Chips
Ingredients You’ll Need:
Main Ingredients:
- 1 cup shredded mozzarella cheese
- 1/2 cup shredded Parmesan cheese
- 1/2 cup pepperoni slices
- 1/4 cup pizza sauce (or marinara sauce)
- 1 tsp Italian seasoning
- 1/2 tsp garlic powder
- Fresh parsley or basil, chopped (for garnish)
- Optional: Red chili flakes for heat
How Much Time Will You Need?
This recipe takes about 5 minutes to prep and around 8-10 minutes to bake. Add a few minutes to cool the chips so they crisp up perfectly. In about 15 minutes total, you’ll have a delicious, crispy pizza-flavored snack ready to enjoy!
Step-by-Step Instructions:
1. Prepare Your Oven and Baking Sheet:
Preheat your oven to 400°F (200°C). Line a baking sheet with parchment paper to keep things from sticking and make cleanup easy.
2. Arrange the Pepperoni Base:
Place the pepperoni slices on the lined baking sheet, giving each slice some room so they don’t stick together once baked.
3. Add Sauce and Cheese:
Spoon about a teaspoon of pizza sauce onto each pepperoni slice and spread it lightly. Then, sprinkle mozzarella and Parmesan cheese over each slice, covering the sauce well.
4. Sprinkle Seasonings:
Lightly dust the cheese-topped slices with Italian seasoning and garlic powder. If you like heat, you can also sprinkle on some red chili flakes.
5. Bake Until Crispy:
Put the baking sheet in the oven and bake for 8-10 minutes. Watch for the cheese to melt and edges to turn golden and crispy.
6. Cool and Garnish:
Take the pizza chips out of the oven and let them cool for a couple of minutes. This helps them become extra crispy. Then, sprinkle chopped parsley or basil and a little extra Parmesan on top for a fresh finish.
7. Serve and Enjoy:
Enjoy your crispy pizza chips warm or at room temperature. They’re perfect for snacking or sharing as a fun party snack!
Can I Make Crispy Pizza Chips Ahead of Time?
Yes! You can prepare and bake the chips, then store them in an airtight container at room temperature for up to 1 day. To refresh the crispiness, warm them briefly in the oven before serving.
What Can I Use Instead of Pepperoni?
If you prefer a different topping, try sliced olives, cooked sausage, or even thinly sliced veggies like bell peppers or mushrooms. Just make sure any alternatives are thinly sliced so they crisp up well.
How Should I Store Leftover Pizza Chips?
Store leftovers in an airtight container at room temperature for up to 24 hours. Avoid refrigerating as moisture can make them lose their crispiness quickly.
Can I Use Different Cheeses?
Absolutely! Feel free to swap mozzarella or Parmesan with your favorite melting cheese like cheddar, provolone, or a dairy-free cheese alternative for different flavors.